Whip up some delightfully spooky and simple no bake Halloween treats that are perfect for parties or a fun family activity. These easy recipes require no oven time, making them a breeze to assemble and ideal for getting everyone involved in the Halloween spirit.
Halloween is a magical time for a bit of playful spookiness, and what better way to celebrate than with a spread of fun, homemade goodies? These no bake Halloween treats are designed to be as enjoyable to make as they are to eat, bringing a touch of festive charm to your celebrations without any fuss.
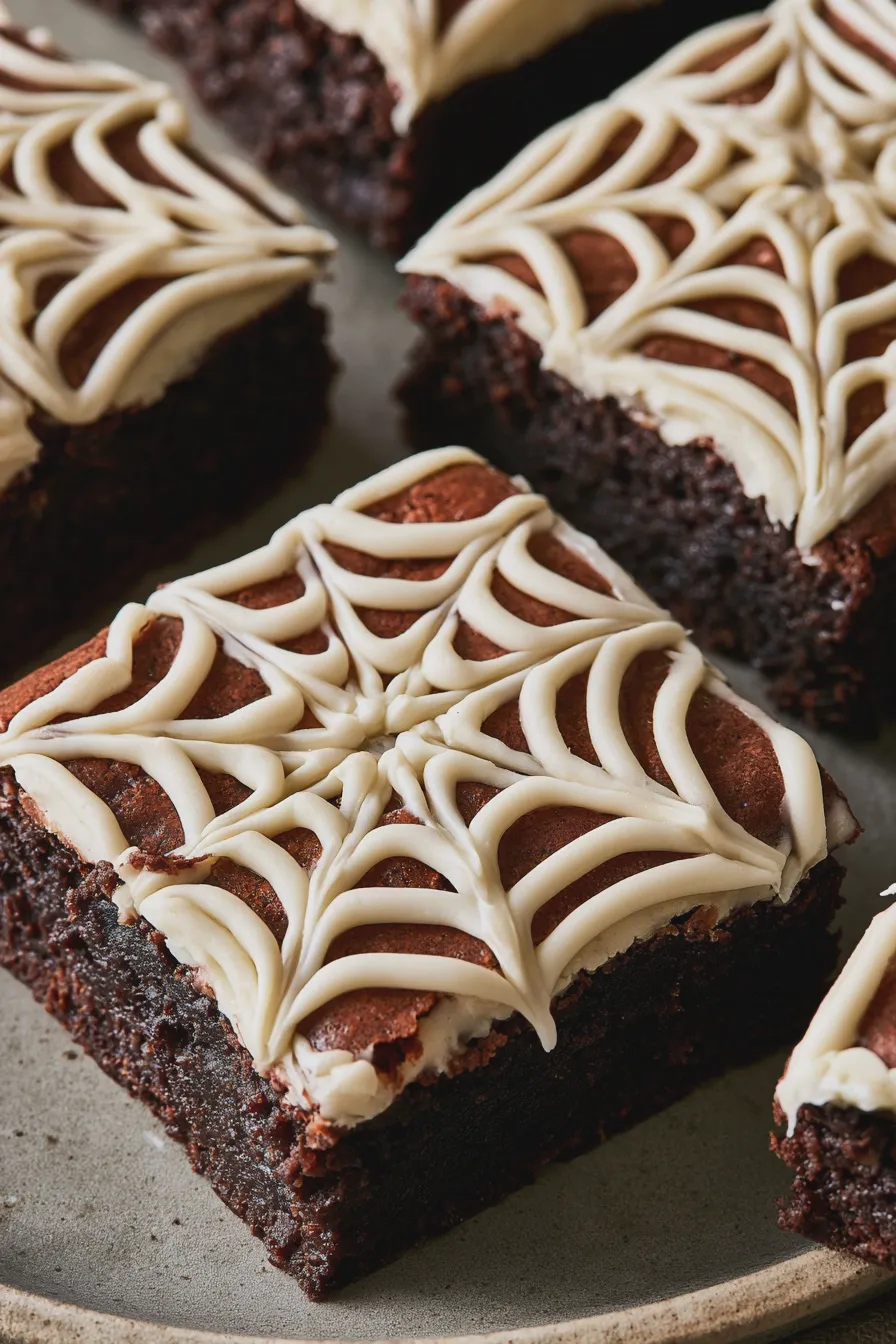
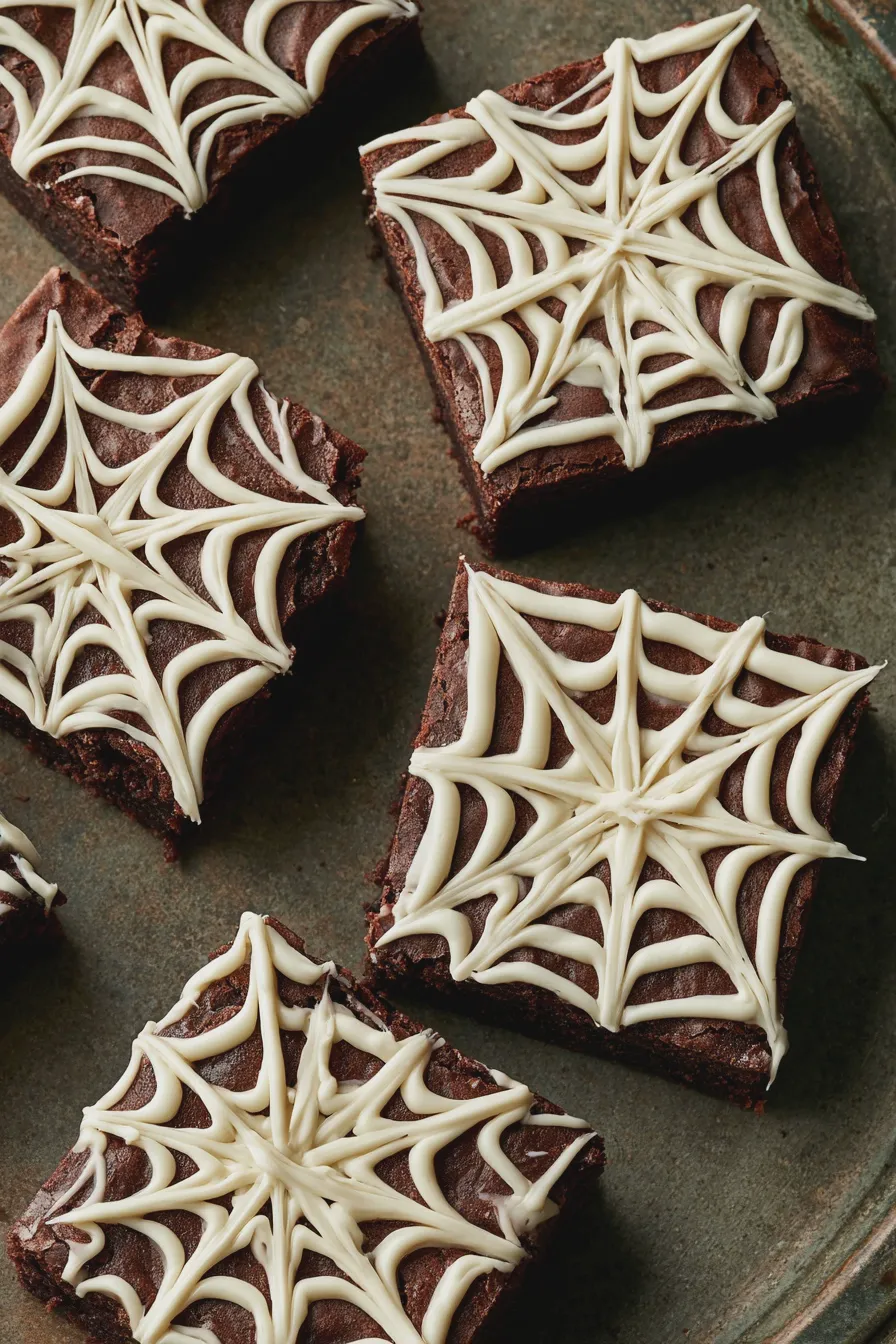
Spooky Spider Web Brownies
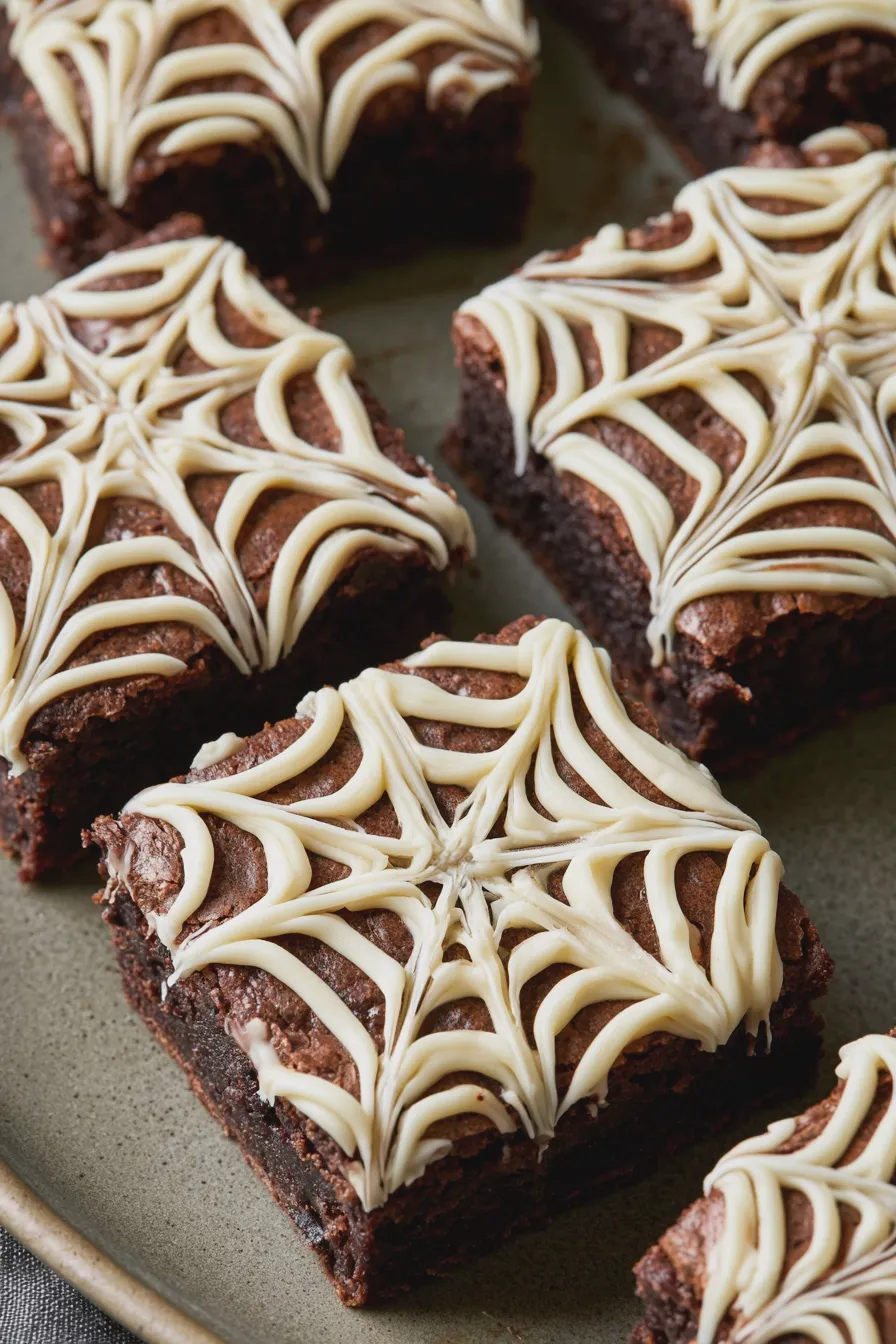
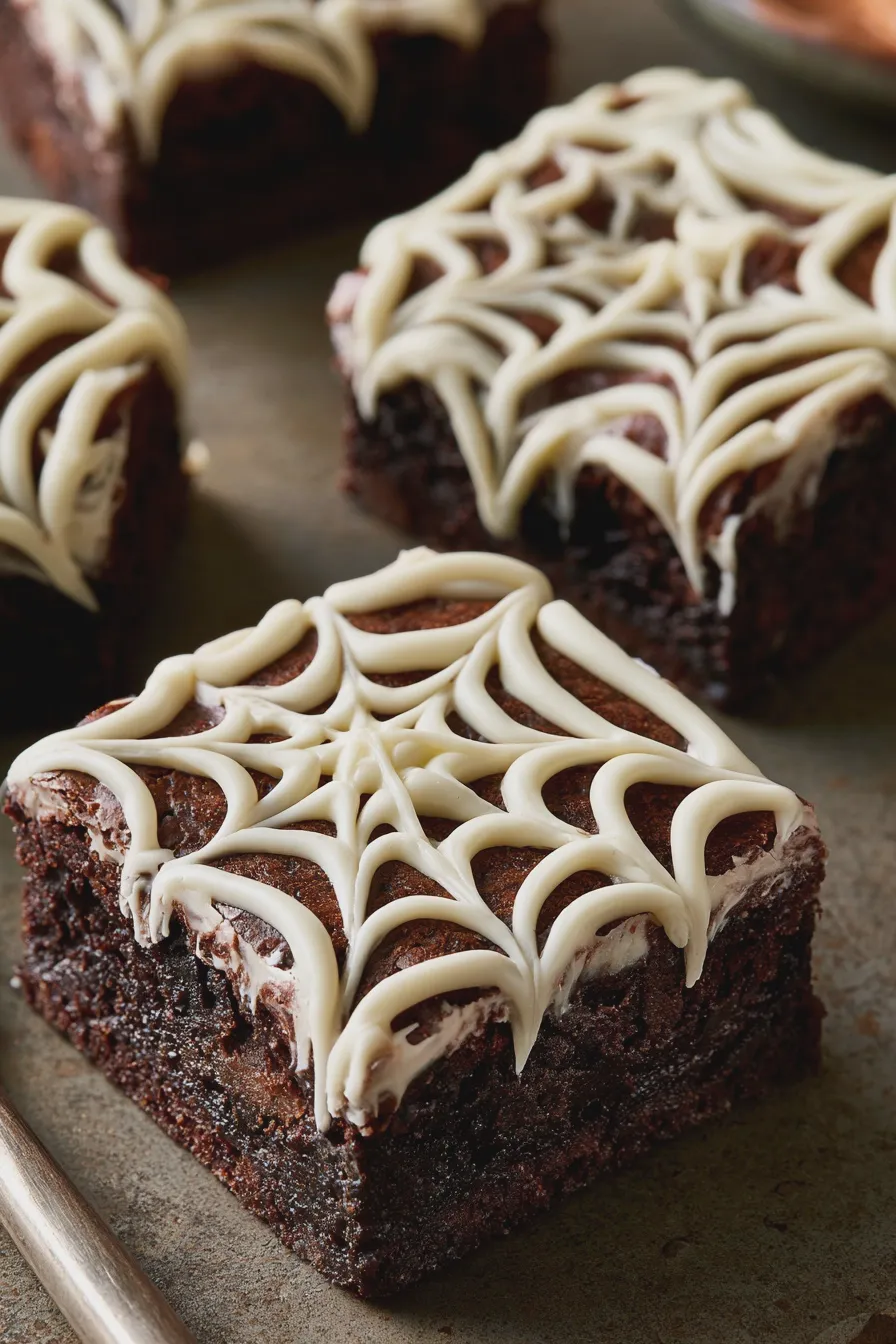
These no-bake spider web brownies are a classic for a reason, offering a rich chocolatey base topped with a visually striking, easy-to-create spider web design. They are a fantastic option when you need quick Halloween party treats that impress.
Ingredients:
- 1 cup (2 sticks) unsalted butter, melted
- 1 ½ cups granulated sugar
- 3 large eggs
- 1 teaspoon vanilla extract
- ¾ cup all-purpose flour
- ½ cup unsweetened cocoa powder
- ½ teaspoon salt
- ½ cup chocolate chips (for melting)
- ¼ cup white chocolate chips (for drizzling)
- Black food coloring (gel preferred)
How to Make Spider Web Brownies:
- In a large bowl, whisk together the melted butter and granulated sugar until well combined. Add the eggs one at a time, beating well after each addition, then stir in the vanilla extract.
- In a separate bowl, whisk together the all-purpose flour, cocoa powder, and salt. Gradually add the dry ingredients to the wet ingredients, mixing until just combined; be careful not to overmix.
- Line an 8×8 inch baking pan with parchment paper, leaving an overhang on the sides for easy removal. Pour the brownie batter into the prepared pan and spread it evenly.
- Melt the ½ cup of chocolate chips in a microwave-safe bowl in 30-second intervals, stirring between each, until smooth.
- In a small bowl, melt the ¼ cup of white chocolate chips using the same method as the dark chocolate. Add a few drops of black food coloring to the melted white chocolate and stir until you achieve a deep black color.
- Once the brownie batter is in the pan, pour the melted dark chocolate over the top and spread it evenly.
- Transfer the melted black (formerly white) chocolate into a piping bag or a small zip-top bag with a corner snipped off.
- Pipe concentric circles of the black chocolate onto the brownie surface, starting from the center and working outwards.
- Using a toothpick or a skewer, drag lines from the center of the brownie outwards through the black circles to create the spider web effect.
- Refrigerate the brownies for at least 2 hours, or until firm, before cutting into squares.
For an extra touch of decadence and to ensure a fudgy texture, consider adding a swirl of Nutella into the batter before baking. This adds a lovely hazelnut note that complements the chocolate beautifully, making these more than just simple Halloween no bake brownies.
Ghostly No Bake Cookies
These adorable ghost no bake cookies are incredibly simple to assemble, making them a perfect activity for children to help with. Their sweet, chewy texture and charming appearance make them a hit at any gathering, embodying the spirit of kid friendly no bake Halloween treats.
Ingredients:
- 1 cup (2 sticks) unsalted butter
- 2 cups granulated sugar
- ½ cup milk
- 1 teaspoon vanilla extract
- 3 cups rolled oats (not instant)
- ½ cup powdered sugar, sifted
- Mini chocolate chips or edible candy eyes
How to Make Ghostly No Bake Cookies:
- In a medium saucepan, combine the butter, granulated sugar, and milk. Bring the mixture to a rolling boil over medium heat, stirring occasionally.
- Once boiling, let it boil for exactly 1 minute without stirring, then remove from heat immediately. Stir in the vanilla extract and the rolled oats until well coated.
- Working quickly, drop spoonfuls of the oat mixture onto parchment paper-lined baking sheets. Allow them to cool and set for about 15-20 minutes.
- While the cookies are cooling, sift the powdered sugar into a small bowl.
- Once the cookies are cool enough to handle but still slightly warm, gently flatten the tops to create a base for the ghost’s body.
- To make the ghost frosting, gradually add a teaspoon of milk to the sifted powdered sugar, stirring until you achieve a thick but drizzly consistency. You want it thick enough to hold its shape but thin enough to pipe or drizzle.
- Transfer the frosting to a piping bag or a small zip-top bag with a tiny corner snipped off.
- Pipe a ghostly shape onto the flattened side of each cookie, leaving a space at the bottom for the base.
- Immediately press two mini chocolate chips or edible candy eyes into the wet frosting to create the ghost’s eyes and mouth.
- Let the frosting set completely before serving or storing.
If you’re looking for more variations on classic cookies, consider exploring recipes for snickerdoodle cookies or exploring how different types of flour, like all-purpose flour vs cake flour, can affect cookie texture.
Mummy Pretzel Rods
These mummy pretzel rods are a fantastically easy and fun addition to your no bake Halloween treats selection. They combine the salty crunch of pretzels with sweet, creamy white chocolate, making them an irresistible combination for both kids and adults.
Ingredients:
- 12-15 pretzel rods
- 1 ½ cups white candy melts
- 2 tablespoons vegetable oil (optional, for thinning)
- Mini chocolate chips or edible candy eyes
How to Make Mummy Pretzel Rods:
- Line a baking sheet with parchment paper or wax paper.
- Place the white candy melts in a microwave-safe bowl and heat in 30-second intervals, stirring between each, until completely melted and smooth. If the candy melts are too thick, stir in 1-2 tablespoons of vegetable oil to reach a drizzly consistency.
- Hold a pretzel rod by the end and dip it into the melted white candy melts, rotating to coat about two-thirds of the pretzel. Allow any excess chocolate to drip back into the bowl.
- Place the coated pretzel rod onto the prepared baking sheet. Repeat with the remaining pretzel rods.
- Before the candy melts set, place two mini chocolate chips or edible candy eyes near the top of each pretzel rod to create the mummy’s eyes.
- Once the eyes are in place, use a fork or a spoon to drizzle the remaining white candy melts back and forth across the coated portion of the pretzel rods to create the mummy bandages.
- Allow the mummy pretzel rods to set completely at room temperature or in the refrigerator for about 10-15 minutes.
These make for wonderful Halloween party treats and are also a great addition to any care package or lunchbox during the spooky season. For more delightful chocolate-based recipes, you might enjoy chickpea brownies or sweet potato brownies, both offering unique twists on classic desserts.
Pumpkin Patch Pudding Cups
These pumpkin patch pudding cups are a charming and simple dessert that’s perfect for a festive Halloween display. Using clear cups allows the layers to be visible, creating a delightful illusion of a miniature pumpkin patch, ideal for no bake pumpkin Halloween treats.
Ingredients:
- 4 cups prepared vanilla or butterscotch pudding (store-bought or homemade)
- 1 cup crushed chocolate sandwich cookies (like Oreos)
- 1 cup whipped topping (like Cool Whip), thawed
- Green food coloring
- Candy pumpkins or orange candies
- Clear plastic cups (4-6 oz size)
How to Make Pumpkin Patch Pudding Cups:
- In a medium bowl, gently fold the whipped topping into the prepared pudding until just combined.
- In a separate small bowl, mix the crushed chocolate sandwich cookies with a tablespoon of melted butter (optional, for firmer “dirt”).
- To create the “dirt” layer, spoon a layer of the crushed cookie mixture into the bottom of each clear plastic cup.
- Next, add a layer of the pudding mixture over the cookie crumbs.
- In a small bowl, mix a few drops of green food coloring into a small portion of the remaining pudding mixture until you achieve a grassy green color.
- Spoon small dollops of the green pudding on top of the main pudding layer to resemble grass.
- Finally, arrange a few candy pumpkins or orange candies on top of the pudding to complete the pumpkin patch scene.
- Chill the pudding cups for at least 30 minutes before serving to allow the flavors to meld.
These are wonderful as individual servings for parties and also make for delightful Halloween dessert ideas that require minimal effort. If you enjoy the rich, dense texture of brownies, you might also appreciate date brownies for a naturally sweetened option.
Print