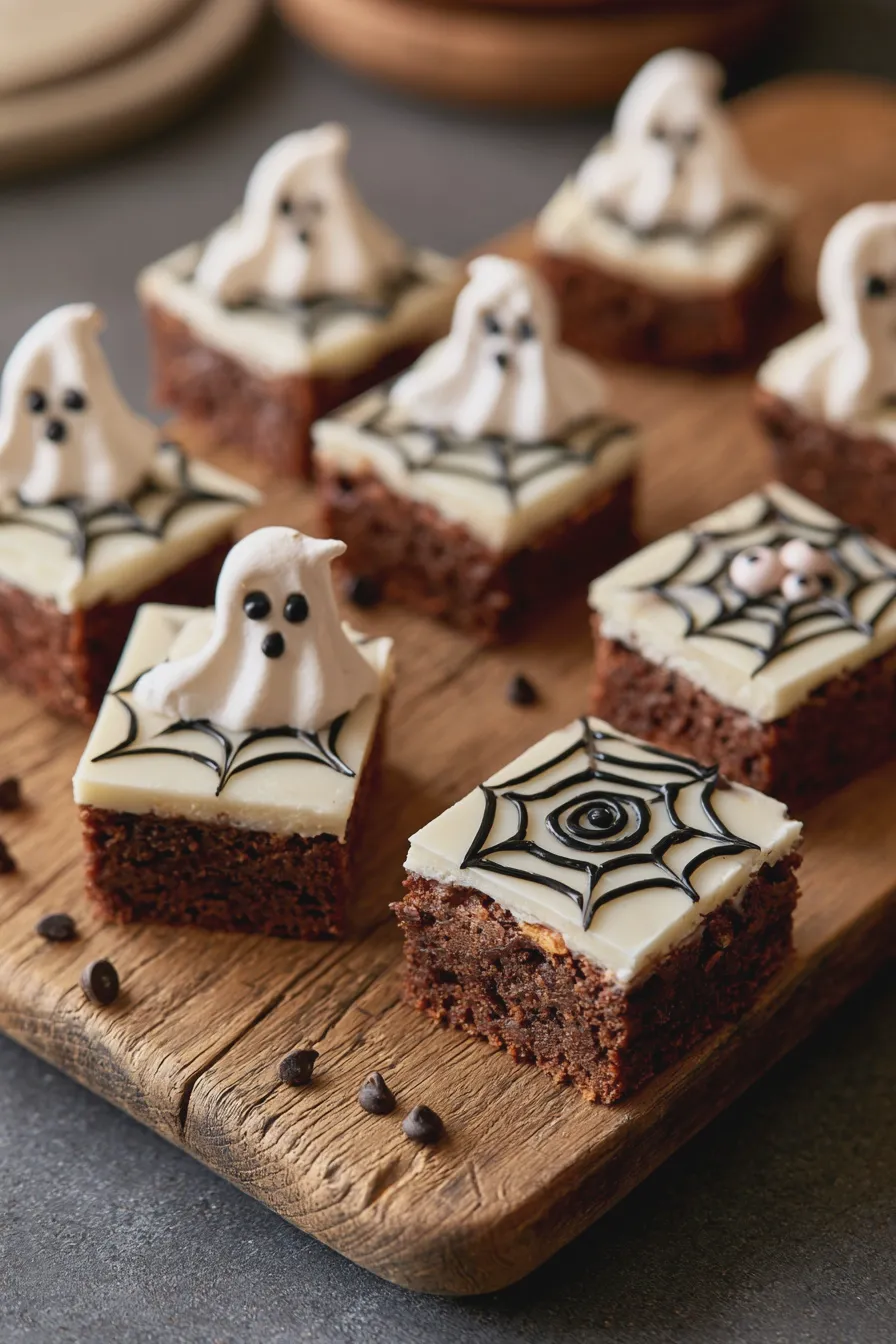
Whip up these delightful, spooky ghost meringues for a fun and easy addition to your kids Halloween treats collection. They’re light, airy, and have a melt-in-your-mouth texture that children adore.
Introduction
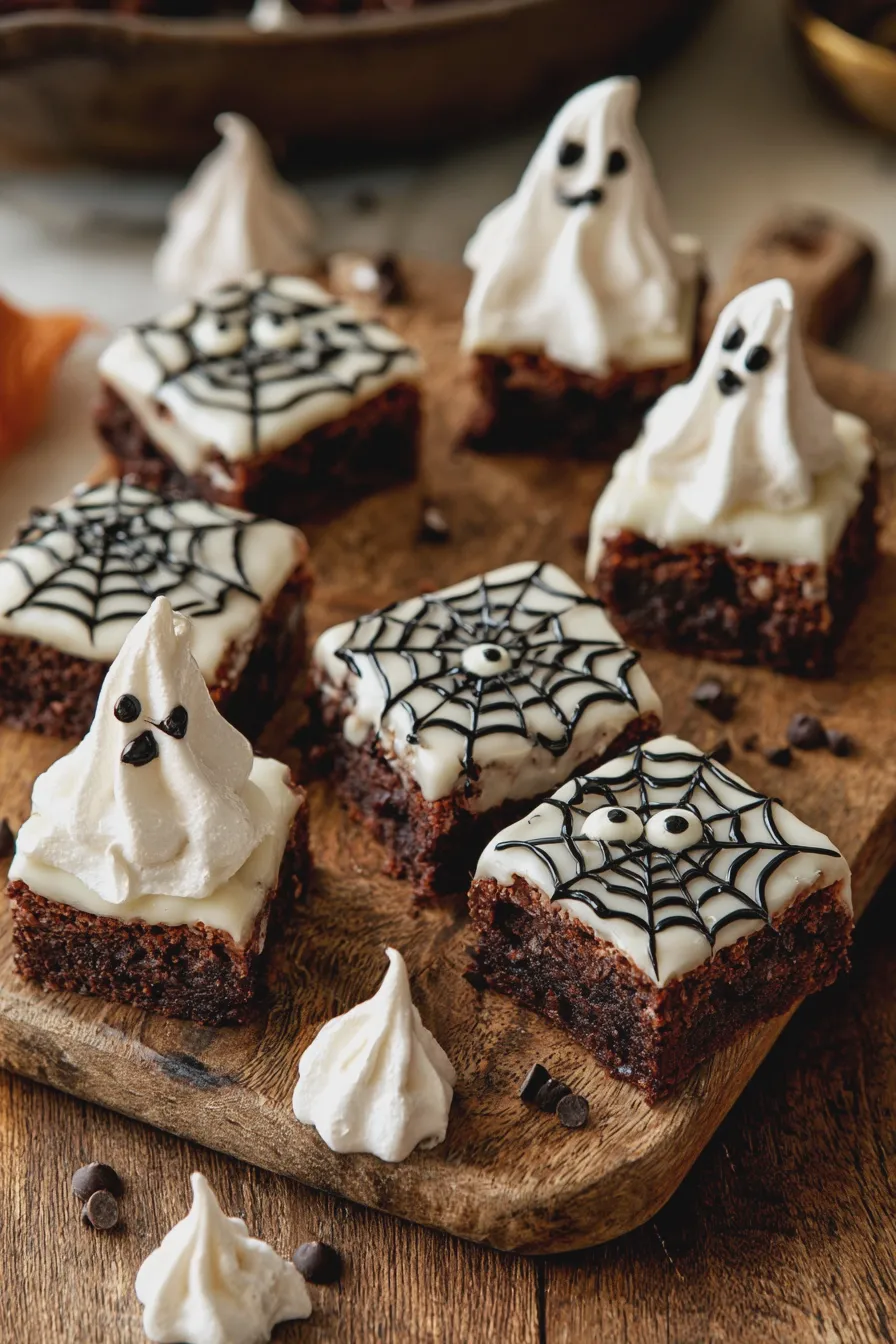
These adorable ghost meringues are the perfect addition to your Halloween celebrations, offering a sweet and slightly spooky delight that’s sure to impress. Their delicate crunch followed by a dissolving sweetness makes them an irresistible choice for any gathering.
If you’re searching for creative halloween snacks that are as fun to make as they are to eat, look no further than these charming specters. They are a wonderful way to get the whole family involved in some festive kids halloween treats baking, creating memories along with delicious desserts.
Ghost Meringue Cookies Recipe
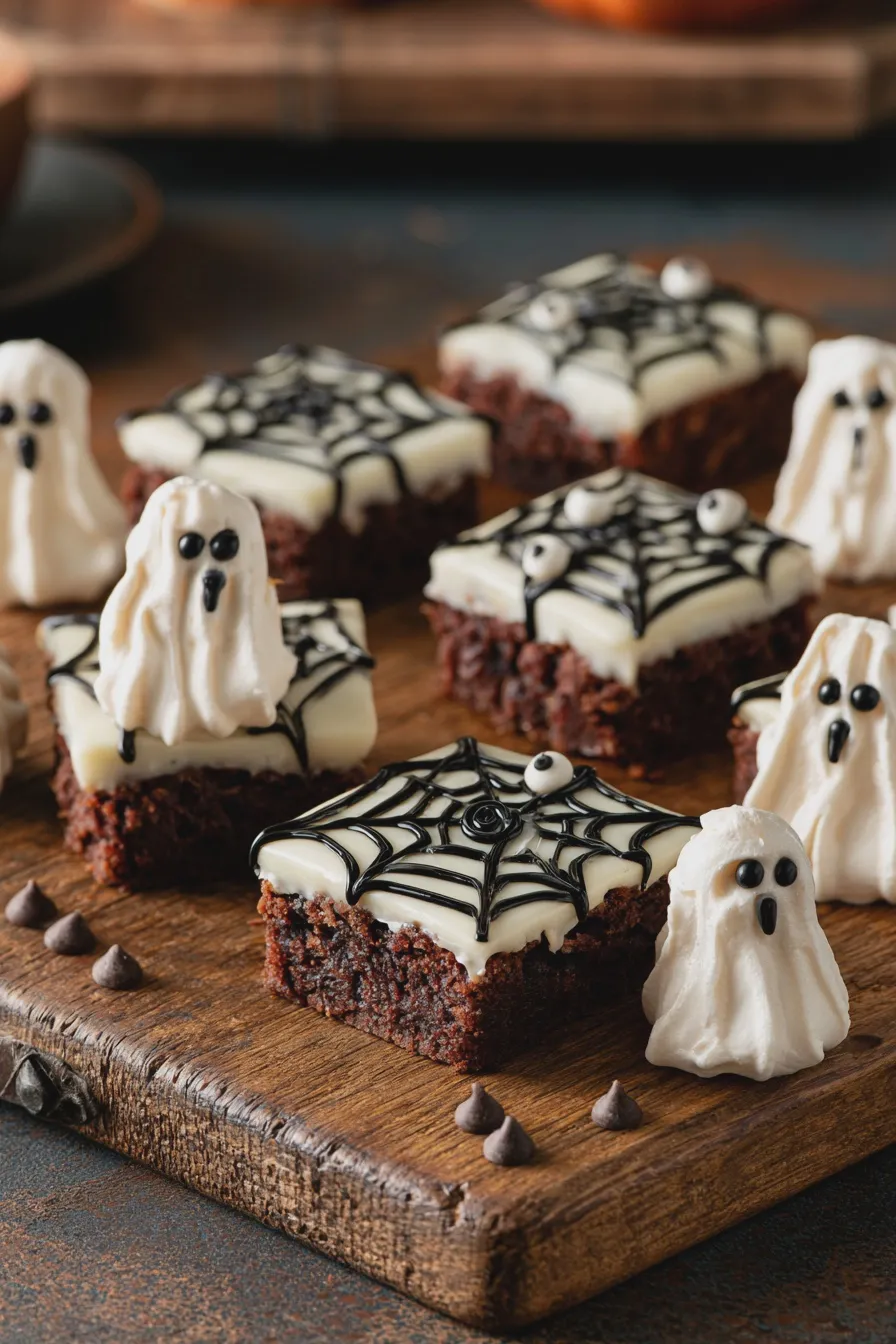
These ghost meringues are surprisingly simple to make, relying on just a few basic ingredients and a bit of patience. The key to perfect meringues is a clean bowl, properly whipped egg whites, and a low oven temperature to dry them out without browning.
Ingredients:
- 4 large egg whites, room temperature
- 1 cup granulated sugar
- 1 teaspoon vanilla extract
- Pinch of cream of tartar (optional, helps stabilize egg whites)
- Black edible marker or mini chocolate chips for eyes
Equipment:
- Electric mixer (stand mixer or hand mixer)
- Baking sheets
- Parchment paper or silicone baking mats
- Piping bag with a large round tip (optional, for shaping)
How to Make kids halloween treats
Prepare Your Baking Sheets
Line two baking sheets with parchment paper or silicone baking mats to prevent sticking and ensure easy cleanup. This step is crucial for achieving perfectly formed meringues that won’t adhere to the pan.
Whip the Egg Whites
In a clean, dry bowl (preferably glass or metal), beat the egg whites with an electric mixer on medium speed until foamy. If using, add the cream of tartar; this helps stabilize the egg whites, making them easier to whip into stiff peaks. Continue beating until soft peaks form, which means the peaks will curl over when the beaters are lifted.
Gradually Add Sugar
With the mixer still running on medium-high speed, begin adding the granulated sugar one tablespoon at a time. Allow each addition of sugar to dissolve slightly before adding the next, which can take about 30 seconds per tablespoon. This gradual addition is key to creating a stable meringue structure and a glossy finish.
Beat to Stiff, Glossy Peaks
Continue beating the mixture for an additional 5-7 minutes after all the sugar has been added. The meringue should be thick, stiff, and glossy, with no grittiness when you rub a little between your fingers. This means the sugar has fully dissolved. For those interested in the science behind sugar in baking, you can explore different types of sugar in baking to understand their impact on texture and sweetness.
Add Vanilla Extract
Gently fold in the vanilla extract using a spatula until just combined. Be careful not to overmix at this stage, as you want to maintain the airiness of the whipped egg whites.
Shape the Ghost Meringues
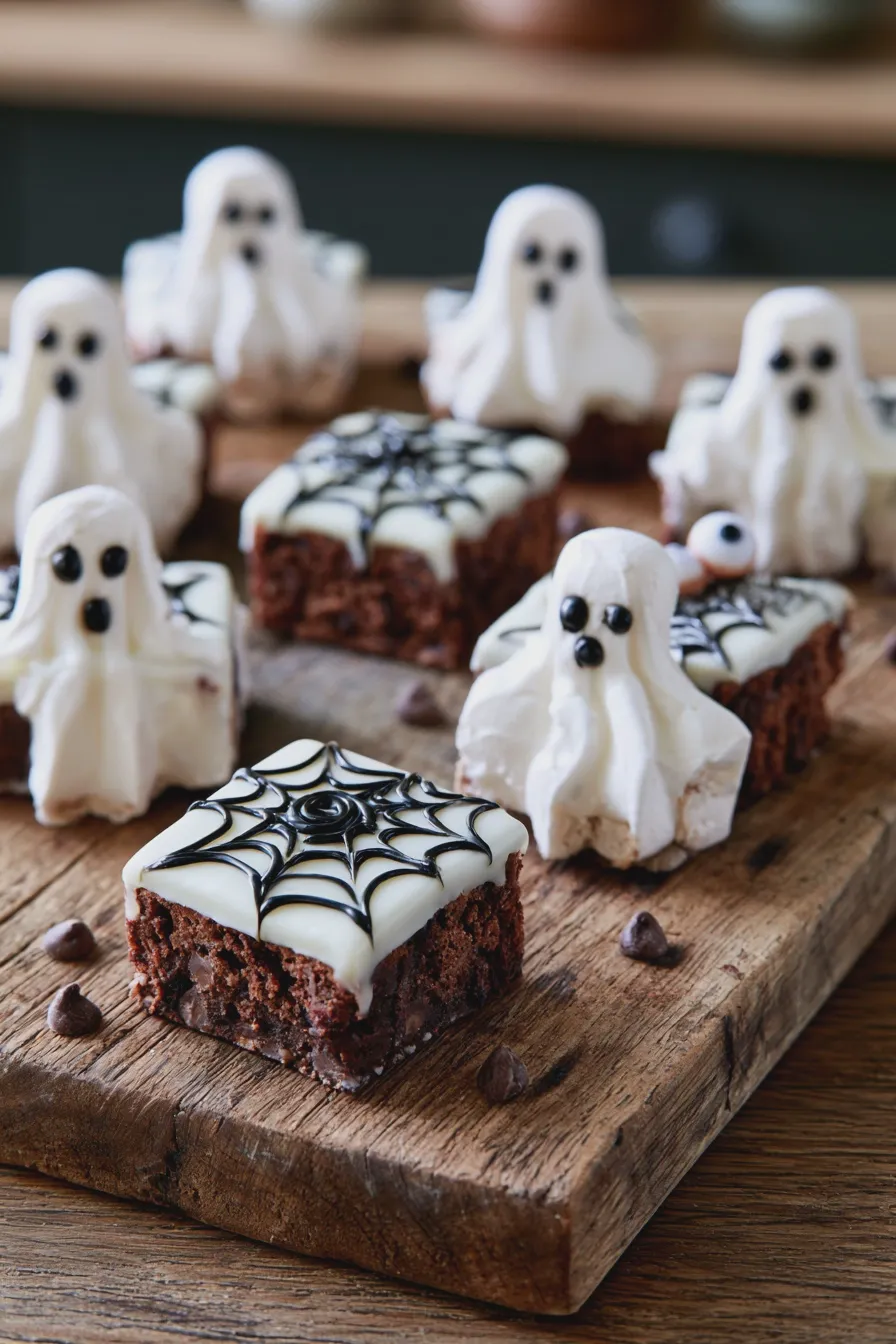
Spoon the meringue mixture into a piping bag fitted with a large round tip, or simply use two spoons. Pipe or dollop mounds onto the prepared baking sheets, creating a slightly wider base and a tapered top to resemble ghost shapes. If using spoons, scoop a generous dollop for the base and then a smaller one on top.
Create the Ghost Faces
Immediately after piping or spooning the meringue shapes, use a black edible marker to draw two small eyes and a mouth on each ghost. Alternatively, you can gently press two mini chocolate chips into the meringue for the eyes before baking. This is where the fun comes in for making halloween cookie ideas for kids truly come alive.
Bake the Meringues
Preheat your oven to 200°F (95°C). Bake the meringues for 1.5 to 2 hours, or until they are dry to the touch and lift easily off the parchment paper. The low temperature and long baking time help to dry out the meringues completely, resulting in a crisp texture.
Cool Completely
Turn off the oven and let the meringues cool completely inside the oven with the door slightly ajar. This gradual cooling prevents cracking and helps them maintain their shape. Once cooled, they are ready to be enjoyed as delightful no-bake halloween treats kids will love, despite the baking step.
Tips for Perfect Meringues
Avoid Humidity
Meringue is sensitive to moisture, so try to make these on a dry day. High humidity can prevent meringues from drying out properly, leaving them sticky and soft.
Clean Equipment is Key
Ensure your mixing bowl and beaters are absolutely free of any grease or egg yolk. Even a tiny amount of fat can prevent the egg whites from whipping into stiff peaks.
Don’t Rush the Baking
The low and slow baking method is essential for creating crisp, hollow meringues. Rushing the process by increasing the temperature will result in browned, chewy cookies, not the light, airy ghosts you’re aiming for.
Storage Instructions
Store cooled meringues in an airtight container at room temperature for up to 2 weeks. Avoid refrigerating them, as the moisture can make them soft and chewy. They are perfect for making ahead for any halloween party food for kids.
Creative Variations for Spooky Treats
Chocolate Drizzle Ghosts
Melt some dark or white chocolate and drizzle it over the cooled ghost meringues for an extra touch of indulgence. This adds a lovely visual contrast and a richer flavor, making them even more appealing as chocolate brownies recipe alternatives.
Candy Corn Colors
For a more colorful spooky treat, you could divide the meringue mixture and tint portions with orange and yellow food coloring before piping. This would create layered or swirled effects reminiscent of candy corn, perfect for pumpkin halloween treats.
Mini Monster Meringues
Instead of ghosts, use different piping tips and edible markers to create mini monster monster halloween treats. Think googly eyes, jagged edges, or even little horns made from piped meringue.
Print