
Get ready to carve out some fun in the kitchen! Halloween is the perfect time to unleash your inner artist and create treats that are as delightful to look at as they are to eat. Among the most charming and popular Halloween treats, jack o lantern cake pops stand out. These little bursts of festive flavor are surprisingly simple to make and are guaranteed to be a hit at any party. Whether you’re a seasoned baker or just looking for some fun halloween recipes, this guide will walk you through creating perfect pumpkin cake pops that will impress everyone.
What Are Jack O’ Lantern Cake Pops?
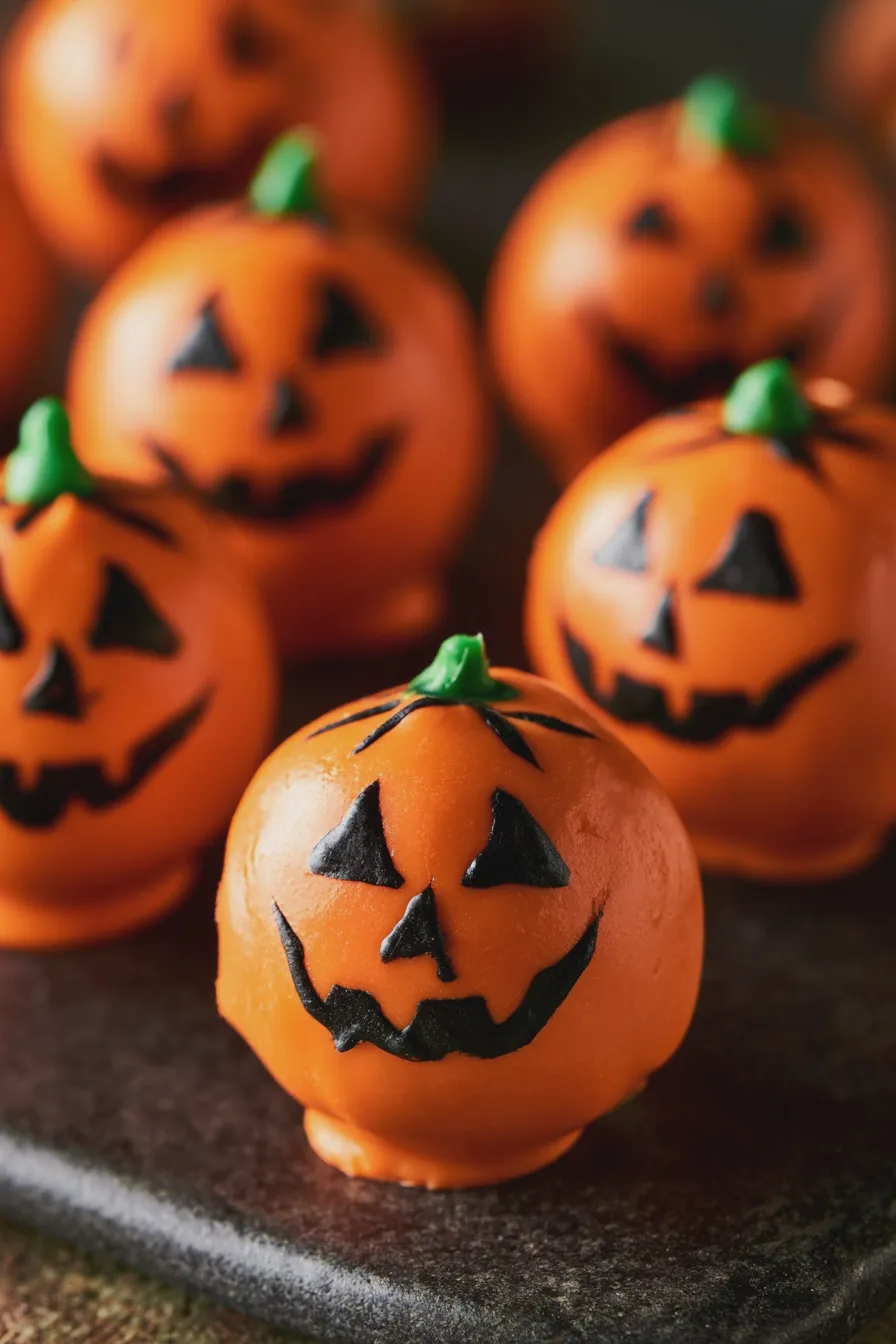
Jack o lantern cake pops are essentially bite-sized cake balls, typically made from crumbled cake mixed with frosting, rolled into spheres, and then dipped in candy melts or chocolate. The magic happens with the decoration: they’re transformed into adorable mini jack-o’-lanterns! This jack o lantern cake pop recipe is a fantastic way to use up leftover cake or whip up a batch of festive halloween dessert ideas. They’re perfect for school parties, neighborhood gatherings, or just a fun afternoon baking project.
The beauty of cake pops lies in their versatility. You can start with any cake flavor you love – vanilla, chocolate, or even a spiced pumpkin cake to lean into the fall theme. The key is the texture: a moist cake that crumbles easily and binds well with frosting. This process is similar to making Zucchini Cake With Cream Cheese Frosting, where the crumb is essential for the final texture.
Gather Your Ingredients and Tools
Before you begin, ensure you have everything you need. This will make the process smoother and more enjoyable. Here’s a helpful list:
- Baked Cake: About 1 box mix (or your favorite homemade recipe) baked and completely cooled. Yellow, white, or even a spice cake works wonderfully.
- Frosting: About 1/2 to 3/4 cup of buttercream or cream cheese frosting. You want just enough to bind the cake crumbs.
- Candy Melts: Orange candy melts for the pumpkin base, and black candy melts for decorating the faces.
- Sticks: Lollipop sticks or cake pop sticks.
- Optional: Green candy melts or green frosting for stems, sprinkles, or edible markers.
- Tools: Large bowl, baking sheets, parchment paper, microwave-safe bowls, spoon or spatula, piping bags or Ziploc bags for decorating.
Having all your ingredients prepped and ready to go is a crucial step in baking success. It prevents last-minute scrambling and helps ensure your halloween cake pops turn out perfectly.
Step-by-Step Guide to Making Jack O’ Lantern Cake Pops
Let’s get started on creating these festive treats!
1. Prepare Your Cake Base
Once your cake is completely cooled, the first step is to crumble it. Place the cake into a large bowl. Using your hands, break the cake into fine crumbs. You want to get rid of any large chunks. This fine texture is essential for creating smooth, cohesive cake balls.
Looking for more? Try this delicious How To Prepare A Cake Pan To Prevent Sticking next.
Next, add your frosting to the cake crumbs. Start with about 1/2 cup of frosting and mix it in with a spoon or your hands. Gradually add more frosting, a tablespoon at a time, until the crumbs hold together when squeezed. The mixture should be moist but not sticky. It should resemble the consistency of play-doh. Be careful not to add too much frosting, as this can make the cake pops too soft and difficult to roll.
Baking Explanation: The frosting acts as a binder, holding the cake crumbs together. Too little, and they’ll crumble apart. Too much, and they’ll be too soft to handle, potentially leading to a Why Did My Cake Sink In The Middle issue on a miniature scale – they won’t hold their shape.
2. Roll and Chill the Cake Balls
Now it’s time to shape your pumpkin cake pops. Take about a tablespoon of the cake mixture and roll it into a ball between your palms. Aim for consistent size for even dipping later. You can make them perfectly round or slightly flattened to resemble pumpkins. Place the rolled balls onto a baking sheet lined with parchment paper.
Once all the balls are rolled, place the baking sheet in the refrigerator for at least 15-20 minutes, or in the freezer for about 10-15 minutes. Chilling the cake balls firms them up, making them easier to dip and preventing them from falling off the sticks.
Tip: If you’re making a large batch, you can chill them in stages. Roll a few, chill them, then roll more while the first batch is chilling. This is especially helpful if your kitchen is warm.
3. Melt Your Candy Melts
While the cake balls are chilling, prepare your candy melts. Place the orange candy melts in a microwave-safe bowl. Microwave on 50% power for 30-second intervals, stirring well after each interval, until smooth and fully melted. Be patient; candy melts can scorch easily. Do the same for the black candy melts in a separate bowl.
Another favorite of ours is the Carrot Cake With Cream Cheese Frosting.
Baking Explanation: Candy melts are specifically designed for coating candies and treats. They melt smoothly and harden quickly, providing a clean, glossy finish. Unlike chocolate, they don’t require tempering, making them a favorite for cake pop decorating.
4. Dip the Cake Pops
Remove the chilled cake balls from the refrigerator. Dip the tip of a lollipop stick into the melted orange candy melts and insert it about halfway into a cake ball. This acts as “glue” to help the stick adhere. Let the stick set for a minute.
Now, carefully dip the cake ball into the melted orange candy melts. Swirl it gently to coat the entire ball. Allow any excess candy melt to drip back into the bowl. You can use a spoon to help coax the candy melt over any bare spots. Gently tap the stick on the side of the bowl to remove excess coating. Place the dipped cake pop back onto the parchment-lined baking sheet.
Mistake to Avoid: Dipping a cake ball that is still warm or not firm enough will cause it to break apart or slide off the stick. Always ensure your cake balls are well-chilled before dipping.
Tip: If the candy melts start to thicken too much, you can microwave them again for short intervals (10-15 seconds) on 50% power, stirring in between.
5. Decorate Your Jack O’ Lanterns
Once the orange candy melt coating has hardened (this happens quickly), it’s time to create the jack-o’-lantern faces. Transfer the melted black candy melts into a piping bag with a fine tip, or a Ziploc bag with a tiny corner snipped off.
Don’t miss out on our guide to How To Make Ice Cream At Home.
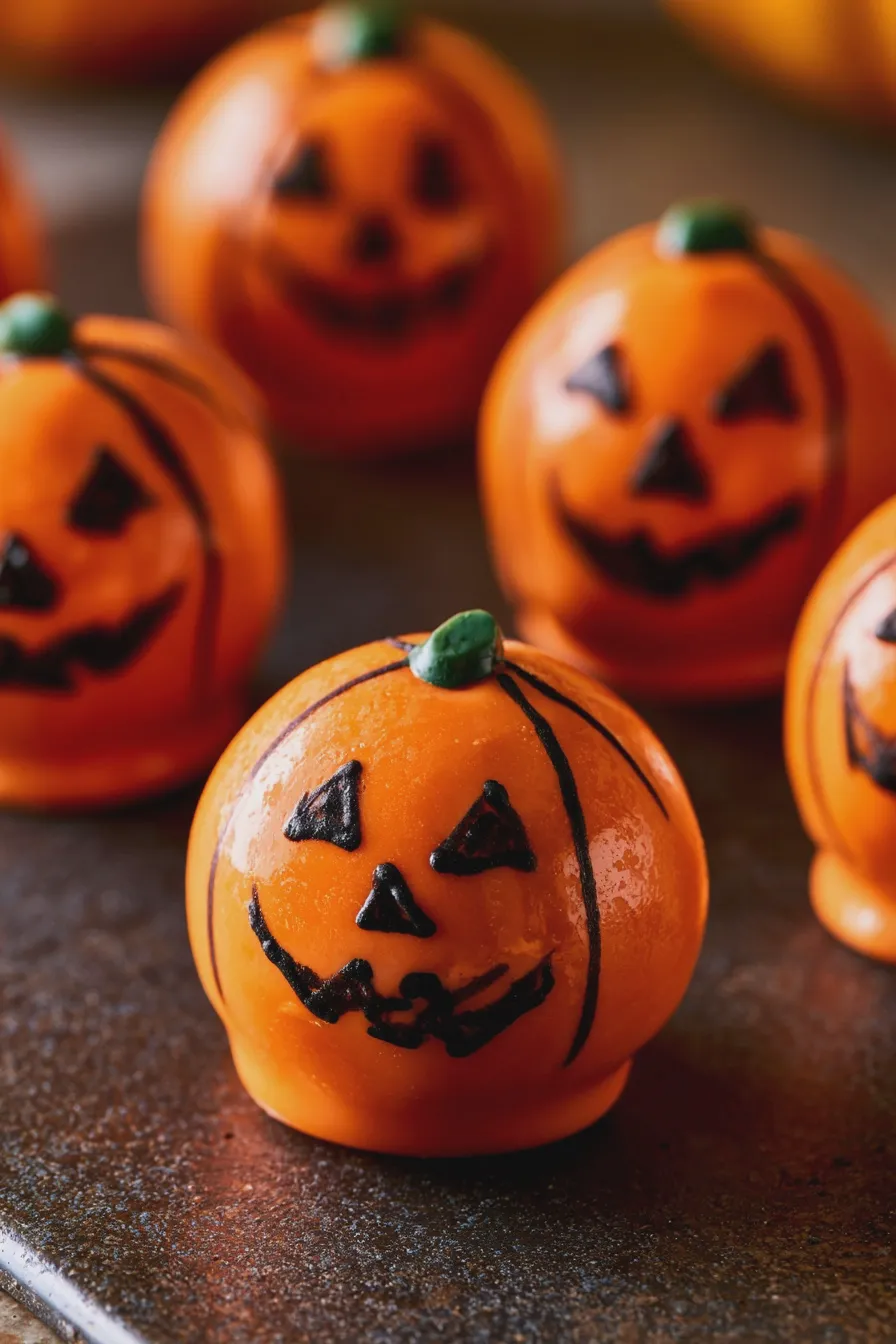
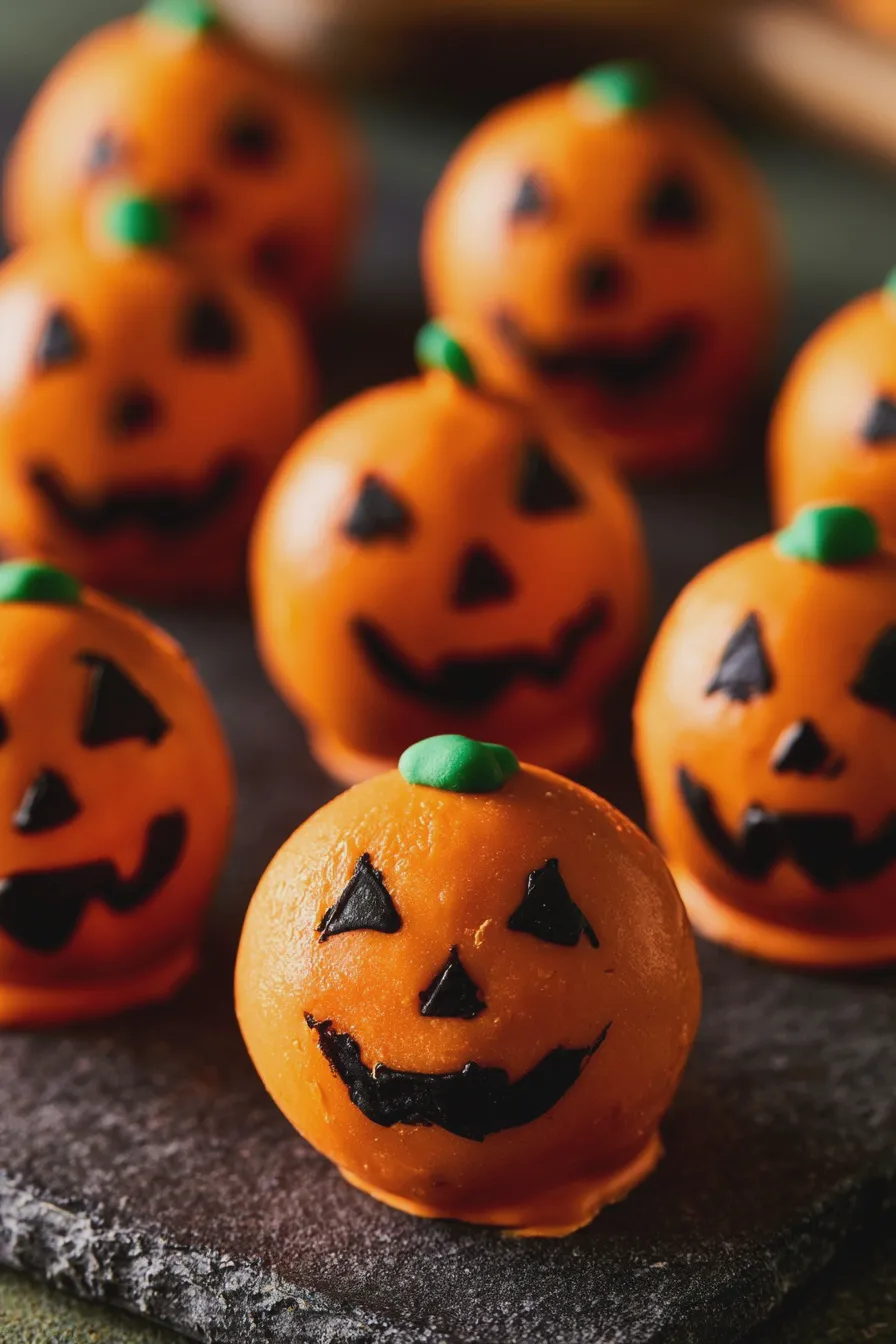
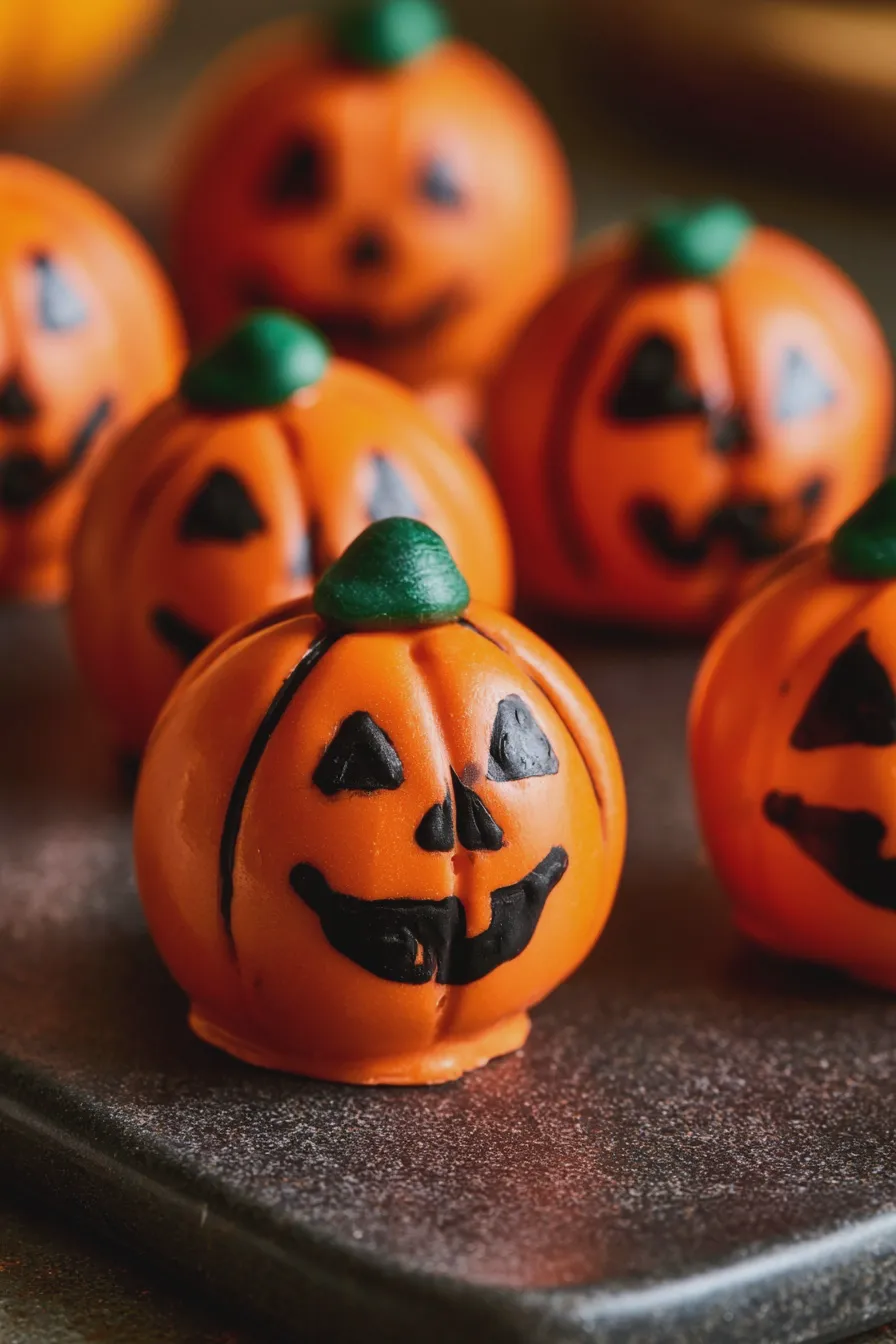
Carefully pipe triangle eyes, a triangle nose, and a jagged mouth onto each orange cake pop. Get creative with your designs! You can make them spooky, silly, or classic.
Creative Halloween Treats: For an extra touch, you can add a small green stem using green candy melts or green frosting. You could also add a swirl of green candy melt around the top of the stick.
Examples: For a classic jack-o’-lantern, use two small triangles for eyes, a smaller triangle for the nose, and a jagged zig-zag for the mouth. For a variation, you could use round black candies for eyes or draw on a smiling mouth.
6. Let Them Set
Allow the decorated cake pops to set completely at room temperature. Once hardened, they are ready to be displayed and enjoyed. If you plan to transport them, it’s best to store them upright in a cake pop stand or a jar.
Tips for Perfect Pumpkin Cake Pops
Here are some extra tips to elevate your easy halloween desserts:
- Cake Choice: A denser cake like a pound cake or a spice cake holds up better than a very light and airy cake.
- Frosting Amount: Start with less frosting than you think you need. You can always add more, but you can’t take it away.
- Even Dipping: To get a smooth coating, ensure your candy melts are the right consistency – not too thick, not too thin.
- Drying Time: Don’t rush the drying process. Letting the candy melts set properly ensures a smooth finish and prevents smudges.
- Storage: Store cake pops in an airtight container at room temperature. Avoid refrigerating them, as this can cause condensation and make the candy coating appear dull.
Common Mistakes and How to Fix Them
Even experienced bakers encounter issues. Here are some common mistakes when making no bake cake pops and how to troubleshoot:
Don’t miss out on our guide to How To Fold Ingredients Without Deflating.
- Cake Balls Falling Apart: This usually means not enough frosting binder or the cake wasn’t crumbled finely enough. Try re-crumbling and adding a tiny bit more frosting.
- Cake Pops Sliding Off Sticks: Ensure the cake balls were well-chilled before dipping and that you used the candy melt “glue” on the stick.
- Cracked Candy Coating: This can happen if the cake ball is too cold when dipped, or if the candy melts get too hot. Let the cake ball warm slightly or thin the candy melts.
- Uneven Coating: If your candy melts are too thick, they won’t coat smoothly. Thin them slightly with a bit of paramount crystals (a type of shortening specifically for candy melts) or by microwaving gently.
Creative Variations for Halloween Cake Pops
While jack-o’-lanterns are classic, don’t be afraid to experiment with other spooky cake pops! Consider these ideas for your next batch of diy cake pops:
- Ghost Cake Pops: Dip in white candy melts and draw on ghost faces with black edible marker or melted black candy melts.
- Witch Hat Cake Pops: Use chocolate cake, dip in black candy melts, and add a green candy melt circle for the hat brim.
- Monster Cake Pops: Dip in various bright colors and add edible googly eyes.
- Pumpkin Spice Cake Pops: Use a pumpkin spice cake mix and add a pinch of pumpkin pie spice to your frosting.
- Autumn Cake Pops: Decorate with fall colors, leaf sprinkles, or swirl orange and brown candy melts together.
These creative ideas will make your halloween party treats truly memorable. They are perfect for adding a personal touch to any fall desserts spread.
Print
jack o lantern cake pops recipe
- Total Time: PT1H10M
- Yield: 30–36 cake pops 1x
- Diet: Vegetarian
Description
These adorable Jack o’ Lantern Cake Pops are the perfect festive treat for Halloween! Easy to make and incredibly fun, they’re a guaranteed hit at any spooky celebration.
Ingredients
- 1 (15.25 ounce) box yellow cake mix
- Ingredients for cake mix (eggs, oil, water – as per box instructions)
- 1 (16 ounce) can vanilla frosting
- 12 ounces white candy melts
- Orange food coloring
- Black edible marker
- Vegetable oil (for thinning candy melts)
- Optional: Green candy melts for stems
Instructions
- Prepare and bake the cake mix according to package directions. Let the cake cool completely.
- Crumble the cooled cake into a large bowl. Add about 3/4 of the vanilla frosting and mix until well combined and the mixture holds its shape when squeezed. Add more frosting if needed, but don’t make it too sticky.
- Roll the cake mixture into small balls (about 1 inch in diameter). Place them on a baking sheet lined with parchment paper and chill in the refrigerator for at least 30 minutes until firm.
- Melt the white candy melts according to package directions. You may need to add a little vegetable oil to thin them for easier dipping.
- Divide the melted candy melts into two bowls. Tint one bowl with orange food coloring until you achieve a vibrant Jack o’ Lantern color. Leave the other bowl white for potential details or stems.
- Melt the orange candy melts again if they have hardened. Dip each chilled cake ball into the orange candy melts, ensuring it’s fully coated. Tap off any excess.
- Place the coated cake pop back on the parchment-lined baking sheet. If using lollipop sticks, insert them into the cake pops before the coating hardens completely.
- Allow the orange coating to set completely.
- Once the orange coating is firm, use the black edible marker to draw Jack o’ Lantern faces (eyes, nose, mouth) on each cake pop.
- For stems (optional): Melt the green candy melts and dip the tip of a toothpick or a small amount of the melted candy. Carefully attach it to the top of the cake pop.
- Let the cake pops set completely before serving.
Notes
- Ensure the cake is completely cooled before crumbling.
- Chilling the cake balls is crucial for them to hold their shape when dipped.
- If the candy melts become too thick, reheat them gently or add a tiny bit more vegetable oil.
- Be creative with your Jack o’ Lantern faces!
- Store cake pops in an airtight container at room temperature.
- Prep Time: PT45M
- Cook Time: PT25M
- Category: Halloween Desserts
- Method: Baking and Dipping
- Cuisine: American
Nutrition
- Serving Size: 1 cake pop
- Calories: 180
- Sugar: 20g
- Sodium: 70mg
- Fat: 10g
- Saturated Fat: 6g
- Carbohydrates: 25g
- Protein: 2g







