
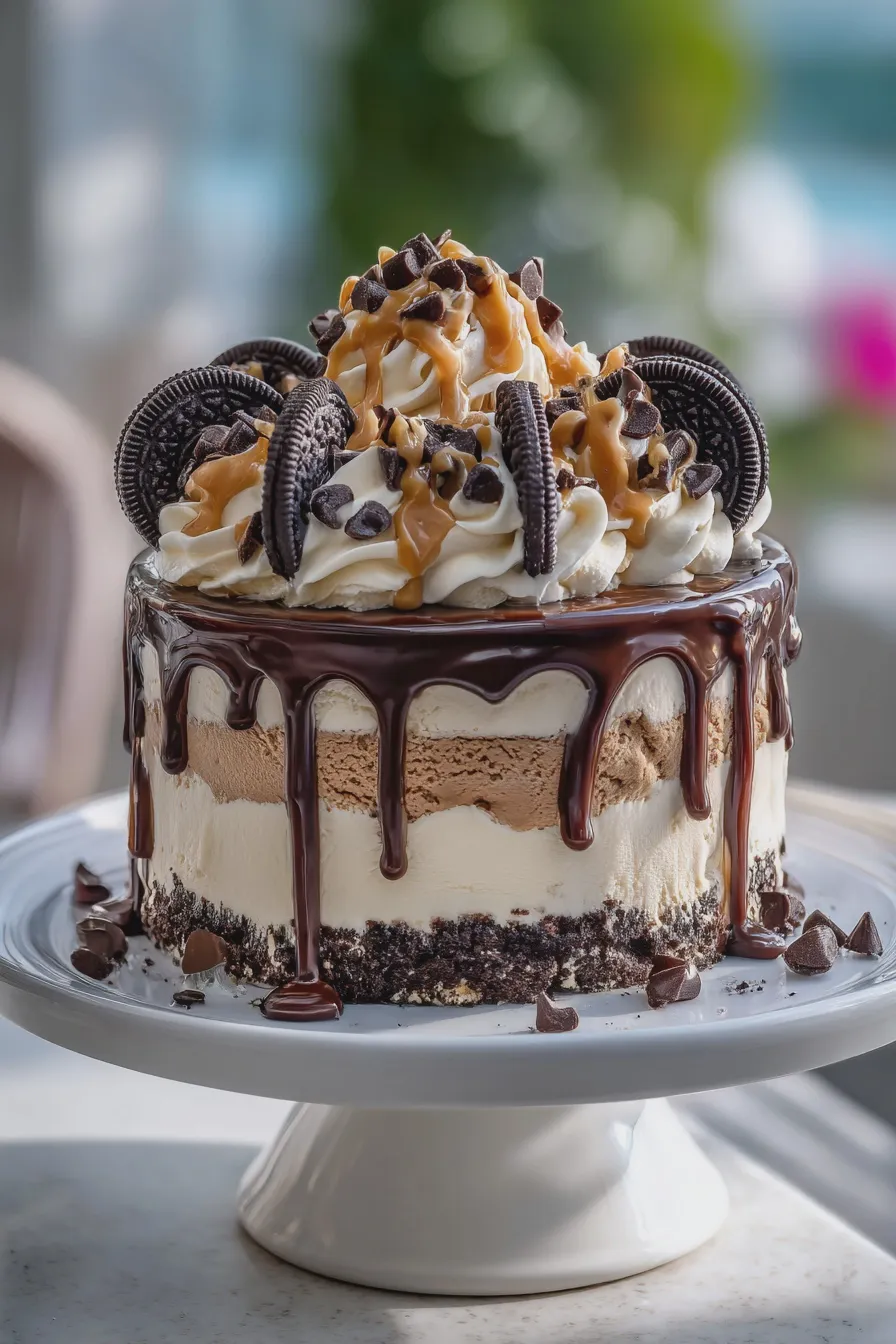
This classic, layered ice cream cake recipe delivers incredible flavor and texture using simple steps, making it the ultimate crowd-pleasing frozen dessert cake for any celebration. It perfectly balances a crunchy base, creamy layers, and rich topping for a truly satisfying homemade ice cream cake experience.
When the weather heats up or you need a spectacular centerpiece for a birthday, nothing beats a homemade ice cream cake. This version focuses on deep chocolate and creamy vanilla layers nestled in a buttery cookie crust, ensuring a memorable experience that rivals any store-bought version, and it’s easier than you think to master how to make ice cream cake.
Essential Ingredients for Your Ice Cream Cake Recipe
Gathering your ice cream cake ingredients is the first step toward creating this wonderful frozen dessert cake. For the best results with this layered ice cream cake, make sure your ice cream has softened just slightly—think of it as being spoonable but still quite firm—before you begin the assembly process. If you are looking for other great no-bake ideas, you might enjoy checking out no-bake dessert inspirations for alternative inspiration.
For the Cookie Crust
The foundation of a great ice cream cake with cookie crust is crucial for structure and flavor contrast. We are using Oreos here, but feel free to substitute graham crackers or even shortbread cookies if you prefer a different texture for your simple ice cream cake.
- 1 ½ cups finely crushed chocolate sandwich cookies (about 25 cookies)
- 6 tablespoons unsalted butter, melted
- 2 tablespoons granulated sugar (optional, for extra crispness)
For the Ice Cream Layers
The beauty of this recipe is that you can customize the flavors, but this classic combination of chocolate ice cream cake and vanilla ice cream cake is always a winner. Ensure you have high-quality, full-fat ice cream for the creamiest texture when frozen.
- 1 ½ quarts high-quality chocolate ice cream, slightly softened
- 1 ½ quarts premium vanilla ice cream, slightly softened
- ½ cup chocolate fudge sauce, warmed slightly for drizzling
For the Topping and Decoration
This ice cream cake frosting recipe uses stabilized whipped topping that holds its shape beautifully, even when sliced. If you are feeling adventurous, you could try making homemade whipped cream, but this stabilized version guarantees a professional look for your birthday ice cream cake.
- 2 cups heavy whipping cream
- ½ cup powdered sugar, sifted
- 1 teaspoon vanilla extract
- 1 teaspoon unflavored gelatin powder
- 2 tablespoons cold water
- Optional: Whipped topping, chocolate shavings, or maraschino cherries for garnish
Preparing Your Pan and Cookie Crust
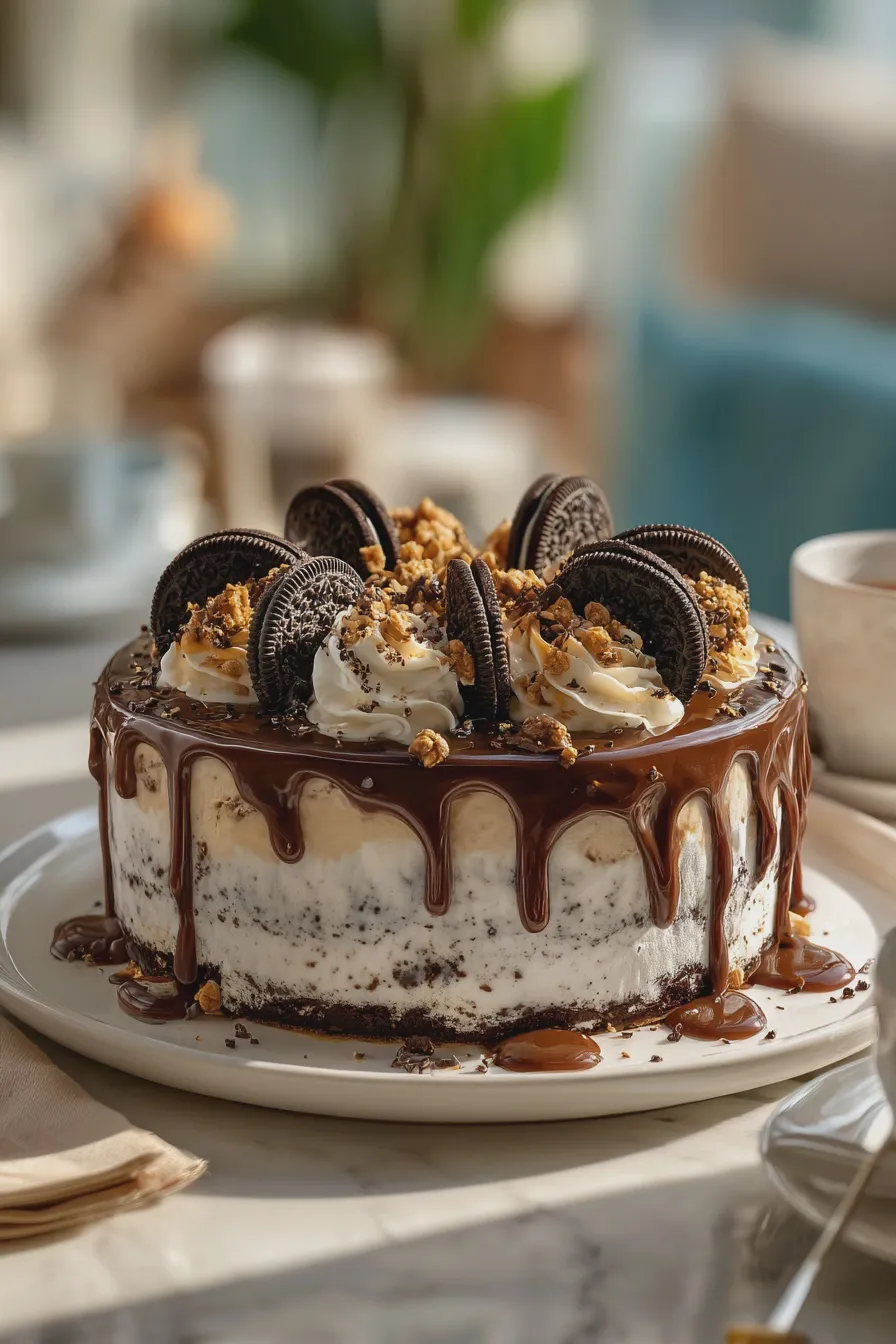
Proper preparation ensures easy removal of your finished frozen dessert cake and a perfectly formed base. Using a springform pan makes releasing this delicate ice cream layer cake significantly easier than a standard cake pan.
Lining the Springform Pan
To ensure a clean release, line the bottom and sides of a 9-inch springform pan with plastic wrap, leaving an overhang for lifting later. This overhang acts as a sling to gently lift the entire ice cream cake out once it is fully frozen solid.
Making and Pressing the Crust
Combine your crushed cookies, melted butter, and optional sugar until the mixture resembles wet sand. Press this mixture firmly and evenly into the bottom of your prepared pan, using the bottom of a measuring cup to compact it well for a sturdy ice cream cake assembly.
How to Make ice cream cake recipe: Layering and Freezing
This section details the crucial steps for building the structure of your homemade ice cream cake, focusing on achieving distinct, clean layers. Remember that patience during the freezing stages is key to preventing the layers from mixing during the ice cream cake assembly.
First Ice Cream Layer Application
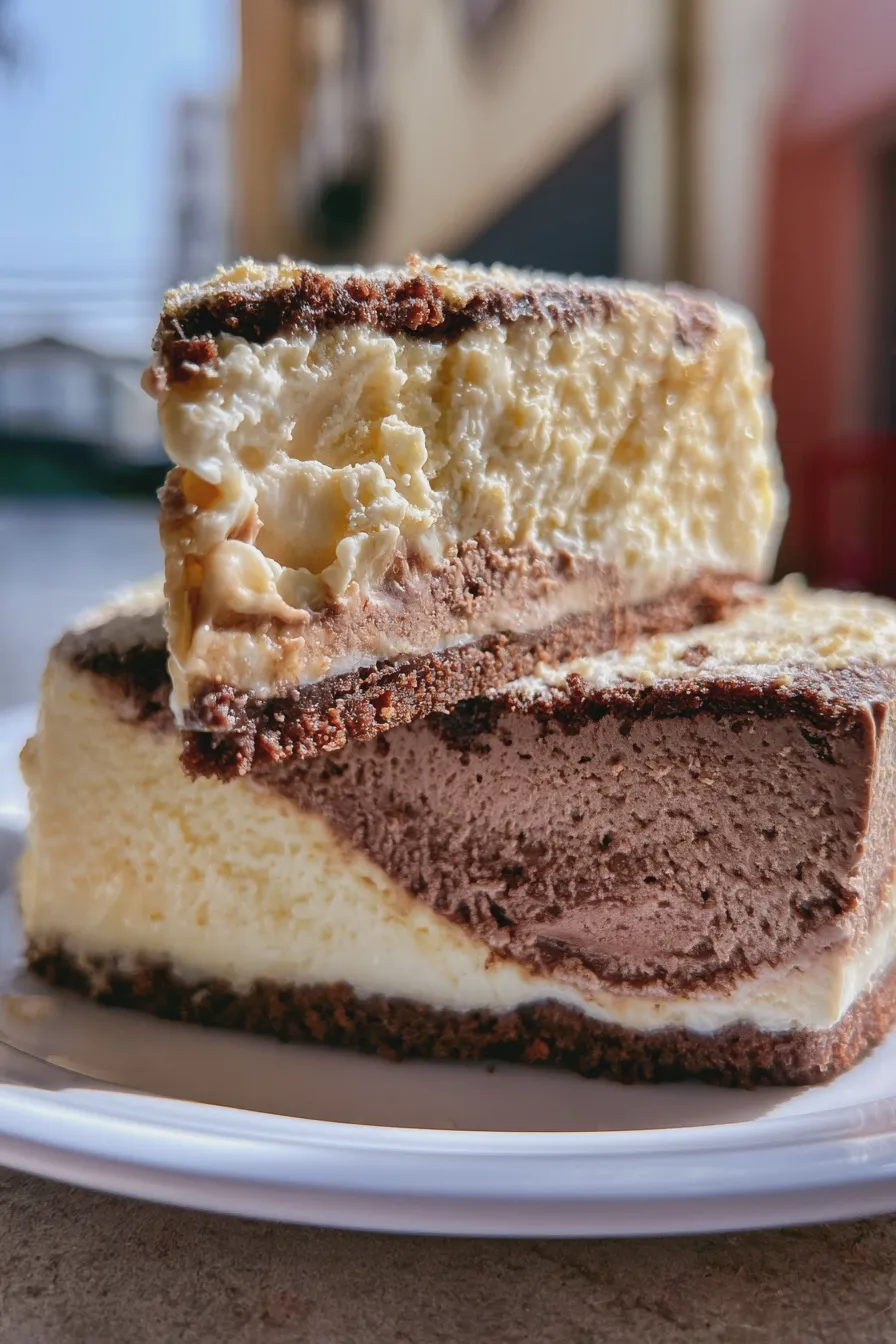
Spread the slightly softened chocolate ice cream evenly over the chilled cookie crust, smoothing the top surface carefully. Place the pan back into the freezer and allow this layer to firm up completely for at least two hours before proceeding.
Adding the Fudge Drizzle and Second Layer
Once the chocolate layer is rock hard, drizzle half of your warmed chocolate fudge sauce over the surface and use a knife to gently swirl it for a marbled effect, which adds visual interest to your layered ice cream cake. Next, gently spoon the softened vanilla ice cream on top of the fudge layer, spreading it carefully so as not to disturb the chocolate layer beneath; freeze this layer for another two hours until firm.
Final Freeze Before Frosting
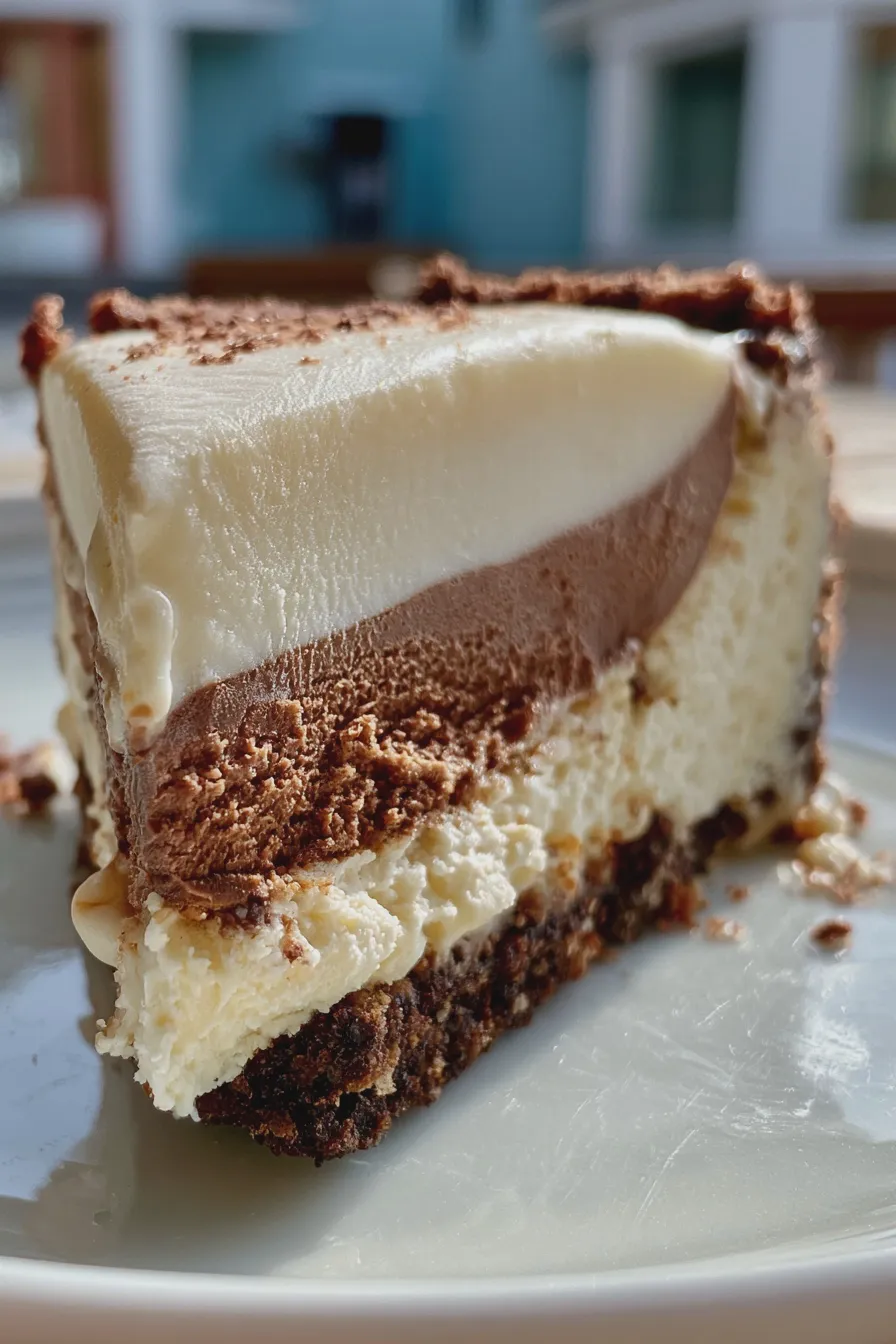
After the vanilla layer is firm, apply the remaining fudge sauce in a thin layer over the top surface, which will act as a delicious barrier before the final frosting goes on. Return the entire structure to the freezer for at least four hours, or preferably overnight, to ensure it is solid enough to handle frosting.
Creating the Perfect Ice Cream Cake Frosting Recipe
While this recipe works wonderfully for an easy ice cream cake ideas scenario, preparing the stabilizer for the whipped topping ensures your decoration doesn’t weep or melt too quickly upon slicing. If you are looking for other decadent, easy desserts, you might enjoy fudgy spring brownies for a different kind of treat.
Preparing the Gelatin Stabilizer
In a small, microwave-safe bowl, sprinkle the gelatin powder over the cold water and let it sit for five minutes to bloom. Microwave this mixture for about 10 to 15 seconds until the gelatin is completely dissolved and clear, then let it cool slightly so it doesn’t melt the cream.
Whipping the Topping
Using a stand mixer or hand mixer, whip the heavy cream, powdered sugar, and vanilla extract until soft peaks form, which should take about three to five minutes. Slowly drizzle in the cooled, dissolved gelatin while the mixer is running on medium speed, continuing to whip until stiff peaks form for a stable ice cream cake frosting recipe.
Assembling and Decorating Your Masterpiece
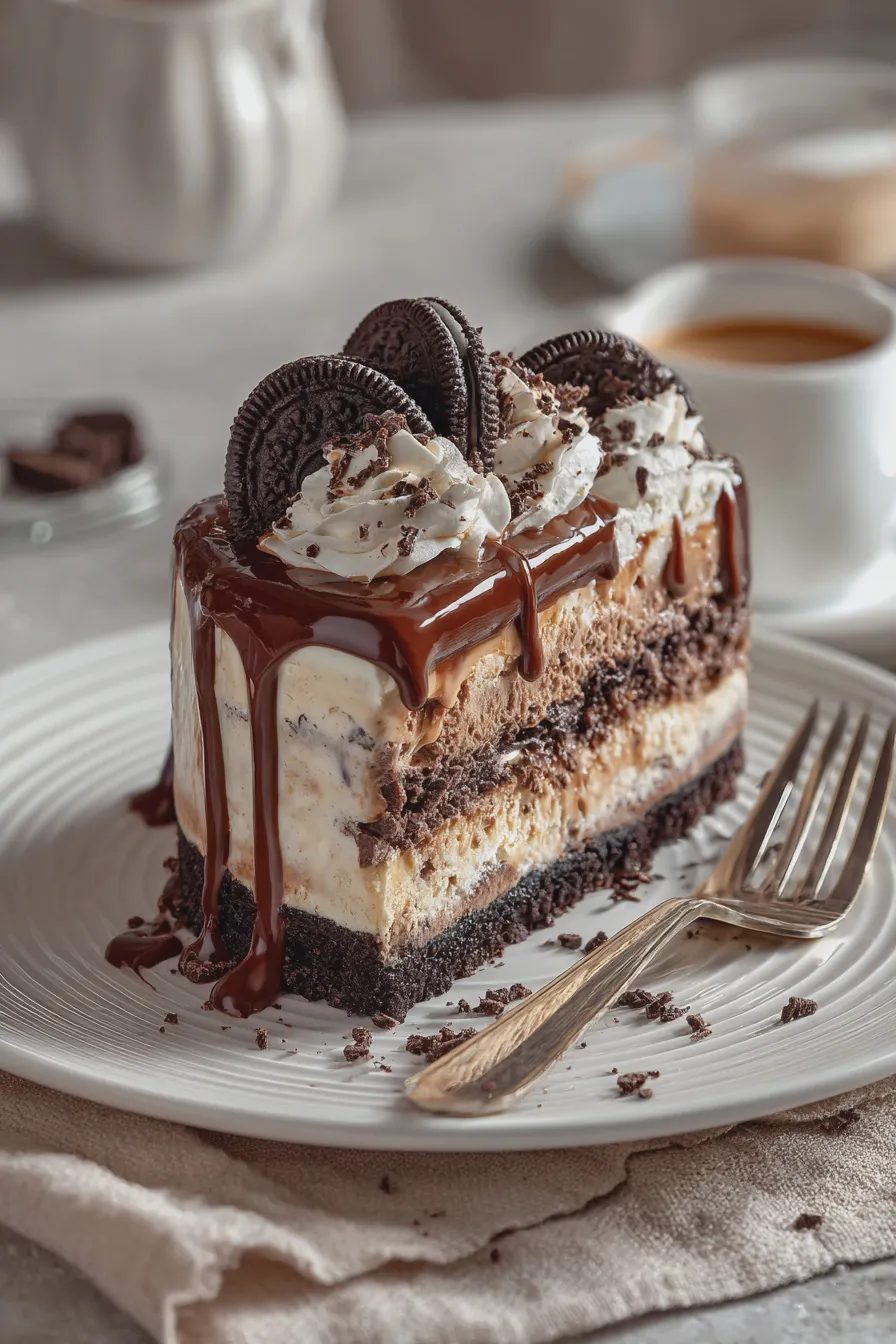
This final stage transforms your frozen layers into the finished birthday ice cream cake, ready to impress your guests. Remember that the colder your cake is, the easier it will be to achieve clean edges when applying the final topping.
Frosting the Frozen Dessert Cake
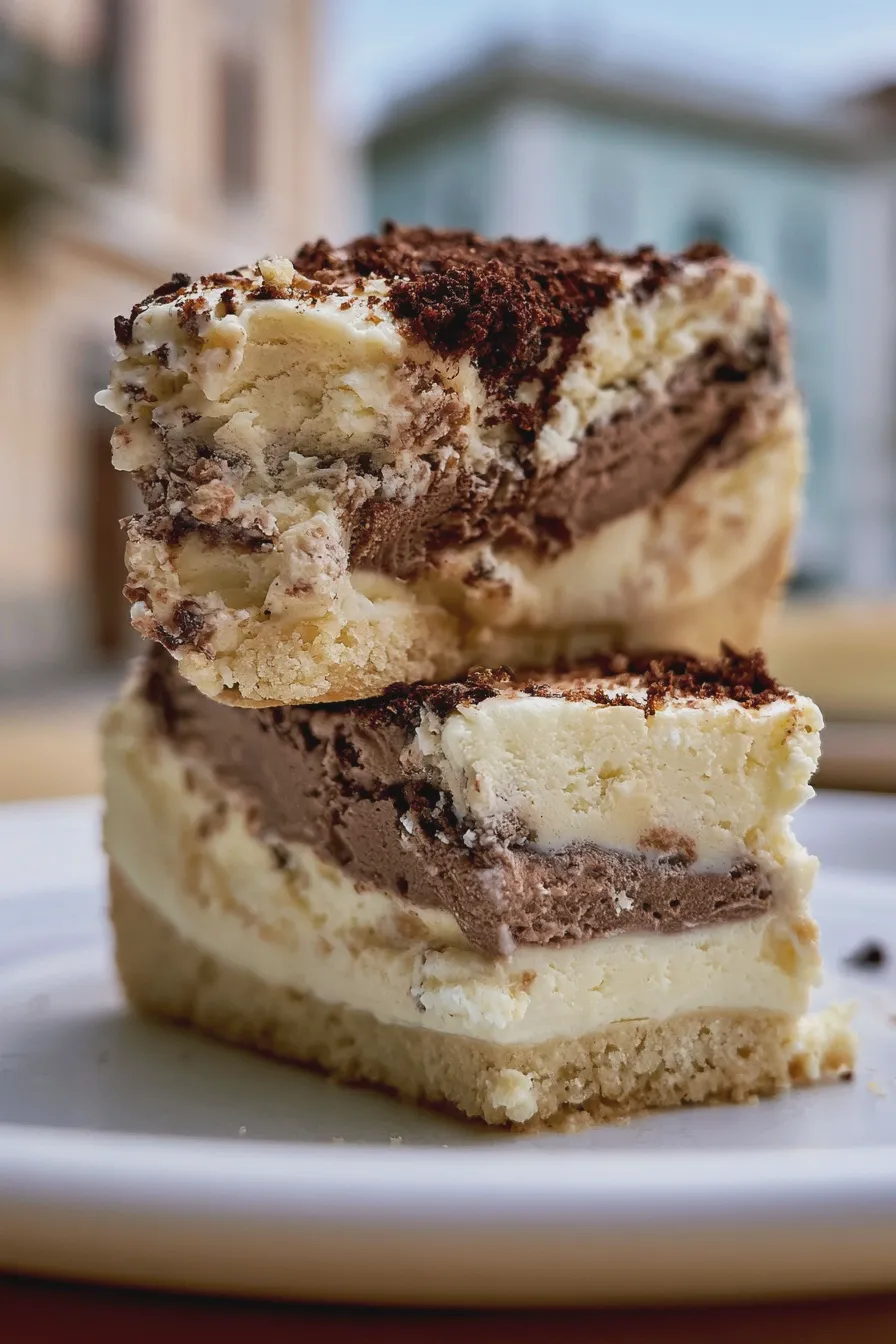
Remove the deeply frozen cake from the springform pan using the plastic wrap sling and place it on your final serving platter. Use an offset spatula to quickly cover the top and sides of the cake with the stabilized whipped topping, working swiftly because the cake will start to warm up.
Final Touches and Chilling
Decorate the edges with chocolate shavings or piped rosettes, perhaps adding a few chopped nuts around the base for added crunch, creating a lovely visual contrast to the smooth topping. Return the finished best homemade ice cream cake to the freezer for at least one final hour to ensure the frosting sets firmly before serving.
Tips for the Best Ice Cream Cake Experience
Achieving that perfect slice every time involves a few simple tricks, especially when dealing with a complex frozen dessert cake. For more great baking tips, explore resources like baking technique articles online.
Achieving Clean Slices
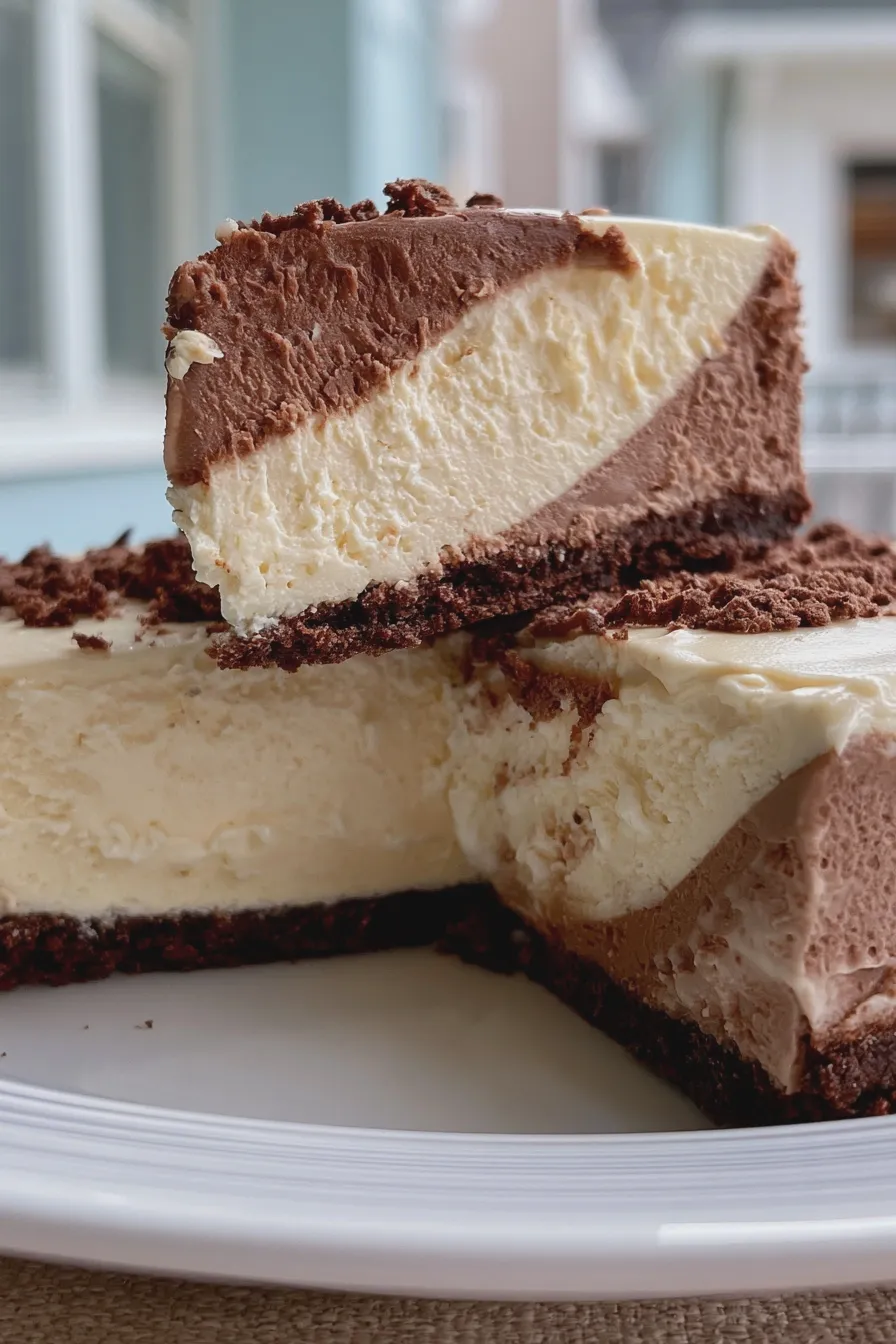
The secret to clean slices in any ice cream layer cake is a hot knife; run a large, sharp knife under hot water, dry it quickly, and then slice. Wipe the knife clean and reheat it between every cut for professional-looking results.
Make-Ahead and Storage
This is an excellent make-ahead dessert, as it actually improves after a full overnight freeze, making it ideal for busy hosts planning a birthday ice cream cake. Store leftovers tightly wrapped in plastic wrap in the freezer for up to two weeks; keep an eye on how long it sits out before serving to maintain texture.
If you love making layered desserts, you might also appreciate how simple it is to create mini apple pies in a muffin tin for individual servings, though they are served warm!
Print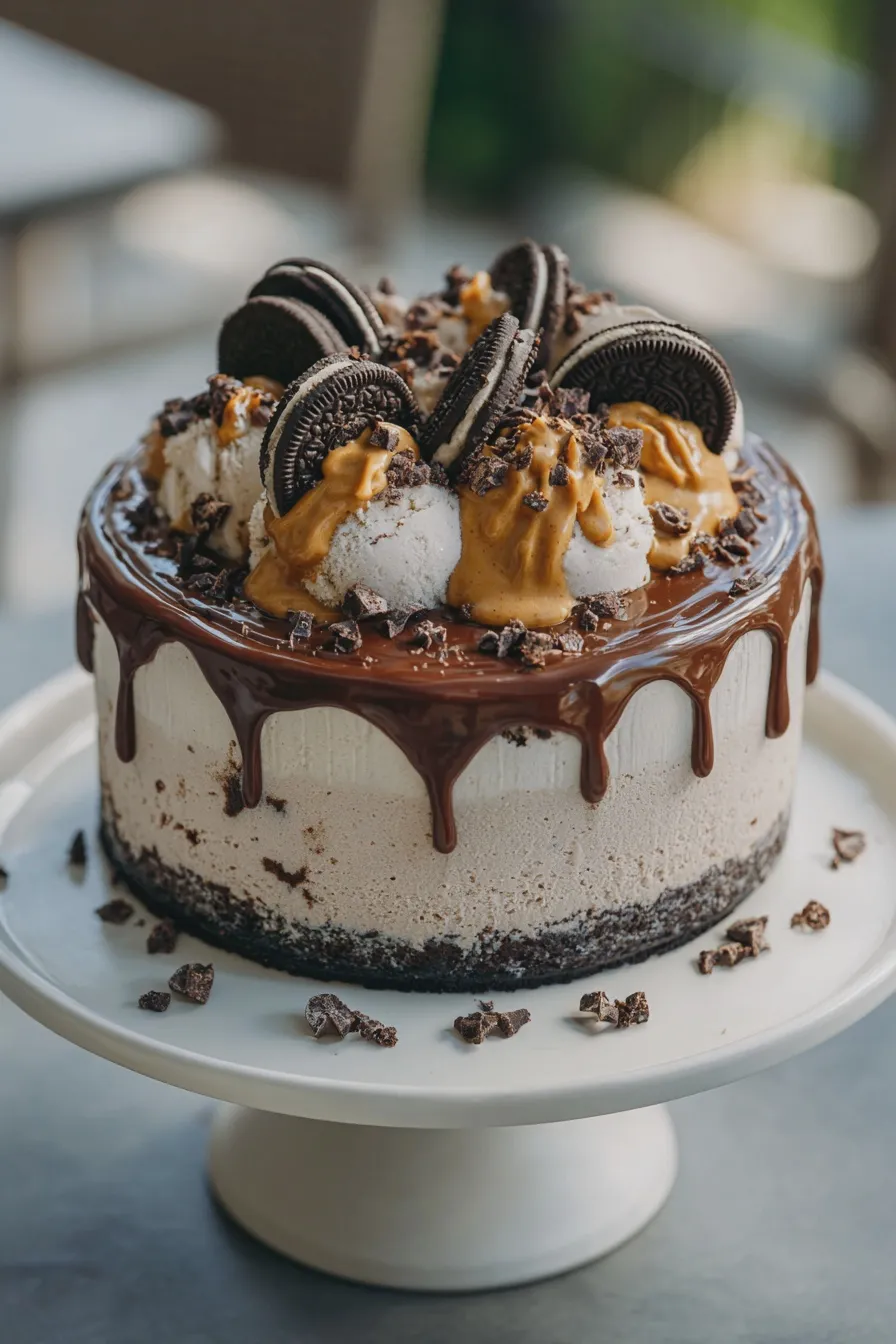
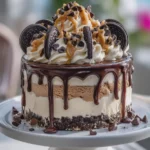
ice cream cake recipe Easy Homemade
- Total Time: PT4H30M
- Yield: 10 servings 1x
- Diet: Vegetarian
Description
Indulge in this decadent, easy-to-make no-bake ice cream cake layered with crunchy cookie crust, creamy peanut butter ice cream, rich fudge sauce, and topped with whipped cream and chocolate shavings. Perfect for any celebration!
Ingredients
- 1 ½ cups chocolate sandwich cookies (like Oreos), finely crushed
- 6 tablespoons unsalted butter, melted
- 1 ½ quarts chocolate ice cream, softened slightly
- 1 ½ quarts peanut butter ice cream, softened slightly
- 1 cup creamy peanut butter
- 1 (12-ounce) jar hot fudge sauce, slightly warmed
- 2 cups heavy whipping cream, cold
- ½ cup powdered sugar
- 1 teaspoon vanilla extract
- ¼ cup mini chocolate chips or shaved chocolate, for garnish
Instructions
- Prepare the Pan: Line a 9-inch springform pan with plastic wrap, leaving an overhang on the sides for easy removal later.
- Make the Crust: In a medium bowl, combine the crushed chocolate cookies and melted butter until evenly moistened. Press the mixture firmly and evenly into the bottom of the prepared springform pan. Freeze for at least 15 minutes.
- Layer the First Ice Cream: Remove the chocolate ice cream from the freezer and let it sit for 5-10 minutes until spreadable. Spread the chocolate ice cream evenly over the frozen crust. Return the pan to the freezer until firm (about 30 minutes).
- Prepare the Peanut Butter Layer: In a separate bowl, mix the slightly softened peanut butter ice cream with the creamy peanut butter until just combined and spreadable.
- Layer the Second Ice Cream: Spread the peanut butter ice cream mixture evenly over the hardened chocolate layer. Return the pan to the freezer until completely firm (at least 4 hours, or preferably overnight).
- Make the Whipped Cream Topping: Just before serving, combine the cold heavy whipping cream, powdered sugar, and vanilla extract in a large bowl. Beat with an electric mixer until stiff peaks form.
- Assemble the Cake: Remove the cake from the freezer. Carefully pour the slightly warmed hot fudge sauce over the top of the peanut butter layer, spreading it gently to cover.
- Frost and Garnish: Cover the fudge layer with the prepared whipped cream. Sprinkle the top generously with mini chocolate chips or chocolate shavings.
- Serve: Use the plastic wrap overhang to carefully lift the cake out of the springform pan. Slice with a sharp knife dipped in hot water for clean cuts. Keep leftovers frozen.
Notes
- For a cleaner slice, run a hot, dry knife under hot water, wipe dry, and then slice. Repeat for each cut.
- If you prefer a thicker fudge layer, you can reserve half the fudge sauce to drizzle over individual slices after plating.
- Ensure both ice creams are only slightly softened (spreadable, not melted) before layering to prevent them from mixing.
- Prep Time: PT20M
- Cook Time: 0 minutes
- Category: Ice Cream Cake
- Method: No-Bake
- Cuisine: American
Nutrition
- Serving Size: 1 slice (1/10th cake)
- Calories: 450
- Sugar: 40g
- Sodium: 250mg
- Fat: 28g
- Saturated Fat: 15g
- Protein: 8g
- Cholesterol: 75mg







