
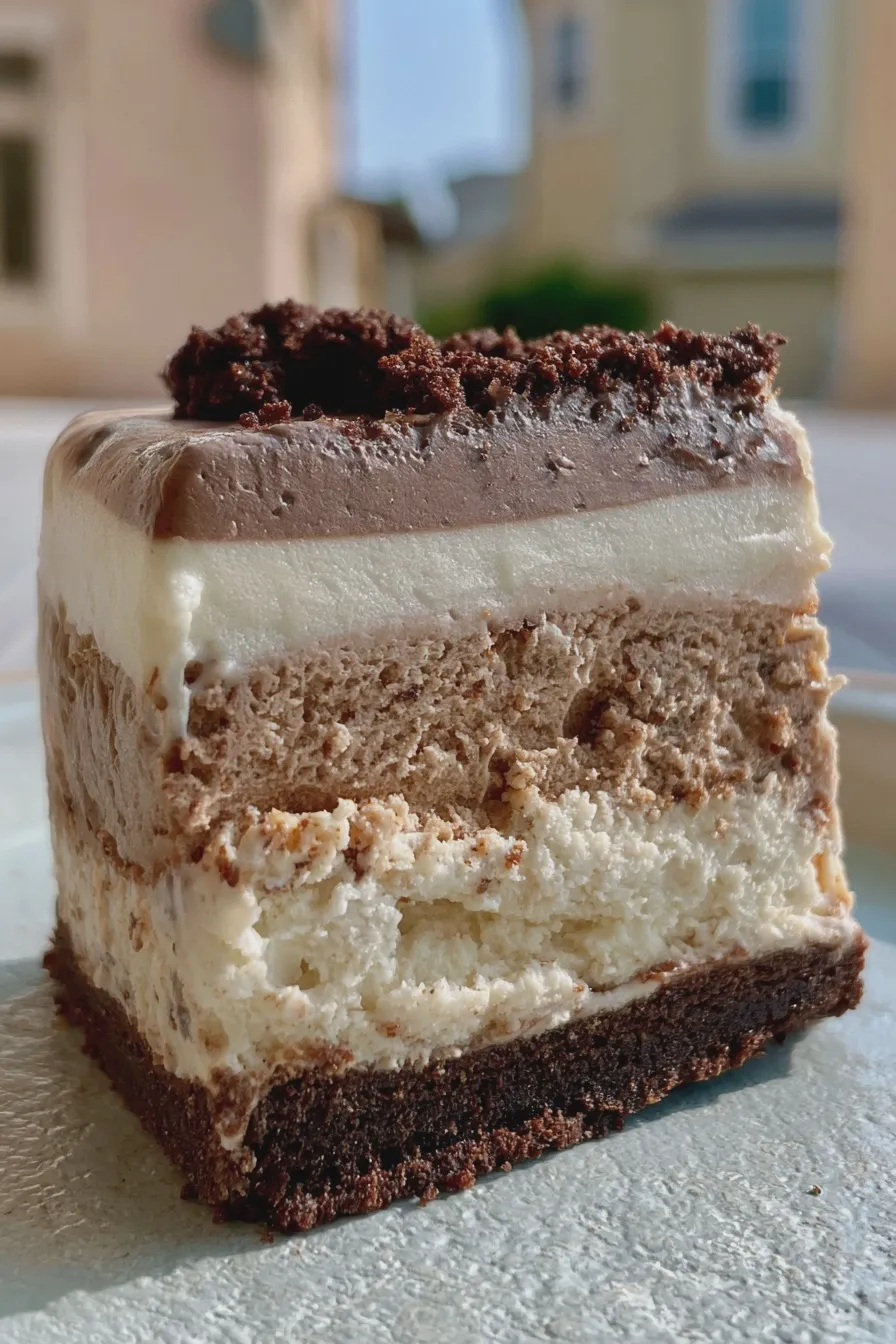
Creating stunning ice cream cake designs doesn’t require professional pastry skills; it’s all about layering textures and using simple decoration tricks to make a beautiful frozen dessert cake for any celebration.
If you are looking for show-stopping yet manageable desserts, mastering the art of the homemade ice cream cake is incredibly rewarding, offering a refreshing alternative to traditional baked goods. This ultimate ice cream cake guide will walk you through everything, from foundation to fancy toppings, ensuring your next creation is a memorable centerpiece, especially when aiming for classic chocolate ice cream cake designs.
Essential Components for Your Frozen Dessert Cakes
Before we dive into the assembly, understanding the core layers that make up a great frozen dessert cakes is crucial for structural integrity and flavor balance. A successful homemade ice cream cake relies on three main components: a sturdy base, creamy filling, and decorative topping, which together create a delightful texture contrast.
Selecting the Perfect Ice Cream Cake Crust Options
The crust serves as the foundation, anchoring your entire creation and providing that satisfying first crunch, so choose wisely based on your desired flavor profile. You can opt for classic crushed cookies, like Oreos or graham crackers, mixed with melted butter, or try something slightly different like a layer of fudgy brownies—a great pairing if you are interested in air fryer brownies as a base.
- 1 ½ cups finely crushed chocolate wafers or graham crackers
- 6 tablespoons unsalted butter, melted
- 2 tablespoons granulated sugar (optional, adjust based on cookie sweetness)
To ensure your crust sets properly, press the mixture firmly and evenly into the bottom of your springform pan, which is essential for easy removal later. For a variation on this, perhaps you want to explore some unique ice cream cake crust ideas online.
Layer Ice Cream Cake Tutorial: Choosing Your Ice Cream Fillings
The heart of any great dessert is the filling, and for a layer ice cream cake tutorial, you typically need two contrasting flavors or textures to keep things interesting. Allow your chosen ice creams to soften on the counter for about 10 to 15 minutes until they are spreadable but not melted, which is key for smooth layering.
- 1.5 quarts Vanilla Ice Cream, slightly softened
- 1.5 quarts Chocolate Ice Cream, slightly softened
- 1 cup crunchy mix-ins (e.g., chopped candy bars, cookie pieces, or fudge swirl)
When working with multiple flavors, consider the texture; pairing a smooth flavor with one that has visible inclusions adds depth, much like the contrast you find in a good lemon blueberry cupcakes recipe.
The Role of Ice Cream Cake Frosting Ideas
While some simple ice cream cake decoration relies only on whipped topping, a true showstopper benefits from a stable, pipeable frosting that holds up well when frozen. Stabilized whipped cream or a simple buttercream that sets firm when chilled works wonderfully for creating polished finishes and decorative borders.
- 2 cups heavy whipping cream, chilled
- 1 cup powdered sugar, sifted
- 1 teaspoon vanilla extract
- Optional: 1/4 cup melted chocolate ganache for swirls
For the best results, make sure your frosting is slightly stiffer than usual because the cold temperature will firm it up considerably as it sets.
Easy Ice Cream Cake Assembly: Building Your Masterpiece
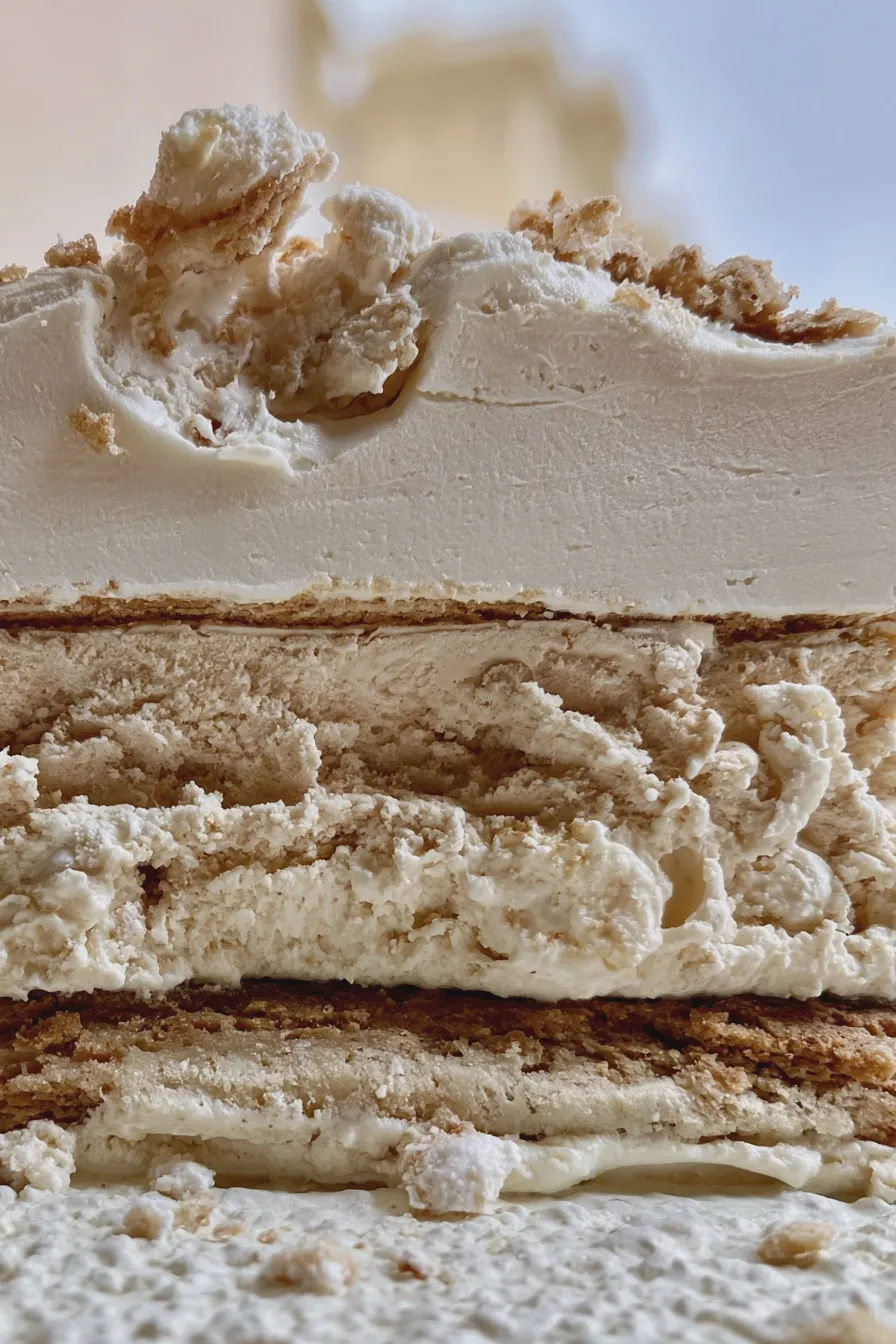
Putting the cake together correctly is where the magic happens, ensuring that your custom ice cream cakes remain stable for slicing and serving later. This easy ice cream cake assembly process should be done quickly, ideally in a cold kitchen, to prevent the ice cream from melting prematurely.
Preparing the Pan and Crust Layer
Line the sides of your 9-inch springform pan with parchment paper strips that extend above the rim; this acts as a sling to help lift the frozen cake out without damage. Press your prepared crust mixture firmly into the bottom of the lined pan, making sure it reaches the edges evenly for a solid base.
Place the crust in the freezer for at least 30 minutes to firm up completely before adding the next layer, which prevents your crust from mixing into the soft ice cream above it.
Layering the Ice Cream and Mix-ins
Spread the first flavor of softened ice cream evenly over the chilled crust, taking care not to press down too hard, which could break the base layer. Sprinkle half of your chosen crunchy mix-ins evenly over this first layer before gently spreading the second flavor of ice cream on top.
Gently tap the pan on the counter a couple of times to release any air pockets trapped between the layers, then cover the top tightly with plastic wrap before returning it to the freezer for several hours or overnight for a solid set.
Applying the Ice Cream Cake Frosting Ideas
Once the cake is completely frozen, beat your heavy cream, powdered sugar, and vanilla until stiff peaks form, creating a lovely topping perfect for a birthday ice cream cake. Remove the cake from the freezer about 10 minutes before frosting, allowing just enough time for the edges to soften slightly for easier application.
Use an offset spatula to cover the top and sides completely with the whipped cream frosting, smoothing it out or creating decorative swirls depending on the final look you are aiming for with your ice cream cake decorating techniques.
Creative Ice Cream Cake Designs and Decorating
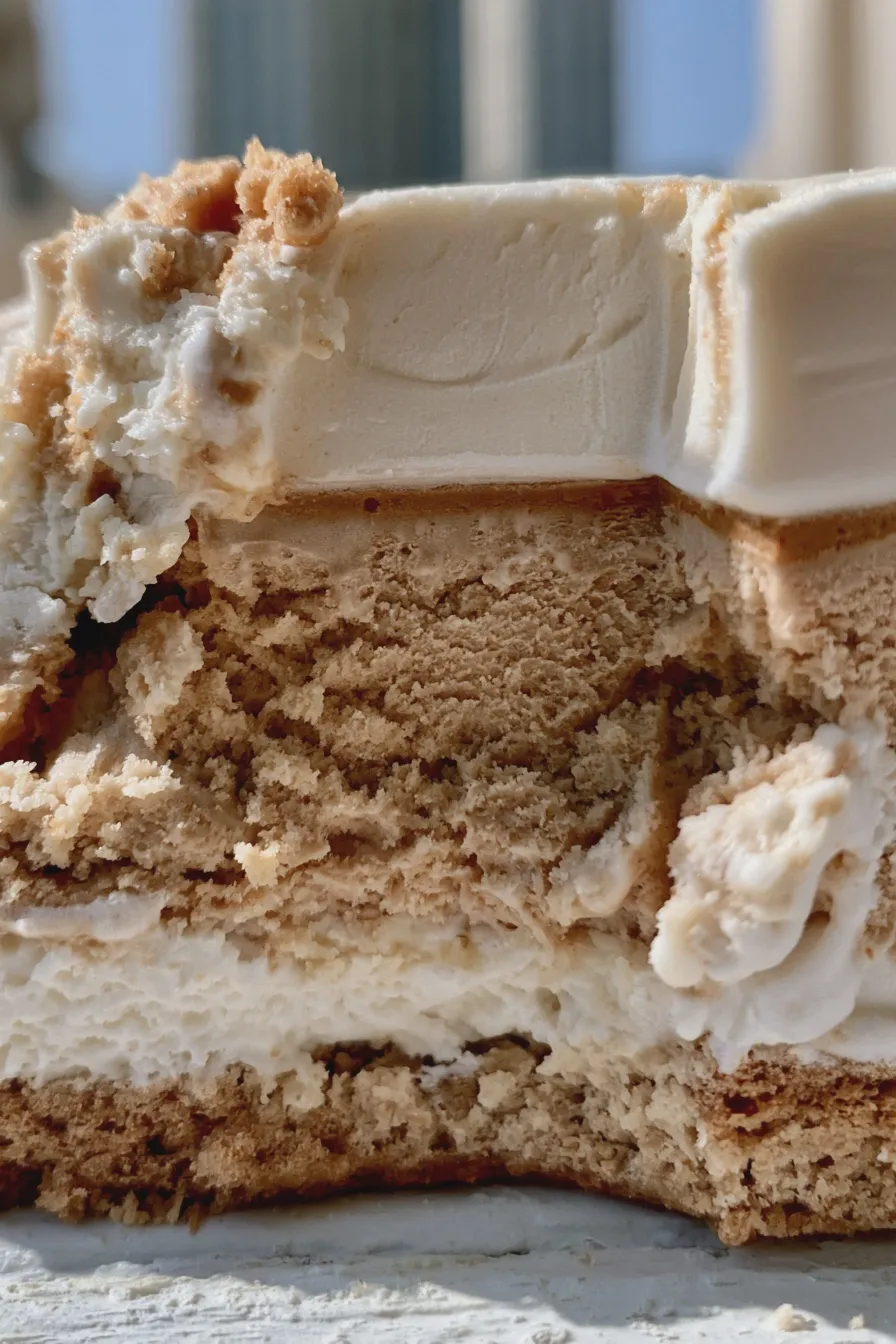
Now that the structure is set, it’s time to transform your frozen dessert into a showstopper using various ice cream cake ideas that require minimal fuss but deliver maximum impact. The final decorations elevate a simple frozen treat into something truly special, perfect for summer ice cream cakes or holiday celebrations.
Simple Ice Cream Cake Decoration Techniques
For a rustic, easy look, you can simply use the back of a spoon to create peaks and valleys in the frosting, mimicking the texture of soft-serve swirls found at your favorite parlor. Alternatively, use a piping bag fitted with a star tip to create a classic shell border around the top and bottom edges for a polished finish that suggests a professional touch, similar to the detail you might find on a gingerbread cookies garnish.
Consider creating a drip effect using melted chocolate ganache or caramel sauce drizzled artfully around the top edge before the frosting fully sets, making this one of the more impressive yet easy ice cream cake designs.
Themed Toppings for Birthday Ice Cream Cake
Theming your cake is simple when you focus on toppings that match the occasion, transforming it into a true custom ice cream cake. For a chocolate ice cream cake design, crushed chocolate candies, chocolate shavings, and a rich fudge sauce are always winners.
If you are aiming for a lighter flavor, perhaps using lemon or strawberry ice cream, top generously with fresh fruit—like berries—and perhaps a sprinkle of crushed shortbread, reminiscent of a classic strawberry shortcake topping.
Incorporating Extra Texture and Flavor
To add complexity beyond the main ice cream layers, consider adding a thin layer of something unexpected, such as fudgy peanut butter mixture or a bright fruit curd between the ice cream layers, which serves as a delicious ice cream cake filling. You can find great inspiration for vibrant fruit layers by looking at recipes like pink lemonade sheet cake for color and tang ideas.
For the final flourish, contrasting textures are key; consider sprinkling toasted nuts, mini chocolate chips, or crushed peppermint pieces around the base border to give guests something interesting to bite into with every slice.
Storage and Serving Tips for Your Homemade Cake
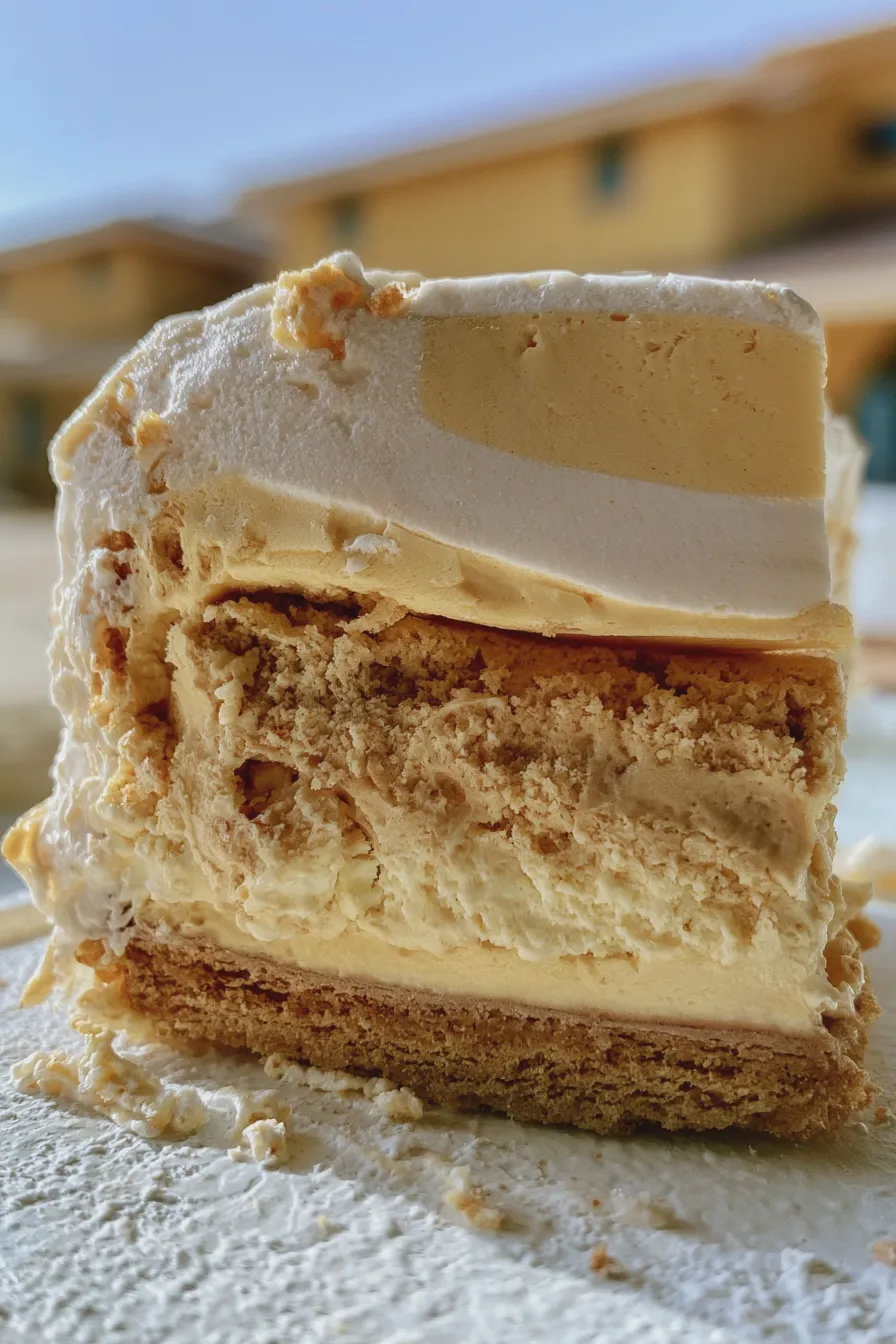
Proper storage is vital to maintaining the appearance and structure of your beautiful creation, ensuring it remains perfect until serving time. Always keep the cake tightly wrapped in plastic wrap and then covered with foil to prevent freezer burn and odor absorption from other items in your freezer.
Make-Ahead Advice and Freezing Best Practices
The best time to make your cake is two to three days ahead of when you plan to serve it, allowing ample time for the layers to freeze rock solid without rushing the assembly process. When freezing, ensure the cake is placed on a level surface so that the layers remain even throughout the entire freezing period.
For the most professional results when trying out new ice cream cake ideas, let the cake freeze undisturbed for at least 12 hours before attempting to remove it from the springform pan sides.
Serving Tips for Perfect Slices
Serving frozen dessert cakes can sometimes be tricky, resulting in messy slices, but a simple trick with a hot knife solves this immediately. Fill a tall glass with very hot water and dip your sharp, long knife into it, wiping it dry quickly before making each clean cut through the frozen layers.
Let the cake sit out at cool room temperature for just 5 to 10 minutes before slicing to allow the outer frosting to soften slightly, which makes the initial cuts much easier and results in cleaner presentation slices.
Print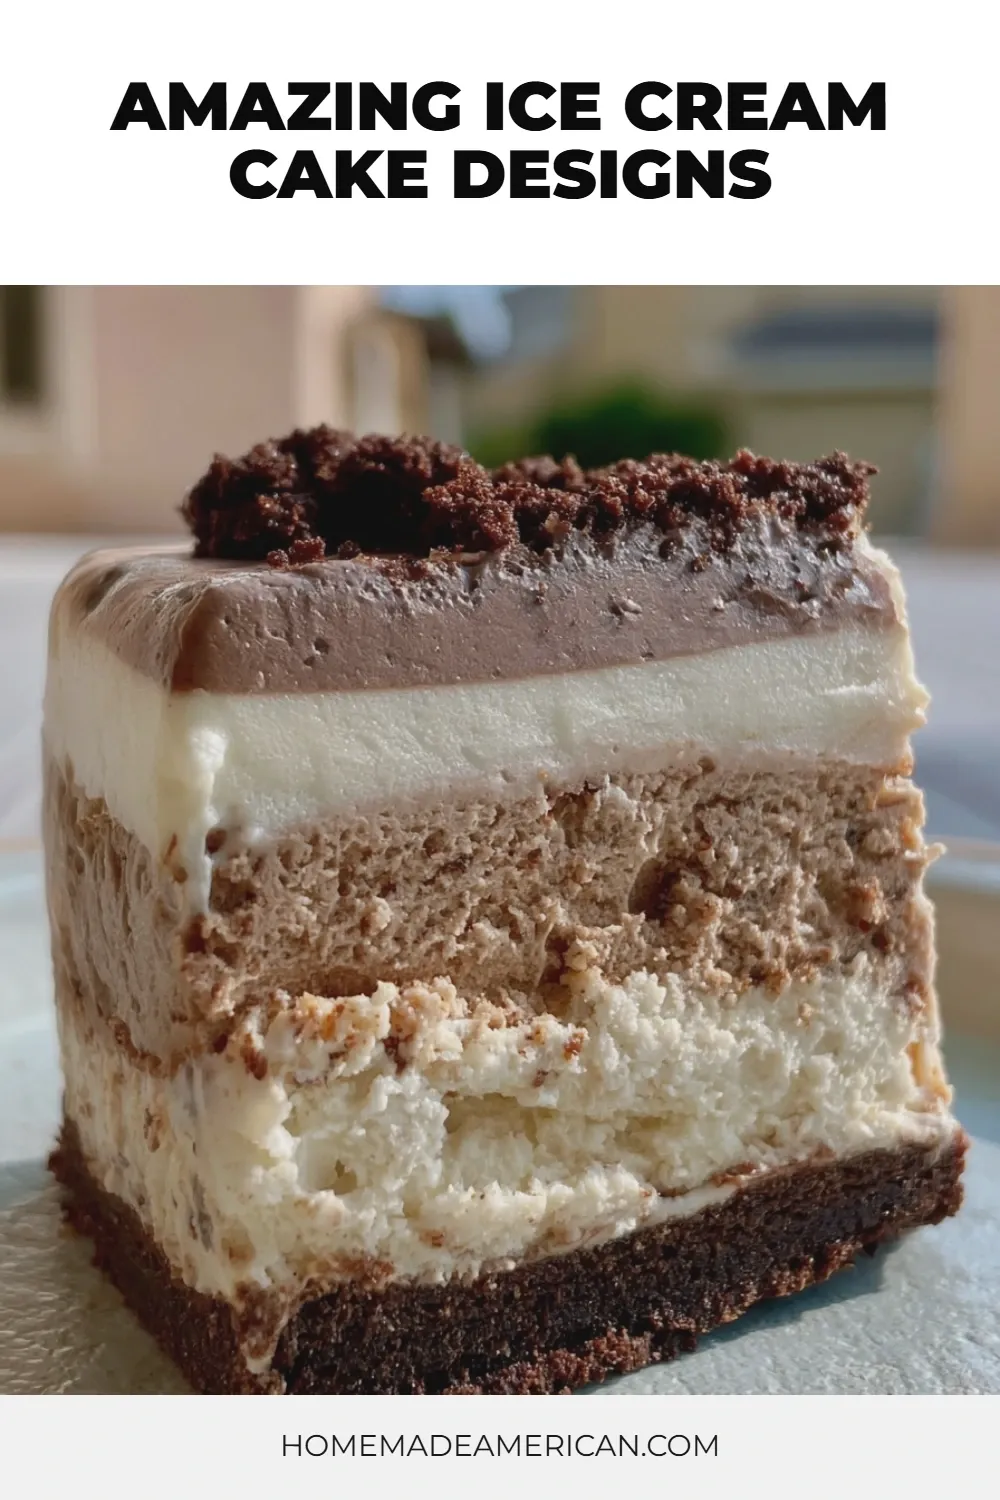
ice cream cake designs Easy Homemade Recipe
- Total Time: PT6H30M
- Yield: 10–12 servings 1x
- Diet: Vegetarian
Description
Create a stunning, crowd-pleasing Neapolitan Ice Cream Cake featuring distinct layers of vanilla, chocolate, and strawberry ice cream, separated by a crunchy Oreo crust and topped with fresh whipped cream and cherries. Perfect for birthdays and summer celebrations!
Ingredients
- 1 ½ cups Oreo cookie crumbs (about 30 cookies)
- 6 tablespoons unsalted butter, melted
- 1 ½ quarts vanilla ice cream, softened slightly
- 1 ½ quarts chocolate ice cream, softened slightly
- 1 ½ quarts strawberry ice cream, softened slightly
- 1 cup heavy whipping cream
- 2 tablespoons powdered sugar
- ½ teaspoon vanilla extract
- Optional toppings: Chocolate syrup, maraschino cherries, extra cookie crumbs
Instructions
- Prepare the Pan: Line a 9-inch springform pan with plastic wrap, leaving an overhang on the sides for easy removal later.
- Make the Crust: In a medium bowl, combine the Oreo crumbs and melted butter until evenly moistened. Press the mixture firmly and evenly into the bottom of the prepared springform pan. Freeze for at least 30 minutes until firm.
- Layer the Chocolate: Remove the chocolate ice cream from the freezer and let it soften for 5-10 minutes until spreadable. Scoop the chocolate ice cream over the crust and gently spread into an even layer. Freeze for 1 hour until solid.
- Layer the Vanilla: Once the chocolate layer is firm, spread the softened vanilla ice cream evenly over the chocolate layer. Freeze for another 1 hour until solid.
- Layer the Strawberry: Finally, spread the softened strawberry ice cream evenly over the vanilla layer. Cover the top loosely with plastic wrap and freeze for a minimum of 6 hours, or preferably overnight, until the entire cake is completely frozen solid.
- Make the Whipped Cream Topping: Just before serving, beat the heavy whipping cream, powdered sugar, and vanilla extract in a chilled bowl until stiff peaks form.
- Decorate and Serve: Remove the cake from the springform pan using the plastic wrap overhang. Frost the top and sides with the homemade whipped cream. Garnish with chocolate syrup, maraschino cherries, or extra cookie crumbs. Slice with a long, sharp knife dipped in hot water for clean cuts.
Notes
- For the cleanest layers, ensure each ice cream layer is completely frozen before adding the next.
- If you don’t have a springform pan, you can use a standard 9×13 inch pan, but the cake will be thinner and the removal process will require slightly more effort (use a hot water bath on the bottom of the pan to help release).
- Store leftovers tightly wrapped in the freezer for up to one week.
- Prep Time: PT25M
- Cook Time: 0 minutes
- Category: Ice Cream Cake
- Method: No-Bake, Layered
- Cuisine: American
Nutrition
- Serving Size: 1 slice
- Calories: 450
- Sugar: 45g
- Sodium: 250mg
- Fat: 28g
- Saturated Fat: 16g
- Unsaturated Fat: 12g
- Trans Fat: 0.5g
- Carbohydrates: 48g
- Fiber: 2g
- Protein: 6g
- Cholesterol: 80mg







