These classic halloween sugar cookies are perfect for decorating with spooky designs and festive colors. They offer a crisp yet chewy texture and a sweet, buttery flavor that everyone will love, making them a hit for parties and trick-or-treaters alike.
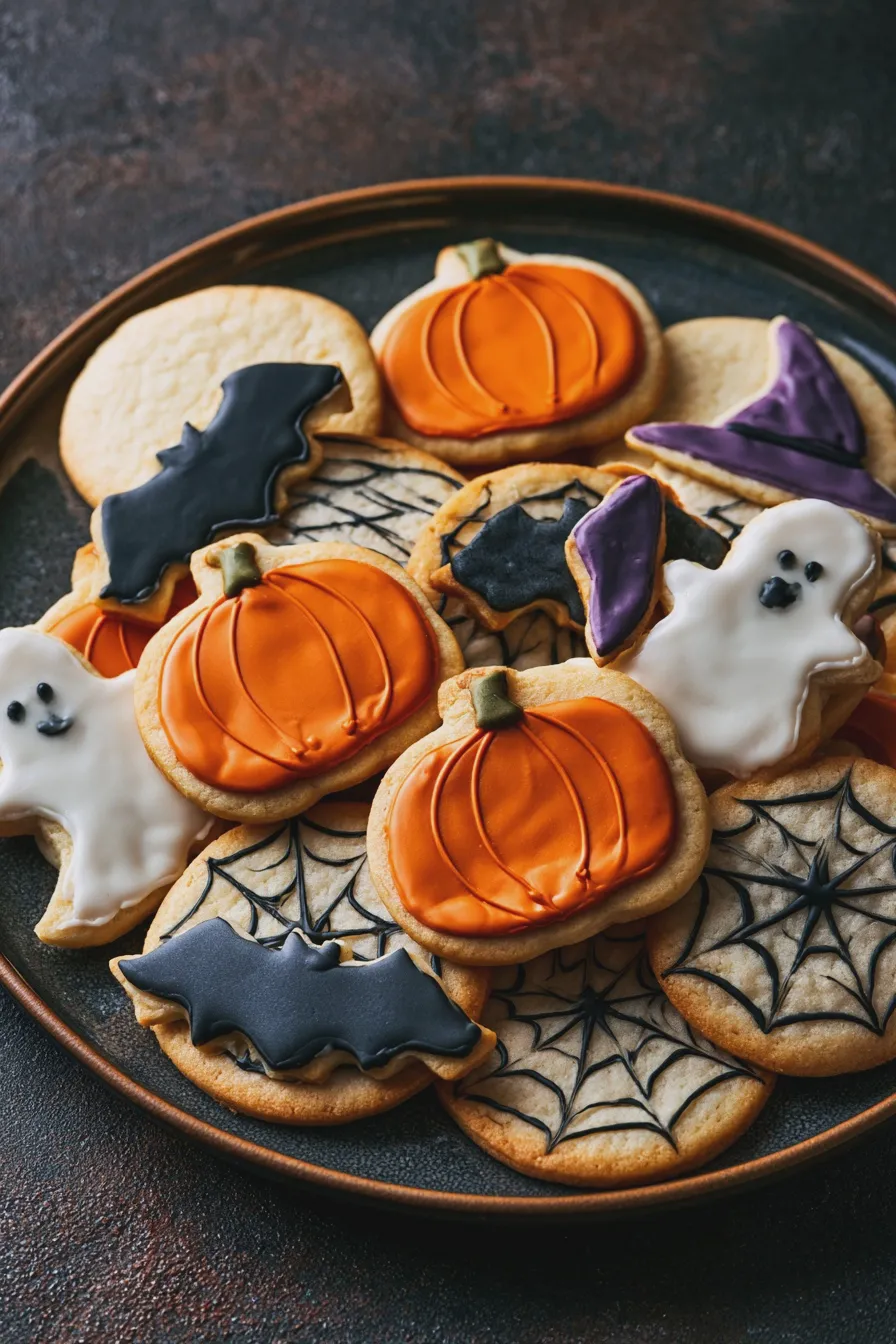
Welcome to the most wonderful time of the year for cookie enthusiasts! If you’re looking for a delightful way to embrace the spooky season, then this halloween sugar cookies recipe is exactly what you need. These cookies are not just treats; they’re canvases for your creativity, ready to be transformed into charming or chilling edible art.
This recipe yields a wonderfully versatile sugar cookie dough, perfect for rolling out and cutting into all sorts of fun shapes. Whether you prefer simple rounds adorned with frosting or intricate cutouts, these cookies are sure to be a crowd-pleaser at any fall gathering. They bake up beautifully, holding their shape so your decorations can truly shine.
Get ready to fill your kitchen with the sweet aroma of baking and anticipation for Halloween fun. These cookies are a fantastic activity to do with family and friends, creating lasting memories along with delicious treats. Let’s dive into making the best halloween sugar cookies that will have everyone asking for the recipe!
Why This Halloween Sugar Cookie Recipe is a Must-Try
This particular halloween sugar cookie recipe stands out because it delivers on both flavor and texture, while also being incredibly forgiving for bakers of all skill levels. The dough is sturdy enough for intricate cutouts, yet yields a cookie that is delightfully crisp on the edges and slightly chewy in the center, a perfect balance that many find irresistible. You can find more tips on achieving the perfect cookie texture on Serious Eats, but this recipe aims for that ideal balance right out of the gate.
Beyond the fundamental deliciousness, these cookies are a fantastic base for creative decorating. They are the ideal foundation for an array of royal icing for halloween cookies, allowing you to craft everything from cheerful pumpkins to eerie ghosts. They are truly the best halloween cookie recipe for bringing your spooky dessert ideas to life.
Ingredients You’ll Need
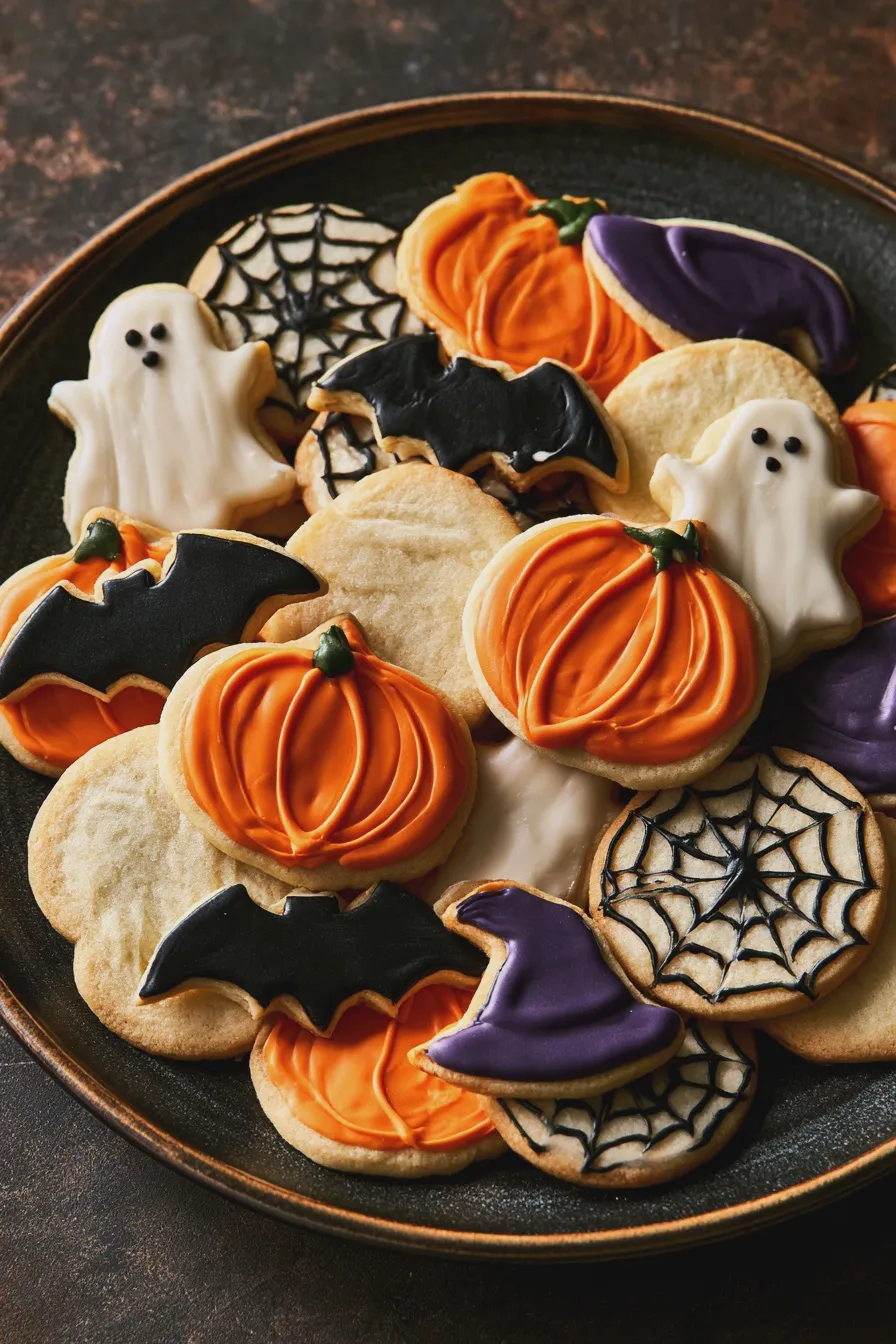
Gathering your ingredients is the first exciting step toward creating these delightful halloween sugar cookies. Having everything measured and ready to go ensures a smooth baking process. We’re using simple, pantry-staple ingredients that combine to create a rich, buttery flavor and a perfect cookie texture.
- 1 cup (2 sticks) unsalted butter, softened
- 1 ½ cups granulated sugar
- 2 large eggs
- 1 teaspoon vanilla extract
- 2 ¾ cups all-purpose flour
- 1 teaspoon baking powder
- ½ teaspoon salt
For the decorating, you’ll want your favorite frosting or royal icing. Food coloring in classic Halloween shades like orange, black, green, and purple will be essential for creating your spooky sugar cookies. Sprinkles, edible glitter, and edible markers can also add extra flair to your decorated halloween cookies.
How to Make Halloween Sugar Cookies
This section will guide you through creating the dough, chilling it, rolling, cutting, and baking your halloween sugar cookies to perfection. Following these steps ensures a delightful outcome, whether you’re making simple rounds or intricate shapes.
Cream the Butter and Sugar
In a large bowl, cream together the softened butter and granulated sugar using an electric mixer until the mixture is light and fluffy, about 3-5 minutes. This process incorporates air, which is key to a tender cookie texture and helps the cookies hold their shape when baked. Scrape down the sides of the bowl periodically to ensure everything is well combined.
Add Wet Ingredients
Beat in the eggs one at a time, mixing well after each addition, then stir in the vanilla extract until just combined. Ensure the eggs are fully incorporated before adding the vanilla, as this helps create a stable emulsion for the cookie dough. Overmixing at this stage can lead to tougher cookies, so gentle incorporation is best.
Combine Dry Ingredients
In a separate medium bowl, whisk together the all-purpose flour, baking powder, and salt. Whisking the dry ingredients together ensures that the baking powder and salt are evenly distributed throughout the flour, which is crucial for consistent leavening and flavor in your cookies. This step prevents pockets of baking powder or salt in your final baked goods.
Gradually Add Dry to Wet Ingredients
With the mixer on low speed, gradually add the dry ingredient mixture to the wet ingredients, mixing until just combined and a soft dough forms. Be careful not to overmix the dough, as this can develop the gluten in the flour too much, resulting in tough cookies. Stop mixing as soon as you no longer see streaks of dry flour.
Chill the Dough
Divide the dough in half, flatten each half into a disc, wrap tightly in plastic wrap, and refrigerate for at least 2 hours, or until firm. Chilling the dough is a critical step for sugar cookies, especially those intended for cutouts; it allows the gluten to relax and the fats to firm up, preventing the cookies from spreading too much during baking. This chilling time also makes the dough easier to handle and roll out, preventing it from becoming sticky.
Roll and Cut the Dough
Preheat your oven to 350°F (175°C) and line baking sheets with parchment paper. On a lightly floured surface, roll out one disc of chilled dough to about ¼-inch thickness. Use your favorite halloween cookie cutters to cut out shapes, re-rolling scraps as needed. Working with chilled dough is key here; if it becomes too soft, return it to the refrigerator for a few minutes.
Bake the Cookies
Carefully transfer the cut-out cookies to the prepared baking sheets, leaving about 1 inch between them. Bake for 8-10 minutes, or until the edges are lightly golden brown. The exact baking time will depend on the size and thickness of your cookies, so watch them closely to prevent over-baking. For consistently shaped fall sugar cookies, ensure your dough is rolled to an even thickness.
Cool and Decorate
Let the cookies cool on the baking sheets for a few minutes before transferring them to a wire rack to cool completely. Once completely cool, it’s time for the fun part: decorating your spooky sugar cookies! Use your prepared icing and other edible decorations to bring your ghost sugar cookies, pumpkin sugar cookies, or other witch sugar cookies to life. A well-chilled dough is essential for crisp edges, similar to how chilling is important for perfect mini lemon blueberry cheesecakes.
Decorating Ideas for Spooky Sugar Cookies
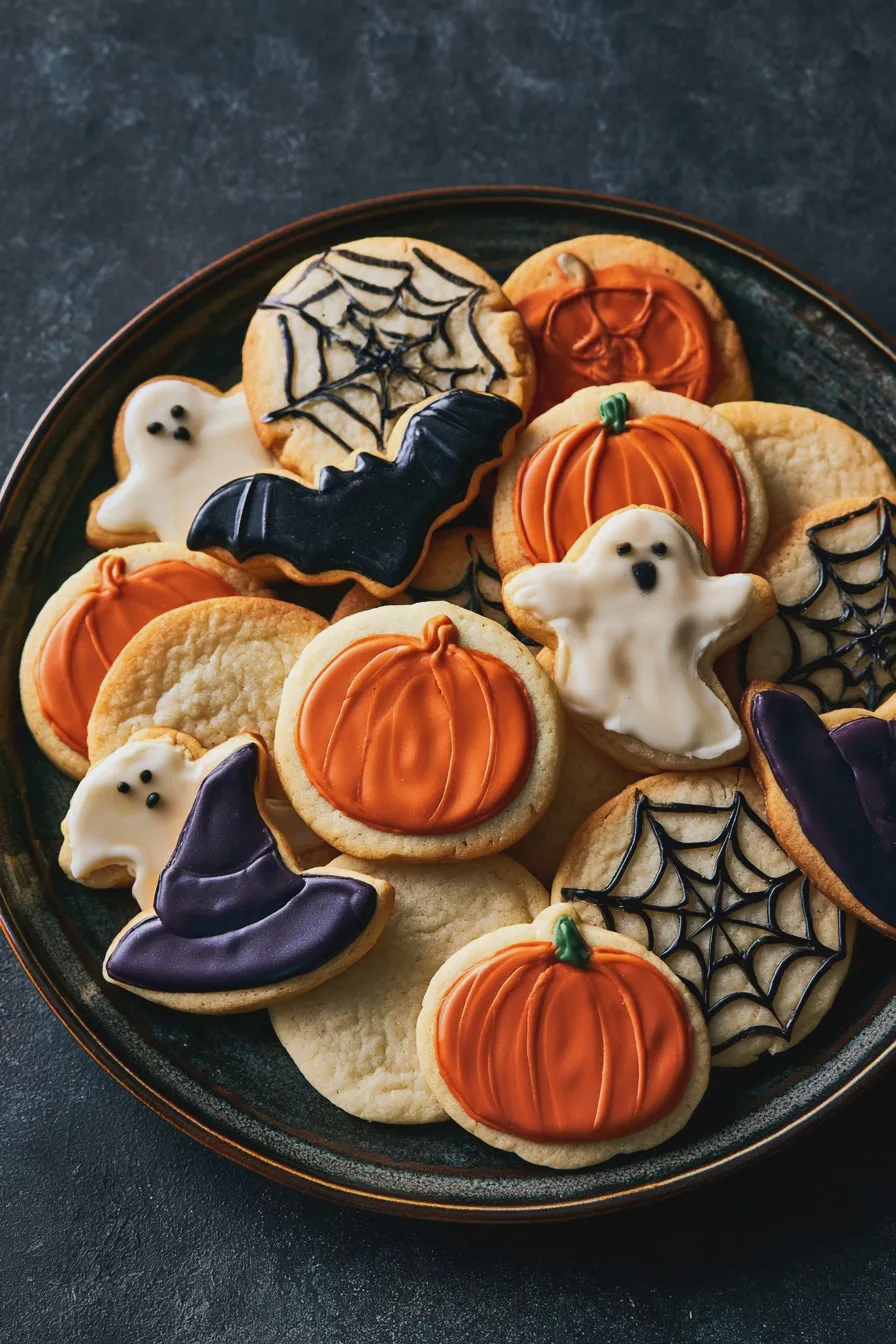
Now that you have your perfectly baked, crisp-edged cookies, it’s time to unleash your inner artist! Decorating is where these cookies truly transform into festive treats, ready to impress at any Halloween party or gathering. The possibilities are endless, from simple and sweet to elaborately spooky.
Classic Halloween Shapes
Utilize your halloween cookie cutters to create a variety of iconic shapes. Think pumpkins, bats, ghosts, and cats for a classic Halloween feel. You can use simple buttercream frosting in orange, black, and white for a quick and cheerful decoration, or opt for royal icing for a smoother, more durable finish that’s perfect for intricate details. These shapes are fundamental for any collection of bat sugar cookies or black cat sugar cookies.
Creative Designs
Push your creativity further with more detailed designs. You can create spiderweb sugar cookies by flooding a round cookie with black icing and then drawing a web with white icing before it sets. For graveyard sugar cookies, use crushed chocolate cookies for dirt and small candy pumpkins or ghost shapes. Even simple skeleton sugar cookies can be elevated with edible markers for details like eyes and mouths. This is where your monster sugar cookies can really come to life.
Edible Accents
Don’t forget the power of edible accents to make your vampire sugar cookies and other creations truly pop. Edible glitter can add a magical shimmer to your cookies, while candy eyeballs are a quick and easy way to give your haunted house sugar cookies a playful or spooky look. Small candies, sprinkles, and even edible paint can add texture and detail, turning simple cookies into miniature works of art.
Tips for Perfect Sugar Cookies Every Time
Achieving perfect sugar cookies, especially for decorating, involves a few key techniques. These tips will help you avoid common pitfalls and ensure your cookies turn out beautifully shaped, delicious, and ready for their festive makeover. Whether you’re a beginner or an experienced baker, these pointers are invaluable for your easy halloween cookies.
Don’t Overmix the Dough
Overmixing develops the gluten in the flour, which can lead to tough, dense cookies that spread excessively. Mix the dry ingredients into the wet ingredients only until they are just combined and no dry streaks remain. A gentle hand at this stage is crucial for a tender crumb.
Chill the Dough Adequately
Chilling is non-negotiable for sugar cookies meant for cutting out. It firms up the butter, making the dough less sticky and easier to roll without sticking. More importantly, chilled dough holds its shape better in the oven, preventing your carefully cut shapes from morphing into amorphous blobs. Aim for at least two hours, or even overnight.
Roll Dough Evenly
Use a rolling pin with thickness guides or measure the thickness of your dough to ensure it’s consistent. Unevenly rolled dough will bake unevenly, with thin parts burning before thicker parts are cooked through. Aim for a uniform ¼-inch thickness for the best results, ensuring all your cookies bake at the same rate.
Watch Baking Times Closely
Ovens can vary, and sugar cookies can go from perfectly baked to overdone very quickly. Keep a close eye on them during the last few minutes of baking. The edges should be lightly golden, but the centers should still look slightly soft. They will continue to cook and firm up as they cool on the baking sheet.
Storage and Make-Ahead Tips
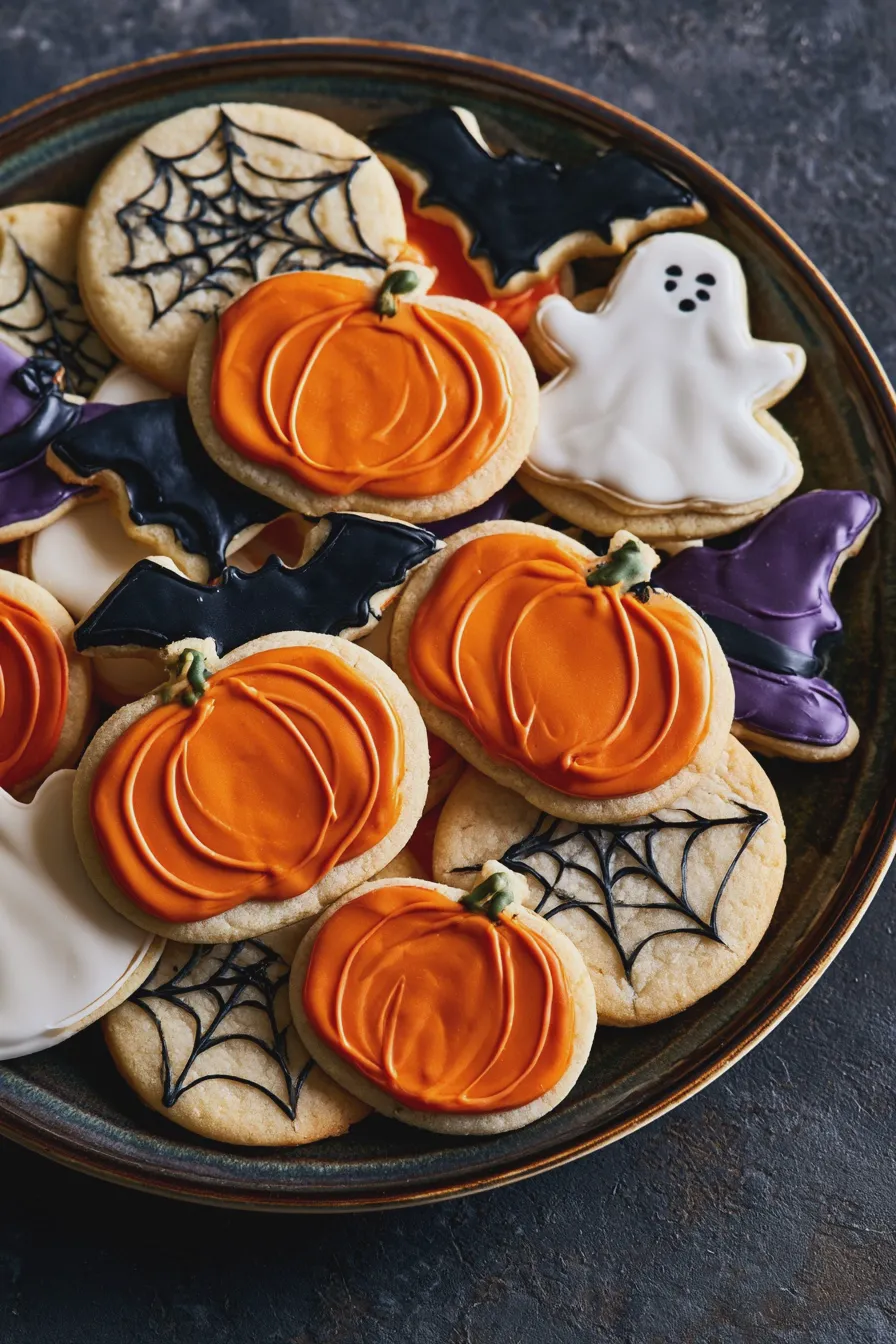
Planning ahead is always a good strategy when baking for holidays, and these halloween sugar cookies are no exception. Knowing how to store your cookies and dough can save you time and stress when you’re ready to decorate or serve.
Storing Un-Decorated Cookies
Once completely cooled, un-decorated sugar cookies can be stored in an airtight container at room temperature for up to a week. You can also freeze them for up to 3 months. For best results, place parchment paper between layers to prevent sticking. This makes them a great candidate for making ahead, much like you might prepare date brownies in advance.
Storing Decorated Cookies
Decorated cookies are a bit more delicate. Ensure the icing is completely dry and hard before stacking. Store them in an airtight container with parchment paper between layers, at room temperature, for up to 3-4 days. Humidity can cause royal icing to become sticky, so avoid refrigerating them if possible.
Make-Ahead Dough
The sugar cookie dough can be made up to 2 days in advance and kept chilled in the refrigerator. If it becomes very firm, let it sit at room temperature for about 10-15 minutes before rolling. You can also freeze the dough discs for up to 3 months; thaw them in the refrigerator overnight before using. This flexibility is a lifesaver when preparing for busy holiday events, similar to how strawberry hand pies can be prepped ahead.
Print