Get ready for some spooky fun with these adorable halloween cake pops! These bite-sized treats are perfect for parties, trick-or-treating, or just a fun afternoon baking project, offering a delightful burst of cake and frosting in every bite.
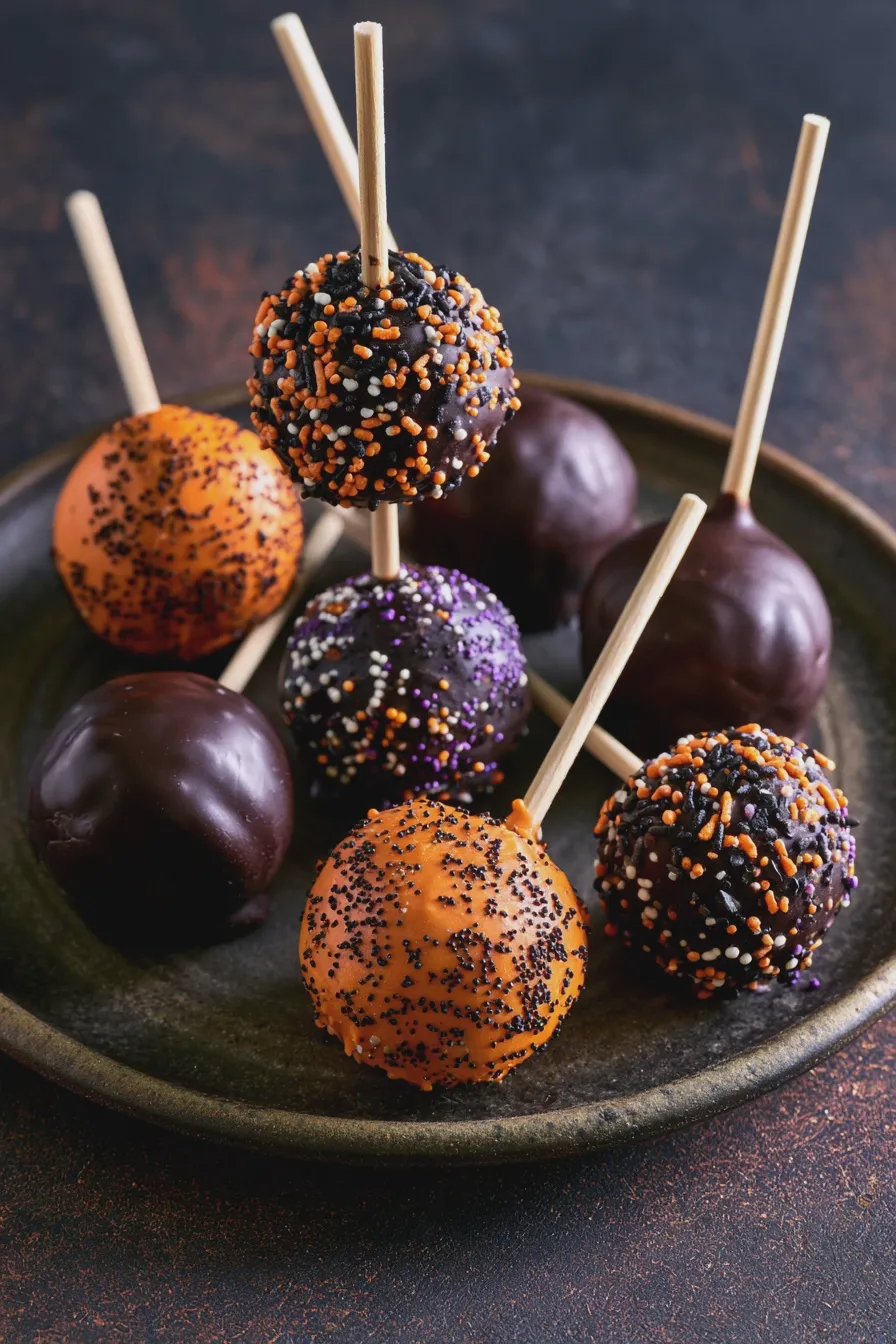
What Are Halloween Cake Pops?
These delightful halloween cake pops are essentially small, spherical cakes mixed with frosting, rolled into balls, and then dipped in colorful candy melts or chocolate. They are a festive and fun treat, perfect for any halloween party. The beauty of cake pops lies in their versatility; you can decorate them to resemble classic Halloween characters and symbols, making them a hit with both kids and adults.
Creating these treats is a rewarding baking experience that allows for a lot of creativity. You can achieve a variety of spooky and sweet designs, from cheerful pumpkins to eerie ghosts, ensuring there’s something to delight everyone. They are a fantastic way to get into the Halloween spirit and add a homemade touch to your celebrations.
Why You’ll Love This Recipe
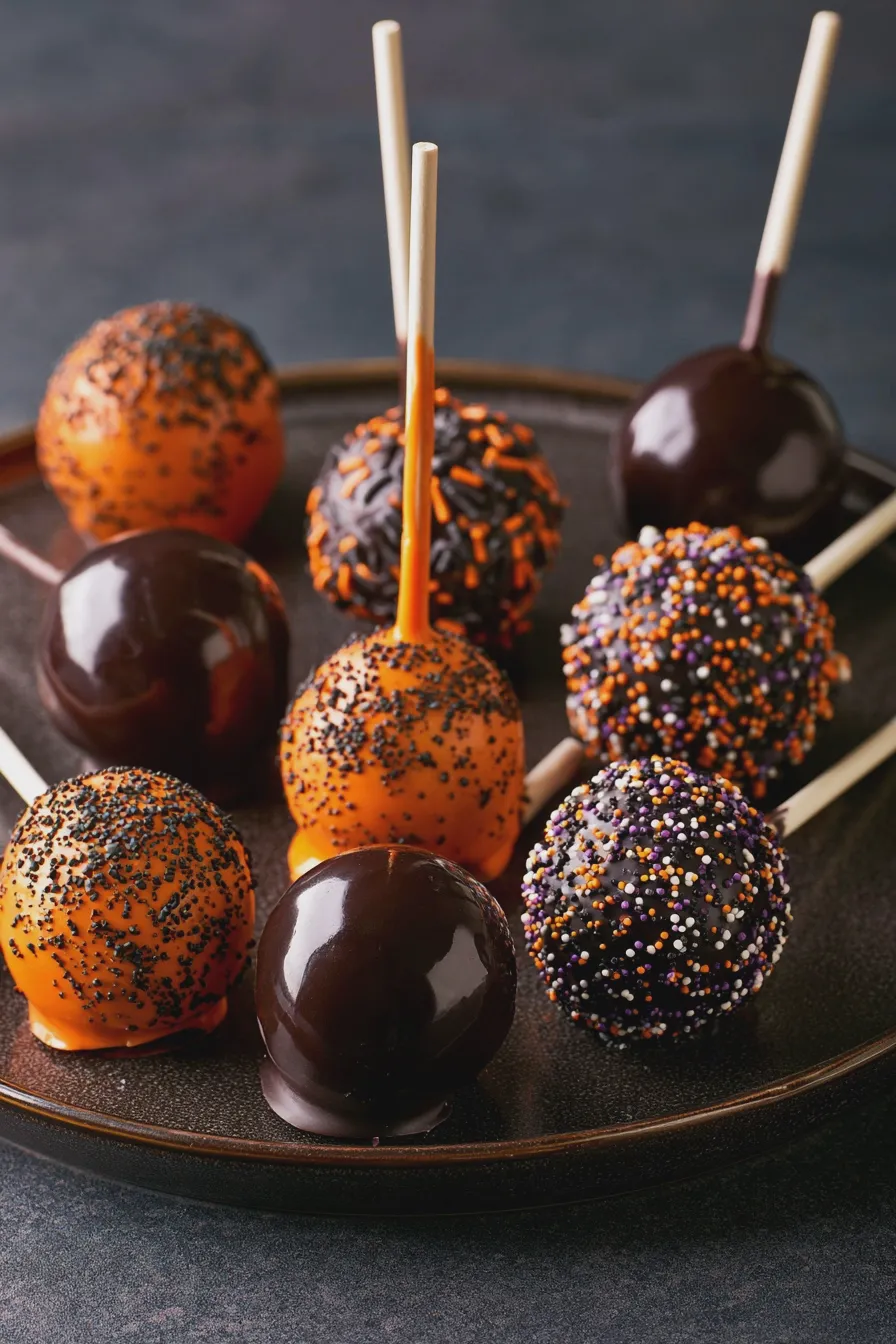
This recipe for halloween cake pops is designed for home bakers of all skill levels, making it accessible and enjoyable. You don’t need to be a professional decorator to create impressive and delicious treats that will wow your guests. The process is straightforward, and the results are always a crowd-pleaser.
Beyond their festive appearance, these cake pops offer a wonderful texture and flavor combination. The moist cake, creamy frosting, and smooth candy coating create a delightful treat that’s satisfying without being too heavy. They are also incredibly customizable, allowing you to tailor the flavors and decorations to your personal preferences or party theme.
Ingredients You’ll Need
Gathering your ingredients is the first step to creating these festive treats. For the cake base, you’ll want a moist and flavorful cake that holds its shape well once crumbled. A classic vanilla or chocolate cake works wonderfully, but feel free to experiment with other flavors.
- 1 (15.25 ounce) box cake mix (any flavor, such as vanilla, yellow, or chocolate)
- Ingredients called for on cake mix box (typically eggs, oil, and water)
- 1/2 cup frosting (vanilla or cream cheese frosting are great choices)
- 12 ounces candy melts (orange, black, purple, green, white, or any spooky colors you like)
- 1 tablespoon vegetable shortening or coconut oil (optional, for thinning candy melts)
- Lollipop sticks
- Assorted sprinkles and edible decorations (for detailing your halloween cake pops)
For the cake, you can use a box mix for convenience, or bake your favorite homemade cake from scratch. When choosing frosting, a thicker consistency works best for binding the cake crumbles. If you’re using a store-bought frosting, you might need to chill it slightly to achieve the right texture.
How to Make Halloween Cake Pops
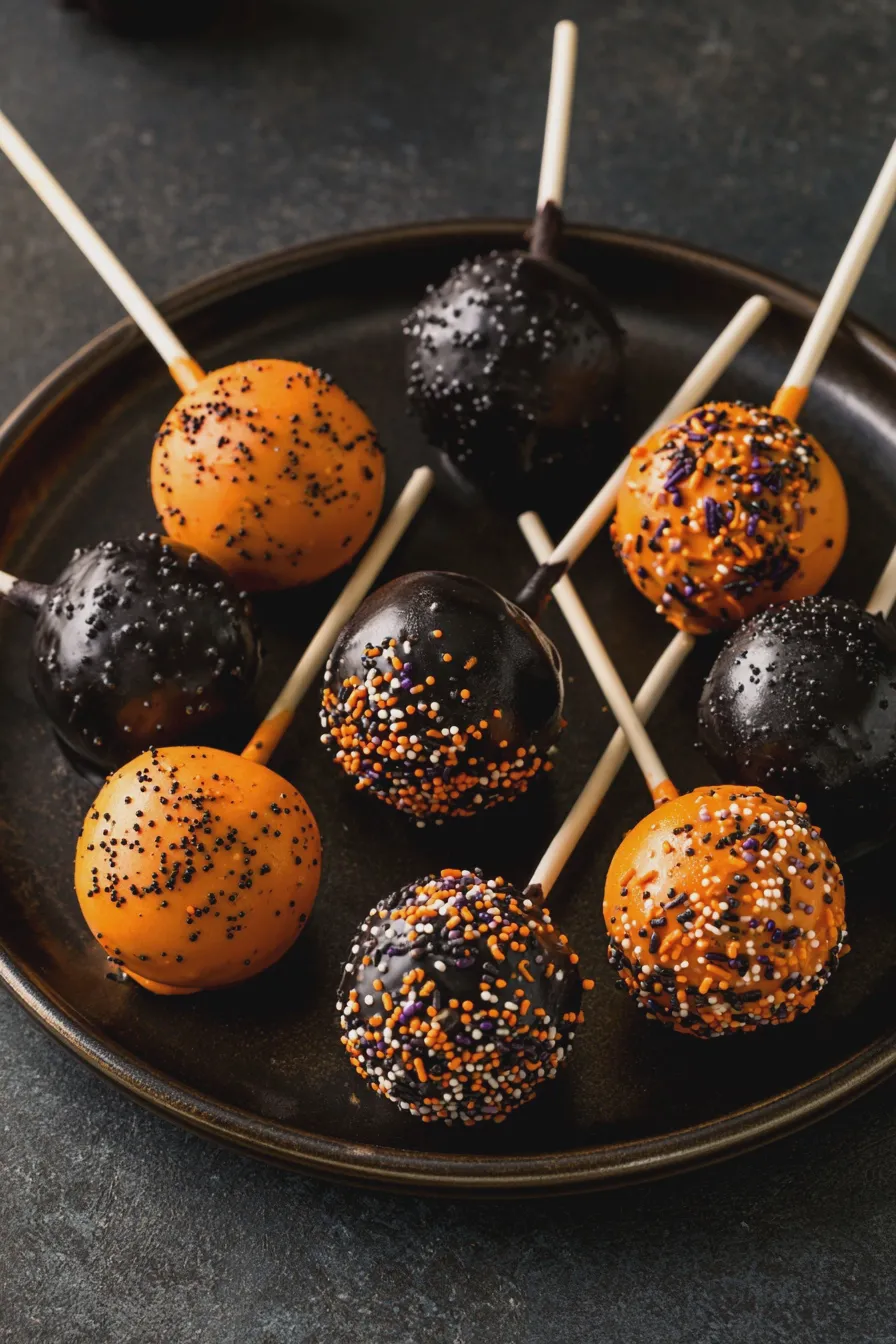
Bake the Cake
Start by baking your cake according to the package directions, or your favorite homemade recipe. For best results, allow the cake to cool completely on a wire rack before proceeding to the next step. This ensures the cake is firm enough to crumble without becoming mushy.
Tip: Avoid overbaking the cake, as this can lead to dry crumbles. A slightly underbaked cake can be more moist and easier to work with for cake pops.
Crumble the Cake
Once the cake is completely cool, remove it from the pan and place it in a large mixing bowl. Use your hands to crumble the cake into fine crumbs, ensuring there are no large chunks. This step is crucial for achieving a smooth texture in your finished cake pops.
Tip: If your cake feels too sticky to crumble easily, let it chill in the refrigerator for about 15-20 minutes. This will firm it up and make it much easier to handle.
Mix in Frosting
Add the frosting to the crumbled cake and mix thoroughly until well combined. The mixture should resemble a dough-like consistency that holds together when squeezed. If the mixture seems too dry, add a little more frosting, one tablespoon at a time, until it reaches the desired texture.
Tip: Don’t overmix the cake and frosting, as this can make the cake pops dense. You want just enough frosting to bind the crumbs together.
Roll into Balls
Scoop out portions of the cake mixture and roll them into uniform balls, about 1 to 1.5 inches in diameter. Place the rolled cake balls onto a baking sheet lined with parchment paper. Aim for consistency in size so they bake and dip evenly.
Tip: Using a cookie scoop can help you create evenly sized balls, ensuring a professional look for your spooky cake pops. If the mixture is too sticky, lightly dampen your hands with water or a little oil.
Chill the Cake Balls
Place the baking sheet with the cake balls into the refrigerator for at least 30 minutes, or until firm. Chilling the cake balls helps them hold their shape when dipped in the melted candy. This is a critical step for preventing them from falling apart.
Tip: You can also freeze the cake balls for about 10-15 minutes if you’re short on time. Just be sure they are firm but not frozen solid.
Melt the Candy Melts
While the cake balls are chilling, melt your candy melts in a microwave-safe bowl. Heat in 30-second intervals, stirring between each, until smooth and fully melted. If the candy melts are too thick, stir in the vegetable shortening or coconut oil, one teaspoon at a time, until you reach a smooth, dippable consistency.
Tip: Never overheat candy melts, as this can cause them to seize up and become unusable. Gentle heating and frequent stirring are key.
Dip the Cake Pops
Remove the cake balls from the refrigerator. Dip the end of a lollipop stick into the melted candy and then insert it about halfway into a cake ball. This helps the stick adhere securely. Dip the entire cake ball into the melted candy, swirling gently to coat it completely.
Tip: For a cleaner dip, tap the stick gently against the side of the bowl to let excess candy drip off. You can also use a spoon to help smooth out any drips.
Decorate Your Halloween Cake Pops
Immediately after dipping, before the candy coating sets, add your desired sprinkles and decorations to create your halloween cake pops designs. You can create pumpkin cake pops by adding green candy melts for a stem, or ghost cake pops by drizzling white candy melts and adding black edible eyes. Get creative with your decorations to make unique monster cake pops or witch cake pops.
Tip: Work quickly with the decorations, as the candy coating sets quite fast. Have all your sprinkles and edible items ready before you start dipping.
Let Them Set
Place the decorated cake pops upright in a cake pop stand or a tall glass filled with sugar or styrofoam to allow them to set completely. This can take about 15-30 minutes at room temperature, or you can speed up the process by placing them in the refrigerator for about 10 minutes.
Tip: Ensure the cake pops are completely set before stacking them or packaging them for storage. This prevents decorations from smudging or cake pops from sticking together.
Creative Halloween Cake Pop Ideas
The possibilities for decorating halloween cake pops are endless, allowing you to truly let your creativity shine. Beyond the classic ghost cake pops and pumpkin cake pops, consider these fun and festive ideas to make your treats stand out.
For a spooky vibe, try making spiderweb cake pops by dipping them in black candy melts and then drizzling white candy melts in a web pattern. You can also create eerie mummy cake pops by dipping them in white candy melts and then drizzling thin strips of black candy melts to resemble bandages, leaving a small gap for eyes. If you’re aiming for something a bit more whimsical, design candy corn cake pops by dipping them in alternating layers of yellow, orange, and white candy melts.
Don’t forget about character-themed pops! You can make adorable monster cake pops with various colored candy melts and edible googly eyes, or even craft tiny cauldron cake pops by using black candy melts and adding green or purple drizzles to mimic bubbling potions. These creative halloween cake pops are sure to be a hit at any gathering. If you’re looking for more inspiration on fun and festive treats, exploring resources for Nutella brownies or other holiday bakes can spark even more ideas.
Tips for Perfect Halloween Cake Pops
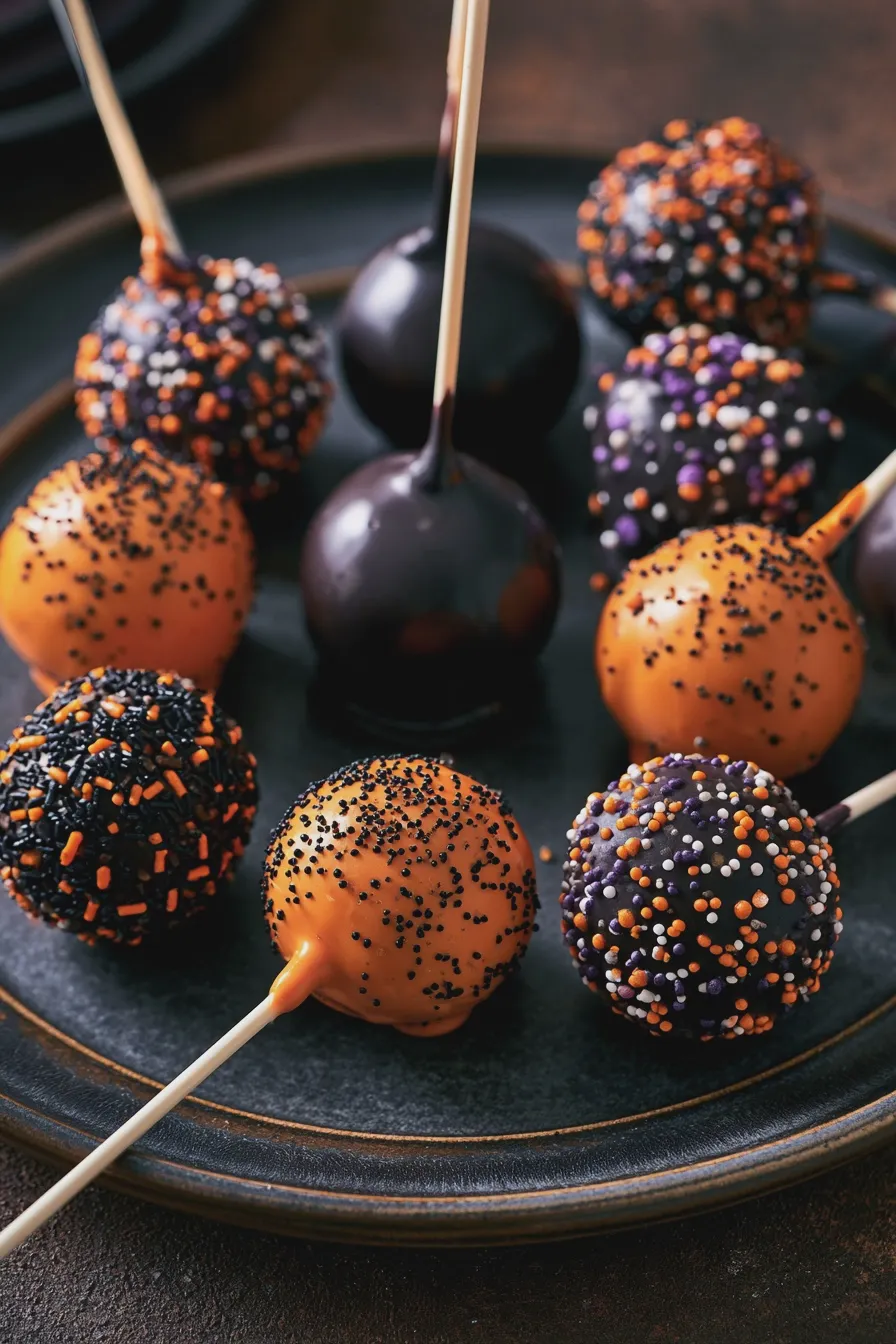
Achieving perfectly formed and beautifully decorated halloween cake pops involves a few key techniques. Paying attention to the consistency of your cake mixture and the melting of your candy coatings will make a significant difference in the final outcome.
Ensure your cake and frosting mixture is moist enough to hold together but not sticky; this is the foundation for well-shaped pops. When melting candy melts, avoid high heat and stir constantly to prevent burning. For a smooth finish, consider using a little vegetable shortening or coconut oil to thin the candy melts to the perfect dipping consistency. If you find your cake balls are crumbling, it might be worth exploring the difference butter vs. oil in cakes can make for a moister base next time.
When dipping, a gentle swirling motion helps ensure an even coat. Tap off excess candy melt carefully. For detailed decorations like spiderwebs or mummy bandages, a piping bag with a fine tip is incredibly helpful. Remember, practice makes perfect, and even slightly imperfectly decorated pops are still delicious!
Storage and Make-Ahead
These halloween cake pops can be made ahead of time, which is a huge advantage when preparing for parties. Once fully set, store them in an airtight container at room temperature for up to 3-4 days. Avoid refrigerating them unless absolutely necessary, as this can cause condensation and affect the candy coating’s appearance.
If you need to store them for longer, you can freeze the undecorated cake balls or the fully decorated cake pops. For undecorated balls, place them in a single layer on a baking sheet and freeze until firm, then transfer to a freezer-safe bag or container for up to 2-3 months. For decorated pops, ensure they are completely set and then freeze them in a single layer in a freezer-safe container, ideally with parchment paper between layers, for up to 1 month. Thaw at room temperature before serving.
Print