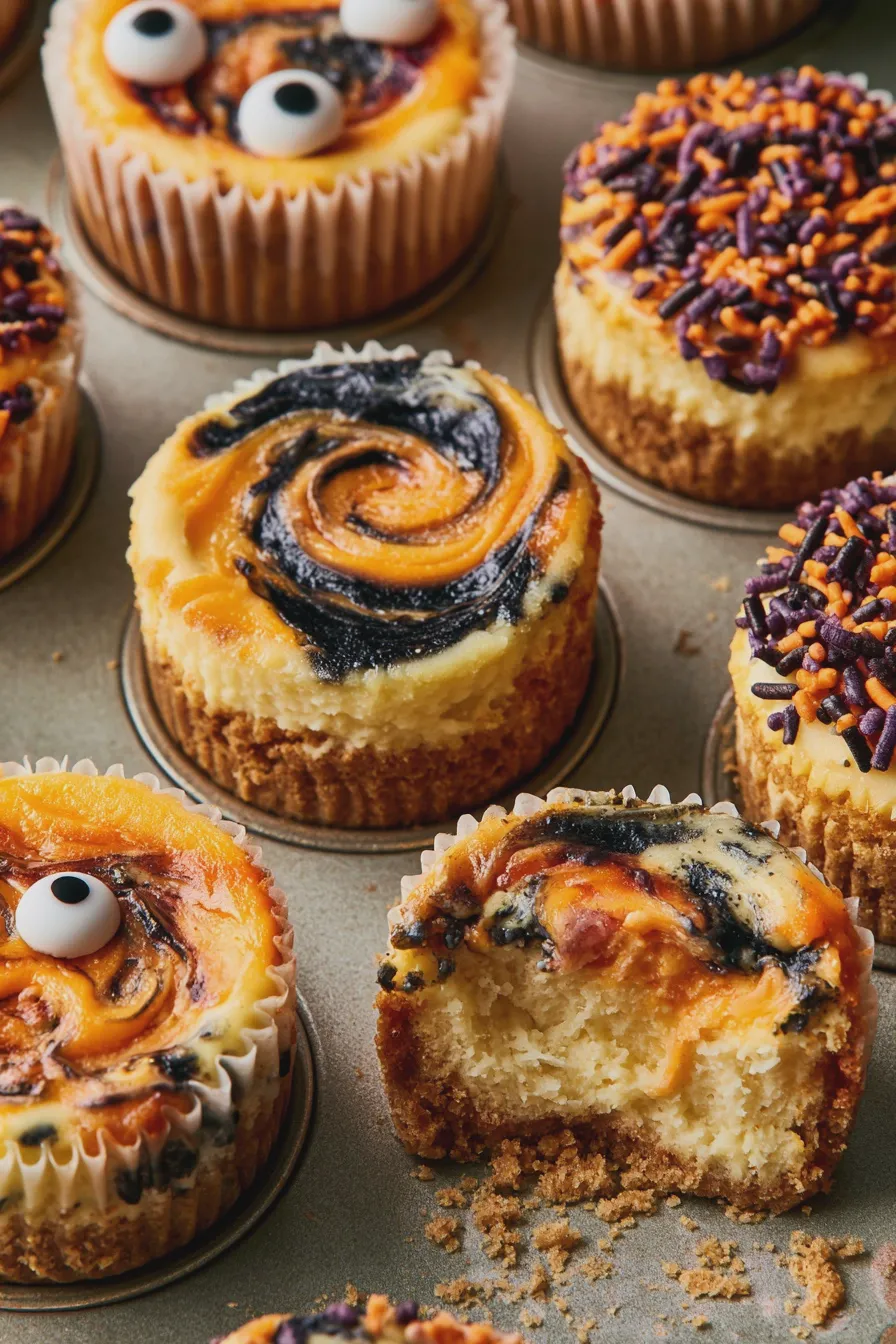
Halloween is the perfect time to unleash your inner baker and create something truly magical. A show-stopping halloween layer cake can be the centerpiece of any festive gathering, delighting both the eyes and the taste buds. Whether you’re aiming for a spooky masterpiece or a fun, whimsical creation, this guide will walk you through everything you need to know to bake and decorate a cake that’s sure to impress. Get ready to dive into the delicious world of themed layer cakes and elevate your Halloween party with a spectacular treat. For more inspiration on festive baking, check out these Halloween cakes.
The Foundation: Choosing Your Cake Flavor and Recipe
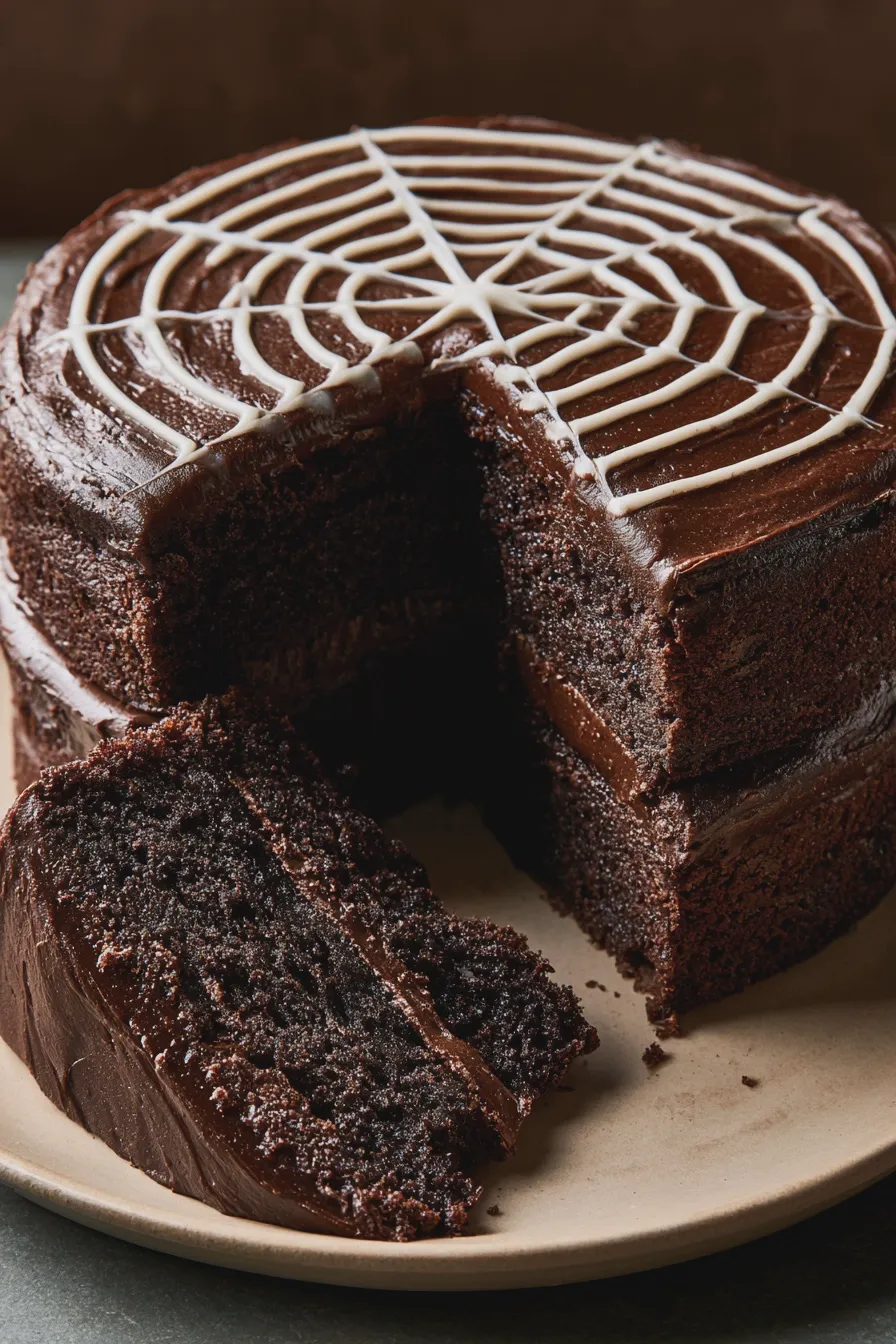
The secret to a successful halloween layer cake starts with a delicious cake. You want a recipe that is sturdy enough to hold up to stacking and frosting, yet moist and flavorful. Classic vanilla or chocolate are always crowd-pleasers, but don’t be afraid to get creative with Halloween-themed flavors.
Flavor Inspiration for Your Spooky Creation
Consider flavors that evoke the season. A rich chocolate cake can be dyed black for a dramatic effect, reminiscent of a black magic layer cake. Pumpkin spice cake is a natural fit for a pumpkin patch layer cake. You could even incorporate swirls of orange and black batter for a fun, marbled effect.
Baking the Perfect Layers
When baking your cake layers, ensure they are baked evenly. Over-baking can lead to dry cakes, while under-baking can result in a cake that sinks in the middle. Use the toothpick test: insert a toothpick into the center of the cake; it should come out clean or with a few moist crumbs attached.
Tips for Even Baking:
- Room Temperature Ingredients: Make sure your eggs, butter, and milk are at room temperature. This helps them emulsify better, creating a smoother batter and a more consistent bake.
- Accurate Measuring: Use a kitchen scale for precise measurements, especially for flour. Too much flour can make your cake dense.
- Don’t Overmix: Mix the batter until just combined. Overmixing develops gluten, which can result in a tough cake.
- Proper Pan Preparation: Greasing and flouring your cake pans, or using parchment paper, is crucial to prevent sticking. For detailed instructions, see our guide on How To Prepare A Cake Pan To Prevent Sticking.
Common Baking Mistakes to Avoid
One of the most common mistakes is opening the oven door too early, causing the cake to sink. Also, ensure your oven temperature is accurate. An oven thermometer can be a lifesaver. If your cakes consistently sink, it might be due to over-mixing or an oven temperature that’s too high. Learn more about this in our article on Why Did My Cake Sink In The Middle.
Crafting the Perfect Frosting for Your Halloween Layer Cake
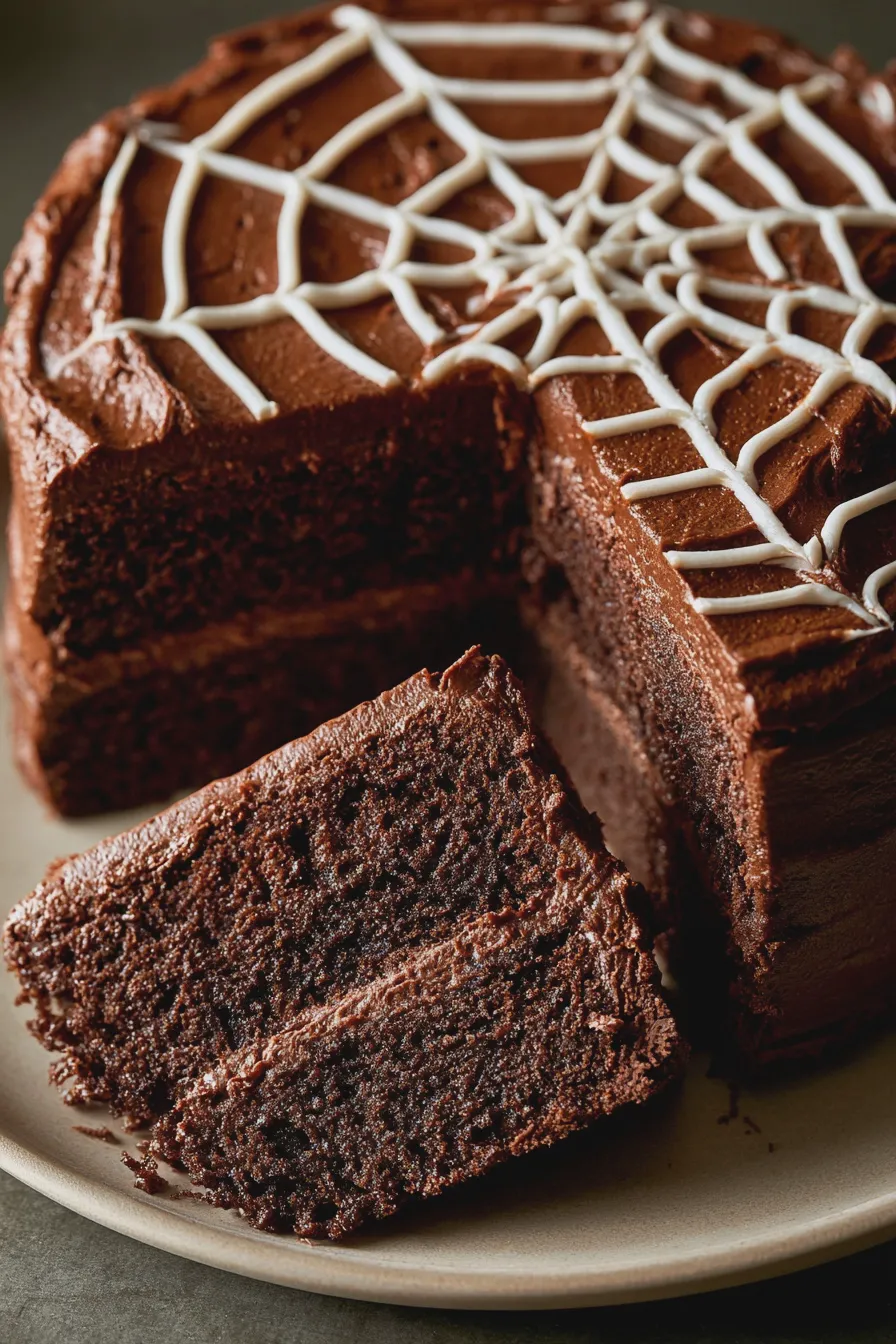
Frosting is where much of the magic happens for a halloween layer cake. It not only adds flavor but also serves as the canvas for your decorations. Buttercream is a popular choice for its versatility and delicious taste.
Buttercream Basics
American buttercream is a simple and sweet frosting made from butter, powdered sugar, vanilla extract, and a little milk or cream. For a sturdier frosting that holds up well for decorating, a cream cheese frosting is also an excellent option, especially for cakes like a Zucchini Cake With Cream Cheese Frosting or a Carrot Cake With Cream Cheese Frosting.
Tips for Flawless Frosting:
- Softened Butter: Ensure your butter is softened, not melted, for the best texture.
- Sifted Powdered Sugar: Sifting powdered sugar prevents lumps and creates a smoother frosting.
- Adjusting Consistency: Add liquid (milk or cream) a tablespoon at a time to reach your desired consistency. For piping, you’ll want it a bit stiffer.
- Flavor Variations: Add cocoa powder for chocolate, espresso powder for coffee, or even a touch of pumpkin puree and spices for a seasonal flavor.
Coloring Your Frosting
Halloween palettes are rich with blacks, oranges, purples, greens, and whites. Gel food coloring is recommended as it provides vibrant colors without altering the frosting’s consistency. Start with a small amount and add more until you achieve your desired shade. Be patient, especially when trying to achieve deep colors like black or dark purple, as it may take time and several applications of coloring.
Designing Your Spooky Halloween Layer Cake
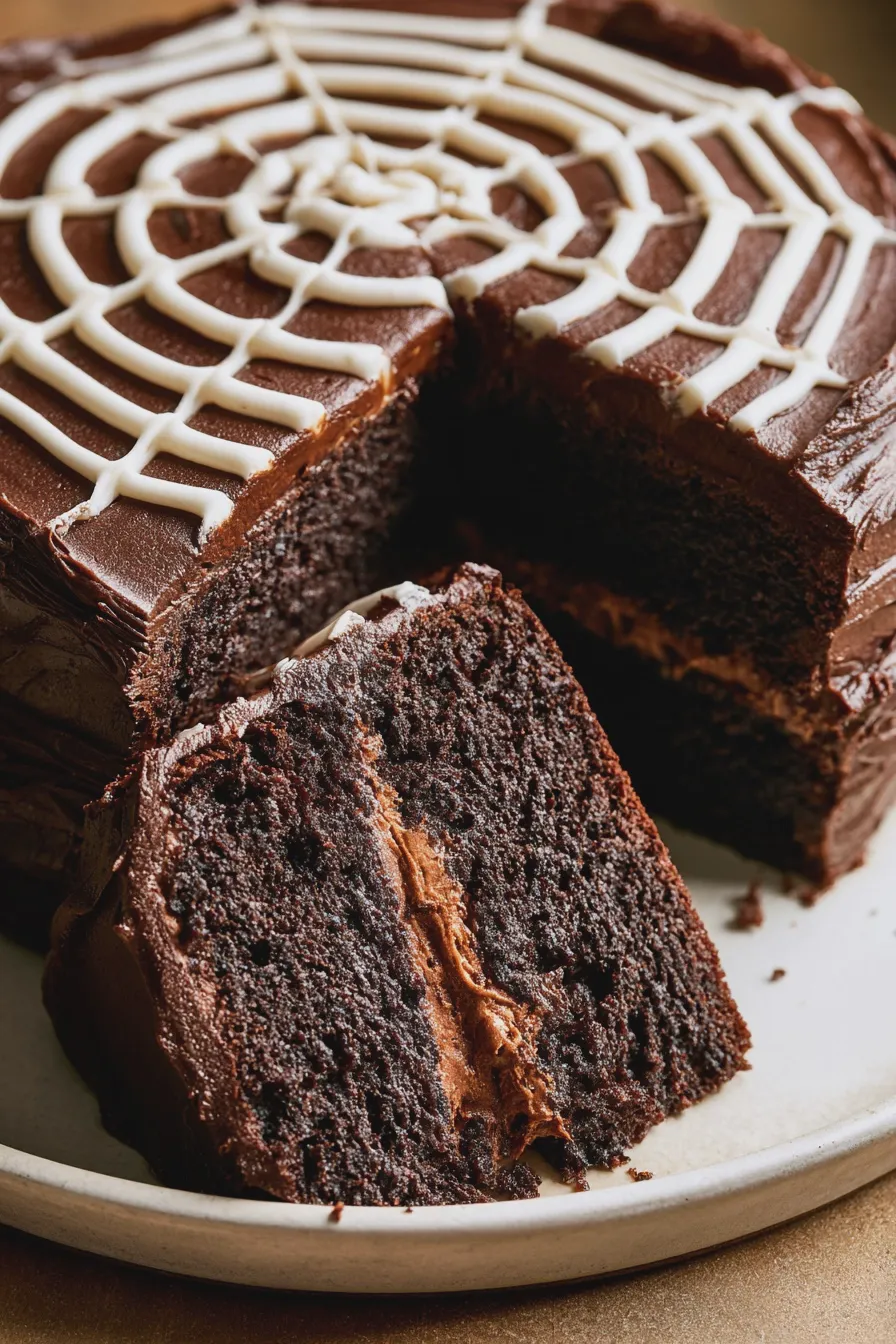
This is where your creativity truly shines! There are countless ways to decorate a halloween layer cake, from simple to elaborate. Think about the overall theme you want to achieve, whether it’s a creepy graveyard layer cake, a playful ghost layer cake, or a sophisticated gothic layer cake.
Popular Halloween Cake Designs
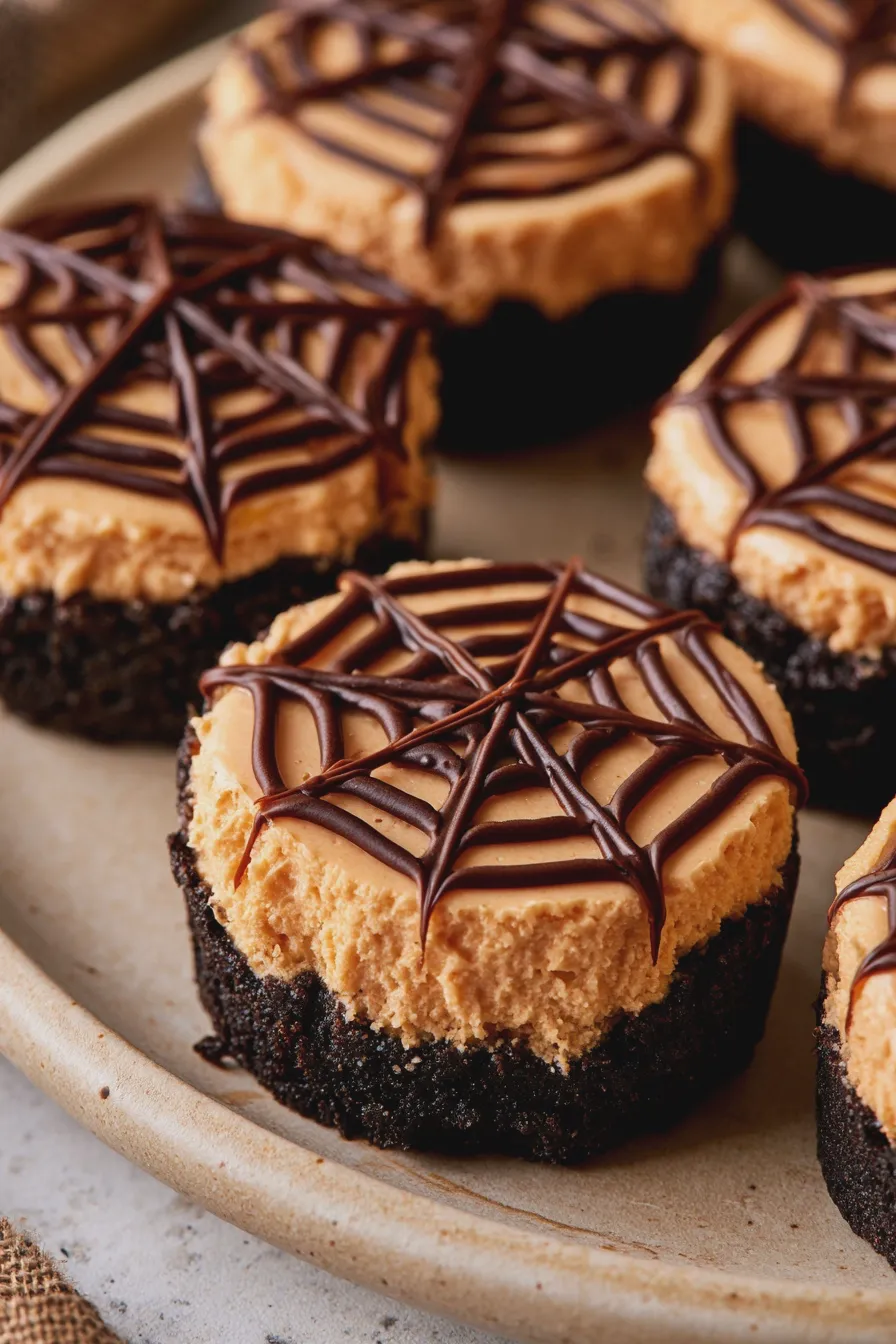
- Spiderweb Cake: Frost the cake in a dark color (black or deep purple). Then, use white or contrasting colored frosting to pipe concentric circles. Drag a toothpick from the center outwards to create the web effect.
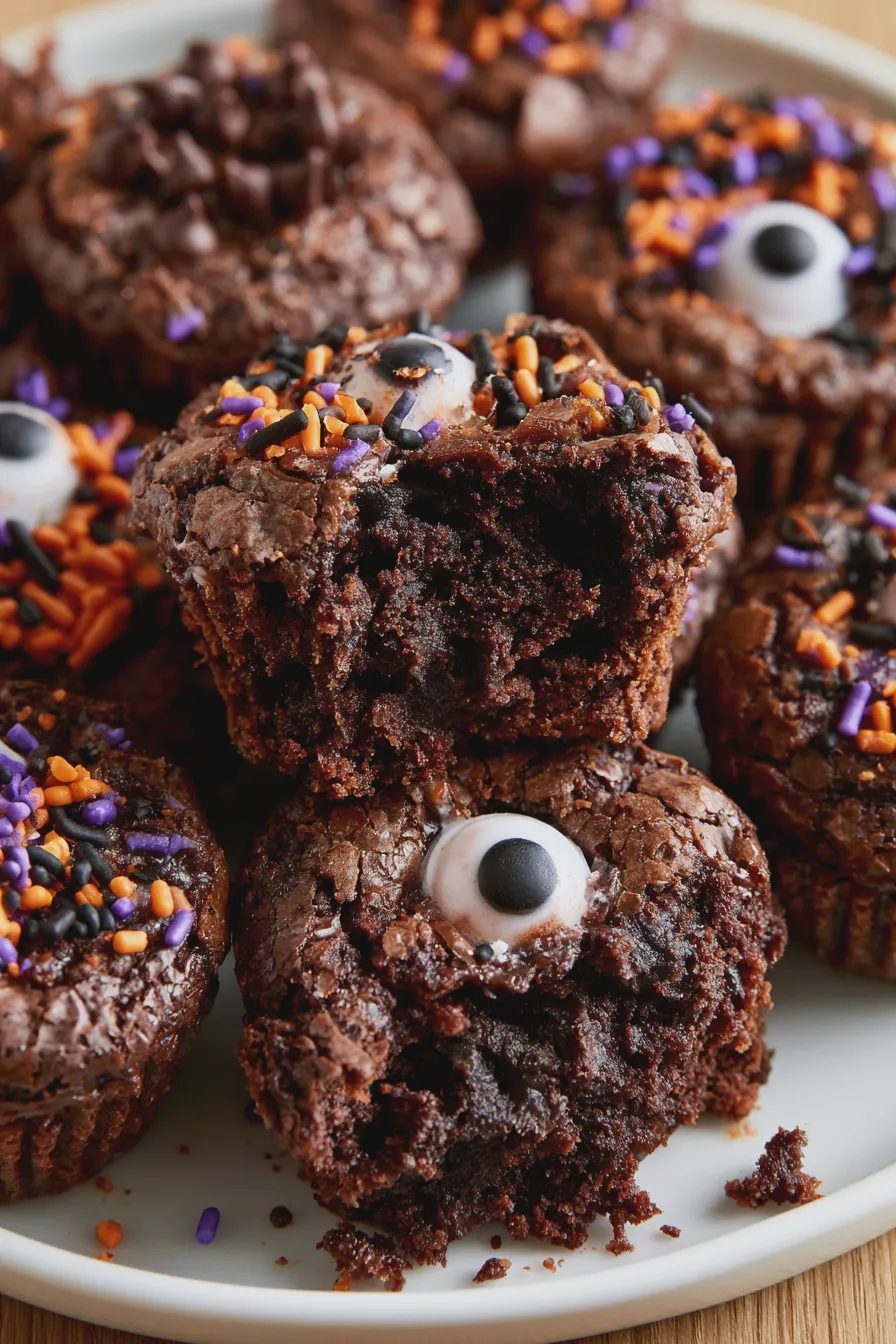
- Monster Mash Cake: Use various colors of frosting and piping tips to create a chaotic, fun monster look. Add candy eyes for extra personality. This is a fantastic option for a monster mash layer cake.
- Ghostly Apparitions: Use white frosting to create ghost shapes. You can pipe them on or use fondant. Simple black dots for eyes can bring them to life.
- Candy Corn Cake: Layer cake with frosting colored in the distinct yellow, orange, and white stripes of candy corn.
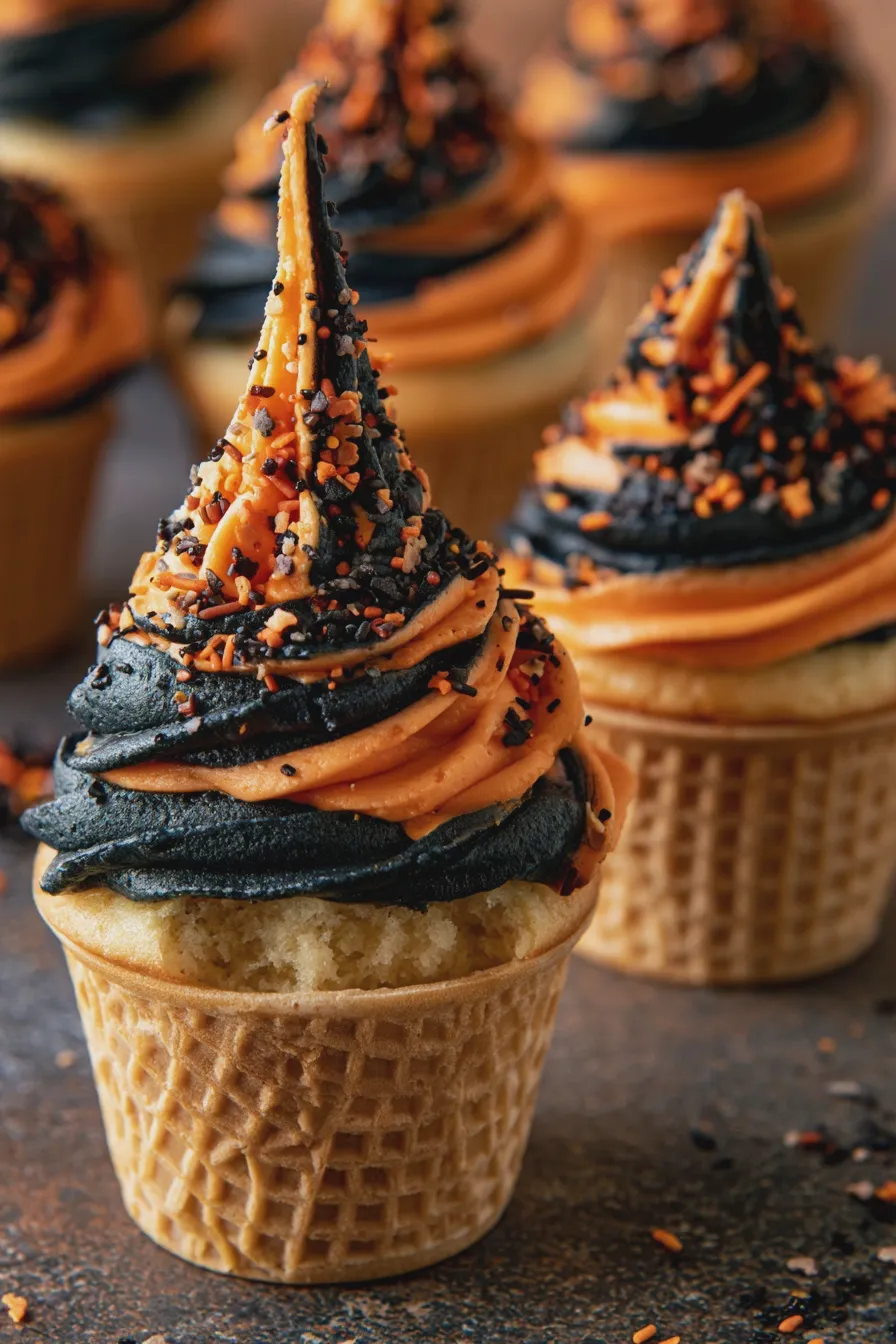
- Witch Hat Cake: Decorate the top of your cake to resemble a witch’s hat, using black frosting and perhaps some green accents. This makes for a charming witch hat layer cake.
- Skeleton Cake: Use white frosting or fondant to create skeleton bones on a dark background.
- Haunted House Cake: This can be a more involved project, using frosting, cookies, and candy to build a spooky haunted structure.
Decorating Techniques for a Showstopper
Consider using different piping tips to create textures and details. A star tip can make grass or fur, while a round tip is perfect for outlines and writing. Fondant can be used for smooth finishes or to cut out shapes like bats, pumpkins, or ghosts. Edible glitter and sprinkles add a touch of sparkle and fun, making your cake one of the best fun Halloween desserts.
Tips for Flawless Decoration:
- Chill Your Cake: A chilled cake is much easier to frost. Apply a thin “crumb coat” of frosting first to trap loose crumbs, then chill again before applying the final layer.
- Smooth Finish: Use an offset spatula or bench scraper to achieve a smooth frosting finish.
- Plan Your Design: Sketch out your design beforehand to ensure you have all the necessary colors and tools.
- Don’t Be Afraid of Imperfection: Especially for spooky themes, a slightly imperfect look can add to the charm!
Assembling Your Halloween Layer Cake
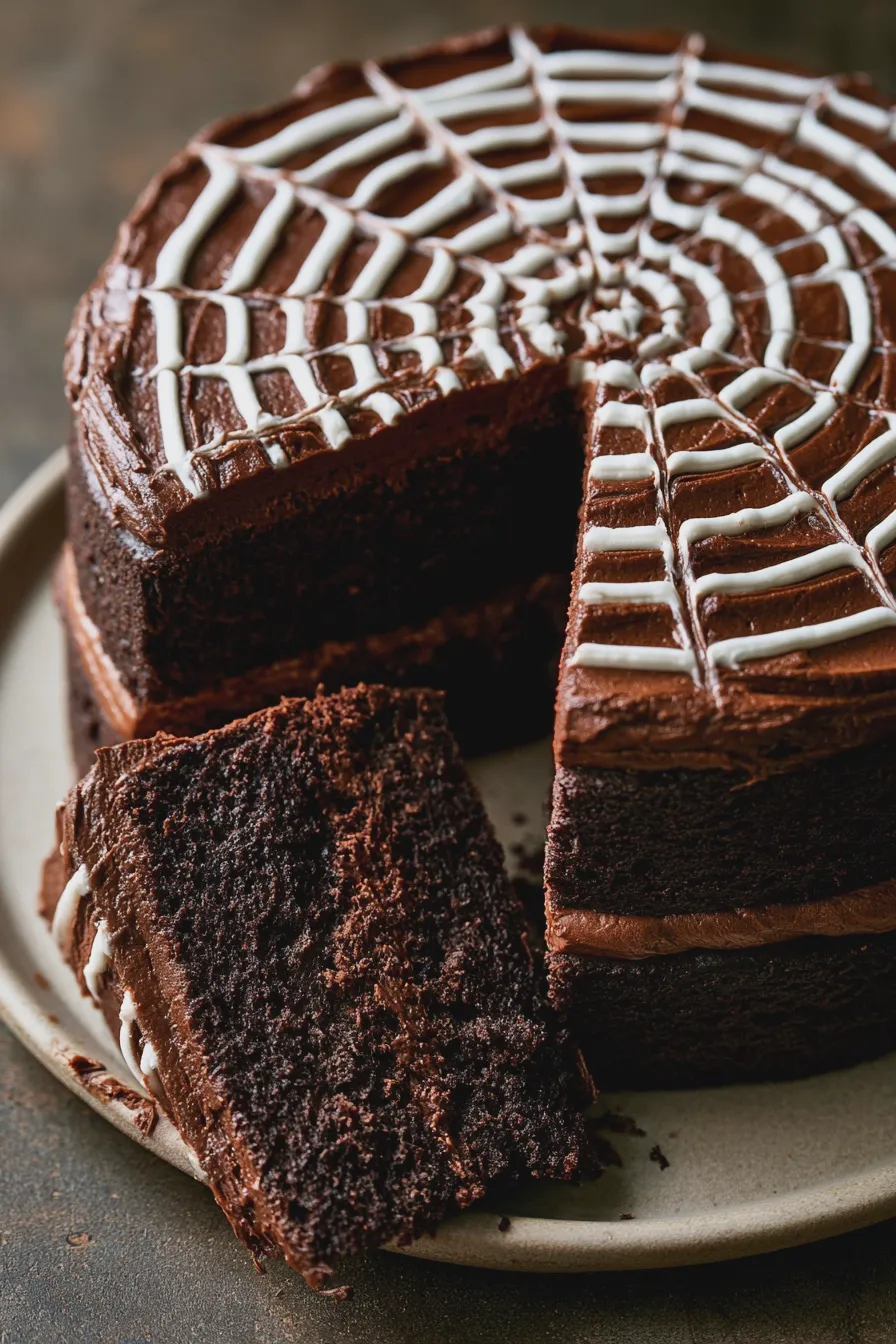
Once your cake layers are baked and cooled, and your frosting is ready, it’s time to assemble your masterpiece. This is where the cake truly starts to take shape.
Leveling Your Layers
For a professional-looking cake, it’s important to level your cake layers. Use a long serrated knife or a cake leveler to carefully trim off any domed tops. This ensures your layers stack evenly and your cake stands tall.
Filling and Crumb Coating
Place your first cake layer on your serving plate or cake stand. Spread an even layer of frosting (or your chosen filling) over the top. Place the next layer on top, and repeat. Once all layers are stacked, apply a thin, even layer of frosting all over the cake. This is your crumb coat, which seals in any loose crumbs and provides a smooth base for your final frosting.
If you enjoyed this, you might also love our Zucchini Angel Food Cake Recipe recipe.
Chilling for Stability
After applying the crumb coat, chill the cake in the refrigerator for at least 30 minutes. This firming up of the frosting makes it much easier to apply the final decorative layer without smudging or pulling off cake crumbs. This is a key step for achieving clean lines and smooth finishes on your easy Halloween cakes.
Bringing Your Halloween Layer Cake to Life: Decoration Ideas
With the cake assembled and chilled, the fun really begins! Let’s explore some more specific decoration ideas that can turn your cake into a true themed layer cake.
Creating a Spooky Scene
For a graveyard cake, you can use crushed chocolate cookies for dirt, candy pumpkins, and cookie tombstones. For a spiderweb layer cake, as mentioned earlier, focus on intricate piping. Consider using edible googly eyes, candy bats, or even small plastic spiders (ensure they are food-safe or removed before serving) to enhance the spooky atmosphere.
Edible Elements and Embellishments
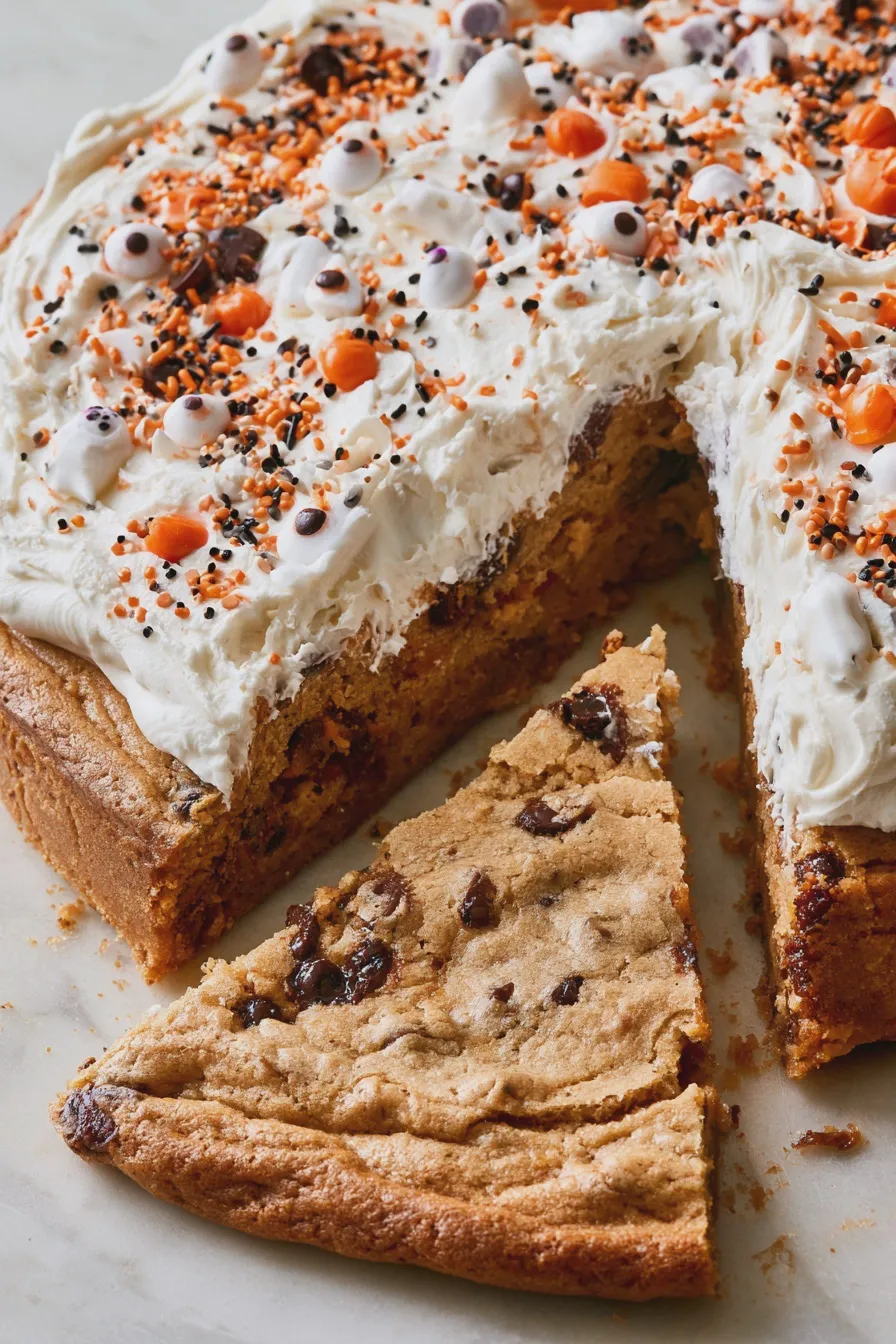
Don’t forget about edible decorations! Gummy worms, candy eyeballs, chocolate skulls, and licorice can all add character. You can also use edible paints or food-safe markers to draw details directly onto fondant or hardened frosting. These are fantastic additions to any of your Halloween cake designs.
Themed Layer Cakes for Every Taste
Whether you prefer a cute and cuddly monster or a genuinely eerie haunted house, the possibilities are endless. Think about your audience – will it be for little trick-or-treaters or adult guests? This will help guide your design choices for your festive cake recipes.
Troubleshooting Common Halloween Cake Decorating Issues
Even experienced bakers encounter decorating challenges. Here are a few common issues and how to fix them:
- Frosting Too Soft: If your frosting is too soft to pipe cleanly, pop it in the refrigerator for 10-15 minutes until it firms up.
- Colors Not Vibrant Enough: For deeper colors, use gel food coloring and be patient. Sometimes the color deepens as it sits.
- Uneven Frosting: Don’t strive for absolute perfection if it causes stress. A slightly rustic look can be very charming for Halloween. For a smoother finish, use a bench scraper and a turntable.
- Fondant Tears: If fondant tears, try kneading it gently to make it more pliable, or patch small tears with a little water.
Remember, the goal is to have fun and create something delicious! These spooky dessert ideas are meant to inspire your creativity.
Print
Halloween Layer Cake Recipe for a Spooky Celebration
- Total Time: PT1H20M
- Yield: 12–16 servings 1x
- Diet: Vegetarian
Ingredients
- 2 cups all-purpose flour
- 2 cups granulated sugar
- 3/4 cup unsweetened cocoa powder
- 2 teaspoons baking soda
- 1 teaspoon baking powder
- 1 teaspoon salt
- 2 large eggs
- 1 cup milk
- 1/2 cup vegetable oil
- 2 teaspoons vanilla extract
- 1 cup boiling water
- For the Chocolate Frosting:
- 1 cup (2 sticks) unsalted butter, softened
- 3 1/2 cups powdered sugar
- 1/2 cup unsweetened cocoa powder
- 1/2 cup milk (or heavy cream)
- 1 teaspoon vanilla extract
- For the Spiderweb Design:
- 1/4 cup white frosting or thinned white chocolate ganache
Instructions
- Preheat your oven to 350°F (175°C). Grease and flour two 8-inch round cake pans.
- In a large bowl, whisk together the flour, sugar, cocoa powder, baking soda, baking powder, and salt.
- In a separate bowl, whisk together the eggs, milk, oil, and vanilla extract.
- Add the wet ingredients to the dry ingredients and mix until just combined.
- Carefully pour in the boiling water and whisk until the batter is smooth and thin.
- Divide the batter evenly between the prepared cake pans.
- Bake for 30-35 minutes, or until a wooden skewer inserted into the center comes out clean.
- Let the cakes cool in the pans for 10 minutes before inverting them onto a wire rack to cool completely.
- While the cakes cool, prepare the frosting. In a large bowl, beat the softened butter until creamy.
- Gradually add the powdered sugar, cocoa powder, and milk, beating until smooth and well combined. Add vanilla extract and beat until incorporated.
- Once the cakes are completely cooled, place one cake layer on your serving plate. Spread a generous amount of frosting over the top.
- Place the second cake layer on top. Frost the entire cake smoothly with the remaining frosting.
- For the spiderweb effect: Place a dollop of white frosting (or thinned white chocolate ganache) in a piping bag with a small round tip.
- Pipe concentric circles of white frosting on top of the chocolate frosting, starting from the center and working outwards.
- Using a toothpick or a skewer, drag lines from the center outwards through the white circles to create the spiderweb pattern.
- Optional: Decorate with plastic spiders or Halloween-themed sprinkles.
- Chill the cake for at least 30 minutes before slicing and serving to allow the frosting to set.
Notes
- Ensure all ingredients for the cake are at room temperature for best results.
- Do not overmix the cake batter, as this can lead to a tough cake.
- For a deeper chocolate flavor, use good quality cocoa powder.
- The white frosting for the spiderweb can be made by mixing a small amount of milk or cream into white buttercream frosting until it reaches a pipeable consistency.
- Allow the cake to cool completely before frosting to prevent the frosting from melting.
- Prep Time: PT45M
- Cook Time: PT35M
- Category: Desserts
- Method: Baking
- Cuisine: American
Nutrition
- Serving Size: 1 slice
- Calories: 450
- Sugar: 55g
- Sodium: 300mg
- Fat: 25g
- Saturated Fat: 12g
- Carbohydrates: 60g
- Fiber: 3g
- Protein: 5g
- Cholesterol: 60mg