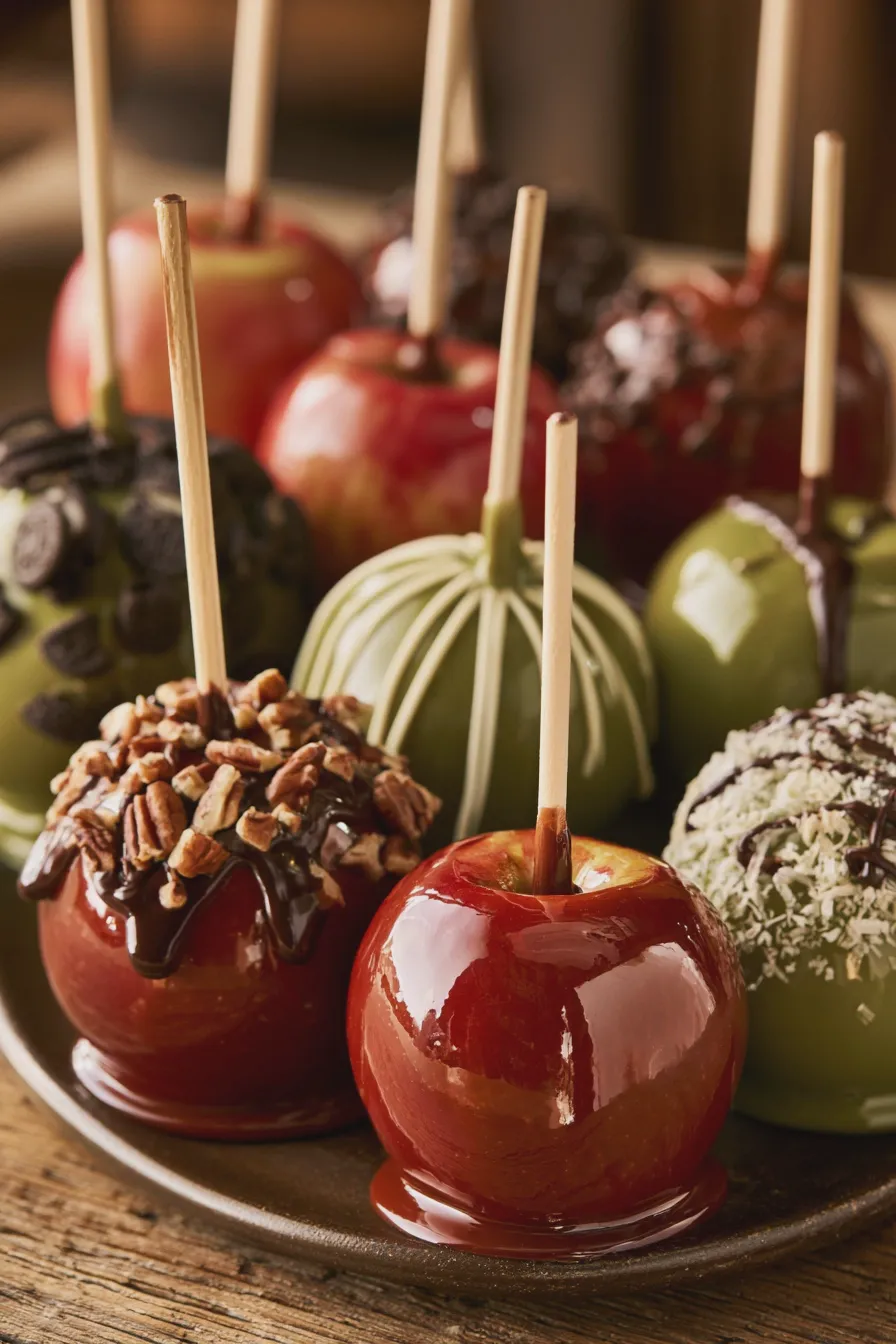
Create a delightful candy apple bar for a fun, interactive dessert experience. This recipe transforms classic homemade candy apples into a crowd-pleasing bar format, perfect for parties or a special fall treat.
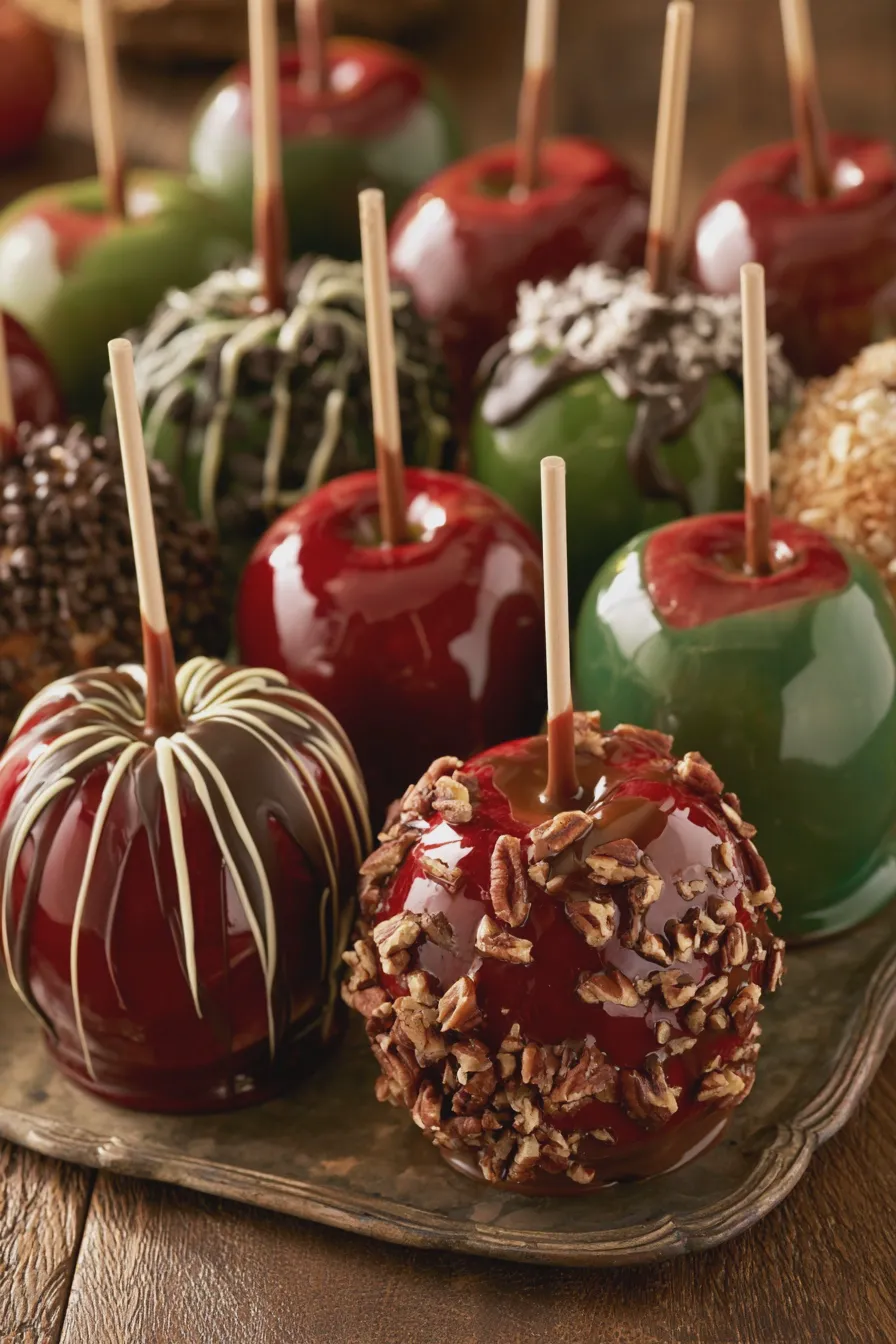
When you think of autumn treats, homemade candy apples often come to mind, with their glossy, hard shell and crisp apple interior. Our candy apple bar recipe takes that beloved classic and makes it even more accessible and customizable, perfect for a festive gathering or a cozy evening at home.
What is a Candy Apple Bar?
A candy apple bar is a dessert setup where all the components of a classic candy apple are deconstructed and presented separately for guests to assemble their own. This typically includes a base layer, a candy apple coating, and a variety of toppings, allowing for a personalized and interactive dessert experience. It’s a playful twist on the traditional homemade candy apples, making dessert assembly part of the fun.
Why You’ll Love This Candy Apple Bar Recipe
This candy apple bar recipe is incredibly versatile and caters to every sweet tooth. You can easily adapt the flavors and toppings to suit your preferences, making it a unique addition to any celebration. It’s a fantastic way to enjoy the flavors of autumn candy apples without the fuss of dipping individual apples.
The beauty of this dessert lies in its interactive nature and customizable elements. Imagine a spread of delicious components, all ready for you and your guests to create the perfect bite. It’s a guaranteed hit for a candy apple party or any gathering where fun and flavor are paramount.
Candy Apple Bar Ingredients
The magic of a candy apple bar lies in its components, each contributing to a symphony of flavors and textures. We’ll break down the essential elements for both the candy apple coating and the bar base, ensuring a delicious and satisfying dessert.
For the Candy Apple Coating
- 1 cup granulated sugar
- 1/2 cup light corn syrup
- 1/2 cup water
- 1 teaspoon vanilla extract
- Red food coloring (optional, for classic color)
- 1/4 teaspoon cream of tartar (helps prevent crystallization)
This classic candy apple coating uses simple ingredients to achieve that signature sweet and slightly chewy, yet crisp, shell. The corn syrup is crucial for preventing sugar crystallization and achieving a smooth, glossy finish. You can adjust the amount of red food coloring to achieve your desired hue, or omit it entirely for a clear candy shell.
For the Bar Base
- 1 cup (2 sticks) unsalted butter, softened
- 1 1/2 cups granulated sugar
- 2 large eggs
- 1 teaspoon vanilla extract
- 2 1/2 cups all-purpose flour
- 1 teaspoon baking powder
- 1/2 teaspoon salt
The bar base provides a sturdy and delicious foundation for your candy apple creations. A classic butter-based shortbread-style bar works wonderfully, offering a tender crumb that complements the crunchy topping. Ensure your butter is softened but not melted for the best texture.
Candy Apple Toppings & Add-ins
- 12-15 small to medium apples (Honeycrisp, Fuji, or Gala work well), washed and dried thoroughly
- 1 cup chopped peanuts or other nuts (pecans, walnuts)
- 1 cup mini chocolate chips
- 1 cup chopped caramel candies
- 1/2 cup shredded coconut
- Crushed graham crackers or cookies
- Sprinkles
- Mini marshmallows
- Drizzled chocolate or caramel sauce (for serving)
This is where the fun truly begins! Offering a variety of toppings allows everyone to personalize their candy apple dessert. Think about different textures and flavors – crunchy nuts, sweet chocolate, chewy caramel, and festive sprinkles. Having a good selection of candy apple toppings is key to a successful candy apple bar.
How to Make Candy Apple Bar
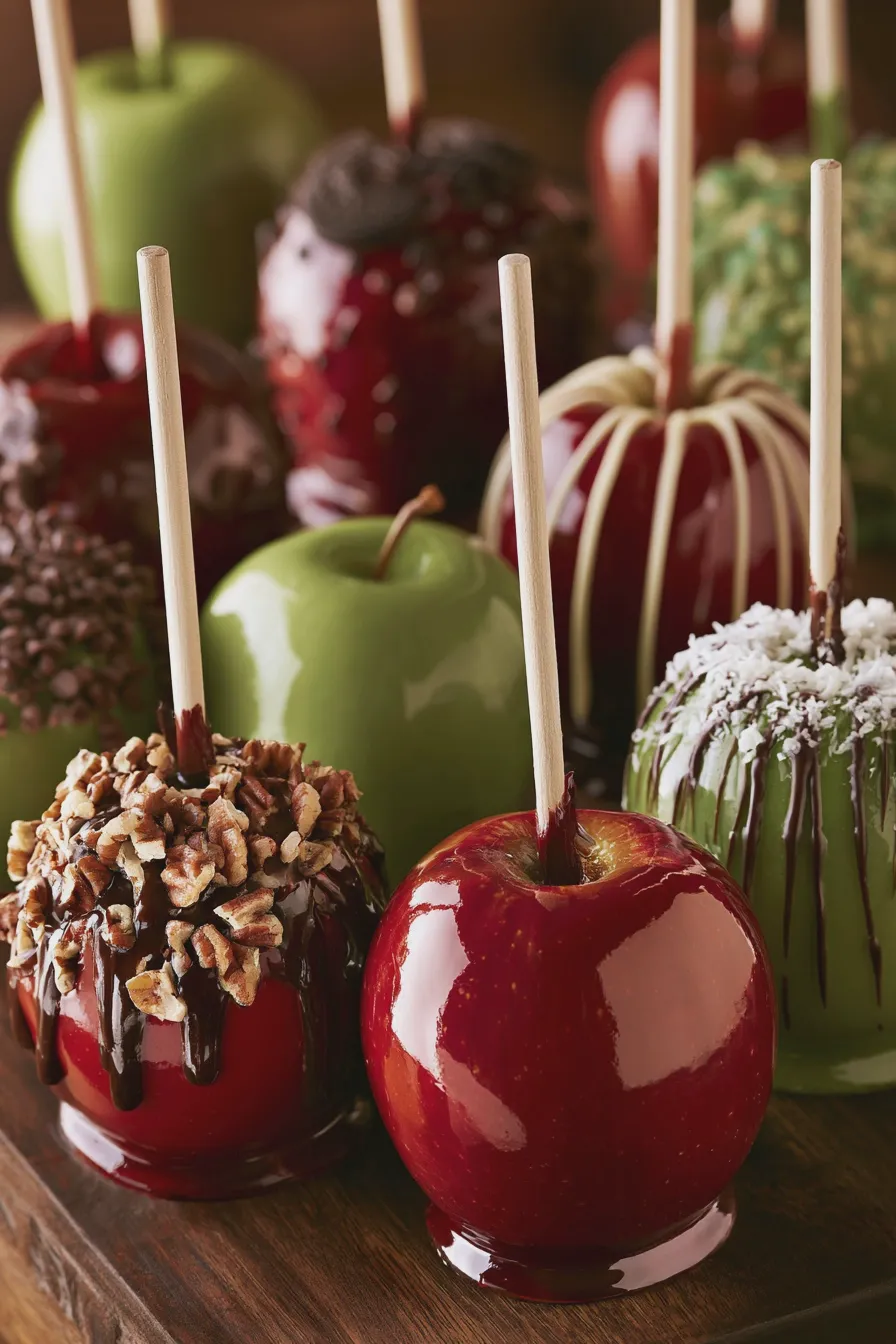
Creating a candy apple bar involves preparing each component separately and then assembling them for a delightful dessert experience. Follow these steps to bring your delicious candy apple bar to life.
Prepare the Bar Base
Begin by preheating your oven to 350°F (175°C) and greasing and flouring a 9×13 inch baking pan. In a large bowl, cream together the softened butter and granulated sugar until light and fluffy. This aeration is crucial for a tender bar, much like when making snickerdoodle cookies.
Beat in the eggs one at a time, followed by the vanilla extract, ensuring each addition is well incorporated. In a separate bowl, whisk together the flour, baking powder, and salt. Gradually add the dry ingredients to the wet ingredients, mixing until just combined to avoid a tough texture.
Bake the Bar Base
Spread the batter evenly into the prepared baking pan, ensuring it reaches all the corners. Bake for 20-25 minutes, or until the edges are golden brown and a toothpick inserted into the center comes out clean. Be careful not to overbake, as this can result in a dry bar. Let the baked base cool completely in the pan before proceeding.
Make the Candy Apple Coating
While the bar base cools, prepare the candy apple coating. Combine the granulated sugar, light corn syrup, water, and cream of tartar in a medium saucepan. Stir until the sugar is dissolved over medium heat.
Bring the mixture to a boil without stirring, and cook until it reaches the hard-crack stage, approximately 300-310°F (149-154°C) on a candy thermometer. Once it reaches temperature, remove from heat and stir in the vanilla extract and red food coloring, if using. This candy coating is essential for achieving that classic easy candy apple recipe texture.
Prepare the Apples
Wash and thoroughly dry the apples; any moisture will prevent the candy coating from adhering properly. Remove the stems and insert wooden skewers or candy apple sticks firmly into the stem end of each apple. Ensure the skewers are secure, as they will be used to hold the apples while dipping.
Assemble the Candy Apple Bar
Once the bar base is completely cool, carefully remove it from the pan and cut it into desired bar or square sizes. Arrange the cut bars on a serving platter or directly on parchment paper for easy cleanup. Prepare your toppings by placing them in small bowls or ramekins.
Now for the fun part: guests can take a bar base, drizzle or dip it with the warm candy apple coating, and then immediately press their chosen toppings onto the sticky surface. Offer extra drizzles of chocolate or caramel sauce for an added touch of indulgence, creating a unique caramel apple bar experience.
Serving and Presentation
Present the bar base and toppings attractively, allowing guests to see all the delicious options. Warm the candy apple coating gently if it starts to cool too much, but be cautious as it is extremely hot. Provide small spoons or spatulas for guests to help themselves to the coating and toppings.
This setup transforms dessert into an activity, perfect for a candy apple station. The visual appeal of colorful toppings against the glossy candy coating and the tender bar base makes for a stunning dessert display.
Candy Apple Bar Variations
The beauty of a candy apple bar lies in its adaptability. Explore different flavor profiles and ingredient combinations to create unique candy apple variations that will delight your guests.
Consider a chocolate candy apple bar by incorporating chocolate into the coating or using chocolate chips and drizzles as primary toppings. You could also experiment with different types of sugar in the coating, referring to guides on types of sugar in baking for inspiration on how different sugars affect texture. For a richer taste, try a caramel apple dip bar by using a thick caramel sauce as the primary dipping element instead of the traditional candy apple coating.
Tips for the Best Candy Apple Bar
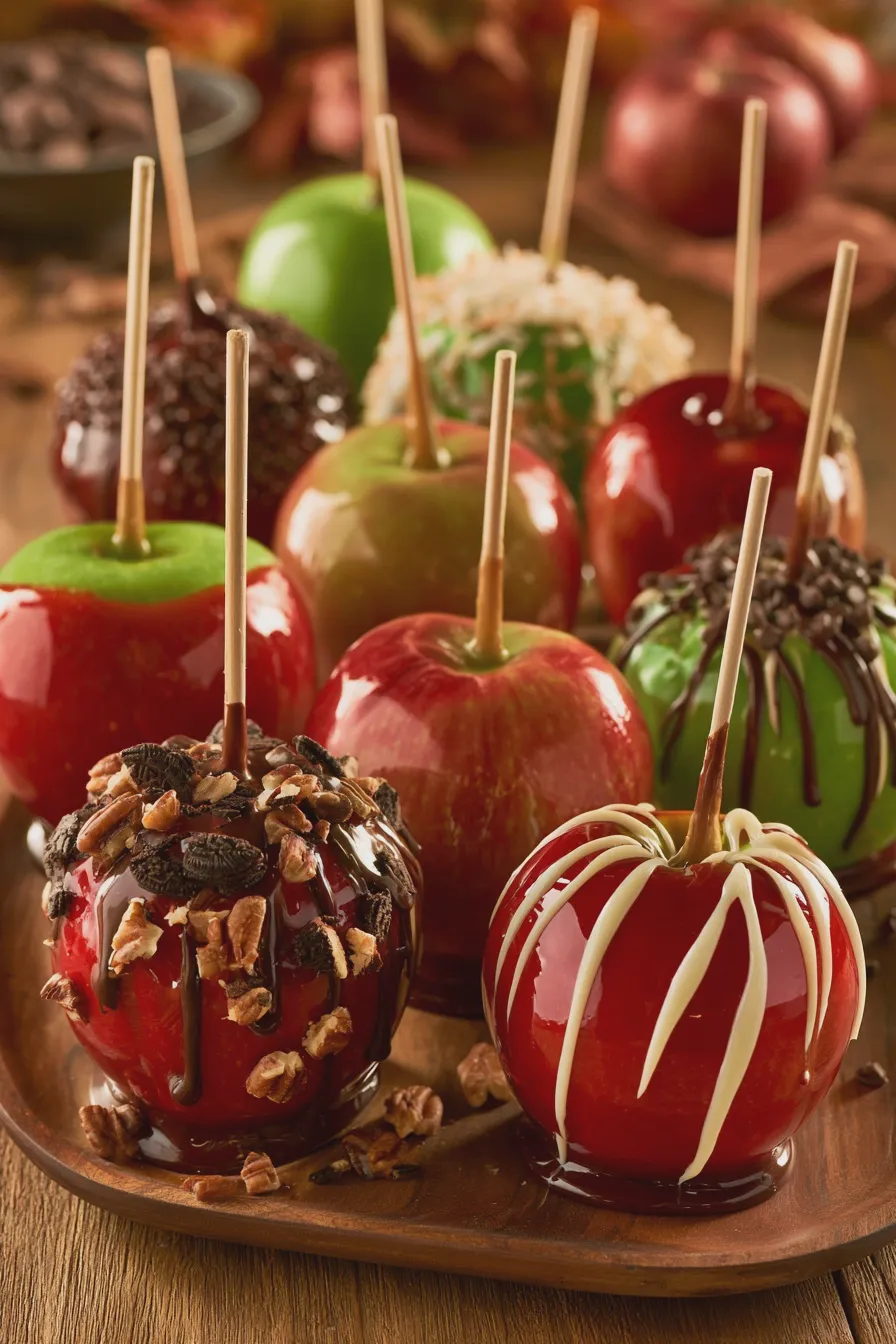
Achieving a perfect candy apple bar involves a few key techniques and considerations. Following these tips will help ensure your dessert is a resounding success, making it the best candy apple recipe experience.
Preventing Crystallization
To ensure a smooth, glossy candy coating, it’s essential to prevent sugar crystallization. Stirring the sugar mixture once it begins to boil can cause crystals to form. Using corn syrup also helps maintain a smooth texture. If you see sugar crystals forming on the sides of the pot, you can use a wet pastry brush to gently wash them down.
Achieving the Right Coating Consistency
The candy coating needs to be hot enough to dip easily but not so thin that it drips off the apples. Use a candy thermometer to reach the hard-crack stage (300-310°F or 149-154°C). If the coating becomes too thick while you’re dipping, gently reheat it over low heat, being careful not to scorch it.
Apple Selection and Preparation
Choose firm, crisp apples that hold their shape well. Apples like Honeycrisp, Fuji, or Gala are excellent choices. Ensure they are completely dry after washing; even a little moisture can cause the candy to slide off. For a more rustic feel, consider making strawberry hand pies with similar topping ideas.
Topping Ideas and Combinations
Think about a balance of textures and flavors when selecting toppings. Salty nuts contrast beautifully with the sweet candy coating. Mini chocolate chips add a burst of chocolate, while chopped caramels offer extra chewiness. Don’t be afraid to get creative with combinations, perhaps inspired by other decadent desserts like raspberry brownies or cream cheese brownies.
Make-Ahead and Storage
The bar base can be baked a day in advance and stored at room temperature in an airtight container. The toppings can also be prepped and stored separately. The candy apple coating is best made just before serving, as it needs to be kept warm for dipping. Leftover assembled candy apples should be stored loosely covered at room temperature; refrigeration can make the candy shell sticky and affect the apple’s crispness.
Print