Whipping up a batch of chocolate covered apples is a delightful way to enjoy a classic treat with a customizable twist. These sweet, crunchy delights are perfect for parties, holidays, or just a fun afternoon project, offering a satisfying combination of crisp fruit and rich chocolate.
Welcome to the sweet side of autumn, where crisp apples meet decadent chocolate for a truly irresistible treat. Making your own chocolate covered apples at home is surprisingly simple and incredibly rewarding, allowing you to personalize every bite. Get ready to impress yourself and your loved ones with these beautiful and delicious homemade chocolate apples.
What Are Chocolate Covered Apples?
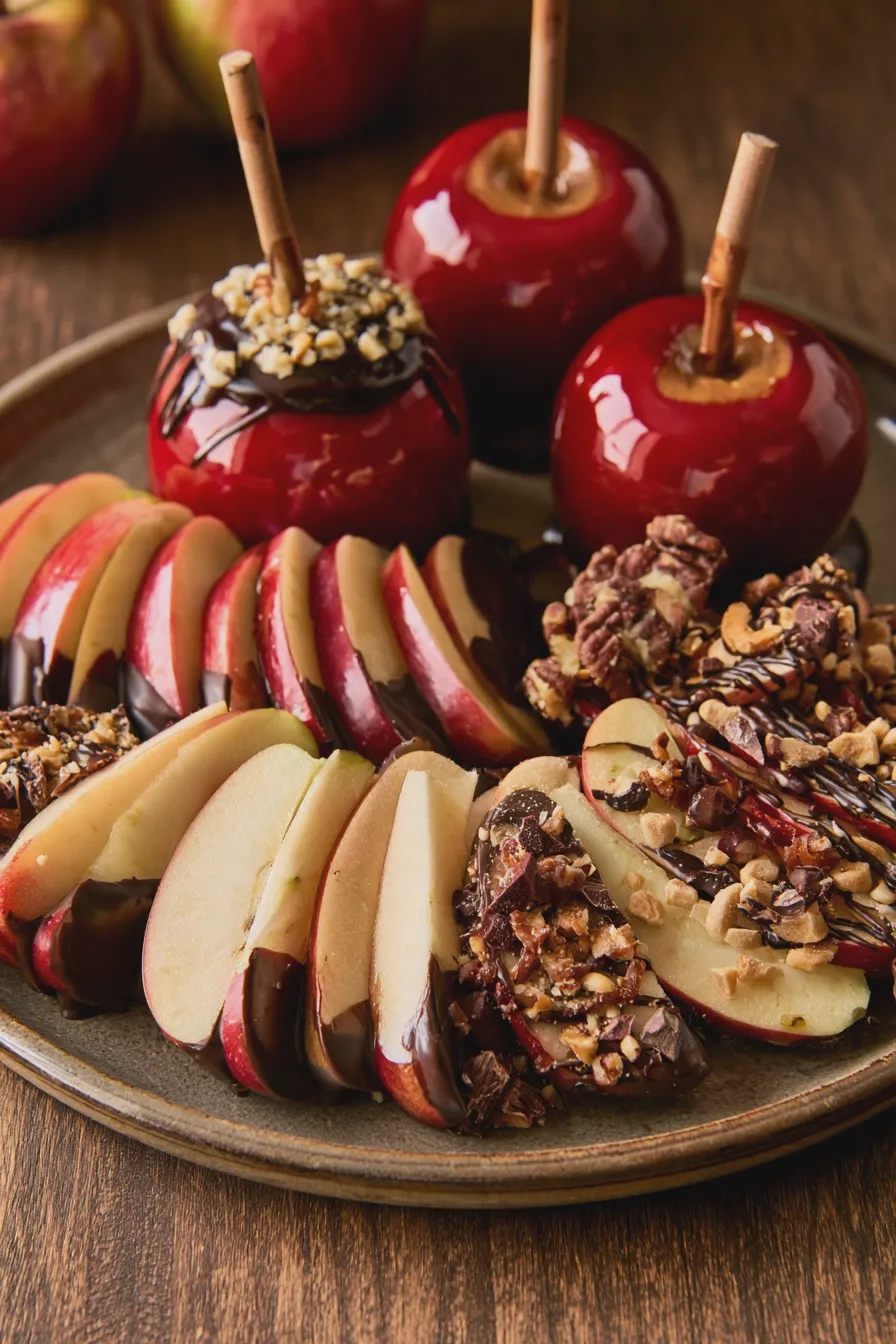
Chocolate covered apples are a delightful confection where whole apples are dipped in melted chocolate and allowed to set, creating a sweet, crunchy coating. Often served on a stick, these treats offer a wonderful contrast between the tartness of the apple and the sweetness of the chocolate, making them a popular choice for gatherings and holidays. You can find inspiration for various styles of dipped apples on sites like Allrecipes.
These delightful treats take the humble apple and elevate it into a show-stopping dessert or snack. The magic lies in the simplicity: a crisp, fresh apple enrobed in a smooth, rich chocolate shell. Whether you prefer milk, dark, or white chocolate, the possibilities for creating your own version of these homemade chocolate apples are endless. They are a fantastic way to celebrate the harvest season or add a touch of homemade charm to any special occasion.
Choosing the Right Apples
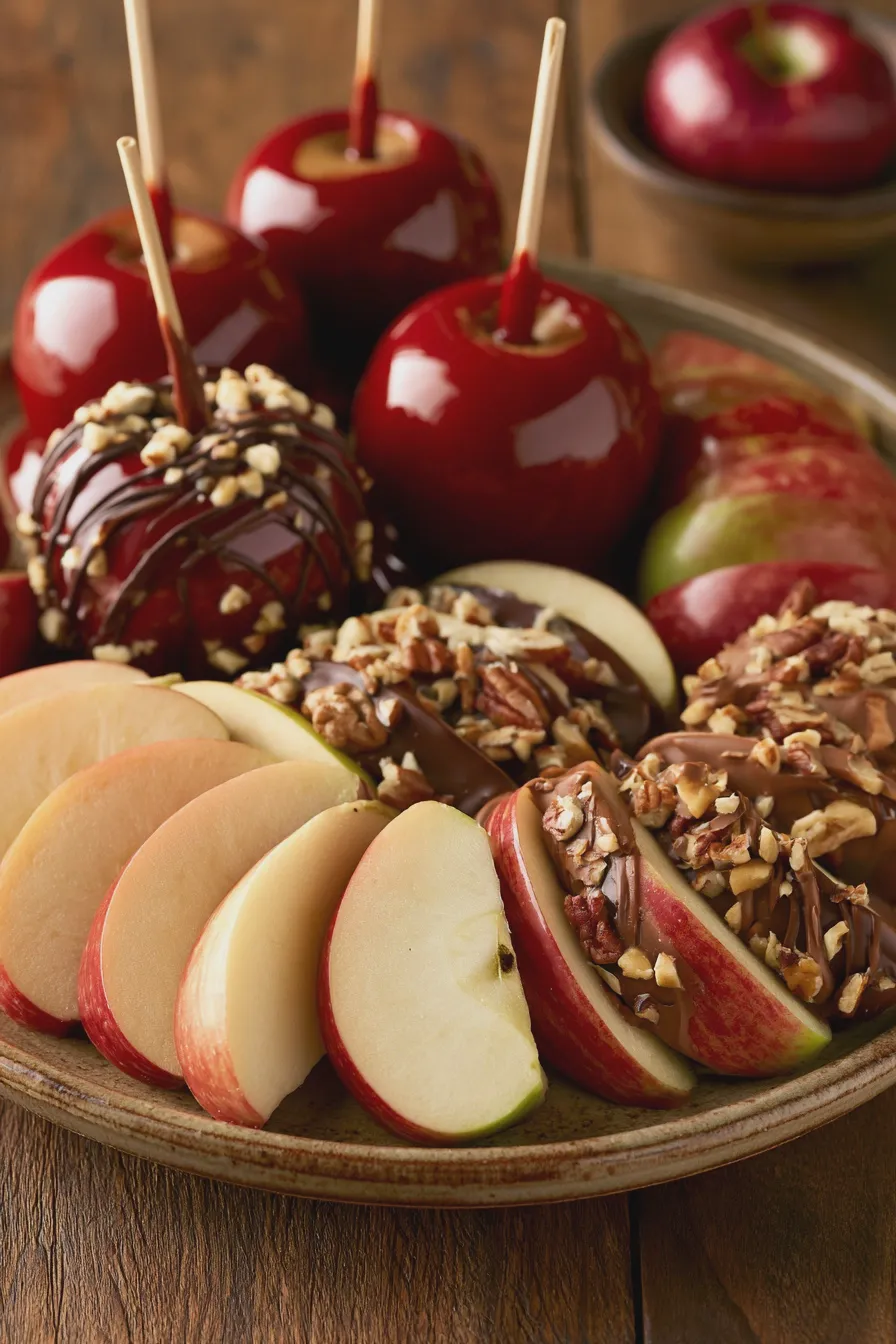
The foundation of any great chocolate covered apple is, of course, the apple itself. For the best results, opt for apples that are firm, crisp, and have a good balance of sweetness and tartness. Varieties like Honeycrisp, Fuji, Gala, or Granny Smith are excellent choices as they hold their shape well and provide a pleasing crunch that complements the chocolate coating. Avoid mealy or soft apples, as they won’t offer the satisfying texture desired in these chocolate apple pops.
When selecting your apples, look for ones that are smooth-skinned and free from blemishes, as these imperfections can affect how the chocolate adheres. A good tartness from varieties like Granny Smith can cut through the richness of the chocolate beautifully, creating a more complex flavor profile. If you’re aiming for a sweeter profile, Fuji or Gala apples are wonderful options, and for those who love a truly crisp bite, Honeycrisp apples are hard to beat. Ensuring your apples are at room temperature before dipping also helps the chocolate set more evenly.
Ingredients for Chocolate Covered Apples
- 6-8 medium firm apples (such as Honeycrisp, Fuji, Gala, or Granny Smith)
- 2 cups (about 12 ounces) high-quality chocolate chips or chopped chocolate (milk, dark, or white)
- 1 tablespoon coconut oil or vegetable shortening (optional, for smoother melting and shine)
- Assorted toppings: chopped nuts, sprinkles, crushed cookies, sea salt, mini chocolate chips, shredded coconut, drizzles of contrasting chocolate
For a truly delicious experience, consider using a mix of chocolate types for dipping, or even combining them. If you find yourself with extra chocolate, you might want to explore making some date brownies or vegan brownies to use it up.
How to Make Chocolate Covered Apples
Prepare the Apples
Wash your chosen apples thoroughly and dry them completely with a clean kitchen towel. Moisture is the enemy of smooth, well-adhering chocolate, so ensure each apple is bone dry. Insert a sturdy lollipop stick or a wooden skewer about halfway into the stem end of each apple, pushing it in firmly to secure it.
For an extra professional touch, you can carefully remove the apple stems before inserting the sticks. This creates a cleaner look and prevents the stem from interfering with the chocolate coating. Ensure the sticks are inserted deep enough so they won’t loosen when you dip and handle the apples.
Melt the Chocolate
Place the chocolate chips or chopped chocolate in a microwave-safe bowl, along with the coconut oil or shortening if using. Microwave on 50% power for 30-second intervals, stirring well after each interval, until the chocolate is almost completely melted. Alternatively, you can melt the chocolate using a double boiler over simmering water, stirring constantly until smooth.
Be patient when melting chocolate; overheating can cause it to seize and become unusable. Stirring gently and consistently is key to achieving a smooth, glossy finish. If using a double boiler, ensure the bottom of the bowl doesn’t touch the simmering water to prevent scorching.
Dip the Apples
Once the chocolate is smooth and fully melted, hold an apple by its stick and dip it into the chocolate, swirling gently to coat it evenly. Lift the apple and allow any excess chocolate to drip back into the bowl. You can use a spatula to help smooth out any drips or thin spots if needed.
For a clean finish, hold the apple over the bowl and gently rotate it to let the excess chocolate drip off. You can also carefully scrape the bottom against the rim of the bowl to remove any large drips. This step is crucial for achieving a polished look on your homemade chocolate apples.
Add Toppings
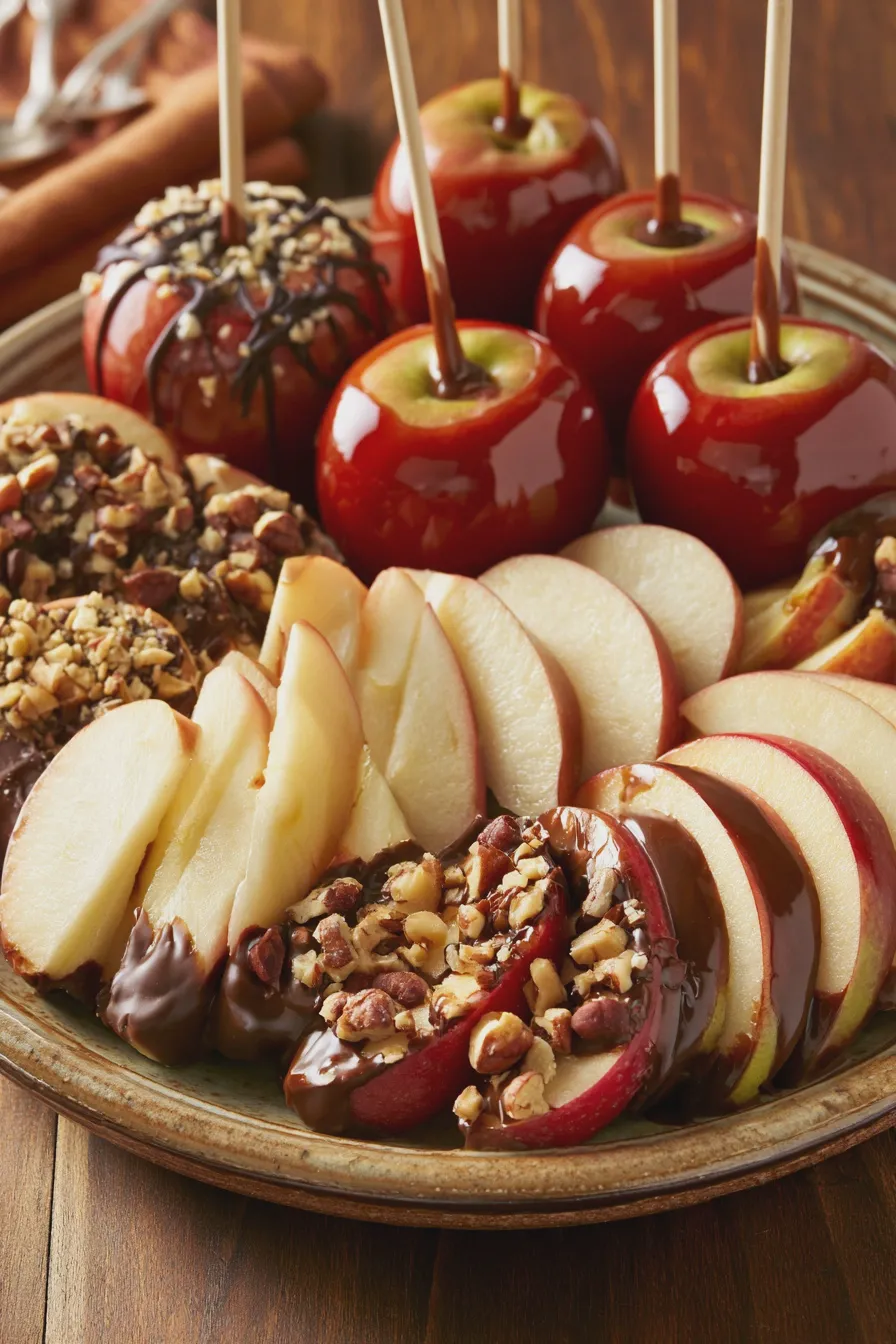
Immediately after dipping, while the chocolate is still wet, sprinkle your desired toppings over the chocolate coating. Work quickly, as the chocolate will begin to set. If you’re using multiple toppings, you can dip one half of the apple in one topping and the other half in a different one for a beautiful visual effect.
Consider combinations like chopped peanuts with a drizzle of caramel for a classic caramel apple feel, or rainbow sprinkles for a festive touch. For a touch of elegance, a sprinkle of flaky sea salt on dark chocolate is divine. This is where you can get creative and design your own gourmet chocolate apples.
Chill and Set
Place the dipped and topped apples on a baking sheet lined with parchment paper or wax paper. Allow them to set at room temperature for about 15-20 minutes, or speed up the process by refrigerating them for about 10-15 minutes until the chocolate is firm.
Ensure the apples are not touching each other on the baking sheet to prevent them from sticking together as they set. If you plan to add a drizzle of contrasting chocolate, wait until the first layer of chocolate is completely set before applying the second. This technique is often used for creating beautiful strawberry lemonade cookies or other decorated treats.
Tips for Perfect Chocolate Covered Apples
Achieving perfectly smooth and beautifully coated chocolate apples involves a few key techniques. Always ensure your apples are completely dry before dipping, as any residual moisture can cause the chocolate to bloom or not adhere properly. Using high-quality chocolate will also make a significant difference in taste and texture; opt for chocolate meant for melting or baking rather than standard chocolate chips, which often contain stabilizers that can affect smoothness.
For an even glossier finish and to prevent cracking, consider tempering your chocolate. While this can be a bit more advanced, it results in a professional-looking sheen and a satisfying snap when you bite into your chocolate dipped apples. If tempering seems too daunting, adding a tablespoon of coconut oil or vegetable shortening to your melted chocolate can help achieve a smoother, shinier coating.
When adding toppings, remember that the chocolate needs to be wet enough to adhere them. If your chocolate starts to set before you can add your toppings, you might need to gently re-warm it. Don’t overload the apples with toppings; a balanced amount will look more appealing and ensure the chocolate coating still shines through. For a stunning presentation, consider creating a chocolate apple bar with various toppings for guests to customize their own treats.
If you’re looking for lighter options or have dietary restrictions, exploring healthy chocolate apples with dark chocolate and fruit-based toppings, or even vegan chocolate apples using dairy-free chocolate, can be very satisfying. Remember that the quality of your ingredients, especially the chocolate, plays a huge role in the final taste of your best chocolate apples.
Variations and Serving Ideas
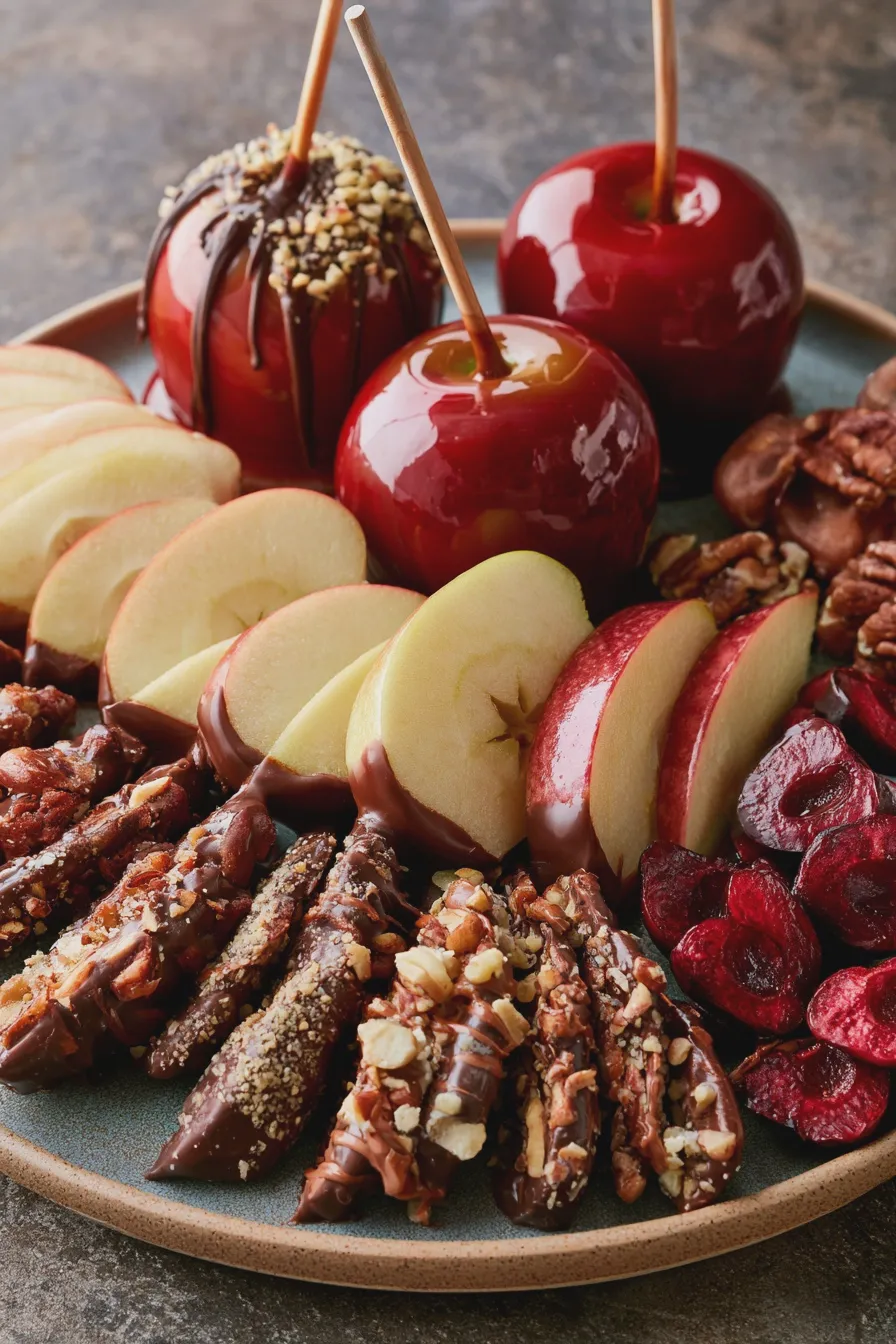
The beauty of chocolate covered apples lies in their versatility. Beyond the classic whole apple, consider making chocolate apple slices for a more manageable treat, or even chocolate apple bark by spreading melted chocolate with diced apples and toppings. For a fun party activity, set up a chocolate apple bar with a variety of chocolates and toppings, allowing guests to create their own personalized chocolate apple party favors.
You can also get creative with different chocolate flavors, like adding a touch of peppermint extract to dark chocolate or orange zest to milk chocolate. For a more sophisticated twist, try drizzling with a contrasting color of melted chocolate or adding edible glitter for a festive sparkle. These are also a wonderful addition to a chocolate apple bouquet for a stunning edible centerpiece. If you enjoy baking with fruit and chocolate, you might also like these lemon blueberry cake or lemon poppy seed cookies.
Print