")
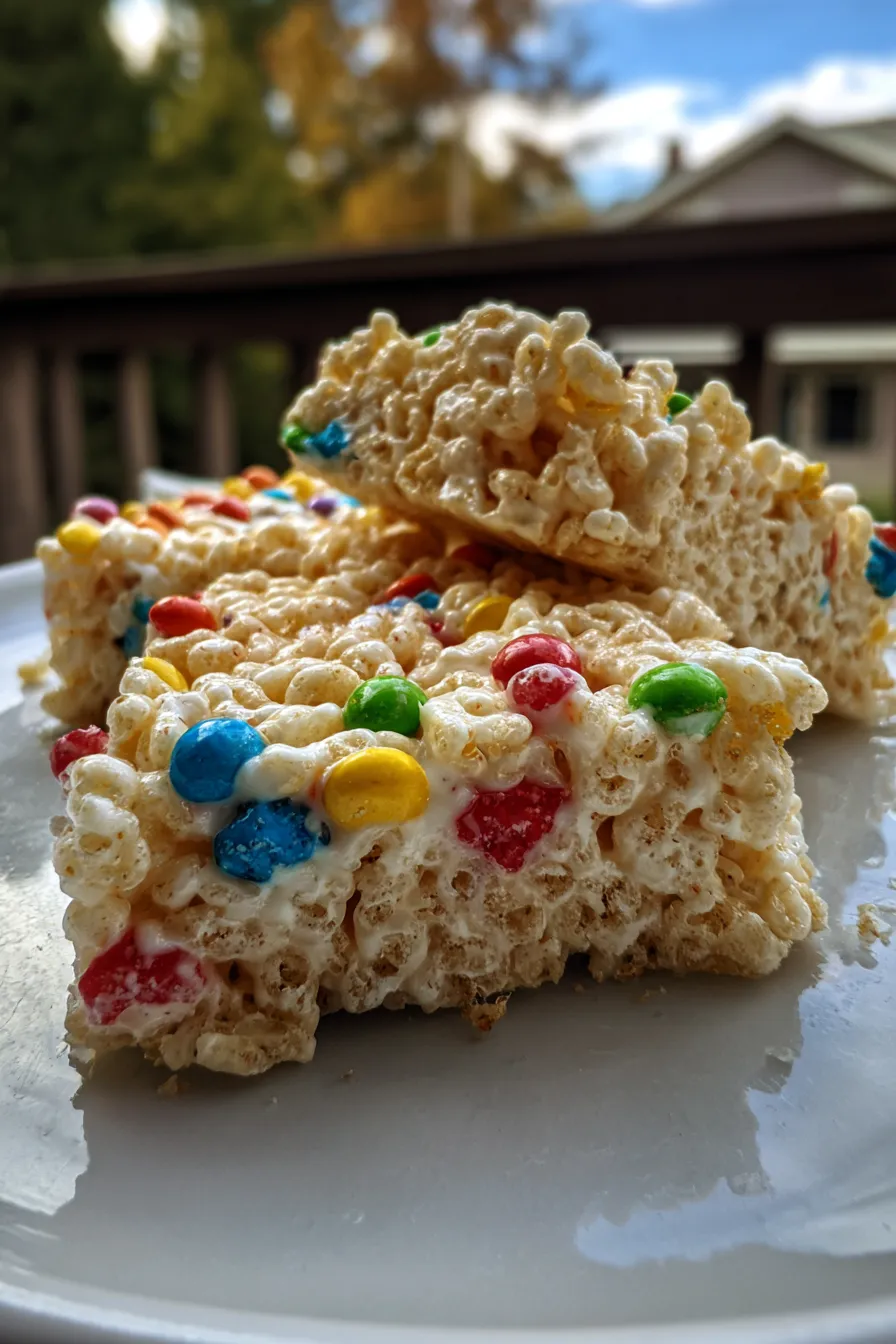
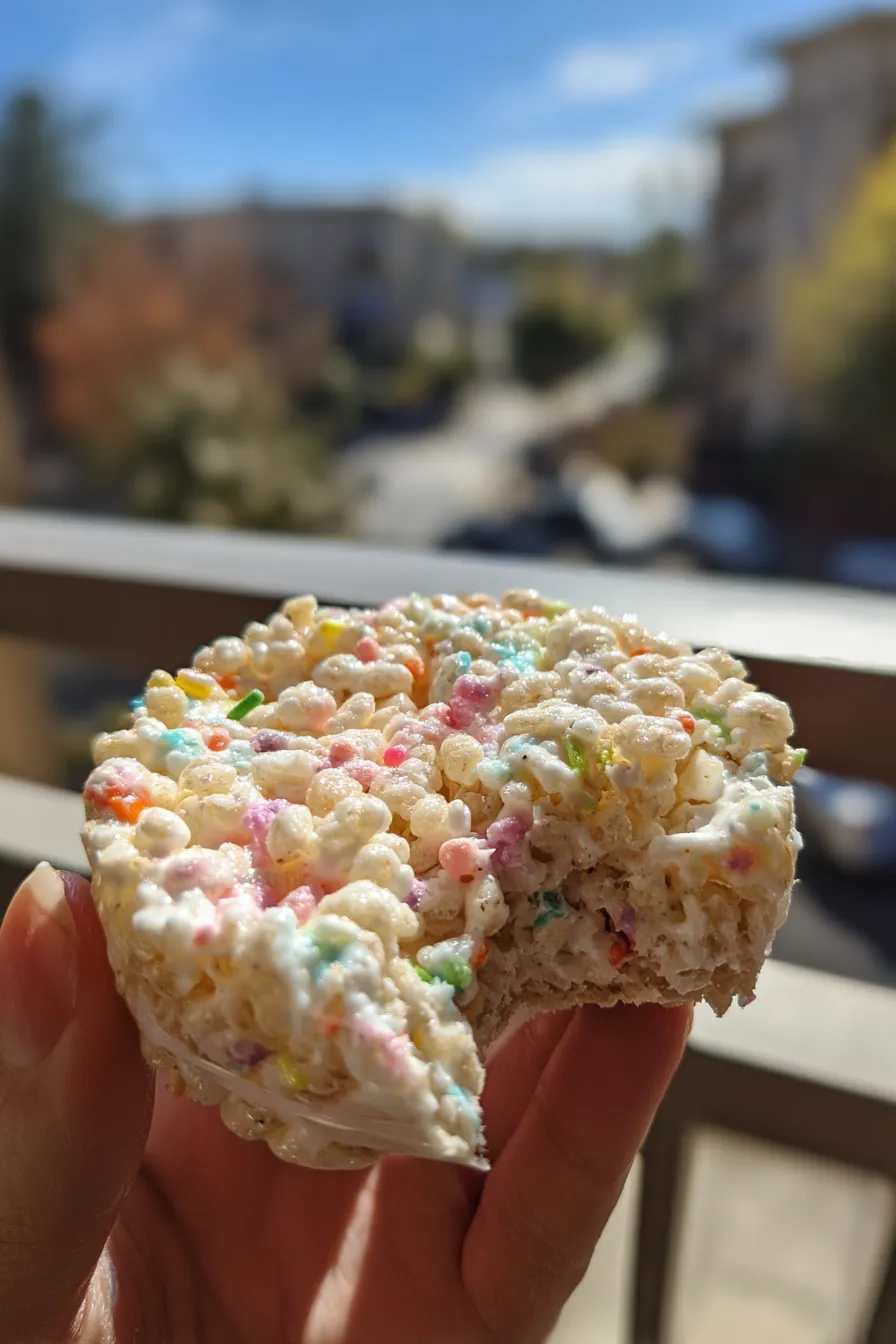
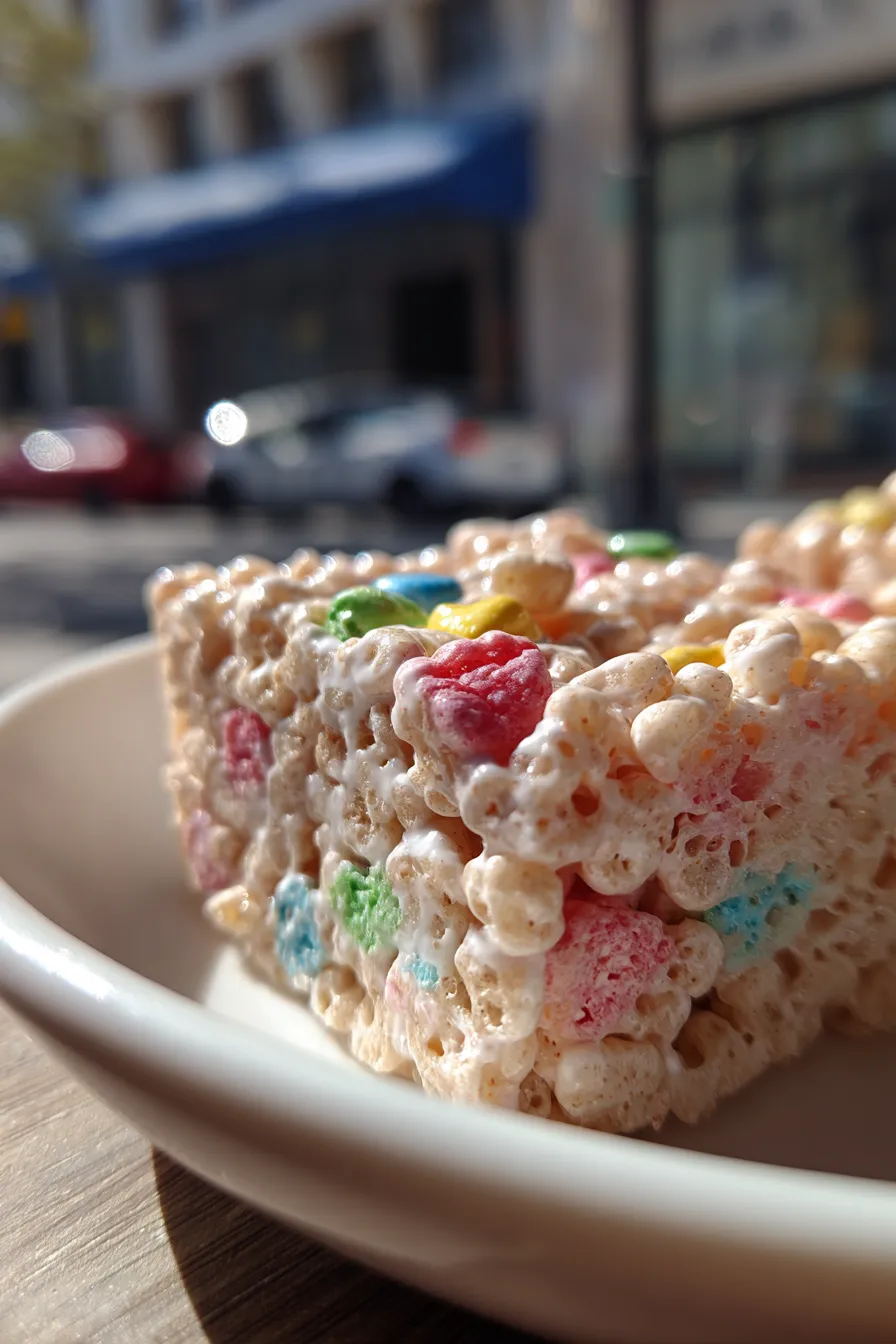
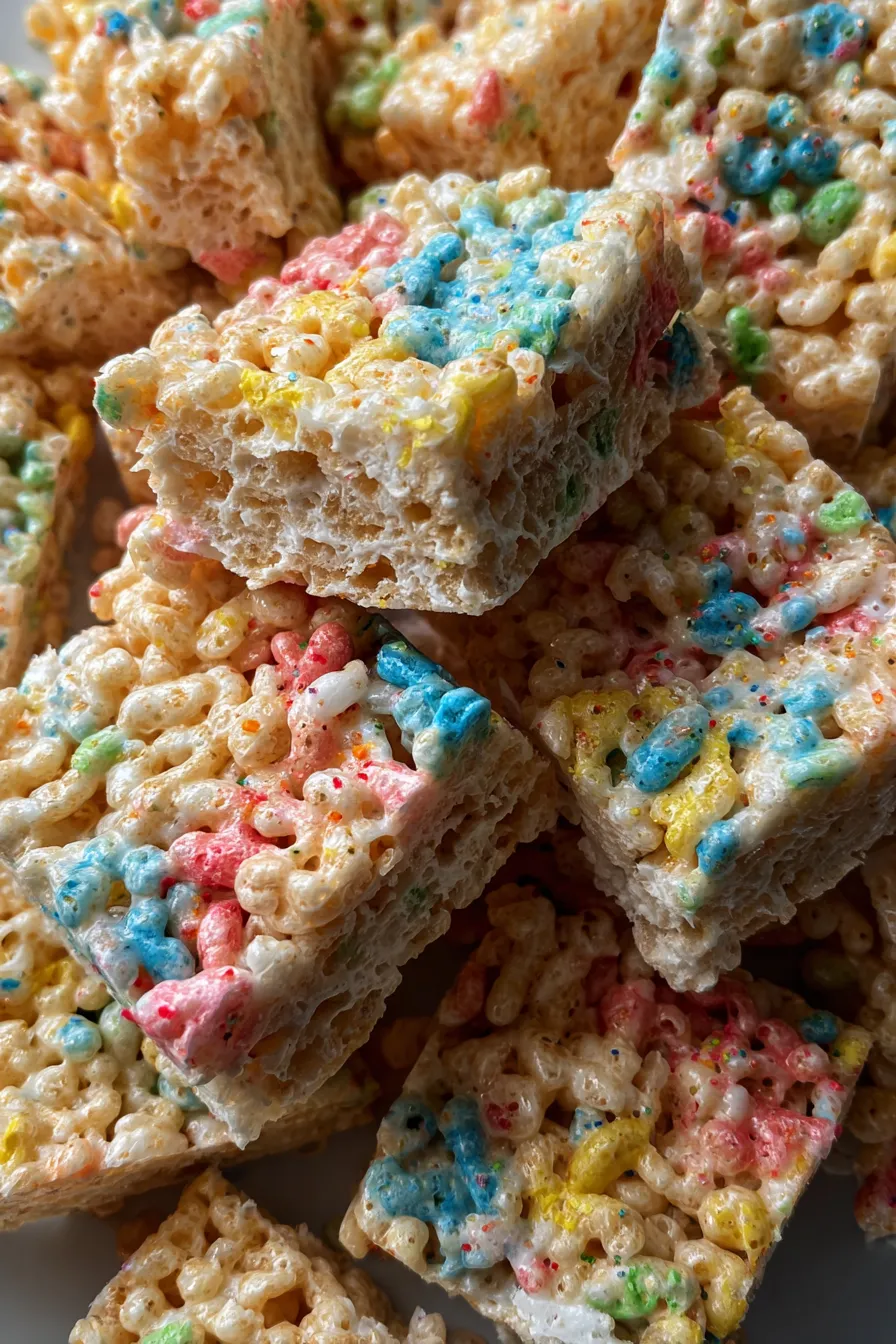
Dive into the delightful world of Candy Coated Rice Krispies, a treat that brings smiles to faces of all ages! These colorful and crunchy delights are perfect for any occasion, from birthday parties to simple weeknight desserts. The combination of crispy rice cereal, gooey marshmallows, and a sweet candy coating creates a symphony of textures and flavors that’s hard to resist. They’re a fantastic way to satisfy your sweet tooth.
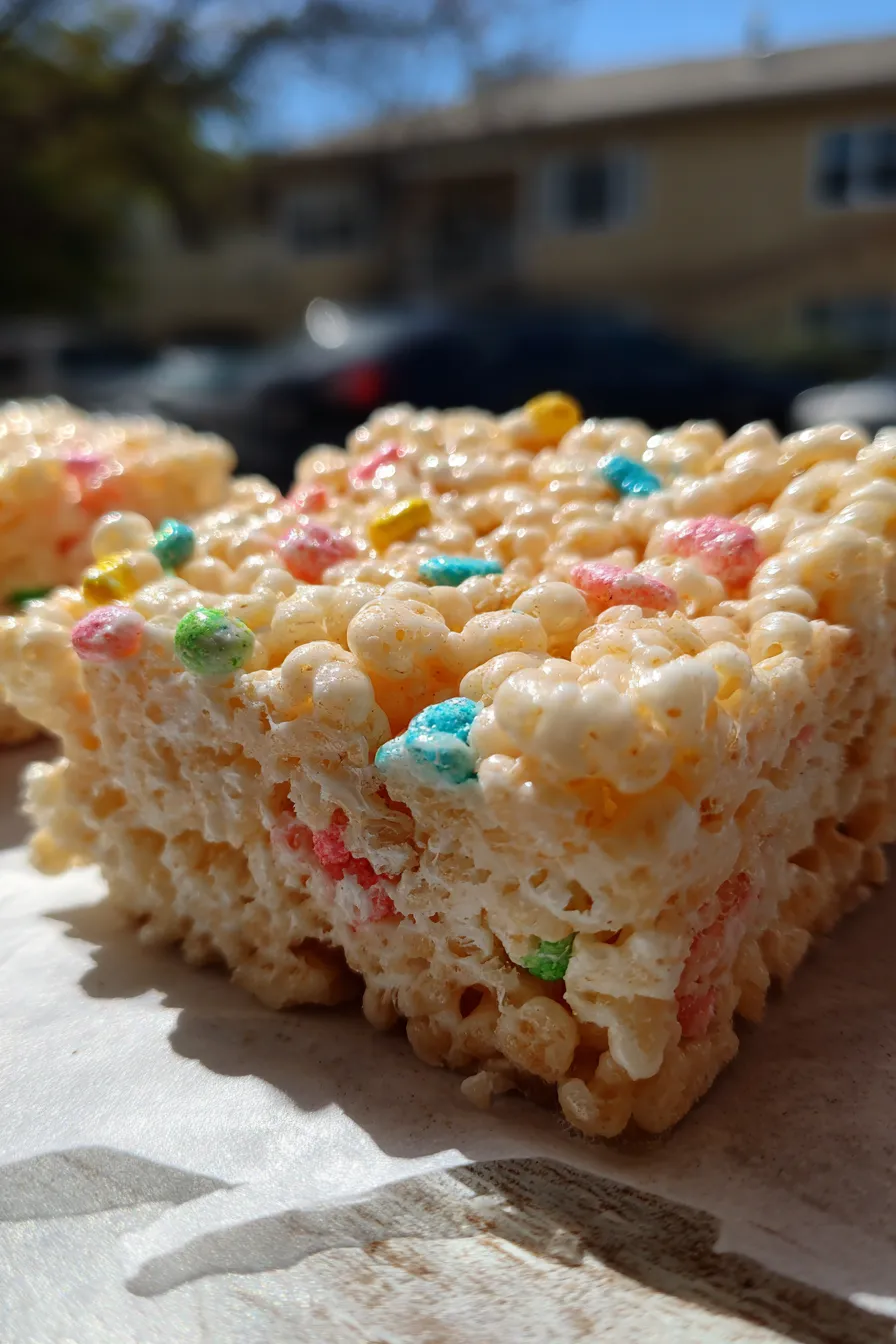
This recipe is especially popular during holidays like Easter, Christmas, and Halloween, where the vibrant colors of the candy coating can be customized to match the festivities. But don’t let the holidays be the only time you enjoy these! They’re so easy to make, they’re a quick win whenever you need a sweet treat. You can find many more dessert ideas over at Food Network.
The beauty of this recipe lies in its simplicity. You’ll find yourself making batch after batch, experimenting with different colors and toppings. Get ready to create some unforgettable memories while making these crowd-pleasing treats!
Ingredients You’ll Need
Gathering your ingredients is the first step to making these delightful treats. Here’s what you’ll need:
- 6 cups Rice Krispies cereal
- 10 ounces marshmallows
- 1/4 cup (1/2 stick) unsalted butter
- 1 teaspoon vanilla extract
- 12 ounces candy melts (various colors)
- Optional: Sprinkles, candies, or other decorations
How to Make Candy Coated Rice Krispies
Now, let’s dive into the fun part: making the Candy Coated Rice Krispies! These instructions are straightforward, so even beginner bakers can achieve perfect results.
Step 1: Prepare the Rice Krispie Treat Base
First, lightly grease a 9×13 inch baking pan with butter or cooking spray. This will prevent the Rice Krispie treats from sticking. In a large saucepan, melt the butter over low heat. Once the butter is melted, add the marshmallows. Stir constantly until the marshmallows are completely melted and smooth. This is the foundation of your Rice Krispie treats recipe.
Remove the saucepan from the heat and stir in the vanilla extract. Then, add the Rice Krispies cereal to the marshmallow mixture. Gently fold the cereal into the mixture until it’s evenly coated. Be careful not to overmix, as this can make the treats tough. The key is to maintain a light and airy texture.
Step 2: Press and Cool the Treats
Pour the Rice Krispie treat mixture into the prepared baking pan. Using a spatula or your hands (lightly greased with butter or cooking spray to prevent sticking), gently press the mixture evenly into the pan. Try to create a smooth, level surface. Allow the treats to cool completely at room temperature. This step is crucial for achieving the perfect texture. For more dessert inspirations, check out some butter desserts.
Once cooled, cut the treats into squares or other desired shapes. You can use a knife or cookie cutters for this step. The size and shape are entirely up to you! This is a great opportunity to make some kid-friendly desserts.
Step 3: Melt the Candy Coating
Now, it’s time to prepare the candy coating. This is where the color and fun come in! In separate microwave-safe bowls, melt the candy melts according to the package instructions. Typically, this involves microwaving in 30-second intervals, stirring in between, until the candy is smooth and completely melted. Be cautious to avoid overheating, which can cause the candy to seize up.
If you’re using multiple colors, prepare one bowl for each color. This is where you can get creative and make some colorful rice krispie treats. If you want to make some chocolate covered rice krispies, you can use chocolate candy melts instead of the standard colors.
Step 4: Coat the Rice Krispie Treats
Dip each Rice Krispie square or shape into the melted candy coating, ensuring it is fully covered. You can use a fork or dipping tools for this step. Gently tap off any excess candy coating. This ensures a smooth and even coating on your treats.
Place the candy-coated treats on a parchment-lined baking sheet. Immediately decorate with sprinkles, candies, or any other desired toppings while the candy coating is still wet. This is a great way to make some decorated rice krispie treats. If you want to create some holiday rice krispie treats, use holiday-themed sprinkles.
Step 5: Chill and Enjoy
Once all the treats are coated and decorated, place the baking sheet in the refrigerator for about 15-20 minutes, or until the candy coating has set completely. This will help the candy coating harden and make the treats easier to handle and eat. This step is crucial for achieving the perfect texture and appearance.
Once the coating is set, your Candy Coated Rice Krispies are ready to enjoy! Store them in an airtight container at room temperature for up to 3 days. These easy rice krispie treats are perfect for parties and gatherings. You can also make some rice krispie pops for a fun presentation.
Tips for Perfect Candy Coated Rice Krispies
Here are some helpful tips to ensure your Candy Coated Rice Krispies turn out perfectly every time:
- Use Fresh Ingredients: Ensure your Rice Krispies cereal and marshmallows are fresh for the best texture and flavor.
- Don’t Overmix: Overmixing the Rice Krispie treat mixture can result in tough treats. Gently fold the cereal into the marshmallow mixture.
- Control the Heat: When melting the butter and marshmallows, use low heat to prevent burning.
- Experiment with Colors: Have fun with the candy coating colors! You can use different colors for different occasions or holidays.
- Add Flavor: Enhance the flavor by adding extracts like almond or peppermint to the marshmallow mixture.
Variations for Rice Krispie Treat Variations
Once you’ve mastered the basic recipe, you can explore many exciting variations. Here are a few ideas to get you started:
- Peanut Butter Rice Krispie Treats: Add peanut butter to the marshmallow mixture for a delicious twist. You can find some more ideas by searching for peanut butter rice krispie treats.
- Chocolate Rice Krispie Treats: Add cocoa powder to the marshmallow mixture or use chocolate candy melts for the coating.
- Fruity Rice Krispie Treats: Add dried fruits or fruit-flavored cereal to the mix.
- Nutty Rice Krispie Treats: Incorporate chopped nuts like peanuts, pecans, or almonds.
- Salted Caramel Rice Krispie Treats: Drizzle with salted caramel sauce after coating.
Frequently Asked Questions
Here are some commonly asked questions about making Candy Coated Rice Krispies:
Can I use different types of cereal?
Yes, you can experiment with different types of cereal, such as Cocoa Krispies or Fruity Pebbles, for a unique twist. The texture and flavor will vary depending on the cereal you use. Just make sure the cereal you select is the crispy type. You can also check some crispy rice cereal treats recipes.
How can I prevent the Rice Krispie treats from sticking to the pan?
Grease your pan generously with butter or cooking spray. You can also line the pan with parchment paper, leaving some overhang to easily lift the treats out once they have cooled. This will make it easier to cut the rice krispie squares.
Can I make these treats ahead of time?
Yes, you can make these treats a day or two in advance. Store them in an airtight container at room temperature to maintain their freshness and texture. They’re great for making party treats.
How do I store leftover Candy Coated Rice Krispies?
Store leftover Candy Coated Rice Krispies in an airtight container at room temperature. They should stay fresh for up to 3 days. Avoid storing them in the refrigerator, as this can make them hard. These are one of the no bake rice krispie treats.
What can I use instead of candy melts?
If you don’t have candy melts, you can use melted chocolate chips or chocolate bark. The flavor will change, but the result will still be delicious. To learn more about other dessert ingredients, you can explore how all-purpose flour may be used in other desserts.
Conclusion
Making Candy Coated Rice Krispies is a fun and rewarding experience. They’re quick to make, customizable, and always a crowd-pleaser. Whether you’re looking for a treat for a special occasion or a simple dessert to enjoy at home, these treats are a perfect choice. This recipe is considered one of the best rice krispie treats.
Experiment with different colors, toppings, and variations to create your unique masterpieces. Don’t be afraid to get creative and have fun with it! These treats are perfect for getting the kids involved in the kitchen. Remember to keep the heat low when melting ingredients, as this is crucial. Consider reading up on creaming butter and sugar to improve your dessert skills.
With this recipe, you’ll be able to create delicious, colorful, and fun treats that everyone will love. So, gather your ingredients, follow the steps, and enjoy the process of making these wonderful desserts. If you are a fan of baking, you may want to also read up on folding ingredients to improve your baking skills. Happy baking!
These treats are an easy way to create some delicious homemade candy. For more information on how to improve your dessert game, consider reading up on whipping egg whites. Now, go ahead and make some magic in your kitchen!