
These delightful witch hat cookies are a simple and charming addition to any Halloween celebration, combining a crisp cookie base with a rich chocolatey topping and a candy accent for a festive look. They offer a satisfying crunch and a sweet chocolate flavor that makes them a hit with both kids and adults looking for fun Halloween dessert recipes.
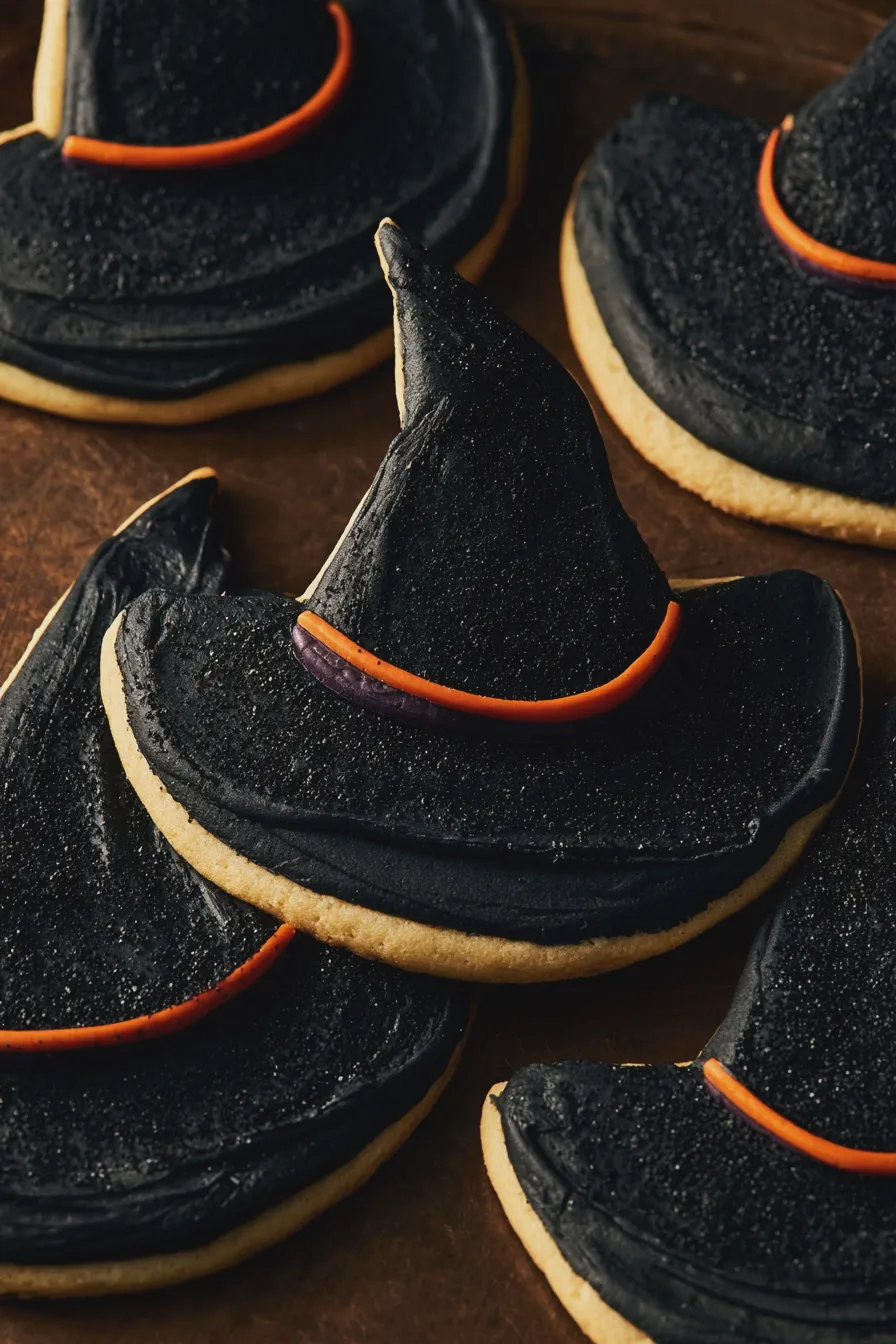
Get ready to conjure up some magic in your kitchen with these absolutely enchanting witch hat cookies! They are a whimsical treat that perfectly captures the spirit of Halloween, offering a delightful combination of textures and sweet flavors. These festive cookies are sure to be the star of your dessert table, bringing smiles and spooky delight to all who try them.
What Are Witch Hat Cookies?
Witch hat cookies are a popular and visually striking Halloween treat, typically made by combining a round cookie with a chocolate-covered ice cream cone to resemble a classic witch’s hat. These festive cookies are often decorated with colorful frosting and candies, making them a fun and creative project for bakers of all ages. They are a beloved part of Halloween dessert recipes, offering a playful twist on traditional baking.
The beauty of these cookies lies in their simplicity and adaptability, allowing for endless witch hat cookies decorating ideas. You can find inspiration for unique designs and flavor combinations by exploring resources like Allrecipes, which often features creative takes on holiday baking. Whether you opt for a classic look or a more elaborate design, these cookies are sure to impress.
Witch Hat Cookies Ingredients
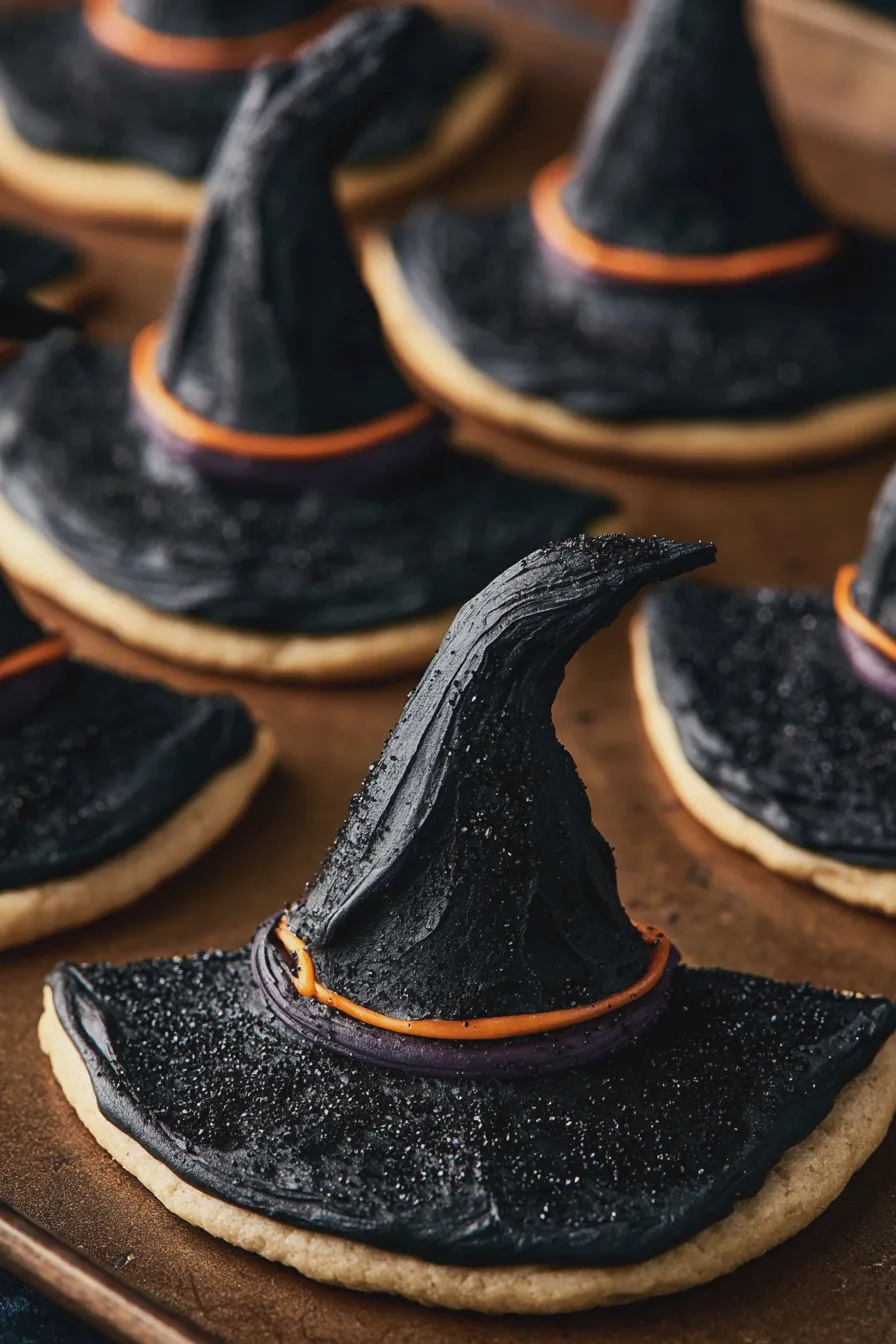
Gathering the right witch hat cookies ingredients is the first step to creating these magical treats. You’ll need a sturdy base, a dark, decadent topping, and a little something extra to give them that signature witchy flair. Precision in measuring ensures the best texture and flavor for your cookies.
- 1 cup (2 sticks) unsalted butter, softened
- 1 ½ cups granulated sugar
- 2 large eggs
- 1 teaspoon vanilla extract
- 3 cups all-purpose flour
- 1 teaspoon baking soda
- ½ teaspoon salt
- 16-20 chocolate-covered ice cream cones (such as Keebler Fudge Stripes or similar)
- 12 ounces chocolate chips (semi-sweet or dark recommended)
- 2 tablespoons vegetable shortening or coconut oil (optional, for smoother melting)
- Assorted Halloween sprinkles, candies, or edible glitter for decoration
For the best results, ensure your butter is truly softened to room temperature, which helps it cream properly with the sugar for a tender cookie. If you don’t have chocolate-covered cones, you can easily melt your favorite chocolate and dip plain sugar cones, allowing them to set completely before assembly. For a richer flavor, consider using dark chocolate chips, or for a dairy-free option, look for high-quality dairy-free chocolate chips and use coconut oil for melting.
How to Make Witch Hat Cookies
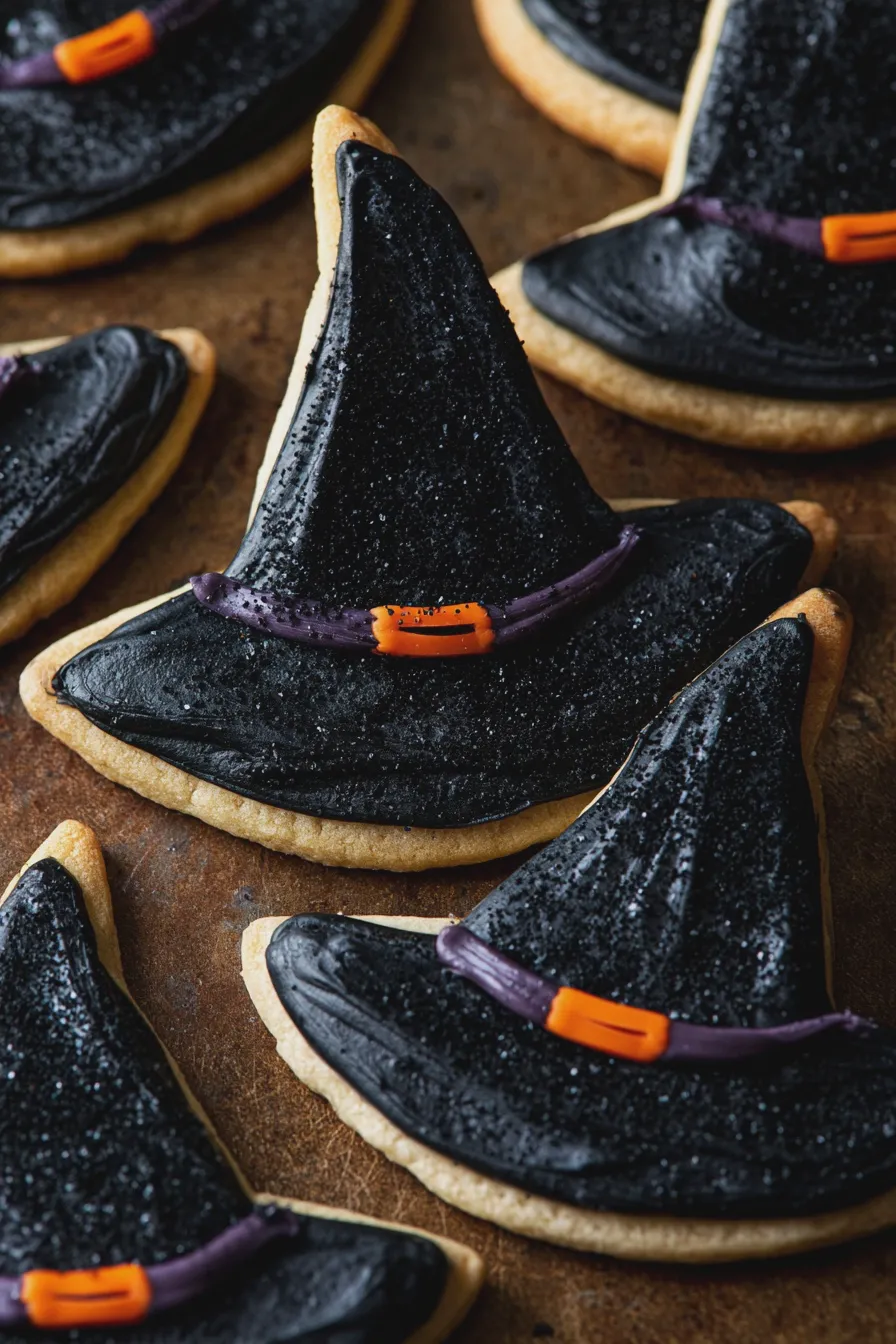
Creating these easy witch hat cookies is a straightforward process that yields impressive results, perfect for a fun baking session with the family. The key is to prepare each component carefully and assemble them when they are ready. Following these steps will guide you to the best witch hat cookie recipe for kids and adults alike.
Cream the Butter and Sugar
In a large mixing bowl, cream together the softened butter and granulated sugar until light and fluffy, about 3-5 minutes. This step is crucial for developing a tender cookie texture and incorporates air, which helps the cookies spread just right. Using a stand mixer with a paddle attachment makes this process much easier and more efficient.
Add Wet Ingredients
Beat in the eggs one at a time, ensuring each is fully incorporated before adding the next. Stir in the vanilla extract until just combined, adding a lovely aroma and depth of flavor to the cookie dough. Be careful not to overmix at this stage, as it can lead to tougher cookies.
Combine Dry Ingredients
In a separate medium bowl, whisk together the all-purpose flour, baking soda, and salt until thoroughly combined. This ensures that the leavening agents and salt are evenly distributed throughout the flour, preventing pockets of bitterness or uneven rising in your baked cookies. A whisk is ideal for breaking up any lumps in the flour.
Mix Dough
Gradually add the dry ingredients to the wet ingredients, mixing on low speed until just combined into a cohesive dough. Scrape down the sides of the bowl as needed to ensure all ingredients are incorporated. Overmixing can develop the gluten too much, resulting in tough cookies, so stop as soon as no dry streaks of flour remain.
Chill the Dough
Cover the dough tightly with plastic wrap and refrigerate for at least 30 minutes, or until firm enough to handle. Chilling the dough makes it easier to shape, prevents excessive spreading during baking, and allows the flavors to meld together for a more delicious cookie. This is a vital step for achieving the perfect cookie shape. If you are short on time, you can skip this step but be prepared for more spreading.
Shape and Bake Cookies
Preheat your oven to 350°F (175°C) and line baking sheets with parchment paper. Scoop rounded tablespoons of dough onto the prepared baking sheets, about 2 inches apart. Gently flatten the tops of the dough balls with your palm or the bottom of a glass. Bake for 8-10 minutes, or until the edges are lightly golden brown and the centers are set. Avoid overbaking to maintain a soft, chewy interior, which is characteristic of many wonderful Halloween dessert recipes.
Cool the Cookies
Let the cookies cool on the baking sheets for 5 minutes before transferring them to a wire rack to cool completely. This resting period allows the cookies to firm up further, preventing them from breaking when you move them. Ensure they are entirely cool before proceeding to the decorating stage to prevent the chocolate from melting prematurely.
Melt the Chocolate
While the cookies are cooling, melt the chocolate chips in a microwave-safe bowl in 30-second intervals, stirring between each, until smooth. Alternatively, you can melt the chocolate in a double boiler over simmering water. Adding vegetable shortening or coconut oil can help achieve a smoother, glossier melted chocolate consistency, which is key for a good coating. This technique is also useful when making brownies or other chocolate-dipped treats.
Assemble the Witch Hats
Once the cookies are completely cool and the chocolate is melted, it’s time to assemble the hats. Dip the flat side of each chocolate-covered ice cream cone into the melted chocolate, then place it, chocolate-side down, onto the center of each cookie. The melted chocolate acts as edible glue, holding the cone firmly onto the cookie base. This creates the iconic witch hat shape that makes these spooky witch hat cookies so recognizable.
Decorate Your Witch Hat Cookies
While the chocolate is still slightly wet, immediately decorate the cookies with Halloween sprinkles, candies, or edible glitter. You can also use additional melted chocolate or colored frosting to add details like a buckle or a band around the cone. Get creative with your designs to make these creative cookie designs truly unique for your Halloween party. You can even use leftover melted chocolate to drizzle over the cookies for an extra touch, similar to how one might finish chocolate strawberry cake.
Allow to Set
Let the decorated witch hat cookies sit at room temperature until the chocolate has hardened completely, which can take about 30-60 minutes depending on the ambient temperature. For a quicker set, you can place them in the refrigerator for about 10-15 minutes. Ensure the chocolate is fully set before stacking or storing them to prevent smudging the decorations. This ensures your witch hat cookies with candy look perfect.
Tips for the Best Witch Hat Cookies
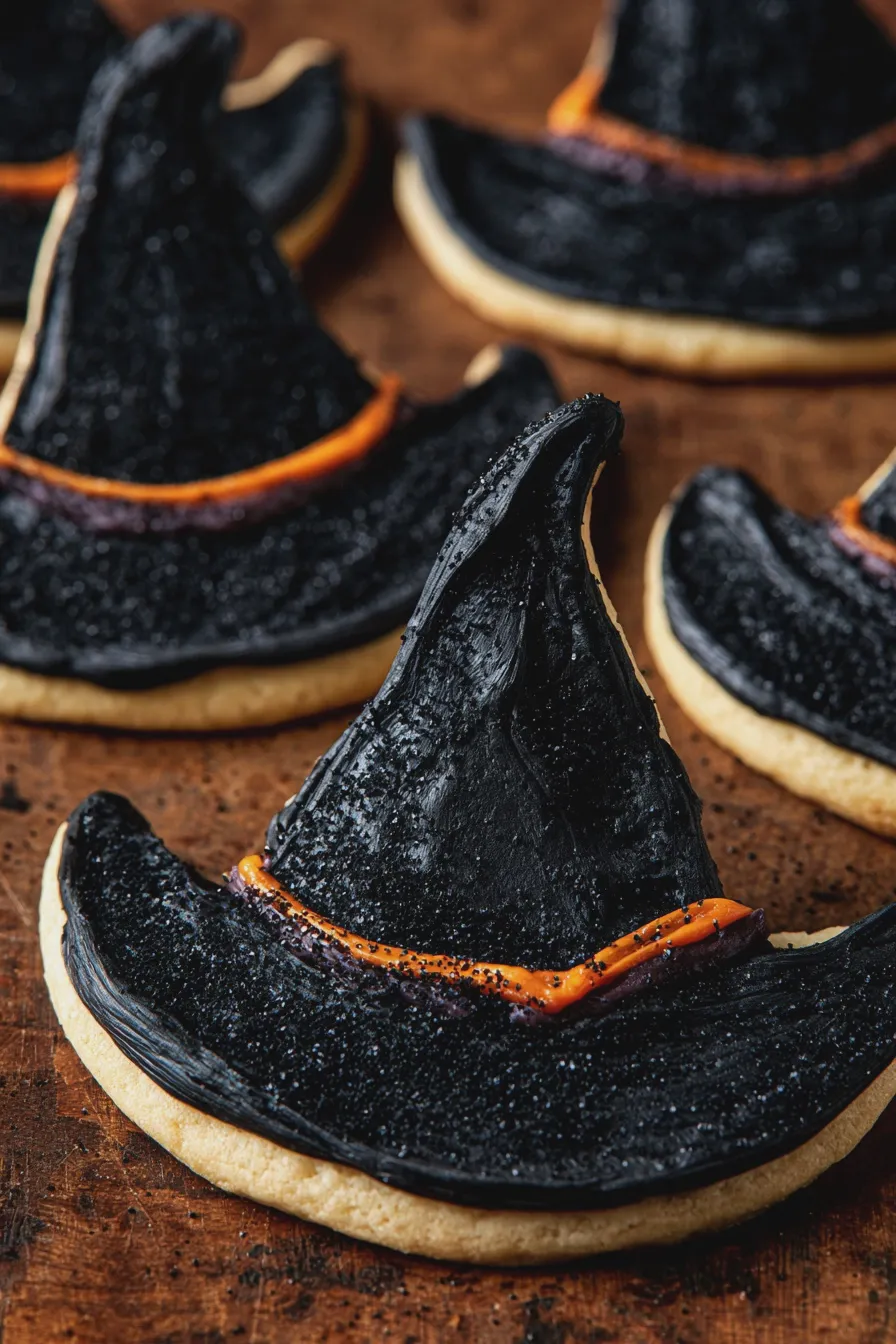
Achieving the perfect witch hat cookies involves a few key techniques and considerations. From ingredient selection to assembly, these tips will help you create the most delicious and visually appealing treats. Making these best witch hat cookies is all about attention to detail.
Ingredient Quality Matters
Using good quality butter and chocolate will significantly impact the flavor of your cookies. For the chocolate coating, opt for chocolate chips that melt well, or consider using baking chocolate for a superior texture and taste. If you’re looking for something a bit different, you could even experiment with white chocolate for a unique look, much like you might find on lavender cookies.
Cone Selection
Choose ice cream cones that have a relatively flat top and a sturdy structure to ensure they stand upright on the cookie base. Chocolate-covered cones are convenient, but you can also dip plain sugar cones in melted chocolate yourself for more control over the flavor and thickness of the coating. Ensure the cones are fully cooled before assembly for the best adhesion.
Temperature Control for Assembly
The temperature of your cookies and melted chocolate is crucial for successful assembly. The cookies should be completely cool, and the chocolate should be melted but not overly hot. If your melted chocolate becomes too thick, you can gently reheat it in short intervals. Conversely, if it’s too thin, let it cool slightly before dipping the cones. This is particularly important when working with protein brownies or other delicate items.
Decoration Techniques
For clean decorating lines, use a piping bag with a fine tip for frosting or melted chocolate. Apply sprinkles and candies while the chocolate is still wet so they adhere properly. If you want to add extra flair, consider edible glitter or edible markers for drawing details. For a minty twist, you could even incorporate peppermint extract into the chocolate, similar to peppermint brownies.
Making Ahead and Storage
These witch hat cookies can be made a day or two in advance. Store them in an airtight container at room temperature, ensuring they are not packed too tightly to prevent decorations from smudging. Avoid refrigerating them for extended periods, as this can sometimes affect the texture of the cookie and cause the chocolate to bloom.
Print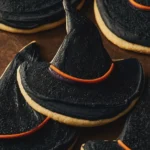
witch hat cookies Recipe
- Total Time: PT1H30M
- Yield: 24–30 cookies 1x
- Diet: Vegetarian
Description
Witch Hat Cookies are a fun and festive Halloween treat, perfect for parties or just a spooky baking project. These easy-to-make cookies are shaped like witch hats and can be decorated to look extra magical!
Ingredients
- 1 cup (2 sticks) unsalted butter, softened
- 1 cup granulated sugar
- 2 large eggs
- 1 teaspoon vanilla extract
- 2 ½ cups all-purpose flour
- 1 teaspoon baking powder
- ½ teaspoon salt
- Black sanding sugar or black frosting for decorating
- Orange or purple candies (optional, for embellishment)
Instructions
- Preheat oven to 350°F (175°C). Line baking sheets with parchment paper.
- In a large bowl, cream together the softened butter and granulated sugar until light and fluffy.
- Beat in the eggs one at a time, then stir in the vanilla extract.
- In a separate bowl, whisk together the flour, baking powder, and salt.
- Gradually add the dry ingredients to the wet ingredients, mixing until just combined. Do not overmix.
- Chill the dough for at least 30 minutes. This will make it easier to handle.
- Roll out the dough on a lightly floured surface to about ¼-inch thickness.
- Using a witch hat cookie cutter (or a round cutter for the brim and a triangle cutter for the cone, then assemble), cut out your hat shapes.
- Place the cookies on the prepared baking sheets, about 1 inch apart.
- Bake for 8-10 minutes, or until the edges are lightly golden.
- Let the cookies cool on the baking sheets for a few minutes before transferring them to a wire rack to cool completely.
- Once cooled, decorate the cookies. Dip the tops in black sanding sugar or spread with black frosting. Add any optional embellishments like orange or purple candies for extra flair.
Notes
- For a smoother cone shape, you can gently press the top of the hat dough down before baking.
- Get creative with your decorations! Use different colored frostings, edible glitter, or sprinkles to make each hat unique.
- These cookies can be stored in an airtight container at room temperature for up to 5 days.
- Prep Time: PT30M
- Cook Time: PT10M
- Category: Halloween Cookies
- Method: Baking
- Cuisine: American
Nutrition
- Serving Size: 1 cookie
- Calories: 150
- Sugar: 15g
- Sodium: 50mg
- Fat: 8g
- Saturated Fat: 5g
- Carbohydrates: 18g
- Protein: 2g







