")

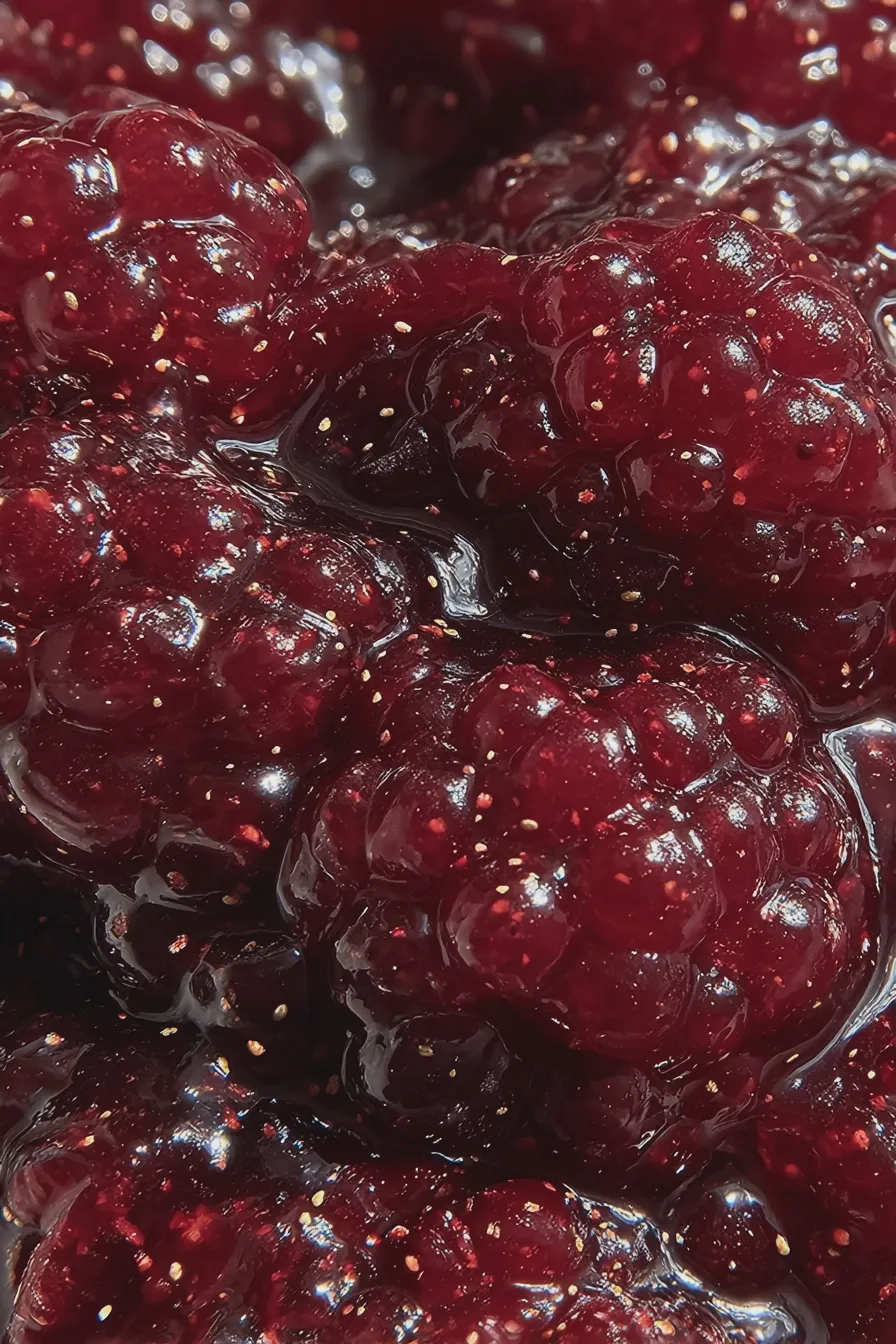
If you’re looking for a simple and rewarding kitchen project, this raspberry jam no pectin recipe is a fantastic choice. The bright, sweet-tart flavor of raspberries transforms into a luscious spread, perfect for topping your morning toast or using as a filling for cakes. You’ll be amazed at how easy it is to make your own jam at home, without the need for commercial pectin. Check out Food Network for more delicious jam recipes.
This recipe focuses on bringing out the natural flavors of the raspberries, creating a jam with a beautiful texture and a taste that’s far superior to store-bought versions. It’s a great way to use up fresh raspberries when they’re in season, and you can also make it with frozen berries, so you can enjoy it year-round. You can find many more recipe ideas at Serious Eats.
Ingredients You’ll Need
Gathering the right raspberry jam ingredients is the first step toward making a perfect batch. This recipe is designed to be simple, using ingredients you likely already have on hand or can easily find at your local grocery store. Using fresh, high-quality ingredients will always yield the best results.
- 4 cups fresh or frozen raspberries
- 2 cups granulated sugar (or to taste – see notes below for alternatives)
- 2 tablespoons lemon juice (freshly squeezed)
How to Make Raspberry Jam No Pectin

Preparing the Raspberries
If you’re using fresh raspberries, gently rinse them under cool water and pat them dry. If using frozen raspberries, there’s no need to thaw them; you can use them directly from the freezer.
Place the raspberries in a large, heavy-bottomed saucepan over medium heat, and gently crush them with the back of a spoon or a potato masher. This helps release their juices, which is crucial for achieving the right jam consistency.
Adding Sugar and Lemon Juice
Once the raspberries have started to break down and release their juices, add the sugar and lemon juice to the saucepan. The lemon juice not only adds brightness but also helps to activate the natural pectin in the raspberries, which aids in the thickening process.
Stir the mixture well to ensure the sugar dissolves, and then bring it to a gentle boil, stirring frequently to prevent sticking. Be sure to use a wooden spoon or heat-resistant spatula to avoid scorching the bottom of the pan.
Simmering and Testing for Consistency
Reduce the heat to medium-low and let the jam simmer, stirring frequently, for about 15-20 minutes, or until it reaches your desired consistency. The jam should thicken as it cools, so it’s important not to overcook it.
To test for doneness, place a small plate in the freezer before you start. Spoon a small amount of jam onto the chilled plate and return it to the freezer for a minute or two. The jam is ready when it wrinkles slightly when you push it with your finger.
Cooling and Storing the Jam
Once the jam has reached the desired consistency, remove it from the heat and let it cool for about 10 minutes. This allows any foam to dissipate and helps the jam to set properly.
Carefully pour the jam into sterilized jars, leaving about ¼ inch of headspace. Seal the jars with lids and rings. You can store the jars in the refrigerator for up to 2-3 weeks, or process them using a water bath for longer shelf life.
Tips for Perfect Raspberry Jam

Choosing the Right Raspberries
For the best flavor, use ripe, high-quality raspberries. Freshly picked berries are ideal, but frozen raspberries work just as well, especially if fresh ones aren’t in season. The quality of your raspberries will greatly influence the final taste of your jam.
If using frozen berries, let them thaw slightly before crushing, as this will make it easier to release their juices. Also, be sure to remove any stems or leaves before you begin making your jam.
Adjusting the Sugar
The amount of sugar you use can be adjusted to your taste. Start with the suggested amount and add more gradually, tasting the jam as it cooks. Remember that sugar not only sweetens but also helps preserve the jam and aids in the thickening process.
For a less sweet jam, you can reduce the amount of sugar, but keep in mind that this might affect the jam’s consistency. You can also experiment with using a combination of granulated sugar and a small amount of honey for added flavor.
Dealing with Foam
As the jam simmers, foam may form on the surface. This is normal, but it can make the jam look cloudy. Skim off the foam with a spoon or ladle during the cooking process to ensure a clear, beautiful jam.
The foam is harmless, but removing it will give your jam a more appealing appearance. If you don’t remove the foam, it will settle to the top of the jar, which is fine, but it may not look as pretty.
Sterilizing Jars
Sterilizing your jars is crucial for preserving your jam and preventing spoilage. You can sterilize jars in a boiling water bath or in the dishwasher. Be sure to use clean jars and lids to ensure the jam’s longevity.
If using the boiling water bath method, place the jars in a large pot of boiling water for about 10 minutes. Remove them carefully with tongs and let them cool slightly before filling them with hot jam.
Variations and Serving Suggestions

Raspberry Jam Variations
Once you’ve mastered the basic recipe, feel free to experiment with different flavor combinations. For a touch of spice, add a pinch of cinnamon or a small piece of star anise while the jam is simmering. You can also add other berries, like blueberries or strawberries, for a mixed berry jam.
Another option is to add a tablespoon of vanilla extract or a small amount of almond extract for a unique flavor. Be creative and have fun exploring different flavor profiles. You could also try making a raspberry jam recipe no sugar by substituting the sugar with a natural sweetener like stevia or monk fruit.
Serving Ideas
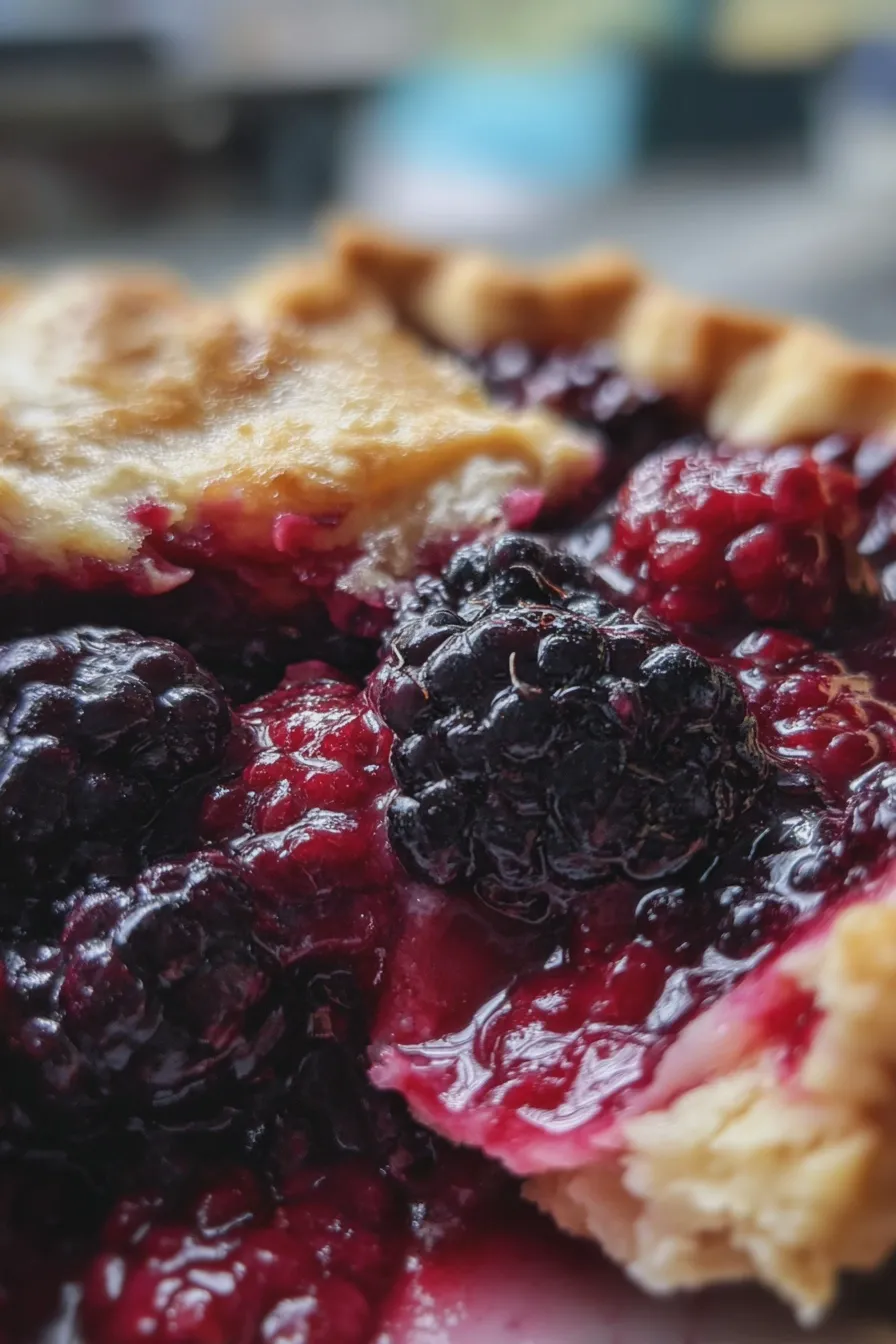
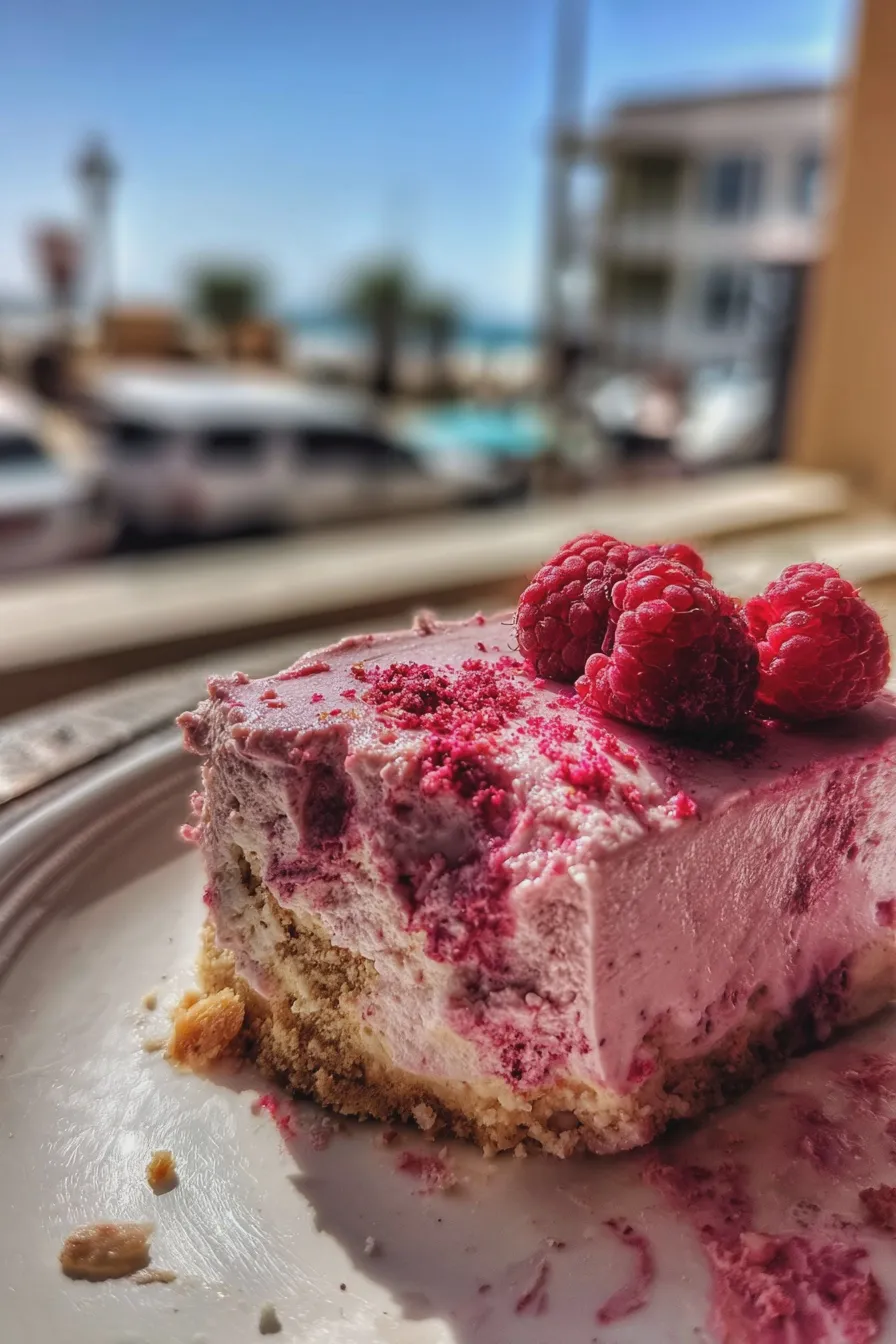
This homemade raspberry jam is incredibly versatile. It’s delicious on toast, scones, or croissants for breakfast or brunch. You can also use it as a filling for cakes, tarts, or pastries.
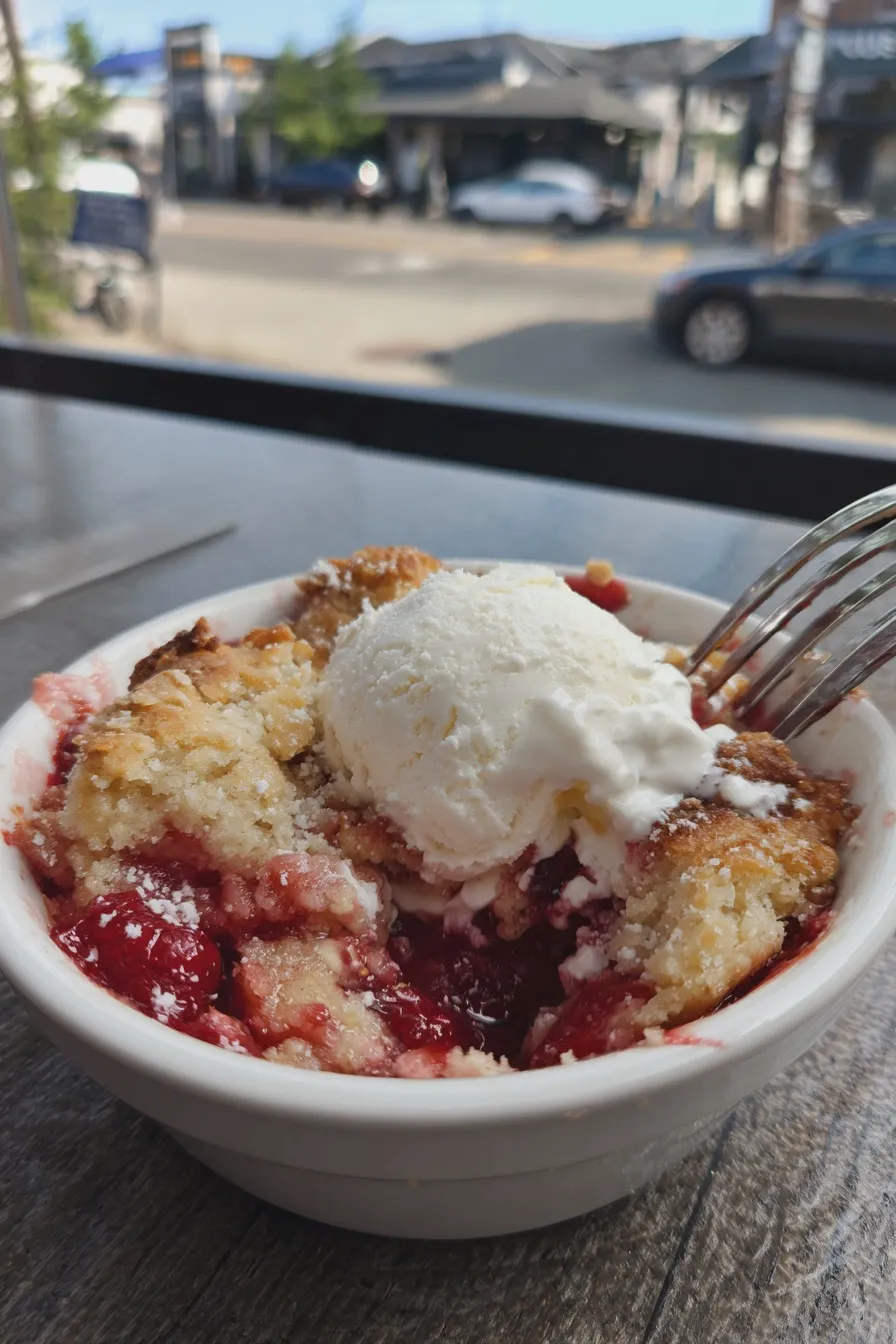
Consider using it as a topping for pancakes, waffles, or ice cream. Raspberry jam also pairs wonderfully with cheese and crackers, making it a great addition to a charcuterie board. You can even swirl it into yogurt or oatmeal for a burst of fruity flavor. I love to use jam for my creaming method for cakes and cookies.
Troubleshooting Common Problems
Jam Not Setting
If your jam doesn’t set, it might be because you didn’t cook it long enough, or you didn’t use enough natural pectin. To fix this, return the jam to the saucepan and simmer it for a few more minutes, testing for doneness frequently.
You can also try adding a small amount of extra lemon juice, as the acid helps activate the pectin in the raspberries. If all else fails, you can use a commercial pectin product, but this isn’t usually necessary. If you’re a fan of chocolate desserts, you might consider this jam as a topping for my fudgy brownies.
Jam Too Thick
If your jam becomes too thick, it likely means you overcooked it. While this is less common than a jam that doesn’t set, it can still happen. To remedy this, add a small amount of water or fruit juice and reheat the jam gently.
Stir constantly until the jam reaches the desired consistency. Remember that the jam will continue to thicken as it cools. For those of you who like a more decadent treat, you might consider pairing this recipe with my peppermint brownies.
Jam Crystallizing
Crystallization can occur if the sugar isn’t fully dissolved or if the jam is cooked too long. To prevent this, make sure all the sugar is dissolved before bringing the jam to a boil. Use a candy thermometer to monitor the temperature.
If your jam does crystallize, you can try reheating it with a little water and stirring until the crystals dissolve. Proper storage in a cool, dark place can also help prevent crystallization. If you’re looking for a dessert on the lighter side, you might want to try my mini key lime pies.
Print
raspberry jam no pectin Recipe
- Total Time: PT45M
- Yield: About 4 cups 1x
- Diet: Vegetarian, Vegan
Ingredients
- 4 cups fresh raspberries (about 1.5 pounds)
- 3 cups granulated sugar
- 1/4 cup lemon juice
Instructions
- Prepare the Raspberries: Gently rinse the raspberries and remove any stems or leaves. Place the raspberries in a large, heavy-bottomed pot or Dutch oven.
- Add Sugar and Lemon Juice: Add the sugar and lemon juice to the pot with the raspberries.
- Cook the Jam: Place the pot over medium heat. Stir frequently, especially at the beginning, to prevent the raspberries from sticking to the bottom. As the mixture begins to simmer, reduce the heat to maintain a gentle simmer. Continue simmering and stirring frequently for about 20-30 minutes, or until the jam reaches the desired consistency. The mixture will thicken as it cools.
- Test for Doneness: There are a few ways to test if the jam is ready. One method is the ‘spoon test’: Dip a cold spoon into the jam and let it cool for a minute. If the jam clings to the spoon and wrinkles slightly when you push your finger through it, it’s ready. You can also use a candy thermometer and aim for 220°F (104°C).
- Sterilize Jars: While the jam is cooking, sterilize your jars and lids. You can do this by boiling them in water for 10 minutes or running them through a hot dishwasher cycle. Keep the jars warm until ready to use.
- Fill the Jars: Carefully ladle the hot jam into the sterilized jars, leaving about 1/4 inch of headspace at the top. Wipe the rims of the jars clean.
- Seal the Jars: Place the lids on the jars and screw on the bands until fingertip tight.
- Process the Jars (Optional): For longer storage, process the jars in a boiling water bath. Place the filled and sealed jars in a water bath canner, ensuring the jars are covered by at least 1 inch of water. Bring the water to a boil and process for 10 minutes (adjust time according to your altitude).
- Cool and Store: Remove the jars from the canner and let them cool completely on a towel-lined surface. As they cool, you should hear the lids ‘pop’, indicating a good seal. Store the sealed jars in a cool, dark place for up to a year. Once opened, store the jam in the refrigerator.
Notes
- For a smoother jam, you can use a potato masher or immersion blender to lightly crush the raspberries before cooking.
- If you prefer a less sweet jam, you can reduce the amount of sugar slightly, but be aware that this may affect the setting of the jam.
- The cooking time may vary depending on the juiciness of the raspberries and the size of your pot.
- Always use clean utensils when working with jam to prevent spoilage.
- Prep Time: PT20M
- Cook Time: PT25M
- Category: Jam & Preserves
- Method: Stovetop
- Cuisine: American
Nutrition
- Serving Size: 1 tablespoon
- Calories: 50
- Sugar: 12g
- Sodium: 0mg