")

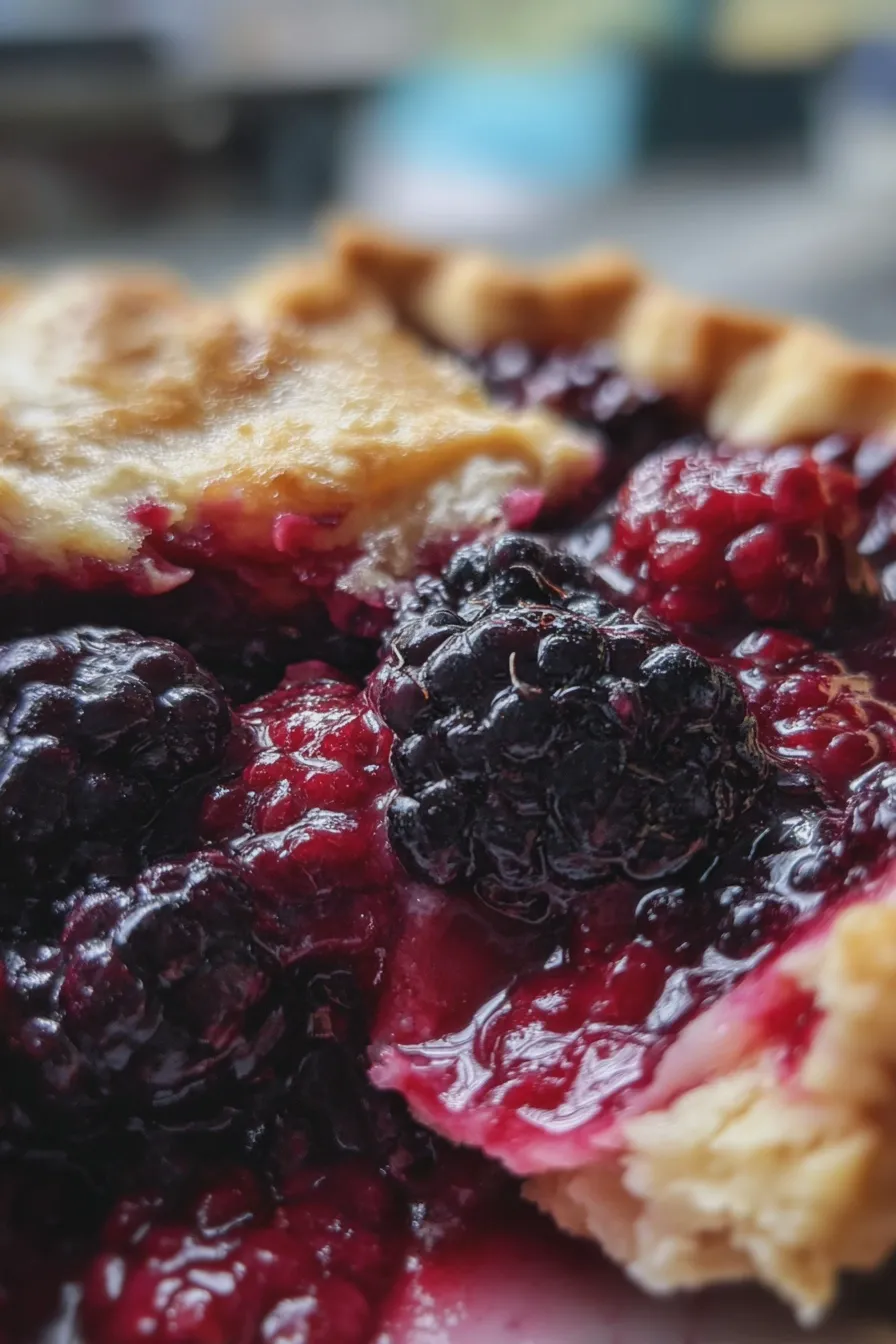
This delightful dessert is a raspberry tart, a beautiful treat featuring a buttery crust filled with sweet fresh raspberries. It’s a perfect balance of textures and flavors, making it a wonderful choice for a special occasion or a simple treat. The tart’s vibrant color and delicate taste make it a crowd-pleaser.
This recipe guides you through creating a stunning raspberry tart from scratch, using fresh ingredients to achieve the best flavor. Whether you’re a seasoned baker or a beginner, you’ll find the steps easy to follow, resulting in a delicious dessert every time.
Introduction to the Raspberry Tart
A raspberry tart is a classic dessert that showcases fresh, seasonal raspberries in a buttery pastry crust. The combination of the tartness of the raspberries with the sweetness of the crust creates a delightful balance that appeals to many palates. This elegant dessert is often served at summer gatherings or as a special treat.
This article will guide you on how to make a beautiful and delicious raspberry tart recipe that will impress your friends and family. It’s a dessert that’s both visually stunning and incredibly tasty, perfect for any occasion. For more dessert inspiration, you can check out some wonderful recipes at Allrecipes.
Ingredients You’ll Need

To make a delicious raspberry tart, you’ll need a few key ingredients. Gather your supplies, and let’s get started on this delightful baking adventure. Remember, using fresh, high-quality ingredients will significantly enhance the final flavor.
Here’s a list of the ingredients you’ll need, along with some helpful notes for substitutions and variations. You can also explore other tasty desserts, like the recipes on Serious Eats for even more ideas.
- For the Crust:
- All-purpose flour: 1 ½ cups
- Salt: ¼ teaspoon
- Unsalted butter: ½ cup (1 stick), cold and cubed
- Ice water: 3-5 tablespoons
- For the Filling:
- Fresh raspberries: 2 cups
- Granulated sugar: ¼ cup (adjust to taste)
- Lemon juice: 1 tablespoon
- Cornstarch: 1 tablespoon
- For the Glaze (optional):
- Raspberry jam: ¼ cup
- Water: 1 tablespoon
How to Make the Raspberry Tart

Creating a raspberry tart might seem intimidating, but with this step-by-step guide, you’ll find it’s a rewarding and enjoyable process. From making the perfect crust to assembling the tart, each step is designed to ensure success, even for beginner bakers. Prepare yourself for a dessert that will truly impress.
Follow these instructions carefully, and you’ll be well on your way to enjoying a beautiful easy raspberry tart. We will break down the process into easy-to-follow steps, with helpful tips along the way.
Making the Crust
The crust is the foundation of any great tart, so let’s start with this crucial step. The key to a flaky crust is cold butter, which creates pockets of air that expand during baking. Make sure your butter is very cold to start.
In a food processor, combine the flour and salt, then pulse to mix. Add the cold, cubed butter and pulse until the mixture resembles coarse crumbs. Gradually add ice water, a tablespoon at a time, pulsing until the dough just comes together. If you don’t have a food processor, you can use a pastry blender or your fingers, but work quickly to keep the butter cold.
Chilling and Rolling the Dough
Once your dough comes together, it’s time to chill it. This step is essential for the crust to hold its shape during baking. Proper chilling prevents the butter from melting too quickly in the oven.
Form the dough into a disk, wrap it in plastic wrap, and refrigerate for at least 30 minutes, or up to an hour. On a lightly floured surface, roll out the dough to fit your tart pan. This step is much easier if the dough is properly chilled.
Preparing the Tart Pan
Next, you’ll prepare the tart pan. A well-prepared pan ensures that your tart bakes evenly and releases cleanly. Use a removable-bottom tart pan for easy removal.
Carefully transfer the rolled-out dough to the tart pan, pressing it into the bottom and up the sides. Trim any excess dough from the edges. Prick the bottom of the crust with a fork to prevent it from puffing up during baking.
Pre-Baking the Crust
Pre-baking the crust is a critical step, especially when working with a wet filling. This ensures that the crust is fully cooked and remains crisp. Blind baking prevents a soggy bottom.
Line the crust with parchment paper and fill it with pie weights or dried beans. Bake in a preheated oven at 375°F (190°C) for 15 minutes. Remove the weights and parchment, and bake for another 5-10 minutes, or until the crust is golden brown.
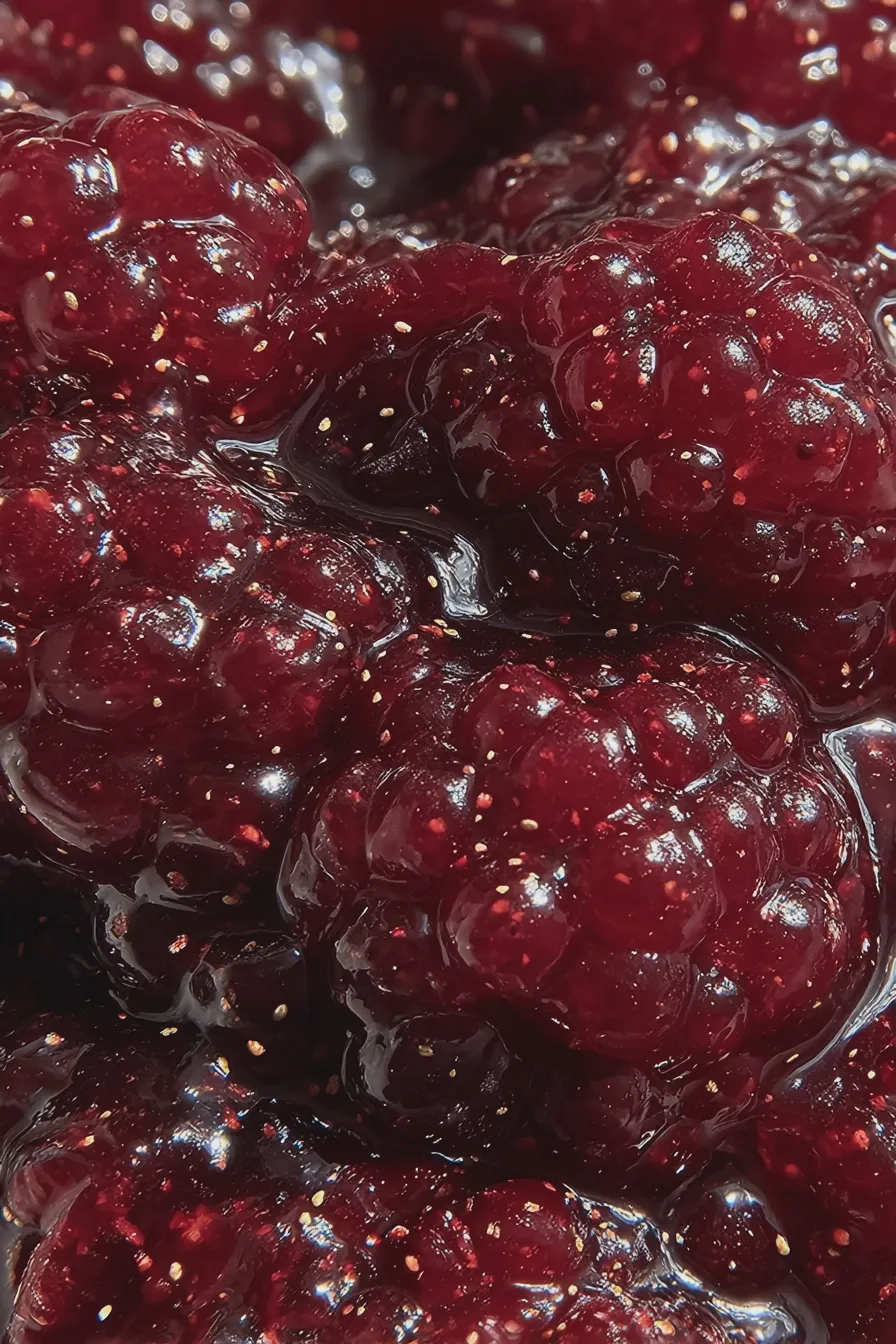
Making the Raspberry Filling
While the crust is baking, prepare the raspberry filling. This simple filling enhances the natural sweetness of the raspberries. Fresh raspberries are best for this.
In a bowl, gently combine the fresh raspberries, sugar, lemon juice, and cornstarch. Stir carefully to avoid crushing the raspberries. The cornstarch will help thicken the filling, while the lemon juice adds a touch of brightness.
Assembling the Tart
Now, it’s time to assemble the tart. This step involves combining the pre-baked crust with the raspberry filling, turning the individual components into a cohesive dessert. This is where your creation comes alive.
Once the crust is baked and cooled slightly, pour the raspberry filling into the crust. Spread the filling evenly. For a beautiful presentation, arrange the raspberries in a decorative pattern.
Baking the Tart
Baking the assembled tart is the final step. This process sets the filling and further crisps the crust. The baking time depends on your oven and pan.
Bake the tart in the preheated oven at 375°F (190°C) for 30-40 minutes, or until the filling is bubbly and the crust is golden brown. The filling should be set, and the crust should look perfectly baked.
Glazing the Tart (Optional)
If you’d like, add a glaze to your raspberry tart for a beautiful finish. This step adds shine and enhances the flavor. A simple glaze can elevate the appearance.
In a small saucepan, heat the raspberry jam and water over low heat until the jam is melted and smooth. Brush the glaze over the top of the warm tart after it has cooled slightly. This step adds a beautiful shine and extra flavor.
Cooling and Serving
Allowing the tart to cool is essential for the filling to set properly. Patience is key at this stage, as the flavors will meld as it cools. This also helps the crust crisp up more.
Let the tart cool completely on a wire rack before slicing and serving. This allows the filling to set and the crust to become crisp. Dust with powdered sugar for a final touch.
Tips for the Perfect Raspberry Tart

To ensure your raspberry tart recipe turns out perfectly, here are a few extra tips. From choosing the right ingredients to mastering the baking process, these suggestions will help you achieve the best results. These tips are designed to help you avoid common mistakes.
Following these tips will make your baking experience more enjoyable and successful. For a different twist, you might consider trying a chocolate raspberry tart, combining the classic flavors.
Choosing the Right Raspberries
The quality of your raspberries directly impacts the flavor of your tart. Selecting the best berries ensures a delicious dessert. Look for vibrant, plump raspberries.
Choose fresh, ripe raspberries that are firm to the touch and have a deep color. Avoid any berries that are bruised or moldy. Freshly picked berries are ideal, but store-bought berries can also work if you choose carefully.
Preventing a Soggy Crust
A soggy crust can ruin an otherwise perfect tart. Proper pre-baking and chilling are essential to prevent this issue. Follow these steps to ensure a crisp crust.
Make sure to pre-bake your crust until it’s golden brown. Also, be sure to use a tart pan with a removable bottom to ensure the crust bakes evenly. Using a tart pan with a removable bottom also makes serving the tart easier.
Adjusting Sweetness
The sweetness of the tart can be adjusted to your liking. The amount of sugar you use can be modified to suit your preferences. Taste test your filling.
Start with the recommended amount of sugar, and then taste the filling. Add more sugar if the raspberries are too tart. You can also adjust the amount of sugar depending on the sweetness of your raspberries.
Make-Ahead Tips
Preparing components ahead of time can make the baking process much easier. Plan ahead with these make-ahead tips. This will save you time and effort.
You can make the crust a day or two in advance and store it in the refrigerator. You can also make the filling and store it separately. Assembling the tart just before baking ensures the freshest results. Consider making a batch of the crust and freezing it for future use; you might also enjoy making some mini apple pies.
Serving and Storage
Proper serving and storage are crucial for enjoying your raspberry tart at its best. Following these guidelines ensures your dessert remains delicious and fresh. Here are some serving and storage tips.
Whether you’re serving the tart immediately or storing it for later, these tips will help you preserve its flavor and texture. For more dessert inspiration, you could also make a lemon blueberry cake.
Serving Suggestions
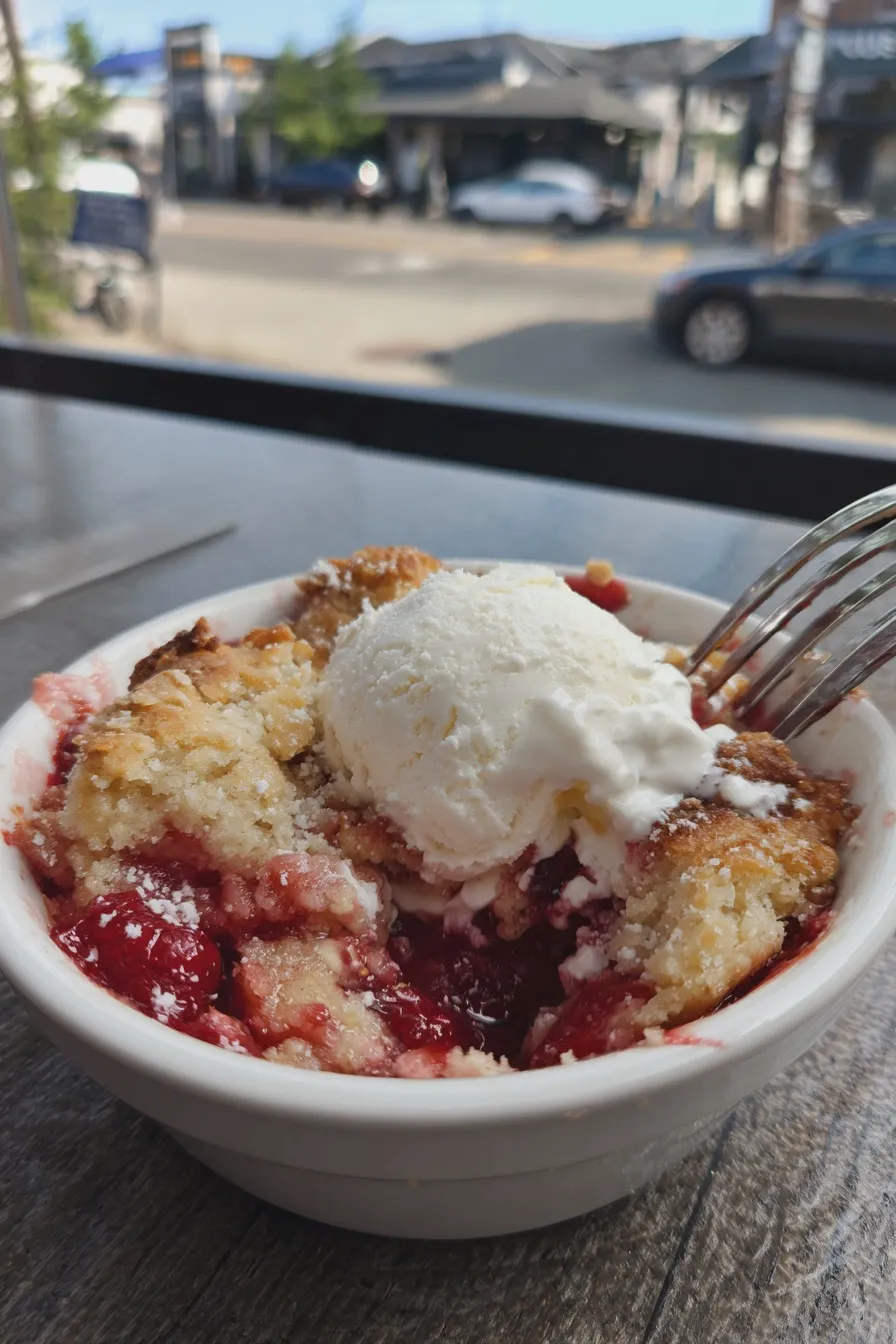
Enhance your raspberry tart experience with these serving suggestions. Elevate your dessert by adding complementary flavors and textures. Enhance your dessert experience.
Serve the tart chilled or at room temperature. Garnish with a dollop of whipped cream, a scoop of vanilla ice cream, or a sprinkle of fresh raspberries. A dusting of powdered sugar also adds a touch of elegance.
Storage Instructions
Proper storage is essential to maintain the quality of your raspberry tart. By following these storage tips, you can enjoy your tart for several days. Proper storage preserves freshness.
Store the tart in the refrigerator, covered, for up to 3 days. The crust may soften slightly over time. For longer storage, you can freeze the tart. For a different dessert option, you can also consider making some lemon crumb bars.
Conclusion
Making a raspberry tart is a rewarding experience that results in a beautiful and delicious dessert. With this recipe, you have all the tools you need to create a stunning treat that will impress everyone. Enjoy the process of baking and the joy of sharing your creation.
Whether you’re a seasoned baker or a beginner, this recipe offers a clear path to success. The combination of the buttery crust and the sweet raspberries ensures a delightful culinary experience. Consider trying a raspberry frangipane tart next time.
Print
raspberry tart Recipe
- Total Time: PT2H10M
- Yield: 8 servings 1x
- Diet: Vegetarian
Description
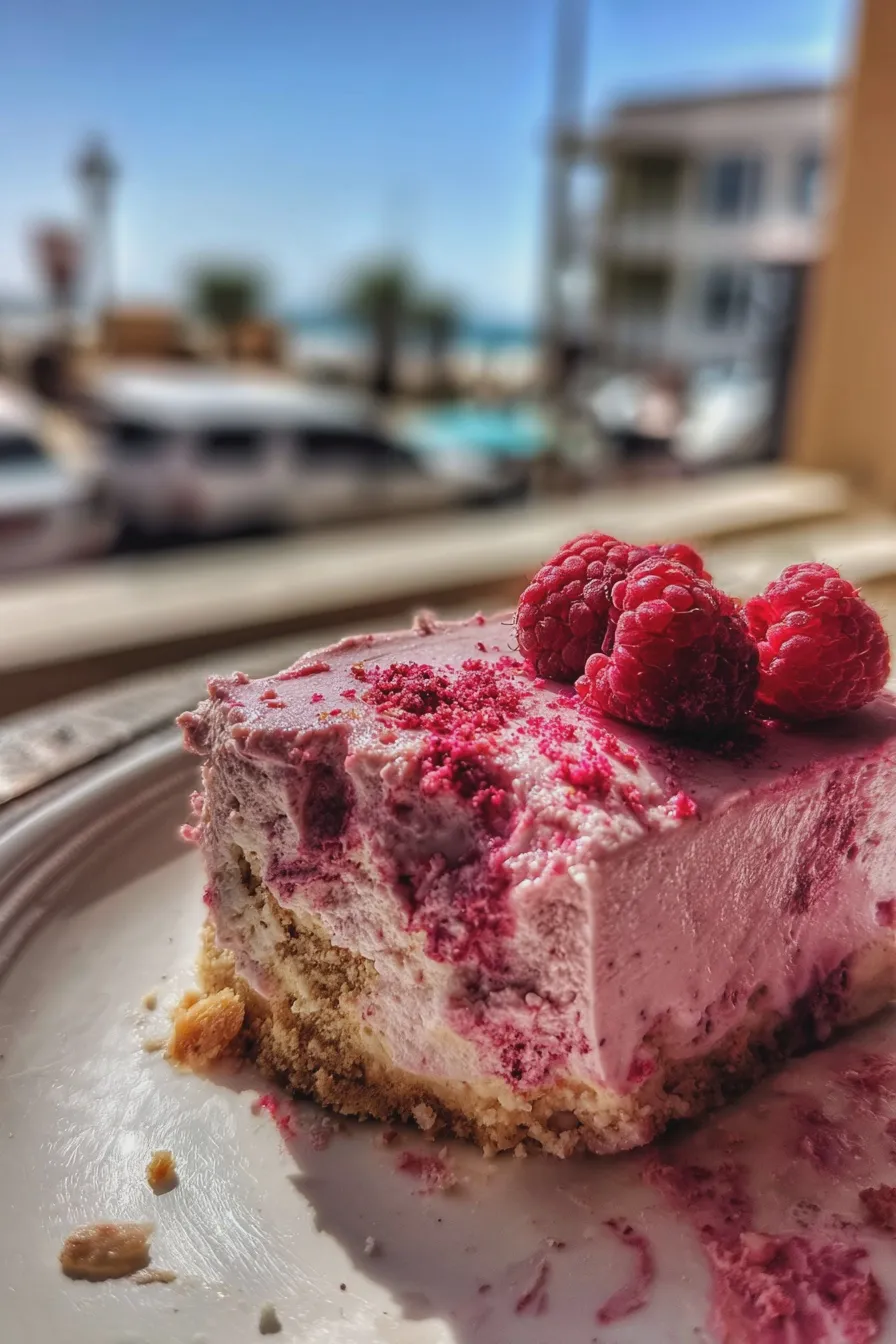
This elegant Raspberry Tart features a buttery, flaky crust filled with a silky pastry cream and topped with fresh, juicy raspberries. It’s a delightful dessert perfect for special occasions or a sweet treat any day of the week.
Ingredients
- For the Crust:
- 1 1/4 cups all-purpose flour
- 1/4 cup granulated sugar
- 1/4 teaspoon salt
- 1/2 cup (1 stick) cold unsalted butter, cut into cubes
- 1/4 cup ice water
- For the Pastry Cream:
- 1 1/2 cups whole milk
- 1/2 cup granulated sugar
- 1/4 cup cornstarch
- 1/4 teaspoon salt
- 3 large egg yolks
- 1 teaspoon vanilla extract
- 2 tablespoons unsalted butter, cut into pieces
- For the Raspberry Topping:
- 1 pint fresh raspberries
- 2 tablespoons raspberry jam, warmed (optional)
Instructions
- Make the Crust: In a food processor, pulse together the flour, sugar, and salt. Add the cold butter and pulse until the mixture resembles coarse crumbs. Gradually add the ice water, pulsing until the dough just comes together.
- Turn the dough out onto a lightly floured surface and gently form it into a disc. Wrap in plastic wrap and chill for at least 30 minutes.
- Preheat oven to 375°F (190°C). Roll out the dough and fit it into a 9-inch tart pan. Trim the edges and prick the bottom of the crust with a fork.
- Bake the crust for 15-20 minutes, or until golden brown. Let cool completely.
- Make the Pastry Cream: In a saucepan, combine the milk, sugar, cornstarch, and salt. Whisk to combine.
- Place the saucepan over medium heat and cook, whisking constantly, until the mixture thickens and comes to a boil.
- Remove from heat and whisk in the egg yolks, one at a time, until smooth. Return to the heat and cook for 1 minute more, whisking constantly.
- Remove from heat and stir in the vanilla extract and butter until the butter is melted and the pastry cream is smooth.
- Pour the pastry cream into the cooled tart crust and refrigerate for at least 2 hours, or until set.
- Assemble the Tart: Arrange the fresh raspberries over the pastry cream. If desired, brush the raspberries with warmed raspberry jam for extra shine and flavor.
- Slice and serve.
Notes
- For a richer crust, use all butter instead of a butter/shortening combination.
- If you don’t have a food processor, you can cut the butter into the flour by hand using a pastry blender or your fingertips.
- The pastry cream can be made a day in advance. Store it in the refrigerator until ready to use.
- Feel free to substitute other berries for the raspberries.
- Prep Time: PT45M
- Cook Time: PT25M
- Category: Dessert
- Method: Bake
- Cuisine: French
Nutrition
- Serving Size: 1 slice
- Calories: 350
- Sugar: 25g
- Sodium: 100mg
- Fat: 20g
- Carbohydrates: 40g