
Hello there, fellow baking enthusiasts! There’s something truly magical about autumn, isn’t there? The crisp air, the vibrant foliage, and of course, the irresistible aroma of pumpkin spice filling our kitchens. If you’re like me, you’re always on the lookout for delightful ways to incorporate that quintessential fall flavor into your baking. Today, we’re diving into a recipe that’s as charming as it is delicious: Pumpkin Dessert Cups. These individual treats are perfect for gatherings, holidays, or simply when you crave a little taste of autumn in a cup. They offer a wonderful way to enjoy the flavors of pumpkin desserts without the fuss of a full pie. Let’s get started on creating some truly special fall dessert cups!
Why You’ll Love These Pumpkin Dessert Cups
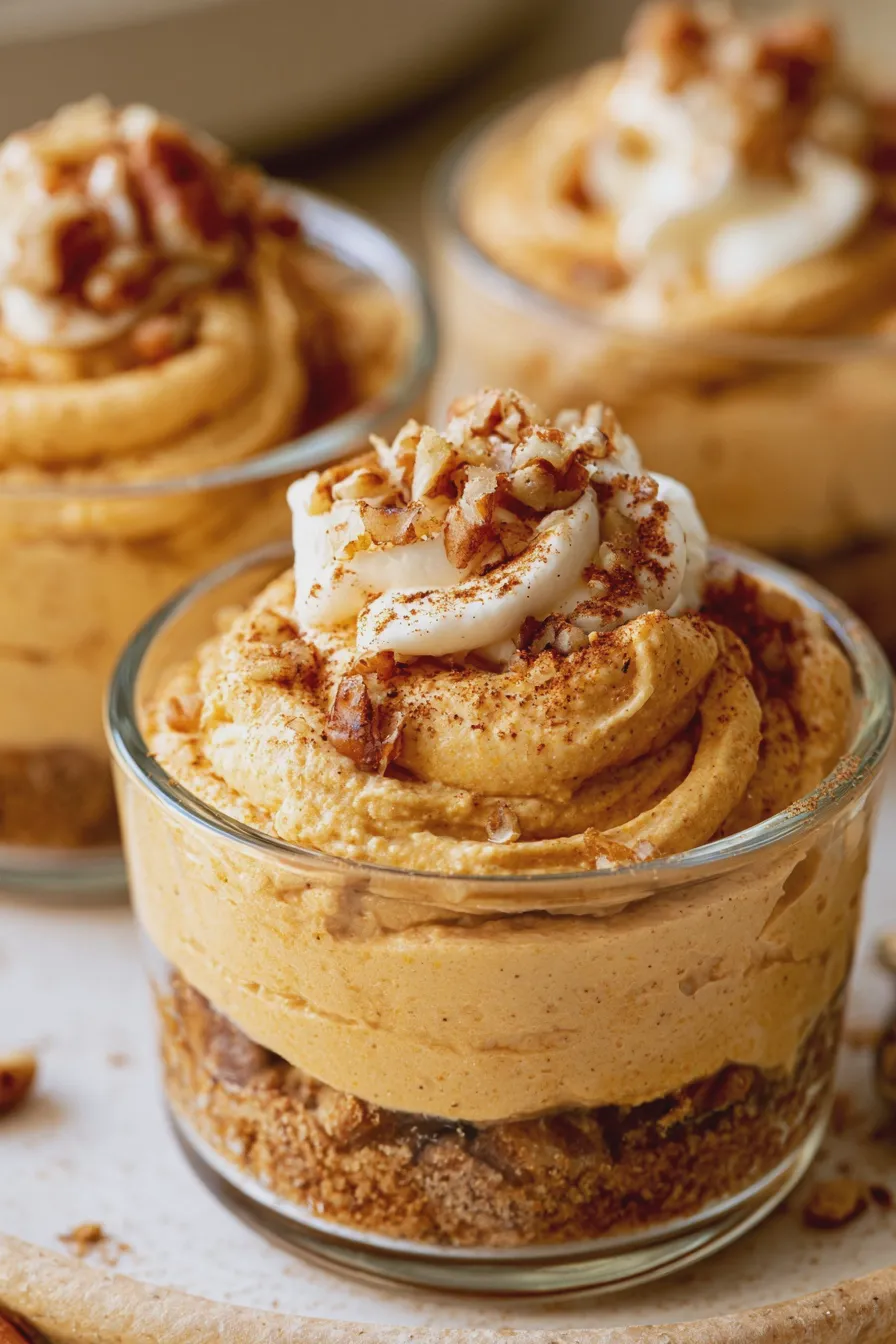
These pumpkin dessert cups are a baker’s dream for so many reasons. First and foremost, they are incredibly versatile. You can tailor them to your liking with different layers, toppings, and spice levels. They are also fantastic for portion control, making them a great option for entertaining. Imagine serving these beautiful, individual desserts at your next fall party desserts gathering – your guests will be so impressed!
Another fantastic aspect is their adaptability for various dietary needs. While the classic recipe is a crowd-pleaser, we’ll touch upon variations that can cater to those looking for healthy pumpkin dessert cups, vegan pumpkin dessert cups, or even gluten free pumpkin dessert cups. The core concept of layered pumpkin goodness is so adaptable!
If you’re looking for easy pumpkin dessert cups, these are a winner. Many versions can be made ahead of time, which is a lifesaver when you’re hosting. Plus, they look so elegant, often resembling mini pumpkin cheesecakes or sophisticated pumpkin parfait recipes, even when they’re simple to assemble. They truly embody the spirit of autumn dessert ideas.
Gathering Your Ingredients
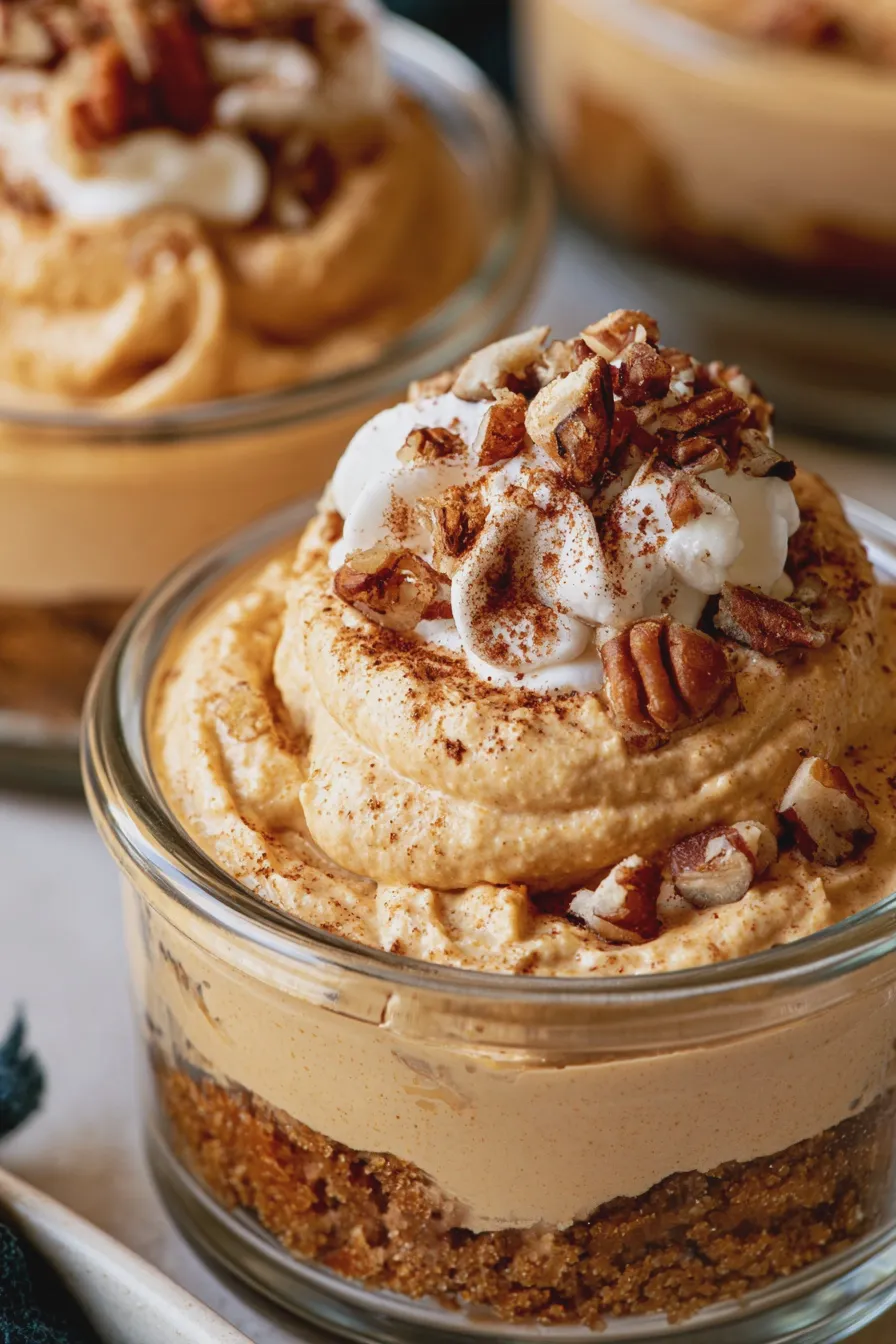
To create these delightful pumpkin dessert cups, you’ll need a few key ingredients. Don’t worry, most of these are pantry staples, especially during the fall season!
For the Pumpkin Layer:
- 1 (15-ounce) can pumpkin puree (not pumpkin pie filling)
- 1 (14-ounce) can sweetened condensed milk
- 2 large eggs
- 1 teaspoon pumpkin pie spice
- ½ teaspoon ground cinnamon
- ¼ teaspoon ground ginger
- Pinch of ground cloves
- 1 teaspoon vanilla extract
For the Cream Cheese Layer (Optional, but highly recommended!):
- 8 ounces cream cheese, softened
- ½ cup powdered sugar
- ½ cup heavy whipping cream
- 1 teaspoon vanilla extract
For the Crust/Base:
- 1 ½ cups graham cracker crumbs (about 10-12 full sheets)
- ¼ cup melted butter
- 2 tablespoons granulated sugar
For Topping:
- Whipped cream
- Extra graham cracker crumbs or crushed gingersnap cookies
- A sprinkle of cinnamon or pumpkin pie spice
Baking Tip: Using pumpkin puree rather than pumpkin pie filling is crucial. Pie filling already contains sweeteners and spices, which can throw off the flavor balance and texture of your dessert cups. Always check your labels!
Step-by-Step Assembly: Crafting Your Pumpkin Dessert Cups
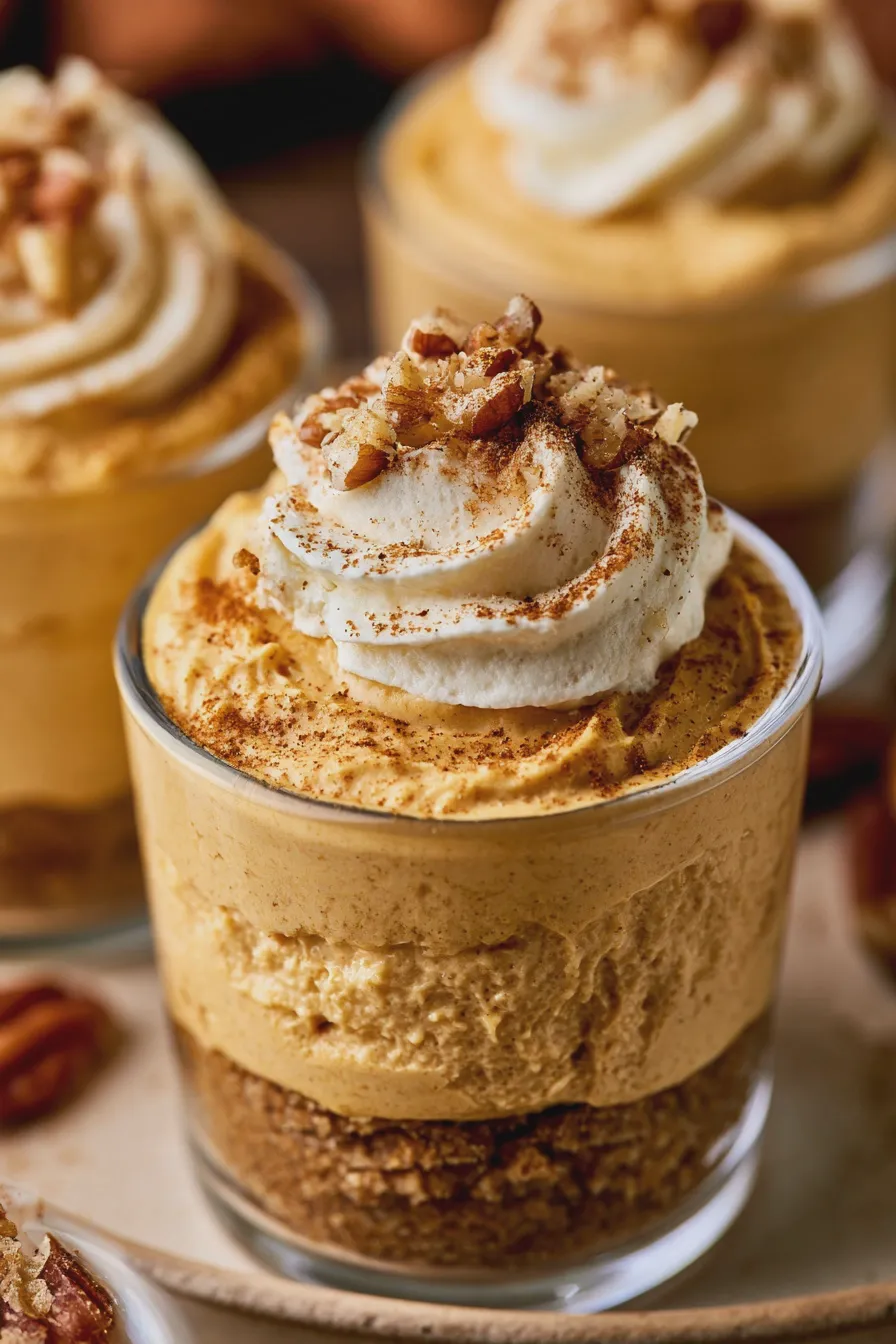
Let’s break down the process into simple, manageable steps. We’ll cover a classic baked version and then discuss no-bake alternatives.
Don’t miss out on our guide to Labor Day Dessert Cups.
The Crust: The Foundation of Flavor
The crust provides a delightful texture contrast to the creamy filling. For our baked version, we’ll pre-bake this layer slightly.
- In a medium bowl, combine the graham cracker crumbs, melted butter, and granulated sugar. Stir until the crumbs are evenly moistened.
- Press about 1-2 tablespoons of the crumb mixture into the bottom of each ramekin or dessert cup. Use the back of a spoon or a small measuring cup to create a firm, even layer.
- If you are making a baked version, bake these crusts in a preheated oven at 350°F (175°C) for about 8-10 minutes, just until lightly golden and fragrant. Let them cool slightly while you prepare the filling.
- For no bake pumpkin dessert cups, you can skip the baking step for the crust and simply press it firmly into the bottom of your cups. It will firm up in the refrigerator.
The Pumpkin Filling: The Heart of the Dessert
This is where that delicious pumpkin flavor truly shines. We’re aiming for a smooth, spiced custard-like filling.
- In a large bowl, whisk together the pumpkin puree, sweetened condensed milk, and eggs until well combined and smooth.
- Add the pumpkin pie spice, cinnamon, ginger, cloves, and vanilla extract. Whisk again until all the spices are evenly distributed.
- Mistake to Avoid: Overmixing the filling after adding the eggs can incorporate too much air, which might lead to cracks in the baked dessert. Mix just until combined.
The Cream Cheese Layer: A Touch of Tangy Richness (Optional)
This layer adds a wonderful cheesecake-like dimension. If you’re aiming for mini pumpkin cheesecakes, this is a must!
- In a separate bowl, beat the softened cream cheese with an electric mixer until smooth and creamy.
- Gradually beat in the powdered sugar until fully incorporated and no lumps remain.
- In another small bowl, whip the heavy cream with the vanilla extract until stiff peaks form.
- Gently fold the whipped cream into the cream cheese mixture until just combined. Be careful not to overmix.
Assembling Your Layers: Creating the Magic
Now for the fun part – layering your delicious creations!
- If you’re including the cream cheese layer, spoon a layer of the cream cheese mixture over the cooled crust in each ramekin.
- Next, carefully spoon the pumpkin filling over the cream cheese layer (or directly over the crust if omitting the cream cheese layer). Fill each cup to about ¾ full, leaving a little room for topping.
Baking or Chilling: The Final Transformation
This is where your dessert cups go from assembled ingredients to delightful treats.
- For Baked Cups: Place the filled ramekins on a baking sheet. Bake in the preheated oven at 350°F (175°C) for 20-25 minutes, or until the edges are set and the center is just slightly jiggly. A toothpick inserted near the center should come out mostly clean.
- Let the baked cups cool completely on a wire rack. Once cooled, they can be refrigerated.
- For No-Bake Cups: Cover the assembled cups tightly with plastic wrap and refrigerate for at least 4 hours, or preferably overnight, until firm. This allows the flavors to meld and the layers to set beautifully. These are perfect for quick pumpkin desserts!
Topping and Serving: The Grand Finale
The final touches elevate your pumpkin dessert cups from homemade to haute cuisine!
Looking for more? Try this delicious Pumpkin Pie Recipe next.
- Once your dessert cups are chilled (baked or no-bake), top generously with whipped cream.
- Sprinkle with extra graham cracker crumbs, crushed gingersnaps, or a dusting of cinnamon and pumpkin pie spice for that signature spiced pumpkin treats aroma.
- Serve immediately and watch the smiles appear!
Variations and Customizations for Your Pumpkin Dessert Cups
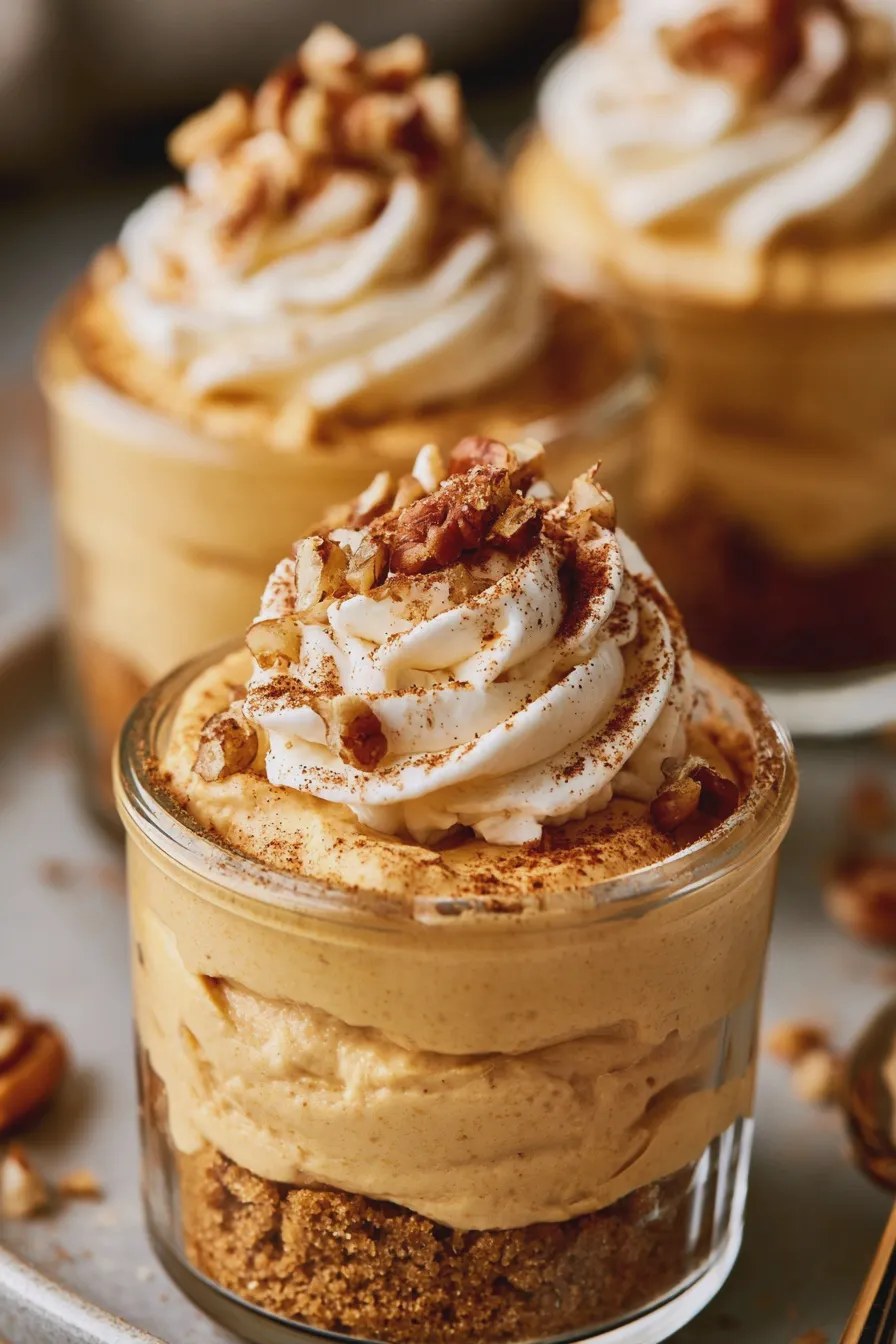
The beauty of these pumpkin dessert cups lies in their adaptability. Here are some ideas to inspire your own creations:
- Crust Swaps: Instead of graham crackers, try crushed gingersnap cookies, vanilla wafers, or even shortbread for a different flavor profile. For a gluten free pumpkin dessert cups option, use gluten-free graham crackers or a nut-based crust.
- Spicing it Up: Adjust the pumpkin pie spice to your preference. Some people love a bolder spice blend, while others prefer a subtler hint. You can also add a pinch of cardamom or nutmeg.
- Layered Pumpkin Desserts: Get creative with your layers! Consider adding a layer of pumpkin pie pudding cups, a swirl of caramel sauce, or even a dollop of spiced apple compote between the crust and the pumpkin filling. A pumpkin cream cheese dessert is always a hit.
- Pumpkin Mousse Cups: For an even lighter texture, you can create a pumpkin mousse by folding pumpkin puree and spices into whipped cream or a stabilized whipped cream mixture.
- Vegan Pumpkin Dessert Cups: To make these vegan, use a vegan graham cracker crust (ensure butter is replaced with vegan butter or coconut oil), substitute the sweetened condensed milk with a vegan condensed milk alternative (like coconut or oat-based), and use a vegan cream cheese alternative for the cream cheese layer, along with a plant-based whipped topping.
- Healthy Pumpkin Dessert Cups: For a lighter version, you can reduce the sugar in the crust and filling, use a sugar-free condensed milk alternative, and opt for a lighter whipped topping. You could also incorporate ingredients like Greek yogurt or cottage cheese into the cream cheese layer for added protein.
Tips for Perfect Pumpkin Dessert Cups Every Time
Baking is a science, but a few practical tips can make all the difference.
- Room Temperature Ingredients: Ensure your cream cheese and eggs are at room temperature for the smoothest, most consistent filling.
- Don’t Overfill: Leave some space at the top of your cups to prevent overflow during baking or to allow for a generous topping.
- Cooling is Key: Allow baked desserts to cool completely before refrigerating or topping. This helps them set properly and prevents a soggy crust.
- Make Ahead Magic: Both baked and no-bake versions can be made a day in advance, making them perfect for entertaining. Store them covered in the refrigerator.
- Individual Servings: Using ramekins, small mason jars, or even sturdy paper dessert cups makes for beautiful, individual servings.
Common Mistakes and How to Avoid Them
Even experienced bakers can run into a few snags. Here’s how to steer clear of common pitfalls:
- Using Pumpkin Pie Filling: As mentioned, always use pure pumpkin puree. The pre-made filling has too much sugar and spice.
- Cracked Tops (Baked Version): This often happens from overbaking or too rapid temperature changes. Try a water bath (bain-marie) if you’re concerned about cracking, or simply let them cool gradually.
- Grainy Cream Cheese Layer: Ensure your cream cheese is truly softened and that you’re not overmixing the powdered sugar into it, which can sometimes lead to a slightly grainy texture.
- Soggy Crust: Make sure your crust is pressed firmly and, for baked versions, is lightly toasted. For no-bake, chilling is essential for firmness.
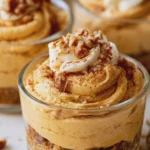
Pumpkin Dessert Cups Quick and Easy Recipe
Description
Indulge in these delightful Pumpkin Dessert Cups, a perfect no-bake treat for any occasion. Layers of creamy pumpkin filling and crushed cookies create a symphony of fall flavors in every bite.
Ingredients
- 1 (8 ounce) package cream cheese, softened
- 1 cup powdered sugar
- 1 (15 ounce) can pumpkin puree
- 1 teaspoon pumpkin pie spice
- 1/2 teaspoon vanilla extract
- 1 cup heavy whipping cream, whipped to stiff peaks
- 1 ½ cups crushed gingersnap cookies (about 40 cookies)
- ¼ cup melted butter
- Optional garnish: whipped cream, cinnamon, chopped pecans
Instructions
- In a large bowl, beat the softened cream cheese and powdered sugar until smooth and creamy.
- Add the pumpkin puree, pumpkin pie spice, and vanilla extract. Mix until well combined.
- Gently fold in the whipped heavy cream until no streaks remain.
- In a separate bowl, combine the crushed gingersnap cookies and melted butter. Mix until the crumbs are moistened.
- Spoon about 1 tablespoon of the cookie crumb mixture into the bottom of 6-8 small dessert cups or ramekins. Press down gently to form a base.
- Spoon or pipe the pumpkin cream cheese filling over the cookie base, filling each cup almost to the top.
- Chill the dessert cups in the refrigerator for at least 2 hours, or until firm.
- Before serving, garnish with whipped cream, a sprinkle of cinnamon, or chopped pecans, if desired.
Notes
- For a quicker preparation, you can use pre-crushed graham crackers or vanilla wafers instead of gingersnaps.
- Ensure the cream cheese is fully softened to avoid lumps in the filling.
- These dessert cups can be made a day in advance and stored in the refrigerator.
- Adjust the amount of pumpkin pie spice to your preference.







