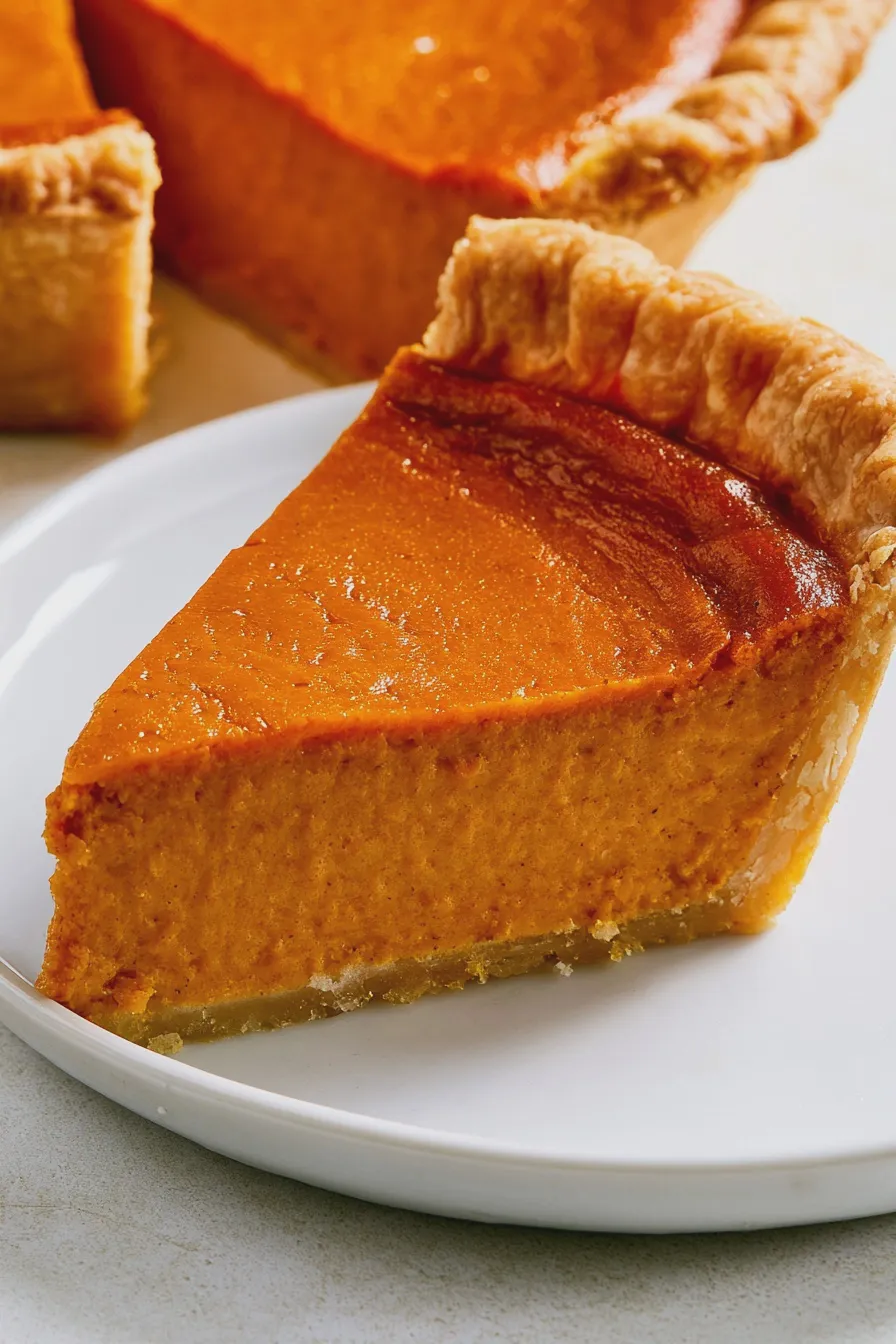
Welcome, fellow baking enthusiasts! Today, we’re diving into a dessert that truly embodies the cozy spirit of autumn and the joy of holiday gatherings: the Pumpkin Chiffon Pie. This isn’t your average pumpkin pie; it’s a delightful dance between the rich, spiced flavors of pumpkin and the airy, ethereal texture that “chiffon” promises. Imagine a slice that’s both incredibly light and satisfyingly creamy, a perfect contrast to heavier holiday fare. If you’ve ever found traditional pumpkin pie a bit too dense, this recipe is about to become your new favorite. We’ll guide you through every step, from creating that signature fluffy filling to ensuring a perfectly baked crust, making this best pumpkin chiffon pie accessible even for those new to this elegant dessert. For a deeper dive into the world of pumpkin pies, you might find this guide on pumpkin pie recipes helpful as a starting point.
What Makes Pumpkin Chiffon Pie So Special?
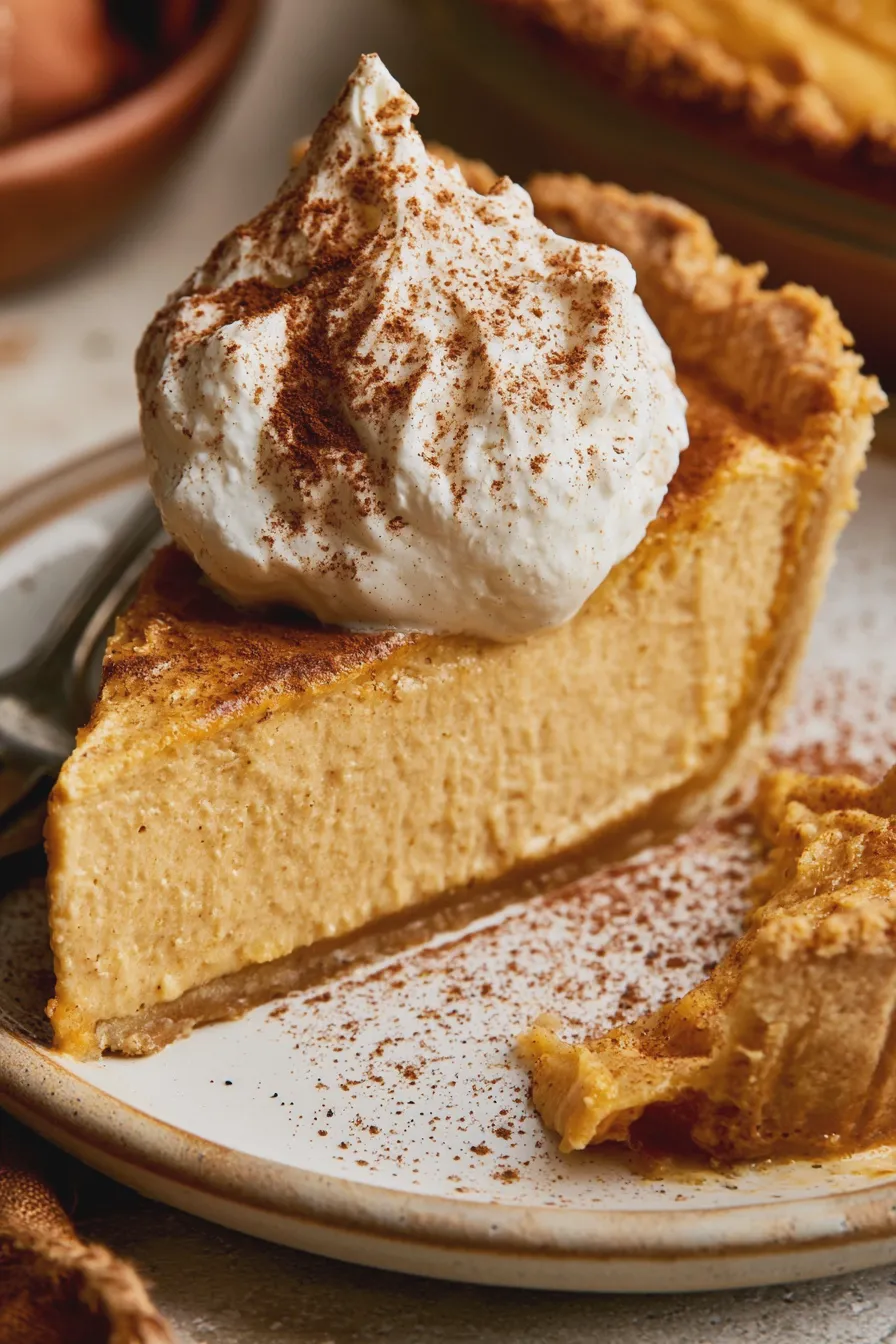
The magic of a pumpkin chiffon pie lies in its unique texture. Unlike its custard-based cousin, the pumpkin chiffon pie gets its incredible lightness from whipped egg whites folded into the pumpkin filling. This technique, borrowed from chiffon cakes, creates a pie that is wonderfully airy and almost mousse-like. It’s a beautiful example of how simple ingredients can be transformed into something truly elegant. This method also allows the warm spices and pure pumpkin flavor to shine through without being weighed down. It’s a delightful twist on a classic pumpkin chiffon pie that’s perfect for any occasion, especially as one of your go-to fall dessert recipes.
The key to achieving this delicate texture is careful folding and ensuring your egg whites are whipped to perfection. For those who want to master this technique, learning how to whip egg whites to stiff peaks is a foundational skill that will elevate many of your baking endeavors. This process ensures that air is incorporated gently and effectively, resulting in that signature fluffy consistency.
Gathering Your Ingredients for an Authentic Pumpkin Chiffon Pie
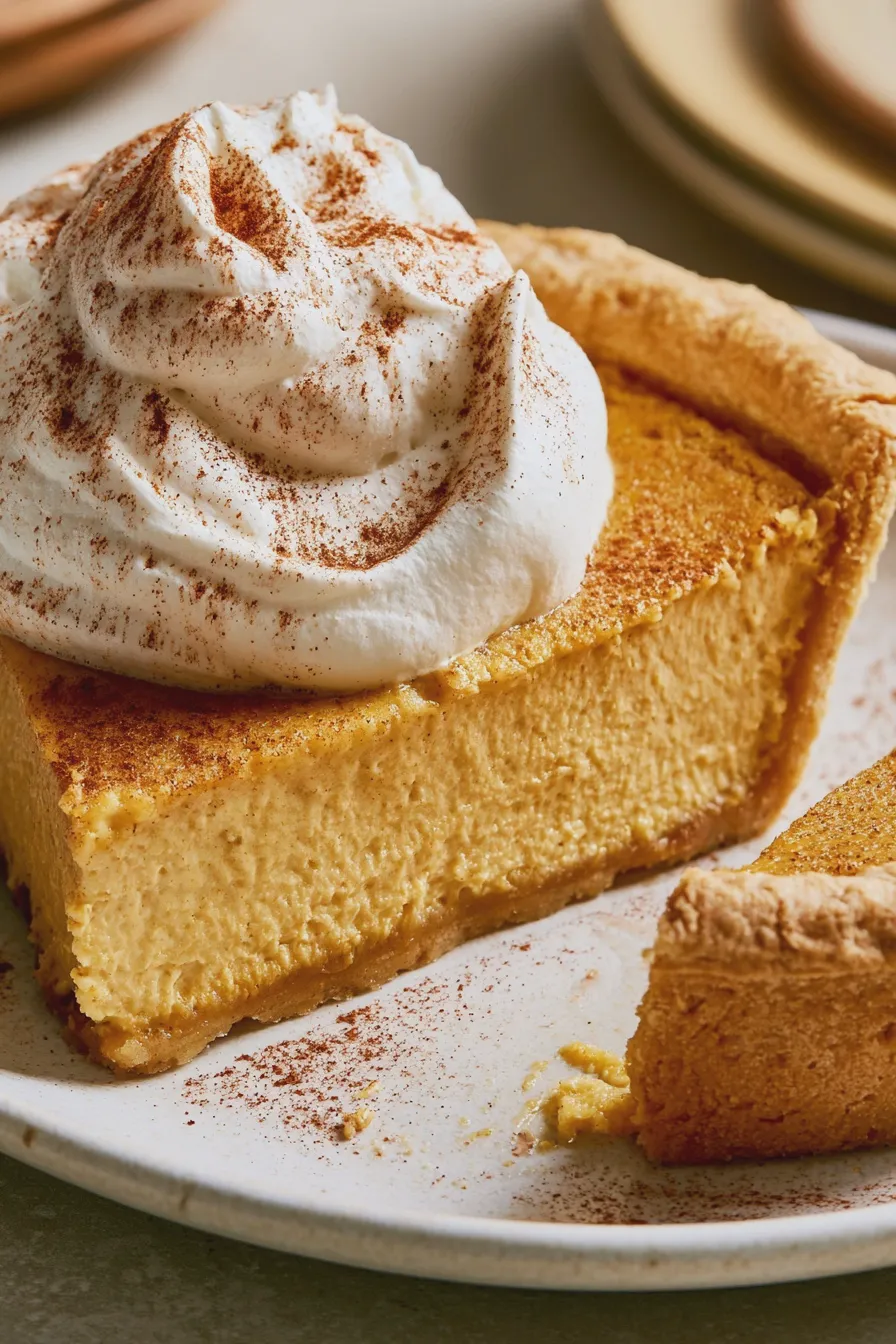
To create a truly authentic pumpkin chiffon pie, you’ll want to gather high-quality ingredients. The better your ingredients, the more delicious your pie will be. Don’t be tempted to substitute; each component plays a vital role in the final texture and flavor.
For the Crust:
- 1 pre-baked 9-inch pie crust (your favorite recipe or store-bought)
A flaky, golden-brown crust is the perfect foundation. You can bake your own, perhaps using a recipe similar to this Pumpkin Pie Recipe, or opt for a good quality store-bought one to save time. Ensure it’s fully baked and cooled before you begin assembling the filling.
For the Pumpkin Filling:
- 1 can (15 oz) pumpkin puree (not pumpkin pie filling)
- 3/4 cup granulated sugar
- 1/2 teaspoon salt
- 1 teaspoon ground cinnamon
- 1/2 teaspoon ground ginger
- 1/4 teaspoon ground cloves
- 1/4 teaspoon ground nutmeg
- 1 envelope unflavored gelatin
- 1/4 cup cold water
- 1/2 cup evaporated milk
- 3 large eggs, separated
- 1/4 teaspoon cream of tartar
- 1/2 cup boiling water
Using pure pumpkin puree is essential. It provides the authentic pumpkin flavor without added sugars or spices that might alter the taste and consistency. The blend of warm spices—cinnamon, ginger, cloves, and nutmeg—is what gives the pie its comforting, classic flavor profile. This combination is what makes it a delightful spiced pumpkin pie.
For the Whipped Cream Topping:
- 1 cup heavy cream, chilled
- 2 tablespoons powdered sugar
- 1/2 teaspoon vanilla extract
A luscious whipped cream topping is the crowning glory of any pumpkin pie, and our chiffon version is no exception. It adds a cool, creamy counterpoint to the spiced filling.
Step-by-Step Guide to Making the Best Pumpkin Chiffon Pie
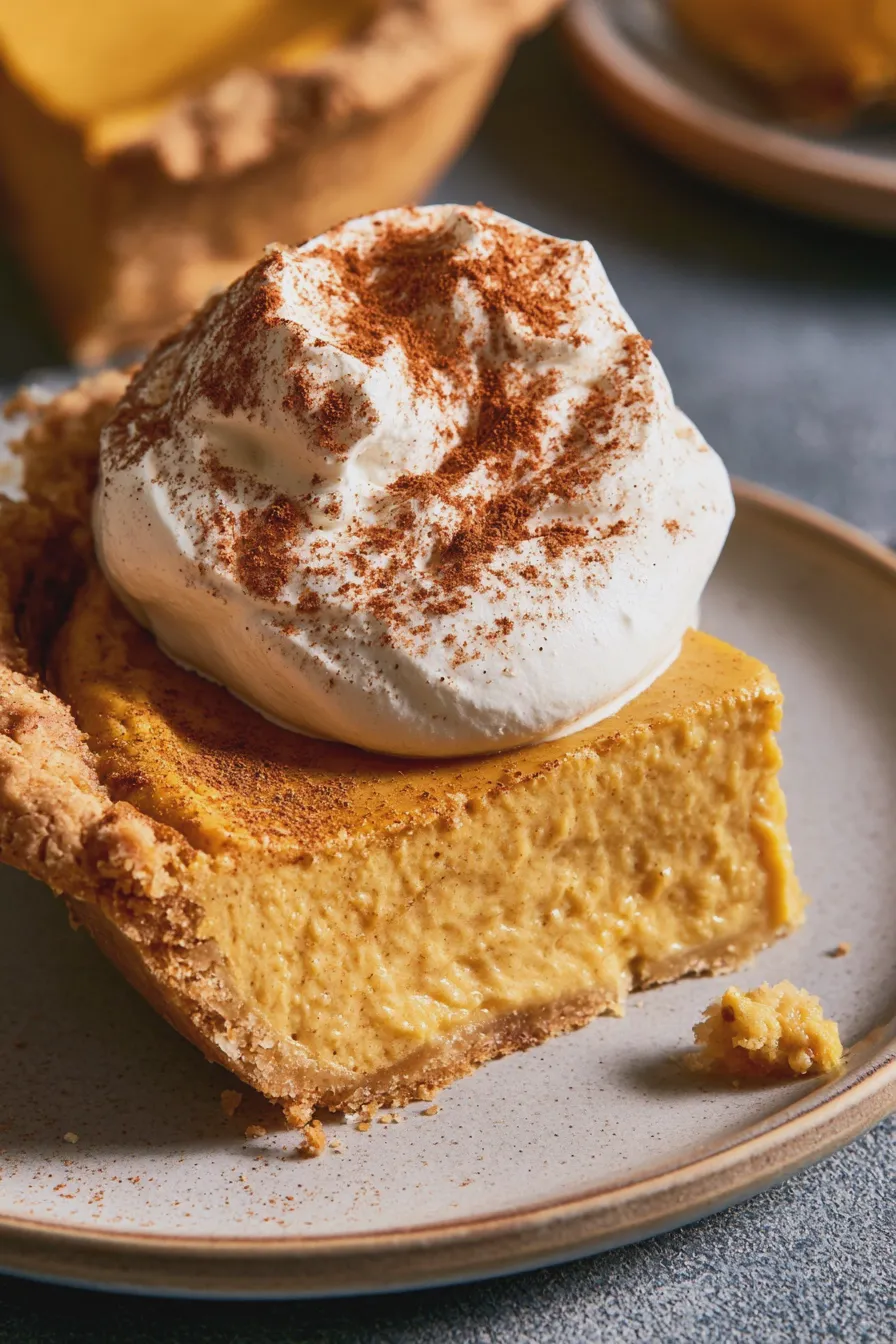
Now, let’s get baking! Follow these steps carefully for a stunning and delicious pumpkin chiffon pie. This recipe is designed to be approachable, making it an easy pumpkin chiffon pie to master.
Step 1: Prepare the Pumpkin Base
In a large bowl, combine the pumpkin puree, granulated sugar, salt, cinnamon, ginger, cloves, and nutmeg. Mix until well combined. This forms the flavorful heart of your pumpkin pie filling.
Step 2: Bloom the Gelatin
In a small bowl, sprinkle the unflavored gelatin over the cold water. Let it sit for about 5 minutes to “bloom” or soften. This ensures the gelatin dissolves smoothly.
Step 3: Heat the Milk and Gelatin Mixture
Gently heat the bloomed gelatin and evaporated milk in a saucepan over low heat, stirring constantly, until the gelatin is completely dissolved. Do not boil. This warm mixture will help activate the gelatin and create a smooth base.
Step 4: Combine Wet and Dry Ingredients
Pour the warm milk and gelatin mixture into the pumpkin mixture. Stir until everything is thoroughly combined. This creates your flavorful, smooth pumpkin base.
Step 5: Incorporate Egg Yolks
In a separate small bowl, lightly beat the egg yolks. Gradually whisk about half a cup of the warm pumpkin mixture into the beaten egg yolks to temper them. This prevents the yolks from scrambling. Then, pour the tempered yolk mixture back into the main pumpkin mixture and stir until smooth.
Step 6: Whip the Egg Whites
In a clean, dry bowl (a glass or metal bowl is best), beat the egg whites with an electric mixer on medium speed until foamy. Add the cream of tartar, which helps stabilize the egg whites. Continue beating on medium-high speed until stiff peaks form. Stiff peaks mean that when you lift the beaters, the egg whites stand straight up without curling over.
Mistake to Avoid: Overbeating egg whites can make them dry and difficult to fold. Stop as soon as you achieve stiff, glossy peaks. Underbeating will result in a less airy filling.
Step 7: Fold in Egg Whites
Gently fold about one-third of the whipped egg whites into the pumpkin mixture to lighten it. Then, carefully fold in the remaining egg whites. The goal is to incorporate the whites without deflating them. Use a spatula and a gentle cutting and folding motion. You want to see streaks of white disappear, but don’t overmix. This is the crucial step for achieving a light pumpkin chiffon pie.
Step 8: Add Boiling Water
Carefully stir in the 1/2 cup of boiling water. This step is essential for the chiffon texture. It helps to cook the egg yolks slightly and creates a lighter, more delicate filling. The mixture will become quite thin, which is normal.
Step 9: Pour into Crust and Chill
Pour the airy pumpkin mixture into your pre-baked pie crust. It will seem quite liquid, but it will set as it chills. Cover the pie loosely with plastic wrap and refrigerate for at least 4-6 hours, or preferably overnight, until firm.
Tip: For an old fashioned pumpkin chiffon pie look, you can add a few drops of orange food coloring to the filling if desired, though it’s not traditional.
Step 10: Prepare the Whipped Cream Topping
Just before serving, whip the chilled heavy cream in a cold bowl with an electric mixer until soft peaks form. Add the powdered sugar and vanilla extract and continue whipping until stiff peaks form. Be careful not to over-whip, or you’ll end up with butter!
Step 11: Serve
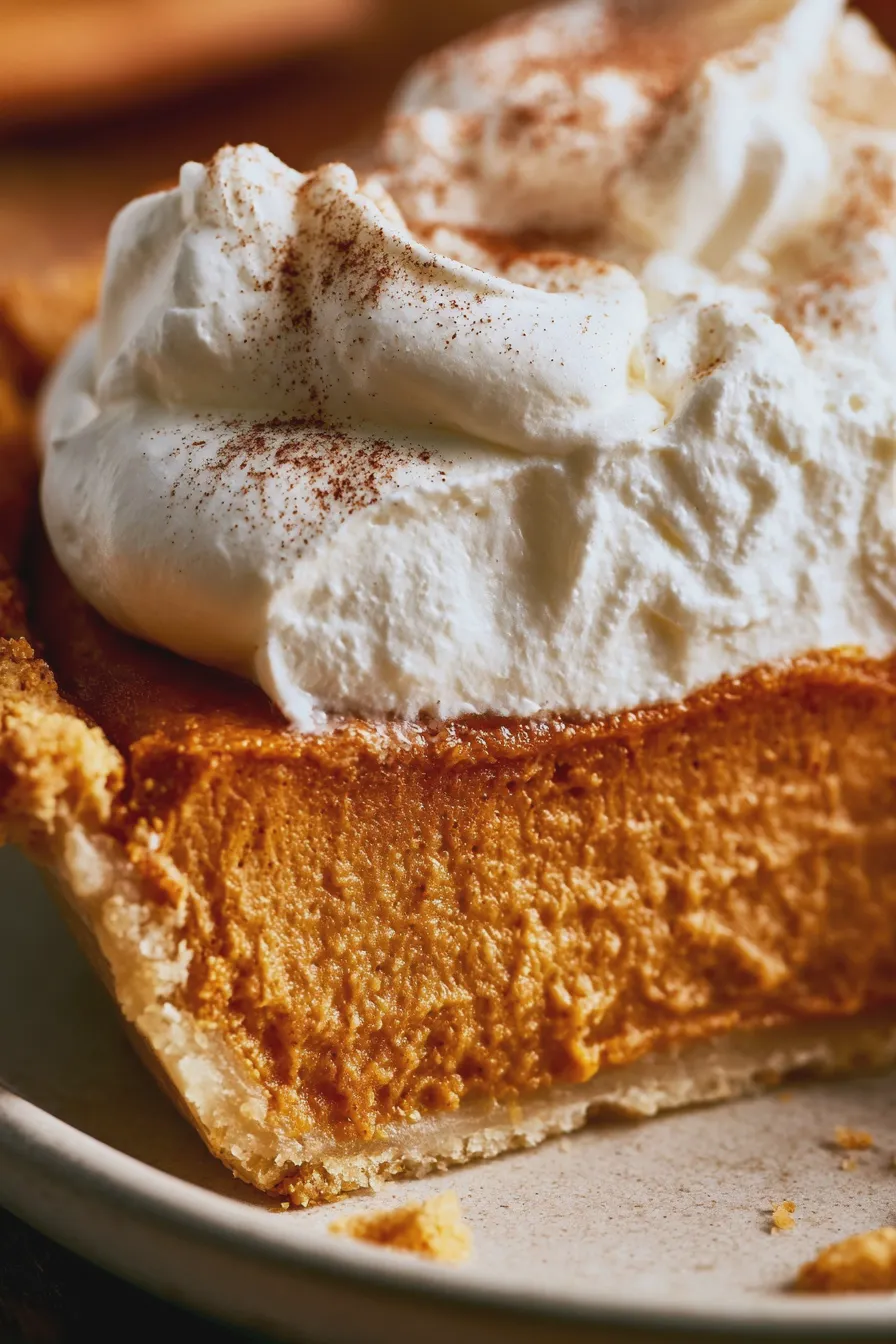
Spoon or pipe the whipped cream topping over the chilled pumpkin chiffon pie. You can garnish with a sprinkle of cinnamon or nutmeg, or even some candied ginger for an extra festive touch. Slice and serve immediately.
Tips for the Perfect Creamy Pumpkin Chiffon Pie
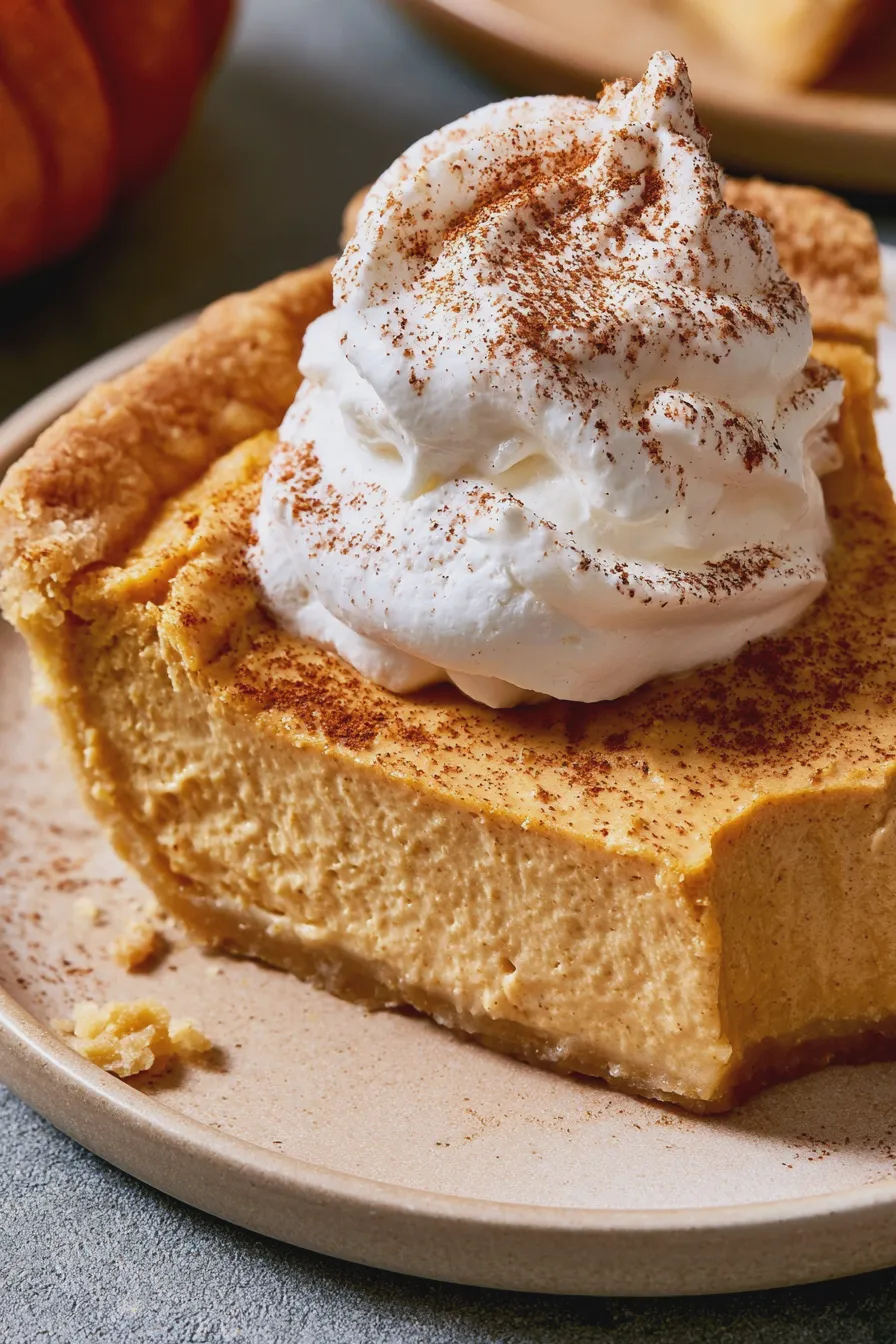
Achieving that perfect balance of creamy and light can be a delightful challenge. Here are some extra tips to ensure your creamy pumpkin chiffon pie is a showstopper:
- Room Temperature Eggs: While egg whites whip best in a clean, cool bowl, egg yolks can sometimes benefit from being closer to room temperature for better emulsification. However, for this recipe, the slight warmth from tempering is usually sufficient.
- Don’t Rush the Chilling: Patience is key! A fully chilled pie will have the best texture. Rushing this step can lead to a runny filling.
- Pre-bake Your Crust Well: A soggy bottom is the enemy of any pie. Ensure your crust is golden brown and fully baked before filling.
- Gentle Folding: This cannot be stressed enough. The airy texture comes from the incorporated egg whites. Treat them gently!
- Quality Spices: Fresher spices mean more vibrant flavor. If your spices have been in the cupboard for years, consider replacing them.
Common Mistakes and How to Avoid Them
Even experienced bakers can run into a few snags. Here are some common mistakes when making pumpkin chiffon pie and how to sidestep them:
- Watery Filling: This can happen if the gelatin isn’t bloomed or dissolved properly, or if the pie isn’t chilled long enough. Ensure all steps involving gelatin are followed precisely and allow ample chilling time.
- Dense Filling: This is usually due to overmixing when folding in the egg whites, which deflates them. Be as gentle as possible during the folding process.
- Curdled Filling: If the egg yolks are added too quickly to the hot mixture without tempering, they can scramble. Always temper the yolks by gradually adding a small amount of the warm mixture to them first.
- Lack of Flavor: Ensure you are using pure pumpkin puree and good quality spices. Don’t skimp on the spices; they are crucial for that classic spiced pumpkin flavor.
Variations and Serving Suggestions
While the classic pumpkin chiffon pie is divine, feel free to experiment! For a richer flavor, you could try a graham cracker crust or a gingersnap crust. If you’re looking for a quicker option, consider a no bake pumpkin chiffon pie, though this recipe is designed for a baked crust. This pie is a perfect centerpiece for any holiday table, fitting right in with other holiday pies and thanksgiving pies.
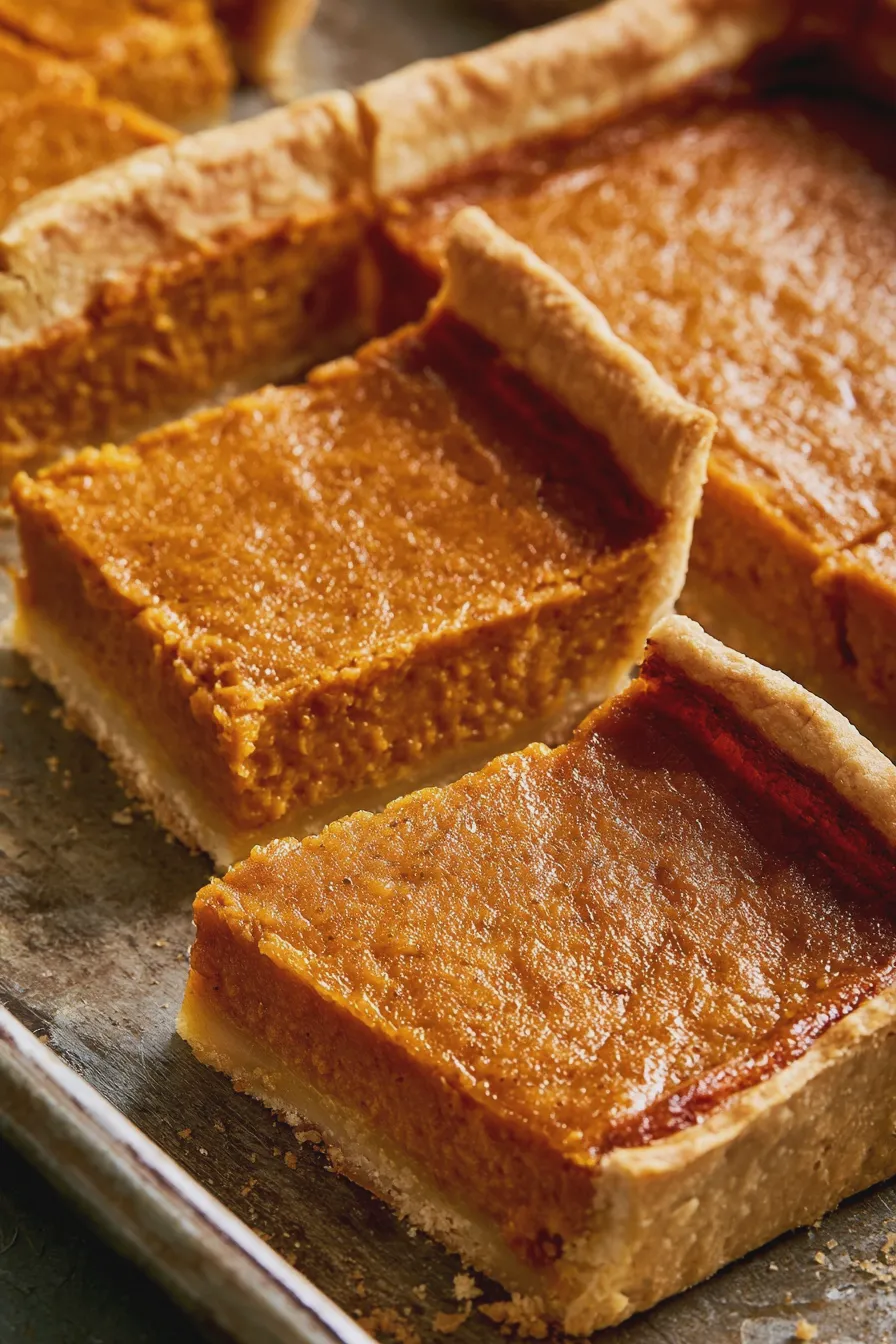
It also pairs beautifully with other pumpkin treats. If you love pumpkin, you might also enjoy a slice of Pumpkin Bread Recipe, or perhaps a decadent Pumpkin Cheesecake Recipe. For smaller treats, Pumpkin Cheesecake Bars Recipe or Pumpkin Cupcakes Recipe are always a hit.
Print
Pumpkin Chiffon Pie Recipe The Easiest Way
- Total Time: PT4H30M
- Yield: 8 servings 1x
- Diet: Vegetarian
Ingredients
- 1 (9-inch) pre-baked pie crust
- 1 (15 ounce) can pumpkin puree
- 3/4 cup granulated sugar
- 1/2 teaspoon salt
- 1 teaspoon ground cinnamon
- 1/2 teaspoon ground nutmeg
- 1/4 teaspoon ground ginger
- 1/8 teaspoon ground cloves
- 1 tablespoon unflavored gelatin
- 1/4 cup cold water
- 1 (12 ounce) can evaporated milk, chilled
- Whipped cream, for garnish
- Ground cinnamon, for garnish
Instructions
- In a large bowl, whisk together pumpkin puree, sugar, salt, cinnamon, nutmeg, ginger, and cloves.
- In a separate small bowl, sprinkle gelatin over 1/4 cup cold water and let it soften for 5 minutes.
- Heat the gelatin mixture gently until dissolved.
- Stir the dissolved gelatin into the pumpkin mixture.
- In another bowl, whip evaporated milk until stiff peaks form.
- Gently fold the whipped evaporated milk into the pumpkin mixture until just combined.
- Pour the filling into a pre-baked 9-inch pie crust.
- Chill the pie for at least 4 hours, or until firm.
- Garnish with whipped cream and a sprinkle of cinnamon before serving.
Notes
- For a quicker set, you can chill the evaporated milk in the freezer for about 15-20 minutes before whipping, ensuring it doesn’t freeze solid.
- Ensure your evaporated milk is very cold for the best whipping results.
- This pie is best served chilled.
- Prep Time: PT20M
- Cook Time: PT10M
- Category: Desserts
- Method: No-Bake (filling)
- Cuisine: American
Nutrition
- Serving Size: 1 slice
- Calories: 280
- Sugar: 35g
- Sodium: 250mg
- Fat: 12g
- Saturated Fat: 5g
- Carbohydrates: 40g
- Fiber: 3g
- Protein: 5g