")

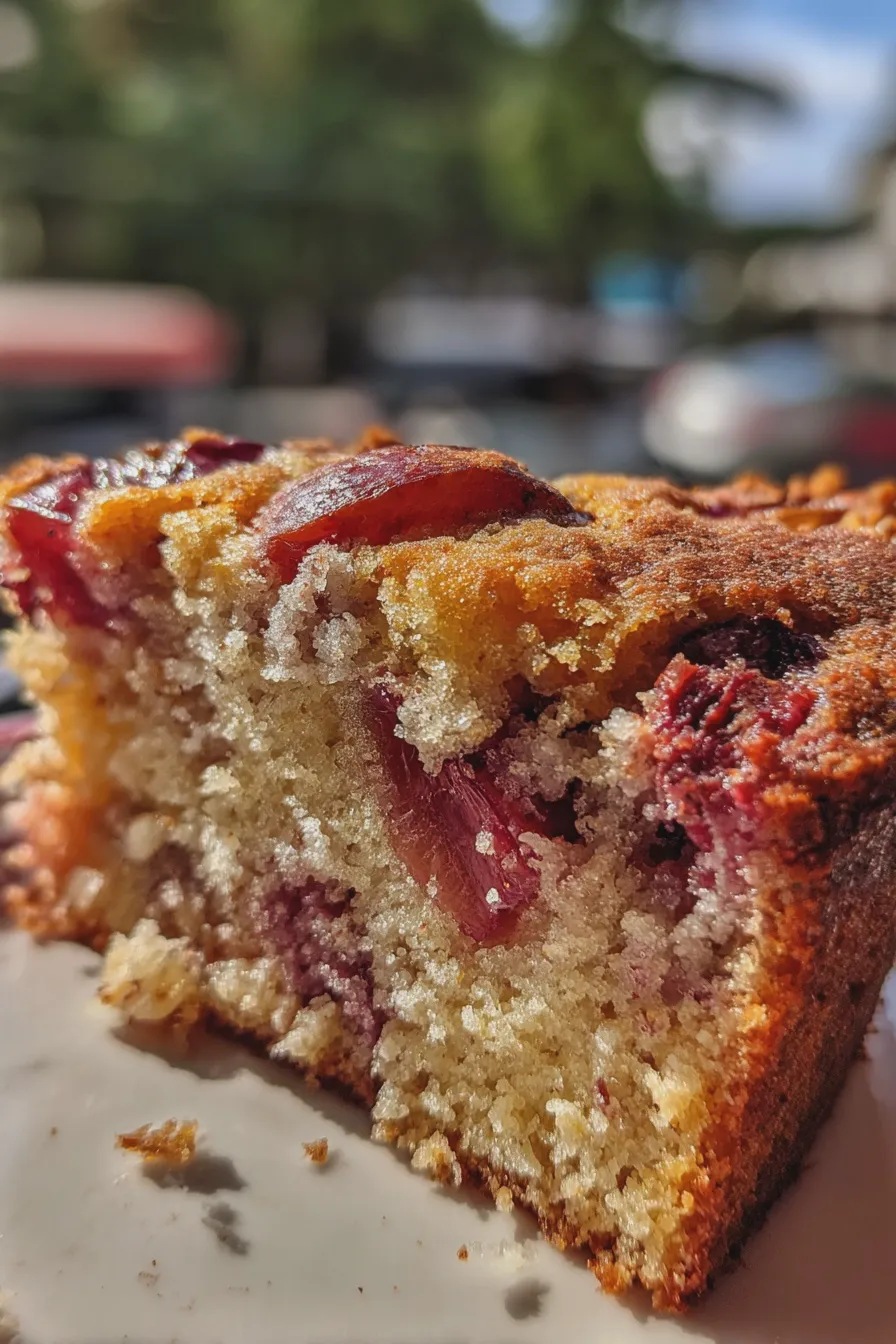
A plum galette is a delightful free-form tart that showcases the natural sweetness of plums. The flaky crust and juicy fruit make this dessert a favorite. It’s perfect for a summer treat or a cozy autumn dessert.
This recipe transforms fresh plums into a stunning dessert with a rustic charm. The simplicity of a plum galette allows the flavors of the fruit to truly shine, resulting in a beautiful and delicious treat. You can also explore other plum recipes for inspiration.
Introduction to Plum Galette
A plum galette is a simple yet elegant dessert featuring a buttery crust and juicy plums. The combination of sweet plums and a flaky crust makes it a perfect treat for any occasion. The rustic nature of this French dessert adds to its charm, making it a delightful choice for both novice and experienced bakers.
The beauty of a plum galette lies in its simplicity and versatility. This dessert is a wonderful way to enjoy fresh plums during plum season, and it’s surprisingly easy to make. You can easily find variations of this dessert on recipe websites.
Ingredients You’ll Need

Gathering the right ingredients is the first step toward creating a delicious plum galette. The recipe relies on fresh, high-quality ingredients to achieve the best flavor and texture. This simple recipe highlights the natural sweetness of the plums, so choose ripe, flavorful plums for the best results.
While the ingredients are straightforward, the quality of each component makes a difference. Fresh plums, good butter, and a touch of sweetness are all you need to create this amazing dessert. The beauty of this recipe is its adaptability; you can easily adjust the sweetness to your preference.
For the Galette Dough
- 1 1/4 cups all-purpose flour, plus more for dusting
- 1/2 teaspoon salt
- 1/2 cup (1 stick) cold unsalted butter, cut into cubes
- 1/4 cup ice water
For the galette dough, you’ll need all-purpose flour, salt, cold butter, and ice water. Using cold butter is key to creating a flaky crust. If you don’t have all-purpose flour, you can try a gluten free plum galette by using a gluten-free flour blend.
The ice water helps to keep the butter cold, which is essential for a flaky crust. If you are looking for a simple galette recipe, this dough is the perfect starting point.
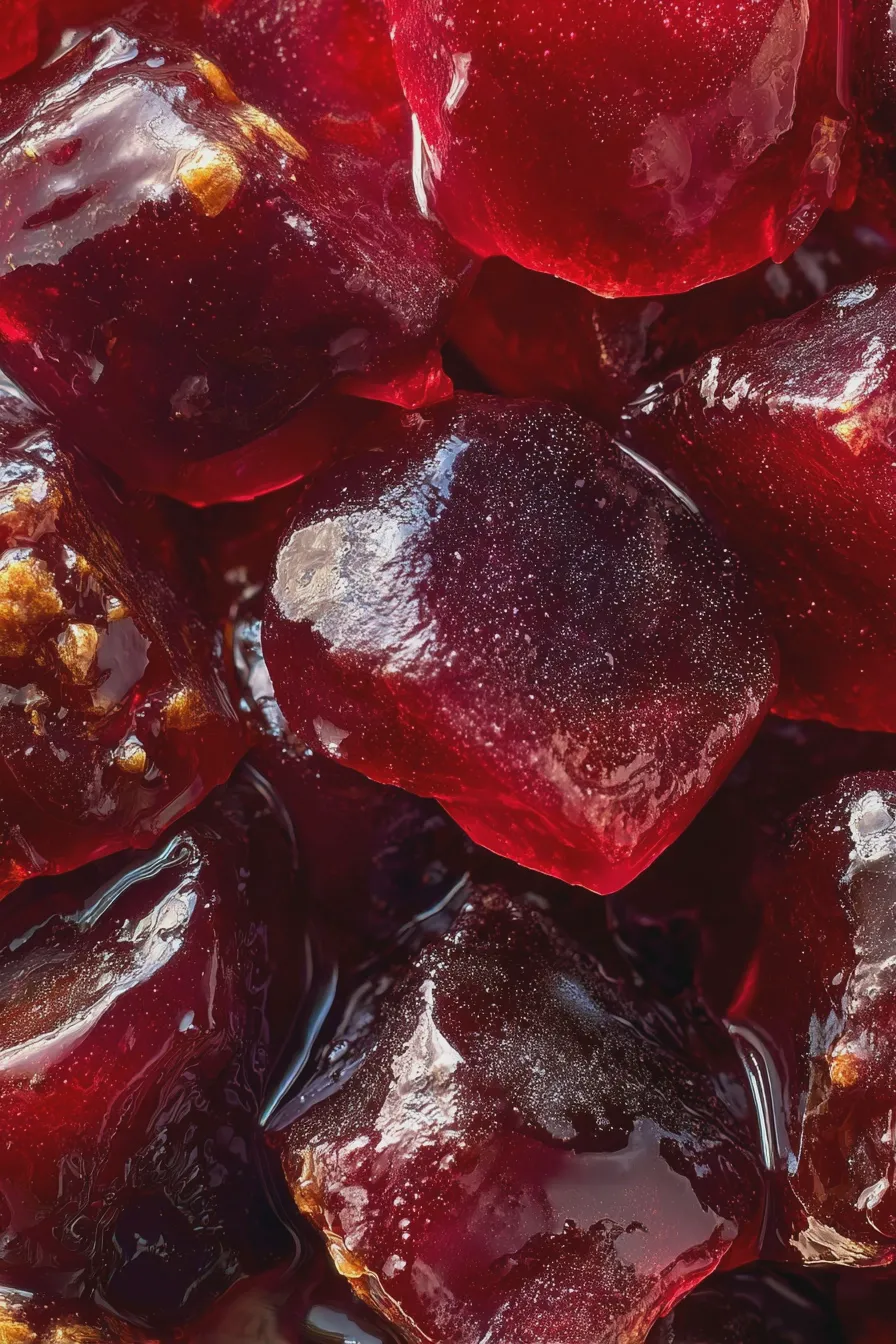
For the Plum Filling
- 1 1/2 pounds fresh plums, pitted and sliced
- 1/4 cup granulated sugar, plus more for sprinkling
- 1 tablespoon all-purpose flour or cornstarch
- 1/2 teaspoon ground cinnamon
- 1/4 teaspoon ground nutmeg
- 1 tablespoon lemon juice
- 1 large egg, lightly beaten (for egg wash)
The plum filling requires fresh plums, sugar, flour or cornstarch, cinnamon, nutmeg, lemon juice, and an egg for the egg wash. Feel free to experiment with different spices to enhance the flavor of your plum dessert. If you prefer a more tart flavor, you can add a bit more lemon juice.
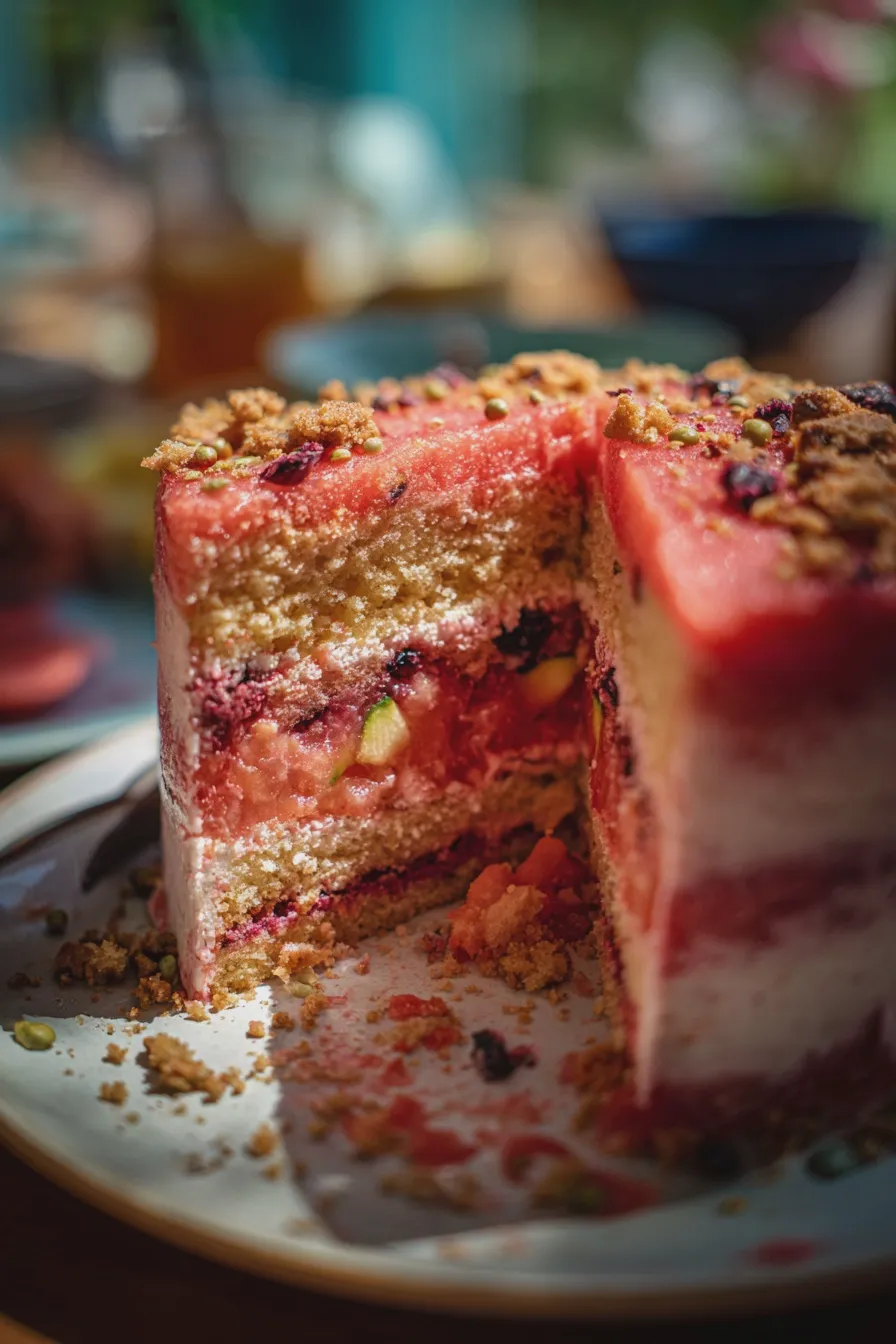
Make sure to choose ripe plums that are not too soft. The combination of plums, sugar, and spices creates a beautiful filling. For those who want more texture, you can also add a plum crumble topping.
How to Make Plum Galette

Making a plum galette is a rewarding experience, and the steps are straightforward. The key to a perfect galette is to work quickly and keep the ingredients cold. This will ensure a flaky, delicious crust and a flavorful filling. If you are new to baking, this is a great recipe to start with.
Follow these simple steps, and you’ll be enjoying a delicious homemade galette in no time. This recipe is perfect for showcasing the flavors of the stone fruit desserts. Let’s get started!
Prepare the Galette Dough
In a large bowl, whisk together the flour and salt. Add the cold, cubed butter and use a pastry blender or your fingers to cut the butter into the flour until the mixture resembles coarse crumbs. This step is crucial for creating a flaky crust; the cold butter creates pockets of air that expand when baked.
Gradually add the ice water, mixing until the dough just comes together. Form the dough into a disk, wrap it in plastic wrap, and chill for at least 30 minutes. This resting period allows the gluten to relax, resulting in a more tender crust. You can also make a galette dough recipe in advance and store it.
Prepare the Plum Filling
In a bowl, combine the sliced plums, sugar, flour or cornstarch, cinnamon, nutmeg, and lemon juice. Toss gently to coat the plums evenly. The flour or cornstarch helps to thicken the filling as it bakes, preventing a soggy crust. Adjust the amount of sugar based on the sweetness of your plums.
Let the plum mixture sit for about 15 minutes to allow the flavors to meld. This step allows the plums to release some of their juices, which will help create a flavorful filling. You can also add a pinch of salt to balance the sweetness.
Assemble the Galette
On a lightly floured surface, roll out the chilled dough into a 12-inch circle. Transfer the dough to a baking sheet lined with parchment paper. If the dough cracks, simply pinch it back together; rustic charm is part of the appeal of a homemade galette. Remember, precision isn’t necessary; a slightly uneven circle adds to the charm.
Spread the plum filling in the center of the dough, leaving a 1 1/2-inch border. Fold the edges of the dough over the filling, pleating as you go. Brush the edges of the dough with the beaten egg wash and sprinkle with additional sugar. A beautiful, rustic plum tart is taking shape!
Bake the Galette
Bake in a preheated oven at 375°F (190°C) for 40–50 minutes, or until the crust is golden brown and the filling is bubbly. If the crust starts to brown too quickly, you can loosely tent it with foil. A good indication of doneness is when the crust is a deep golden color and the plums are tender.
Let the galette cool on the baking sheet for at least 15 minutes before serving. This allows the filling to set slightly. Serve warm or at room temperature. For a special touch, consider serving with a scoop of vanilla ice cream or a dollop of whipped cream. You might also enjoy other summer fruit desserts.
Tips for the Best Plum Galette

To ensure your plum galette is a success, consider these helpful tips. These suggestions cover everything from ingredient selection to baking techniques. Following these tips will help you create a stunning and delicious dessert.
By keeping these tips in mind, you’ll be well on your way to creating a perfect plum galette. This recipe is a great way to enjoy fresh plum season. Let’s make sure your baking experience is as enjoyable as the final result!
Choosing the Right Plums
The type of plums you choose can greatly impact the flavor of your galette. Look for plums that are ripe but still firm. The best plum galette starts with the best plums; avoid plums that are overly soft or bruised, as they may become mushy when baked.
Consider using a mix of plum varieties for a more complex flavor profile. Different types of plums offer varying levels of sweetness and tartness, which can enhance the overall taste. Experimenting with different types of plums can make a simple galette recipe even more interesting.
Making the Dough Ahead
You can make the galette dough ahead of time to save time. Wrap the dough tightly in plastic wrap and store it in the refrigerator for up to 3 days or in the freezer for up to 1 month. This is a great tip for planning ahead. You can then thaw the dough in the refrigerator overnight before using it.
When freezing, thaw the dough in the refrigerator overnight before rolling it out. This allows the dough to retain its shape and flakiness. If you’re looking for a quick dessert, having the dough ready is a lifesaver. You could also try making gluten-free 4-ingredient cheerio bars instead!
Preventing a Soggy Crust
To prevent a soggy crust, make sure to use a thickening agent in your plum filling. Flour or cornstarch will absorb some of the juices released by the plums as they bake. This is a common issue with fruit tarts, and this step is key.
Another tip is to pre-bake the crust for a few minutes before adding the filling. This will help to set the crust and prevent it from absorbing too much moisture. Pre-baking the crust is a great way to ensure a crisp, flaky bottom. This tip also helps with recipes like cheesecake brownies.
Serving and Storage
Knowing how to serve and store your plum galette will help you enjoy it to the fullest. Whether you’re serving it fresh from the oven or saving it for later, these tips will ensure your galette remains delicious. This dessert is perfect for sharing with friends and family.
Proper serving and storage are essential for preserving the flavor and texture of your homemade galette. This rustic plum tart is best served fresh, but you can also make it ahead. A well-made galette is always a treat, and knowing how to handle it properly makes all the difference.
Serving Suggestions
Serve your plum galette warm or at room temperature. A scoop of vanilla ice cream or a dollop of whipped cream complements the warm fruit and flaky crust perfectly. Consider a sprinkle of powdered sugar for an extra touch of elegance. This simple approach adds to the appeal.
For a more sophisticated presentation, you can drizzle the galette with a balsamic glaze. A drizzle adds a delicious tang that complements the sweetness of the plums. You could also serve it with a side of homemade custard. This dessert would also be a perfect pairing with a sourdough brownie.
Storing Leftovers
Store leftover galette loosely covered at room temperature for up to 2 days or in the refrigerator for up to 4 days. Reheating the galette in the oven at a low temperature will help crisp the crust. If you plan to store it for a longer duration, refrigerating is best.
If you’re storing the galette in the refrigerator, let it cool completely before covering it. This prevents condensation from forming and making the crust soggy. For longer storage, you can also freeze the galette. Did you know you can also freeze marshmallow whip cheesecake?
Print
plum galette Recipe
- Total Time: PT1H15M
- Yield: 8 servings 1x
- Diet: Vegetarian
Description
This rustic plum galette is the perfect dessert for showcasing the sweet and tart flavors of fresh plums. It’s incredibly easy to make, with a flaky crust and juicy plum filling. Serve it warm with a scoop of vanilla ice cream for the ultimate treat.
Ingredients
- 1 1/4 cups all-purpose flour, plus more for dusting
- 1/4 teaspoon salt
- 1/2 cup (1 stick) cold unsalted butter, cut into cubes
- 1/4 cup ice water, plus more if needed
- 1 1/2 pounds fresh plums, pitted and sliced
- 1/4 cup granulated sugar, plus more for sprinkling
- 1 tablespoon cornstarch
- 1 teaspoon lemon juice
- 1/4 teaspoon ground cinnamon
- 1 large egg, beaten
Instructions
- Make the dough: In a large bowl, whisk together the flour and salt. Cut in the cold butter using a pastry blender or your fingers until the mixture resembles coarse crumbs. Gradually add the ice water, mixing until the dough just comes together. Form into a disc, wrap in plastic wrap, and chill for at least 30 minutes.
- Prepare the filling: In a bowl, combine the sliced plums, sugar, cornstarch, lemon juice, and cinnamon. Toss to coat.
- Assemble the galette: On a lightly floured surface, roll out the chilled dough into a 12-inch circle. Transfer the dough to a baking sheet lined with parchment paper.
- Add the filling: Spread the plum filling in the center of the dough, leaving a 1 1/2-inch border. Fold the edges of the dough over the filling, pleating as you go.
- Bake the galette: Brush the dough with the beaten egg and sprinkle with sugar. Bake in a preheated oven at 375°F (190°C) for 40-45 minutes, or until the crust is golden brown and the filling is bubbling.
- Cool and serve: Let the galette cool slightly before serving. Serve warm or at room temperature.
Notes
- For a richer crust, you can substitute half of the butter with shortening.
- Feel free to use other stone fruits, such as peaches or nectarines, in place of plums.
- If the crust browns too quickly, tent it with foil during the last 15 minutes of baking.
- Serve with a scoop of vanilla ice cream or a dollop of whipped cream.
- Prep Time: PT30M
- Cook Time: PT45M
- Category: Dessert
- Method: Bake
- Cuisine: American
Nutrition
- Serving Size: 1 slice
- Calories: 350
- Sugar: 25g
- Sodium: 150mg
- Fat: 18g
- Carbohydrates: 45g
- Fiber: 3g
- Protein: 4g