A halloween dessert board is a fun and festive way to present a variety of sweet treats for your guests. This delightful charcuterie board halloween features a mix of homemade goodies and store-bought favorites, perfect for any fall gathering or spooky celebration.
Welcome to the ultimate guide for creating a show-stopping halloween dessert board! This edible masterpiece is more than just a collection of sweets; it’s a centerpiece that embodies the spirit of the season. Get ready to impress your friends and family with this easy yet impressive dessert grazing board, a perfect addition to your halloween party food.
What is a Halloween Dessert Board?
A halloween dessert board is a visually appealing arrangement of various sweet treats, often themed around the spooky season. Think of it as a dessert charcuterie board, where delectable bites like cookies, candies, fruits, and dips are artfully scattered across a large platter or board. It’s a fantastic way to offer a wide array of flavors and textures, ensuring there’s something for everyone. For more inspiration on creative dessert presentations, check out these dessert platters on Allrecipes.
This festive spread is designed to be both delicious and a feast for the eyes, making it a highlight of any halloween party. It allows guests to pick and choose their favorites, creating a personalized dessert experience. Creating a halloween dessert board is a delightful way to showcase your baking skills or simply assemble a collection of easy halloween treats.
Why You’ll Love This Halloween Dessert Board
This halloween dessert board is incredibly versatile and can be customized to fit any taste or dietary need. It’s a fantastic way to consolidate multiple desserts into one stunning display, simplifying your party prep. The sheer variety ensures that even the pickiest eaters will find something they adore, making it a crowd-pleasing choice for any gathering.
Beyond its deliciousness, the interactive nature of a dessert board makes it a fun activity for guests to explore. It encourages conversation and mingling as everyone discovers new favorite spooky dessert platter combinations. This approach to halloween party food is also wonderfully adaptable, allowing for endless creativity with your chosen treats.
Ingredients for Your Spooky Dessert Platter
The beauty of a halloween dessert board lies in its flexibility. You can mix and match store-bought favorites with homemade treats to create a balanced and exciting spread. Here’s a guide to the types of items that make a spectacular spooky dessert platter, with suggestions for quantities that can be adjusted based on your guest list.
- Assorted Cookies (e.g., snickerdoodles, chocolate chip, sugar cookies): 2-3 dozen
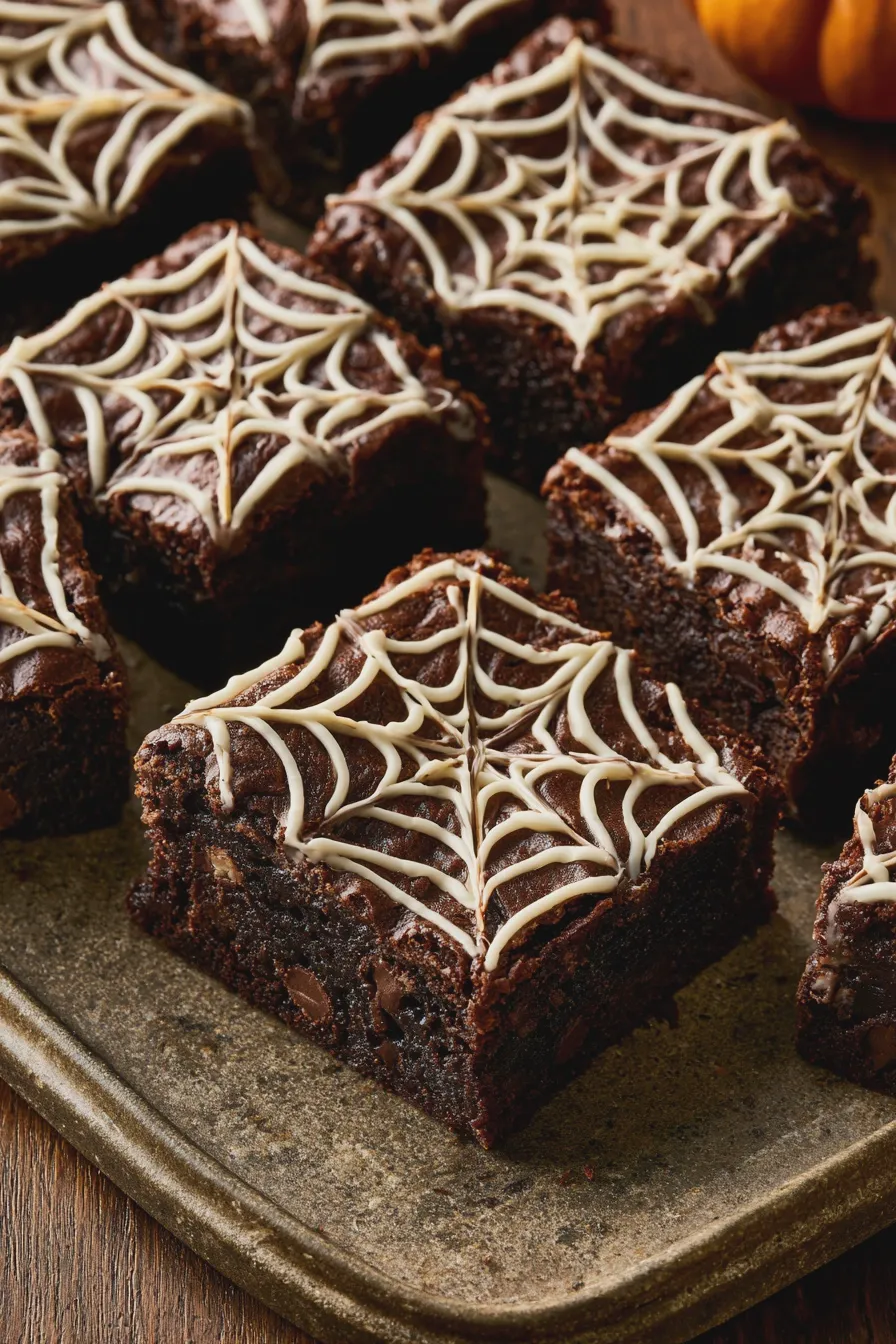
- Brownies or Blondies, cut into bite-sized pieces: 1-2 batches (consider cheesecake brownies or classic black bean brownies)
- Mini Cupcakes or Muffins: 1-2 dozen
- Candy Corn and other Halloween-themed candies: 2-3 cups
- Chocolate Halloween candies (e.g., Reese’s Peanut Butter Cups, M&M’s): 2 cups
- Fresh Berries (strawberries, raspberries, blueberries): 2 cups
- Grape Clusters: 1-2 pounds
- Pretzels or Pretzel Rods: 1-2 bags
- Caramel or Chocolate Dips: 1-2 containers
- Optional: Whipped cream, chocolate sauce for drizzling
- Optional: Themed decorations like plastic spiders, candy eyeballs, or small pumpkins
When selecting your treats, think about a variety of textures and flavors – something crunchy, something chewy, something creamy, and something fruity. This ensures a dynamic and satisfying dessert experience for everyone. For more ideas on cookies, explore this guide to snickerdoodle cookies.
How to Make Your Halloween Dessert Board
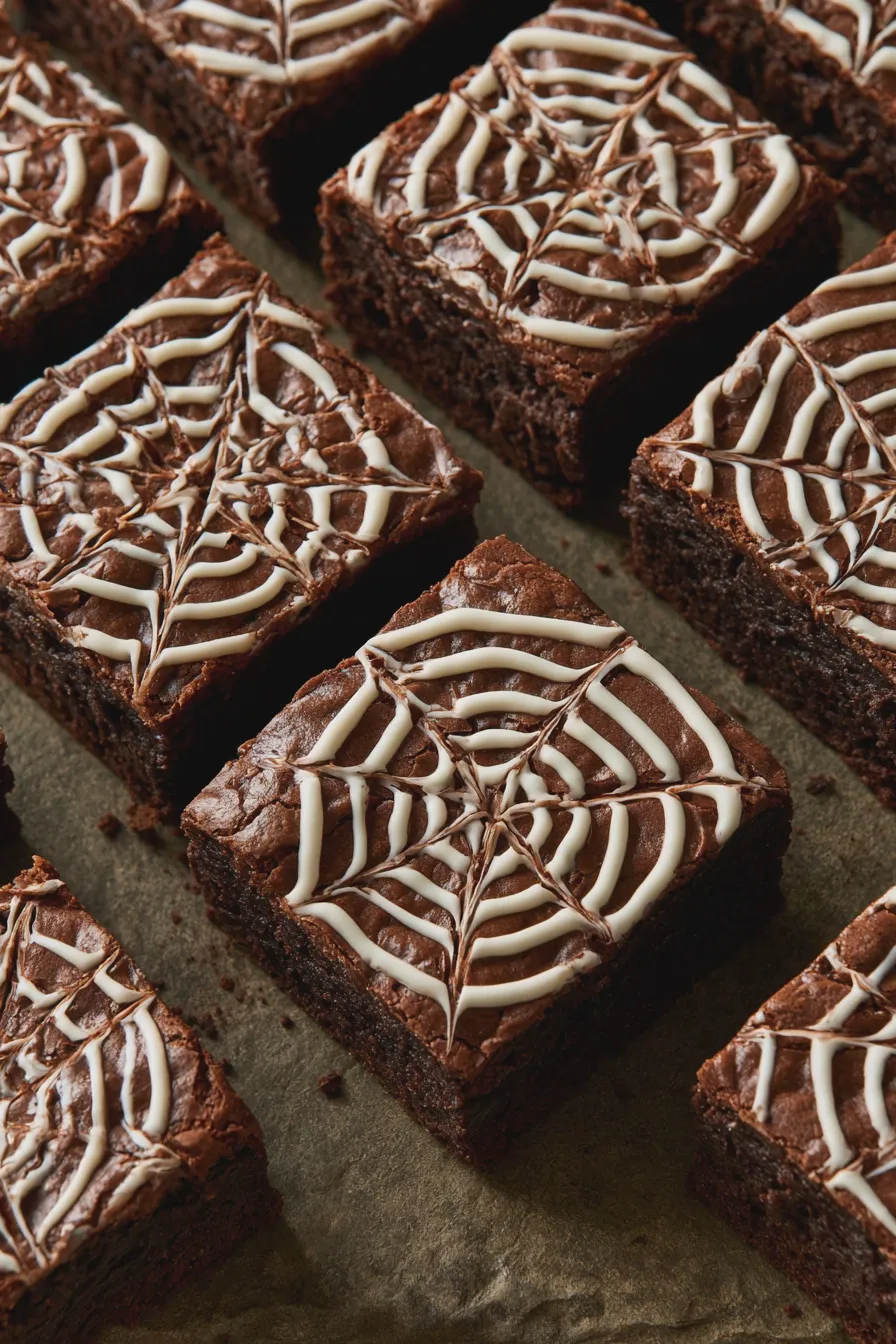
Creating a stunning halloween dessert board is all about arrangement and visual appeal. Start with your largest items and build outwards, filling in gaps with smaller treats and candies. This section will guide you through the process, ensuring your party dessert board is a masterpiece.
Step 1: Select Your Board or Platter
Choose a large, flat surface for your dessert board, such as a wooden cutting board, a large serving platter, or even a clean baking sheet lined with parchment paper. Ensure it’s big enough to accommodate all your chosen goodies without looking too crowded. A dark-colored board can make colorful treats pop, enhancing the spooky theme.
Step 2: Arrange Your Anchors
Begin by placing your largest items, like bowls of dips or stacks of brownies, strategically on the board. These “anchors” will provide structure and visual interest. Spread them out to create a balanced composition, leaving space between them for smaller items.
Step 3: Add the Baked Goods
Next, incorporate your cookies, cupcakes, and other baked treats, fanning them out or clustering them around the anchors. Consider breaking some cookies in half or arranging them in overlapping patterns to add dimension. For a truly impressive presentation, you might want to include some specialty baked goods like keto brownies or some delightful strawberry hand pies if they fit your theme.
Step 4: Incorporate Fruits and Candies
Fill in the remaining spaces with fresh fruits, candies, and pretzels. Scatter berries in clusters, arrange grape bunches artfully, and group candies together. This is where you can really play with color and texture to create a visually engaging display. Think about making small piles of candy corn treats or arranging chocolate halloween candies in patterns.
Step 5: Fill in the Gaps and Decorate
Use smaller items like miniature candies or pretzel sticks to fill any remaining empty spaces, ensuring no part of the board is bare. Add any thematic decorations, such as plastic spiders or candy eyeballs, to enhance the halloween dessert board’s spooky charm. A drizzle of chocolate sauce over some items can add an extra touch of decadence to your themed dessert table.
Tips for a Perfect Halloween Dessert Board
Elevate your halloween dessert board from good to unforgettable with these expert tips. Consider the balance of flavors, textures, and colors to create a truly enticing spread. Thinking ahead about make-ahead components can also save you precious time on the day of your event.
- Balance Flavors and Textures: Aim for a mix of sweet, slightly tart (from fruits), crunchy (cookies, pretzels), chewy (candies, brownies), and creamy (dips). This variety ensures a delightful experience for every palate.
- Color Coordination: Embrace the Halloween theme by using colors like orange, black, purple, and green. Use candy corn, dark chocolates, and colorful fruits to achieve this.
- Consider Dietary Needs: If you have guests with allergies or dietary restrictions, include a few gluten-free or vegan options. Many recipes can be adapted, or you can purchase specific treats.
- Make-Ahead Magic: Bake cookies and brownies a day or two in advance and store them in airtight containers. Prepare dips and cut fruits shortly before assembling to keep them fresh.
- Don’t Forget Dips: A couple of dips, like caramel, chocolate ganache, or even a cream cheese dip, add an interactive element and pair wonderfully with cookies and fruits.
- Themed Touches: Small, edible decorations like candy eyeballs, edible glitter, or even strategically placed candy pumpkins can transform your board into a truly spooky masterpiece.
- Serving Utensils: Provide small tongs or spoons for guests to easily pick up treats, especially for dips and smaller candies.
Remember, the goal is to create a visually stunning and delicious centerpiece that guests will rave about. This dessert grazing board is a fantastic way to showcase creativity and host a memorable holiday dessert platter experience.
Halloween Dessert Board Variations
The possibilities for a halloween dessert board are endless, allowing you to tailor it to specific themes or preferences. Whether you’re aiming for cute and whimsical or delightfully creepy, there’s a variation for every occasion. These ideas can help spark your creativity for your next themed dessert table.
- Ghostly Delights: Focus on white and black ingredients. Use white chocolate-dipped pretzels, meringue cookies shaped like ghosts, mini powdered donuts, and dark chocolate candies. You can even make simple ghost shapes out of fondant or frosting for your cookies.
- Pumpkin Patch Theme: Incorporate anything orange and pumpkin-spiced. Think pumpkin spice cookies, mini pumpkin cheesecakes, orange candies, and even small, real pumpkins as decorative elements. A slice of chocolate peanut butter cake could also be a fun addition if you want a more substantial treat.
- Monster Mash: Go wild with colorful candies, “monster eye” candies, green and purple frosting, and treats with fun, irregular shapes. Cookie cutouts in monster shapes are a must for this theme.
- Candy Corn Creations: Feature candy corn prominently, along with other yellow, orange, and white treats. This could include yellow fruit slices, white chocolate bark, and anything with a candy corn flavor profile.
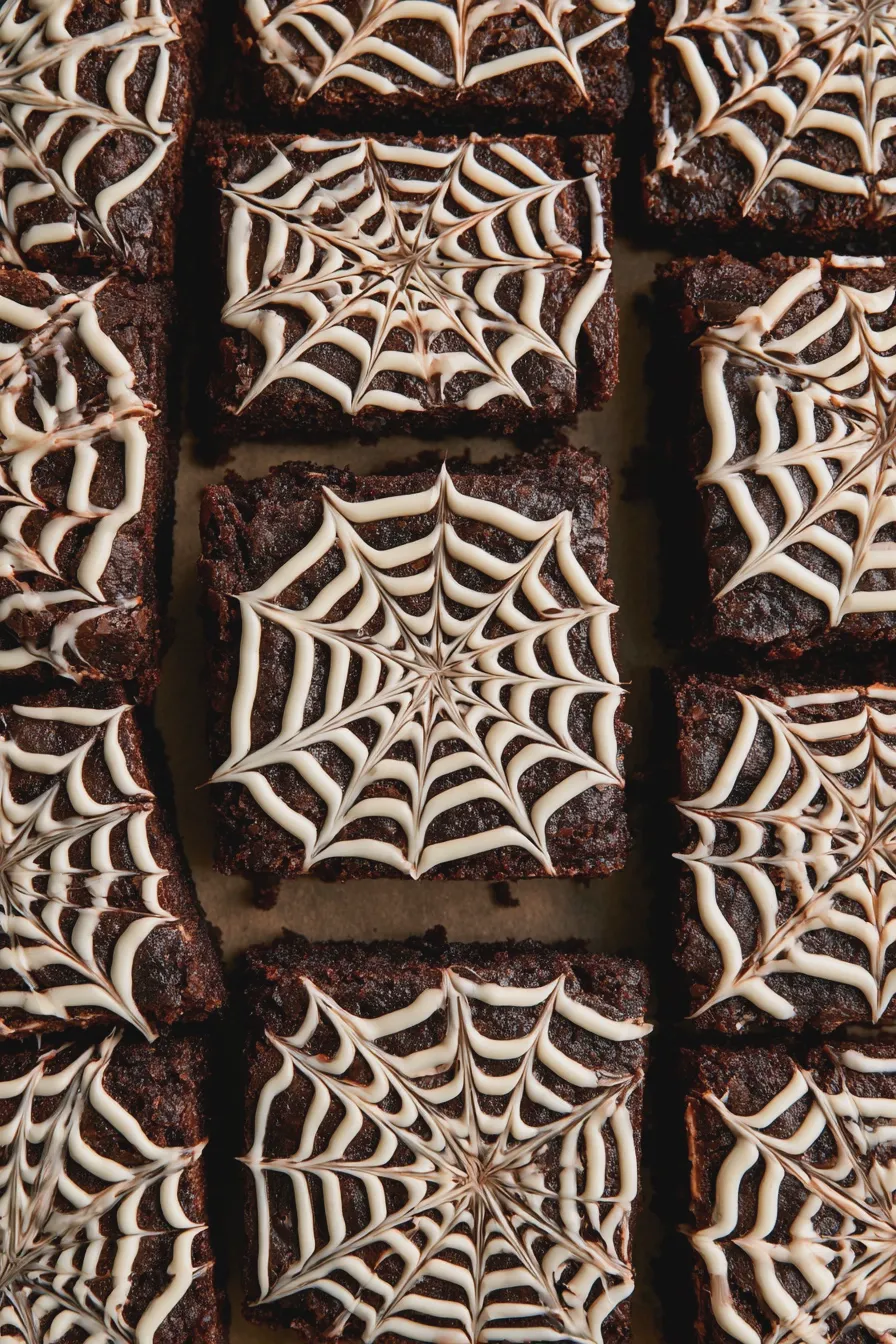
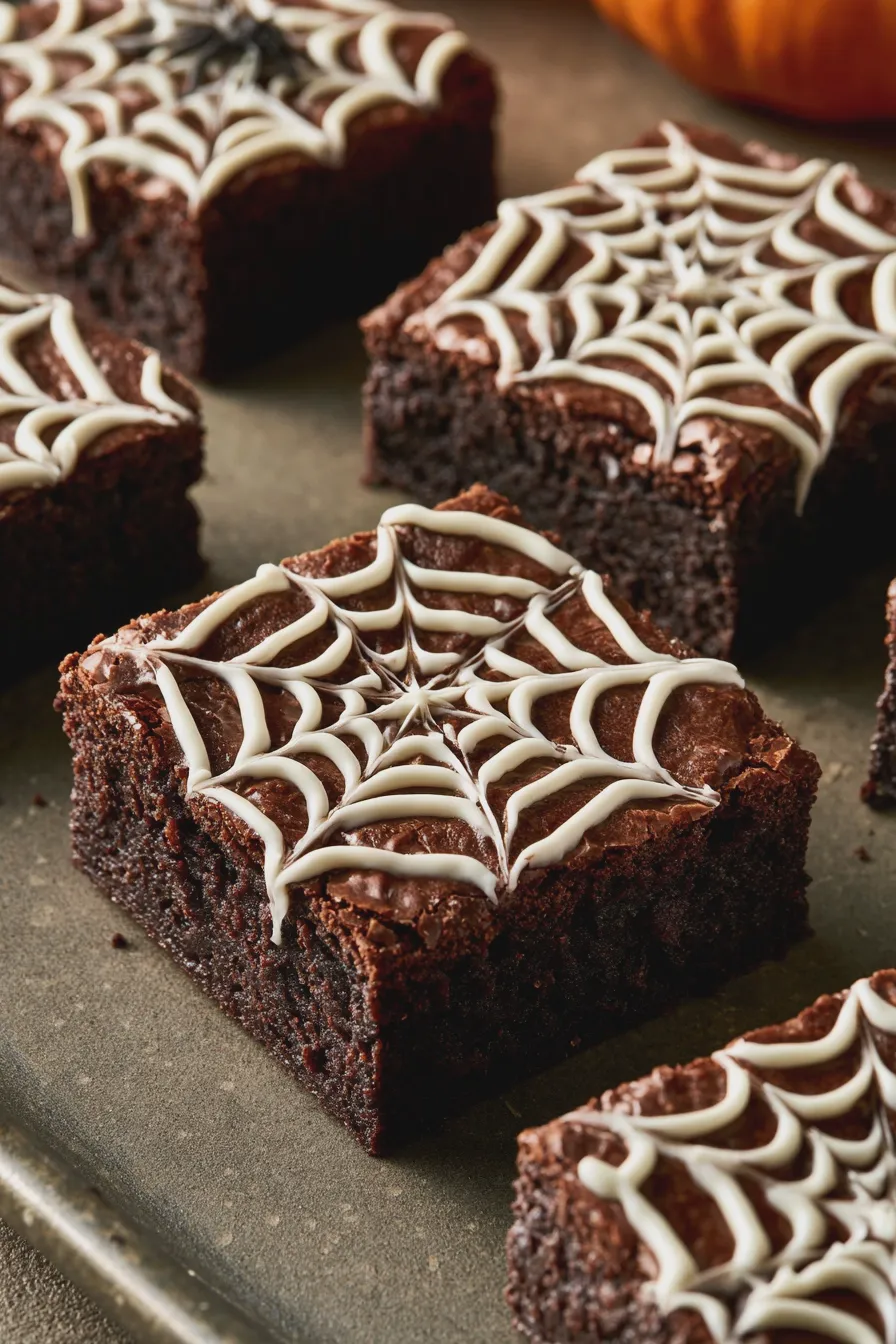
- Creepy Desserts Board: For a more mature audience, lean into the “creepy” aspect with dark colors, “bloody” red drizzles (raspberry sauce), and perhaps some spiderweb-decorated cookies or brownies. This can be a more sophisticated take on halloween party food.
No matter which variation you choose, remember to have fun with it! This is a chance to be creative and make something truly special. For those looking for simpler options, explore these no bake halloween desserts that can easily be incorporated.
Print