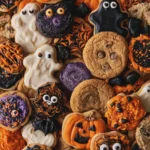
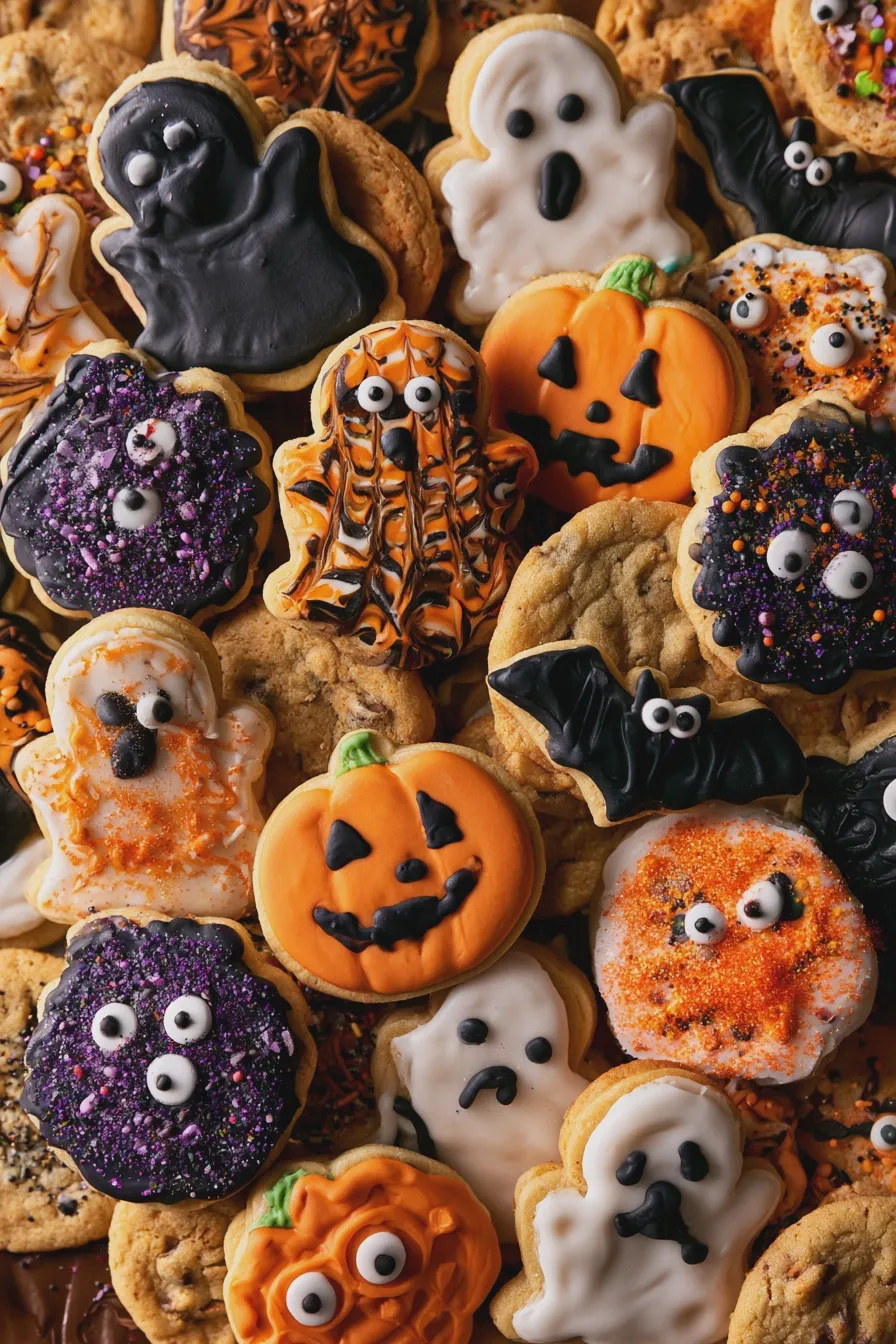
A halloween cookie board is a delightful and customizable way to present a variety of spooky and festive homemade treats for your guests. It allows for a beautiful display of different flavors and shapes, making it a show-stopping centerpiece for any Halloween party or gathering. Get ready to impress with this easy yet impressive dessert idea.
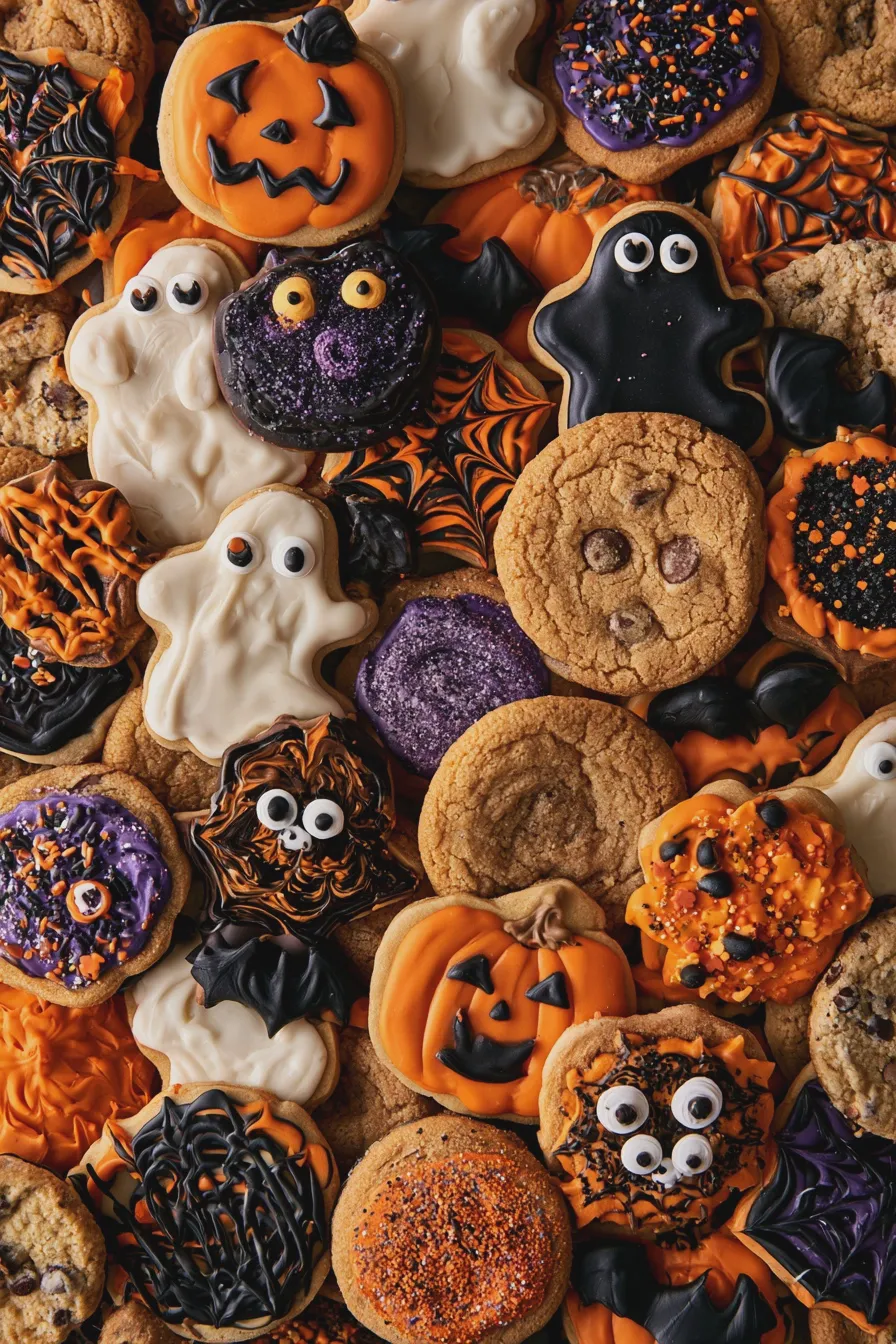
As the leaves turn golden and the air grows crisp, the excitement for Halloween builds, and what better way to celebrate than with a spectacular halloween cookie board? This isn’t just a dessert; it’s an edible art project designed to delight both the eyes and the taste buds. Imagine a spread filled with an array of creatively decorated cookies, from classic fall flavors to truly spooky designs, all arranged artfully for your guests to enjoy.
This collection of treats offers something for everyone, catering to various tastes and dietary preferences with a bit of planning. You can incorporate classic fall flavors alongside uniquely themed cookies, ensuring a memorable and delicious experience for all your partygoers. It’s a fantastic way to showcase your baking skills and embrace the spirit of the season.
What is a Halloween Cookie Board?
A halloween cookie board is essentially a large platter or board creatively arranged with a variety of homemade and decorated cookies, cookies, and other small baked goods, all centered around a spooky or autumnal theme. It’s a step up from a simple cookie platter, focusing on visual appeal and a curated selection of treats that tell a story or evoke the spirit of Halloween. Think of it as a DIY Halloween snack smorgasbord, perfect for parties or family gatherings, offering a delightful mix of flavors and textures.
The beauty of a halloween cookie board lies in its versatility and the opportunity for personalization. You can find inspiration from various halloween cookie ideas online, adapting them to your skill level and the specific theme you envision. This approach allows you to mix and match different recipes, from simple drop cookies to more intricate decorated sugar cookies, ensuring a diverse and appealing spread. It’s a wonderful way to incorporate elements of edible Halloween crafts into your celebration.
This festive dessert is perfect for a Halloween party, a cozy autumn gathering, or even just a fun weekend baking project with the family. It’s a fantastic alternative to a traditional dessert table, offering a more interactive and visually engaging way to serve sweets. The focus is on creating a cohesive and eye-catching display that complements the overall Halloween ambiance.
Planning Your Halloween Cookie Board
Choosing Your Cookies
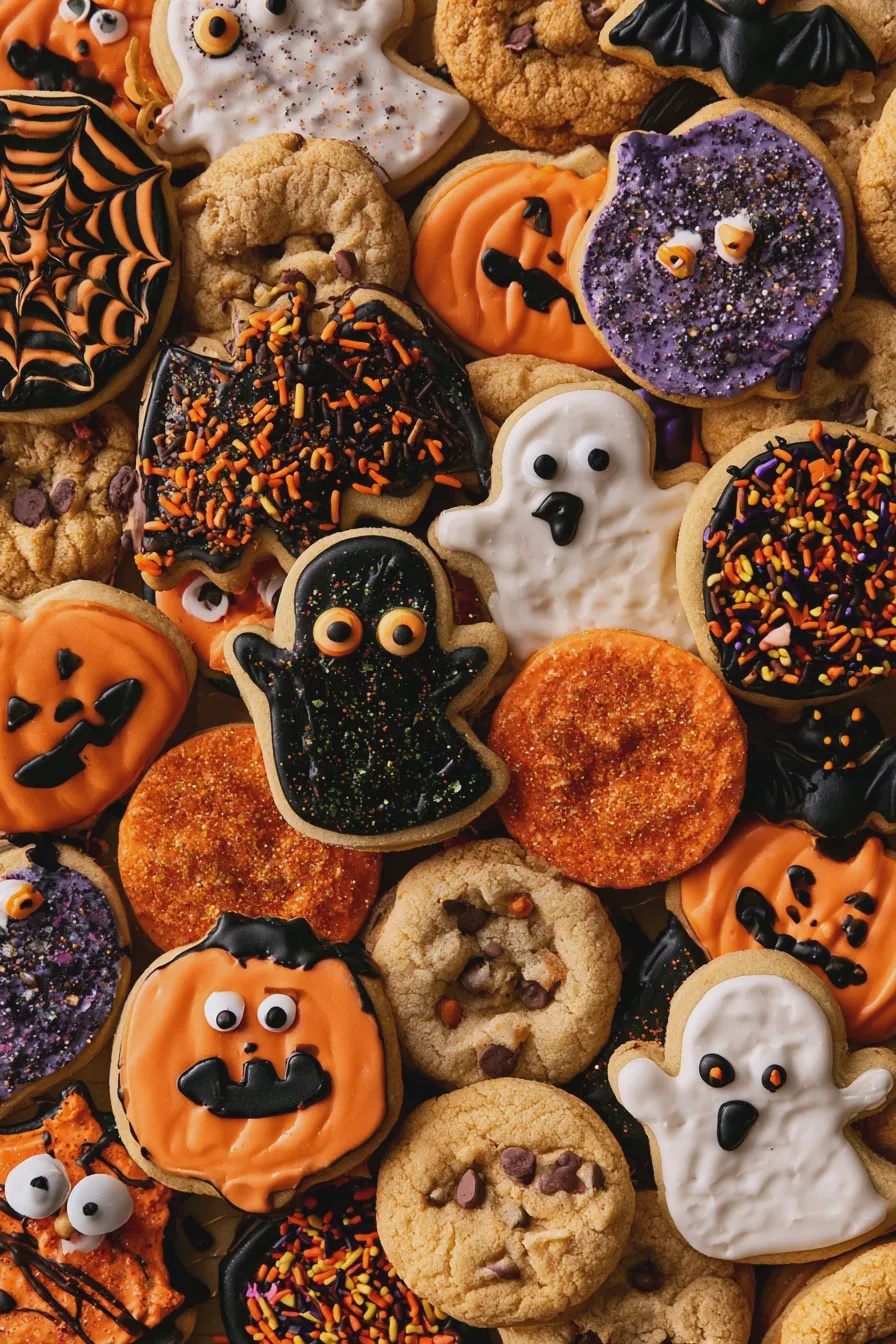
When assembling your halloween cookie board, aim for a variety of shapes, sizes, and flavors to create visual interest and cater to different preferences. Consider including some classic fall cookie recipes like pumpkin cookies or spiced shortbread, alongside more overtly spooky options. For instance, a batch of witch finger cookies recipe adds a delightfully creepy element, while simple ghost cookies recipe are always a crowd-pleaser. Don’t forget to include some crowd-pleasing staples that can be easily decorated, such as basic sugar cookies or simple drop cookies.
Think about incorporating some of your favorite cookie recipes that can be adapted for the theme. For example, a classic brownie recipe can be transformed into haunted house cookies with some creative frosting and candy details, or you can whip up some keto brownies and decorate them to fit the spooky theme. The key is variety; include some chewy cookies, some crisp ones, and some that are soft and cakey to offer a range of textures. This ensures that every bite is a new experience, making your spooky cookie platter truly memorable.
Decorating Techniques and Themes
The magic of a halloween cookie board truly comes alive with creative decorating. Simple techniques can yield impressive results, transforming plain cookies into festive masterpieces. Consider using royal icing for intricate designs like spiderwebs or mummy cookies, or opt for colored buttercream for a softer, more whimsical look. Edible food markers are also excellent for adding details like eyes or stitches to your DIY Halloween snacks.
For a truly spooky cookie platter, embrace classic Halloween motifs. Black cat cookies, skeleton cookies adorned with edible markers, or candy corn cookies arranged in patterns can add a playful touch. You can also explore more elaborate themes like haunted house cookies, complete with candy landscaping, or create adorable ghost cookies recipe using simple icing and chocolate chips. The goal is to have a cohesive yet diverse collection that sparks joy and a little bit of playful fright, making your chocolate raspberry cake or any other dessert feel even more special when paired with these themed treats.
Choosing Your Board or Platter
The foundation of your halloween cookie board is the serving surface itself. While a large wooden cutting board or a rustic slate platter works beautifully, don’t shy away from using oversized baking sheets, large ceramic platters, or even a clean, food-safe piece of plywood for a grander display. The size of your board should be proportionate to the number of guests you anticipate, ensuring there’s enough space for all your delicious creations without them feeling overcrowded.
Consider the aesthetic you’re aiming for. A dark, natural wood board can enhance the spooky, rustic feel, while a white platter might make brightly colored icing pop. You can also line a baking sheet with parchment paper and arrange your cookies directly on it for a more casual, yet still charming, presentation. Some creative individuals even use tiered stands to add height and dimension to their Halloween dessert table, making it even more of a focal point.
How to Make Your Halloween Cookie Board
Baking the Base Cookies
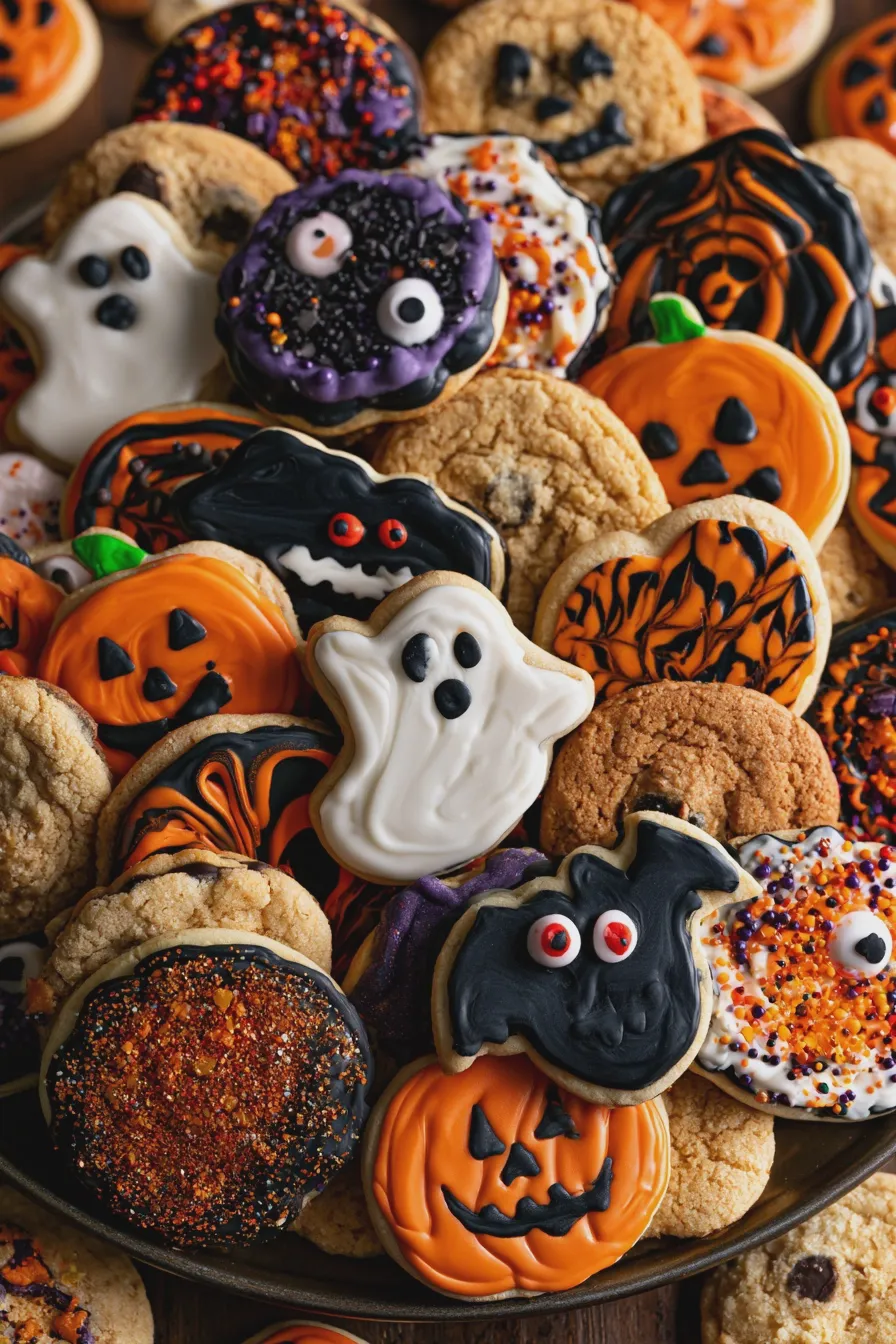
Start by baking your chosen cookie recipes, focusing on those that hold their shape well after baking, especially if you plan on decorating them with intricate icing. Sugar cookies, shortbread, and gingerbread are excellent choices as they provide a stable canvas for decorating. Ensure you follow your recipes precisely, paying attention to baking times and temperatures to achieve the perfect texture and prevent excessive spreading.
For a variety of textures, consider including some softer cookies like chocolate chip or oatmeal cookies. If you’re short on time or want to simplify the process, you can even incorporate store-bought cookies as a base, focusing your decorating efforts on those. Preparing a few different types of cookies in advance will make the assembly of your halloween cookie board much smoother.
Decorating the Cookies
Once your cookies have cooled completely, it’s time for the fun part: decorating! For detailed designs like spiderwebs or intricate patterns on your caramel brownies, royal icing is your best friend as it dries hard and smooth. For a softer, more rustic look, buttercream frosting can be piped or spread. Don’t be afraid to experiment with different piping tips to create various textures and effects.
Use food coloring to achieve classic Halloween palettes: oranges, blacks, purples, and greens. Simple additions like candy eyeballs, sprinkles, or edible glitter can instantly elevate your decorations. For a quick and easy approach, consider making gluten-free 4 ingredient cheerio bars and decorating them with Halloween-themed sprinkles or a drizzle of chocolate. Remember, the goal is to create visually appealing treats that fit your overall theme, whether it’s cute, creepy, or classic fall.
Arranging the Board
The artful arrangement of your halloween cookie board is key to its visual impact. Start by placing your larger or more dominant cookies first, distributing them across the board to create focal points. Then, fill in the gaps with smaller cookies, grouping similar shapes or colors together for a cohesive look. Don’t be afraid to create little clusters or patterns with your themed cookie platter.
Consider adding non-cookie elements for extra texture and visual appeal, such as small bowls of candy corn, chocolate kisses, or even some fresh berries like raspberries or blackberries for a pop of color. You can also incorporate small Halloween-themed props like plastic spiders or mini pumpkins (ensure they are clean and food-safe if placed near food). The aim is to create a bountiful and inviting display that encourages guests to explore and indulge in your creative edible Halloween crafts.
Tips for the Perfect Halloween Cookie Board
Flavor Pairings and Variety
To ensure your halloween cookie board is a hit, offer a diverse range of flavors that complement each other. Include classic combinations like chocolate and peanut butter, or spices like cinnamon and ginger that are synonymous with fall. Consider adding some fruity elements, perhaps with a lemon-accented cookie or a raspberry-filled treat, to balance the richness of chocolate or spice-heavy options.
Don’t forget to cater to different dietary needs if necessary; a few vegan brownies or gluten-free options can make your Halloween dessert table inclusive. Offering a mix of sweet and slightly savory cookies, like a rosemary shortbread, can also add an interesting dimension to your spread. The goal is to provide a delightful spectrum of tastes that excites every palate.
Make-Ahead and Storage
Many cookies can be baked and decorated a few days in advance, making the assembly of your halloween cookie board a breeze. Store undecorated cookies in airtight containers at room temperature, and once decorated, layer them between parchment paper in similar containers to prevent sticking and damage. This makes it easy to pull everything together on the day of your event.
For cookies decorated with royal icing, they can often be stored for up to a week. Frosted cookies or those with delicate decorations might be best kept at room temperature for a shorter period, or even chilled if the frosting is particularly soft. If you have leftover cookies from your themed cookie platter, they can typically be frozen for longer storage, though some textures might change slightly upon thawing.
Presentation and Serving Ideas
When arranging your halloween cookie board, think about creating a visual story. Group cookies by theme or color, or create a path leading the eye across the board. You can also use small bowls or ramekins to hold smaller items like candies or mini cookies, adding height and structure to your display. Consider adding a few non-edible decorative elements like faux cobwebs or mini skeletons around the board to enhance the spooky atmosphere.
Serve your halloween cookie board as the centerpiece of your dessert table, or have it available as guests arrive for a delightful welcome treat. Provide small tongs or spatulas for easy serving, and perhaps small plates for guests to pile their chosen treats. This interactive dessert is sure to be a conversation starter and a memorable part of your Halloween celebration, making your cheesecake brownies or any other baked good a star.
Print