")
Table of Contents
A decadent dessert that’s perfect for any special occasion, or even just a cozy night in, is a chocolate mousse cake. The combination of moist cake layers and a light, airy chocolate mousse filling creates a symphony of textures and flavors. Whether you’re a seasoned baker or just starting out, mastering the art of making a delicious chocolate mousse cake is a rewarding experience.

This recipe is designed to help you create an unforgettable dessert. We’ll focus on the star of the show: the chocolate mousse filling. With its rich, creamy texture and intense chocolate flavor, it’s the element that elevates a simple cake to something truly special. Get ready to impress your friends and family with a cake that’s sure to disappear quickly!
This guide will walk you through everything you need to know, from selecting the right ingredients to the final assembly of your cake. You’ll learn how to make the best chocolate mousse filling, explore different flavor combinations, and discover tips and tricks for a perfect finish. Let’s get started on this delightful baking journey!
Understanding the Importance of the Chocolate Mousse Cake Filling
The filling is arguably the most crucial component of a chocolate mousse cake. It provides the signature texture and flavor that sets this dessert apart. A well-made filling should be light and airy, yet rich and decadent, complementing the moistness of the cake layers. The quality of your chocolate and the technique used in making the mousse will directly impact the final product.
Think about the contrast between the tender cake and the creamy mousse. This textural interplay is part of what makes the cake so irresistible. You can find many chocolate mousse filling recipes online, but we’ll focus on creating one that’s easy to follow and consistently delivers outstanding results. This recipe is designed to be a reliable go-to for all your cake-making adventures. Whether you’re making a cake for a birthday, anniversary, or just a treat, this filling will be a hit!
Key Ingredients for a Delicious Filling
The ingredients you choose are paramount for the taste and texture of your chocolate mousse filling. High-quality chocolate is the foundation, and it makes a significant difference in the final flavor. Fresh eggs and cream are also essential for achieving the right consistency. Here’s what you’ll need:
- 12 ounces high-quality semi-sweet or bittersweet chocolate, chopped
- 1/2 cup (1 stick) unsalted butter, cut into pieces
- 4 large eggs, separated, at room temperature
- 1/4 cup granulated sugar
- 1/4 teaspoon salt
- 1 cup heavy cream, chilled
- 1 teaspoon vanilla extract
How to Make chocolate mousse cake filling

Creating the perfect chocolate mousse filling involves a few key steps. From melting the chocolate to whipping the cream, each action contributes to the final texture and flavor. Follow these instructions carefully, and you’ll be on your way to a stunning cake!
Step 1: Melting the Chocolate and Butter
Begin by melting the chocolate and butter together. This can be done using a double boiler or in the microwave. If using a microwave, heat in 30-second intervals, stirring in between, until the chocolate is smooth. Be careful not to overheat the chocolate, as this can cause it to seize up. The goal is a silky, glossy mixture.
Once the chocolate and butter are melted, set the mixture aside to cool slightly. This will ensure that it doesn’t cook the egg yolks when you add them. A temperature check isn’t necessary, but make sure the bowl isn’t too hot to touch. A slightly cooled chocolate base is the key to preventing scrambled eggs in your mousse.
Step 2: Preparing the Egg Yolks
In a separate bowl, whisk the egg yolks, sugar, and salt together until the mixture becomes pale and slightly thickened. This process incorporates air, which will help create a light and airy texture in your mousse. This step is also known as “ribbon stage,” where the mixture forms a ribbon when the whisk is lifted.
Gently whisk about a quarter of the warm chocolate mixture into the egg yolk mixture to temper the eggs. This prevents the yolks from scrambling when added to the remaining chocolate. Then, pour the egg yolk mixture into the remaining chocolate, whisking constantly until combined. This careful mixing is vital for a smooth, velvety texture.
Step 3: Whipping the Egg Whites
In a clean, dry bowl, beat the egg whites until soft peaks form. This step adds air and lightness to the mousse. Make sure your bowl and whisk are free of any grease or yolk, as this can prevent the egg whites from whipping properly. Proper whipping ensures a light and airy mousse.
Gently fold the whipped egg whites into the chocolate mixture in two or three additions. Be careful not to overmix, as you want to retain the airiness. Fold until the egg whites are just incorporated, leaving some streaks for a light texture. This careful folding is key to achieving the desired texture.
Step 4: Whipping the Cream and Assembling
In a separate bowl, whip the heavy cream and vanilla extract until stiff peaks form. The cream should hold its shape and not be too soft. Over-whipped cream can become grainy, so keep a close eye on it. This step adds the final element of richness and stability to the mousse.
Gently fold the whipped cream into the chocolate mixture in two additions. Again, be careful not to overmix. The goal is to create a light, airy, and stable mousse. Once the cream is fully incorporated, the mousse is ready to be used as a filling for your cake. This creates the perfect texture for your dessert.
Step 5: Chilling the Mousse
Before using the mousse as a filling, it’s essential to chill it in the refrigerator for at least 2 hours, or preferably overnight. This allows the flavors to meld and the mousse to set, making it easier to work with. Chilling also helps the mousse achieve its final, perfect consistency.
Cover the mousse with plastic wrap, pressing it directly onto the surface to prevent a skin from forming. This step guarantees the best texture and flavor for your chocolate mousse cake. Once chilled, the mousse is ready to be layered between your cake layers. This is the final preparation step before assembling your masterpiece.
Variations and Flavor Combinations for Your Chocolate Mousse Cake

One of the best things about making a chocolate mousse cake is the ability to customize it to your liking. The basic recipe provides a fantastic foundation, but you can add other flavors to make it your own. Here are some ideas for variations and flavor combinations:
Adding Fruit and Other Flavors
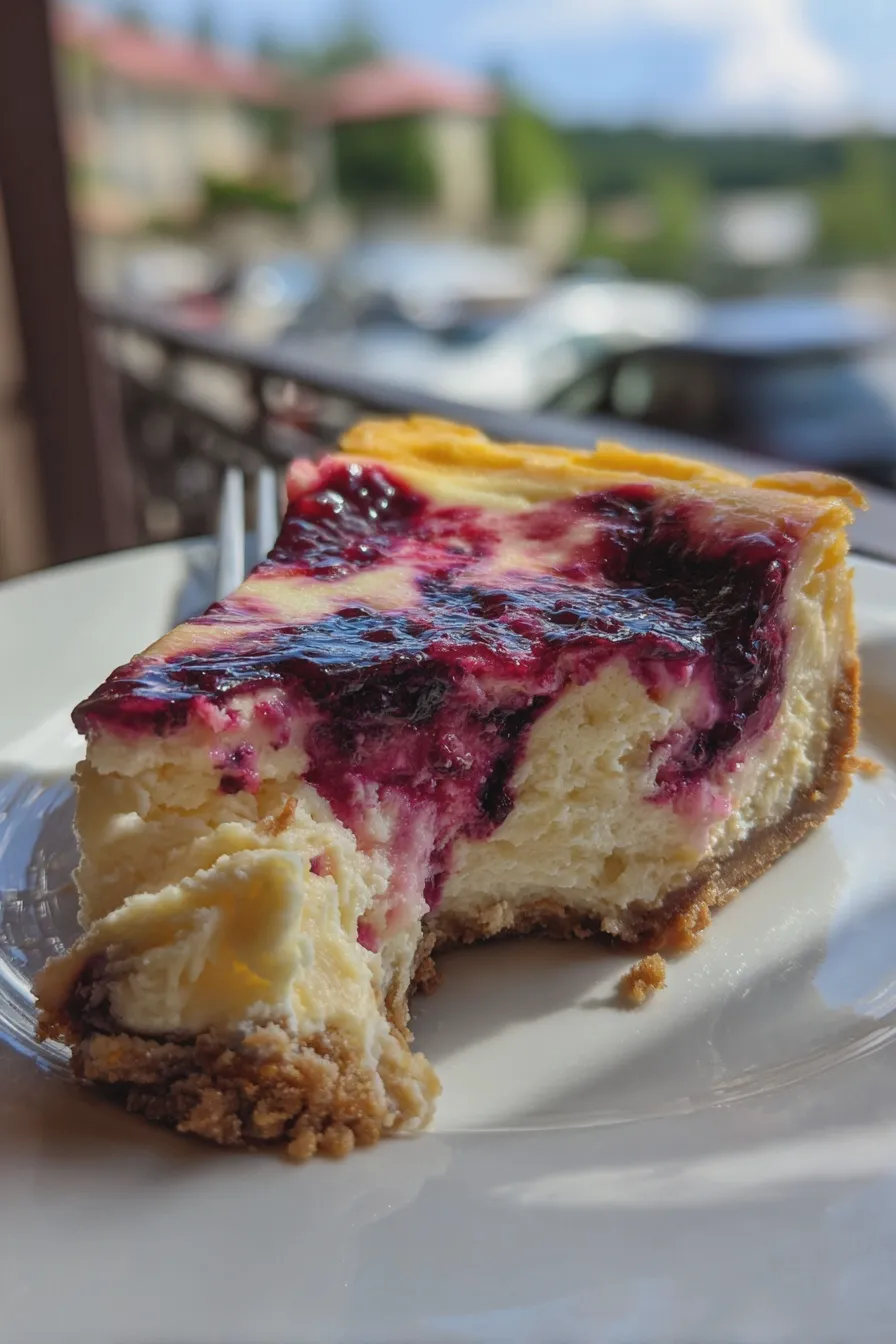
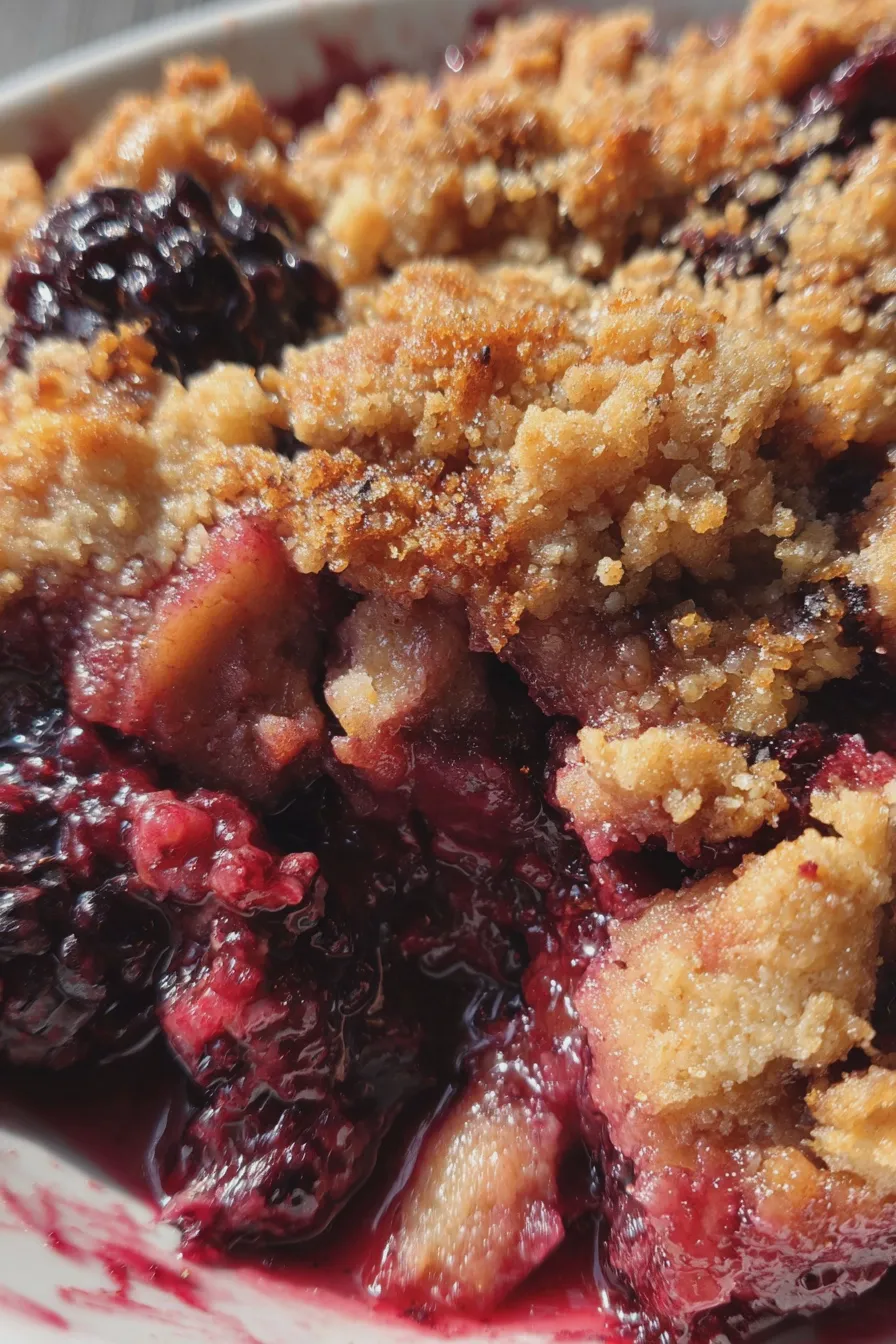
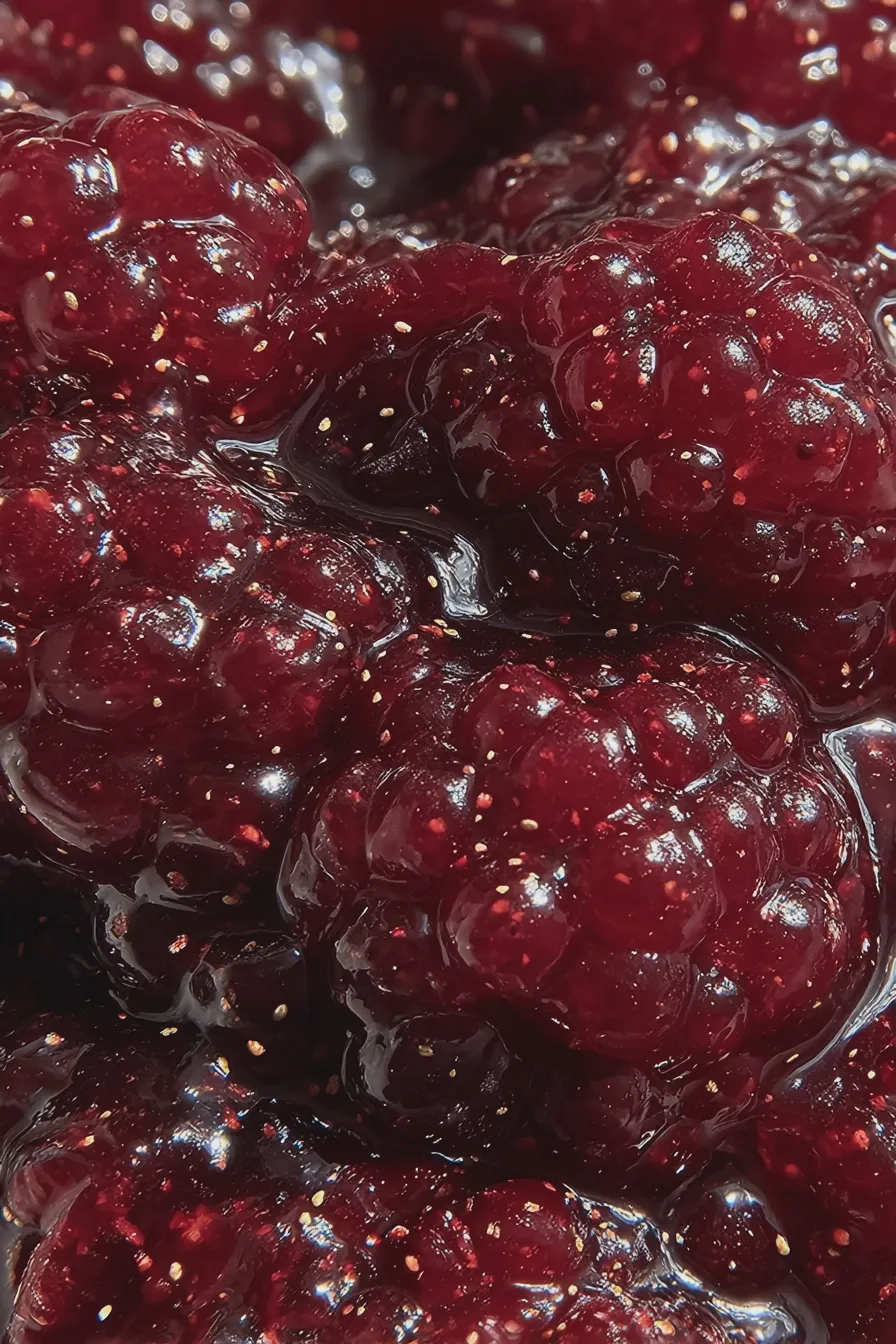
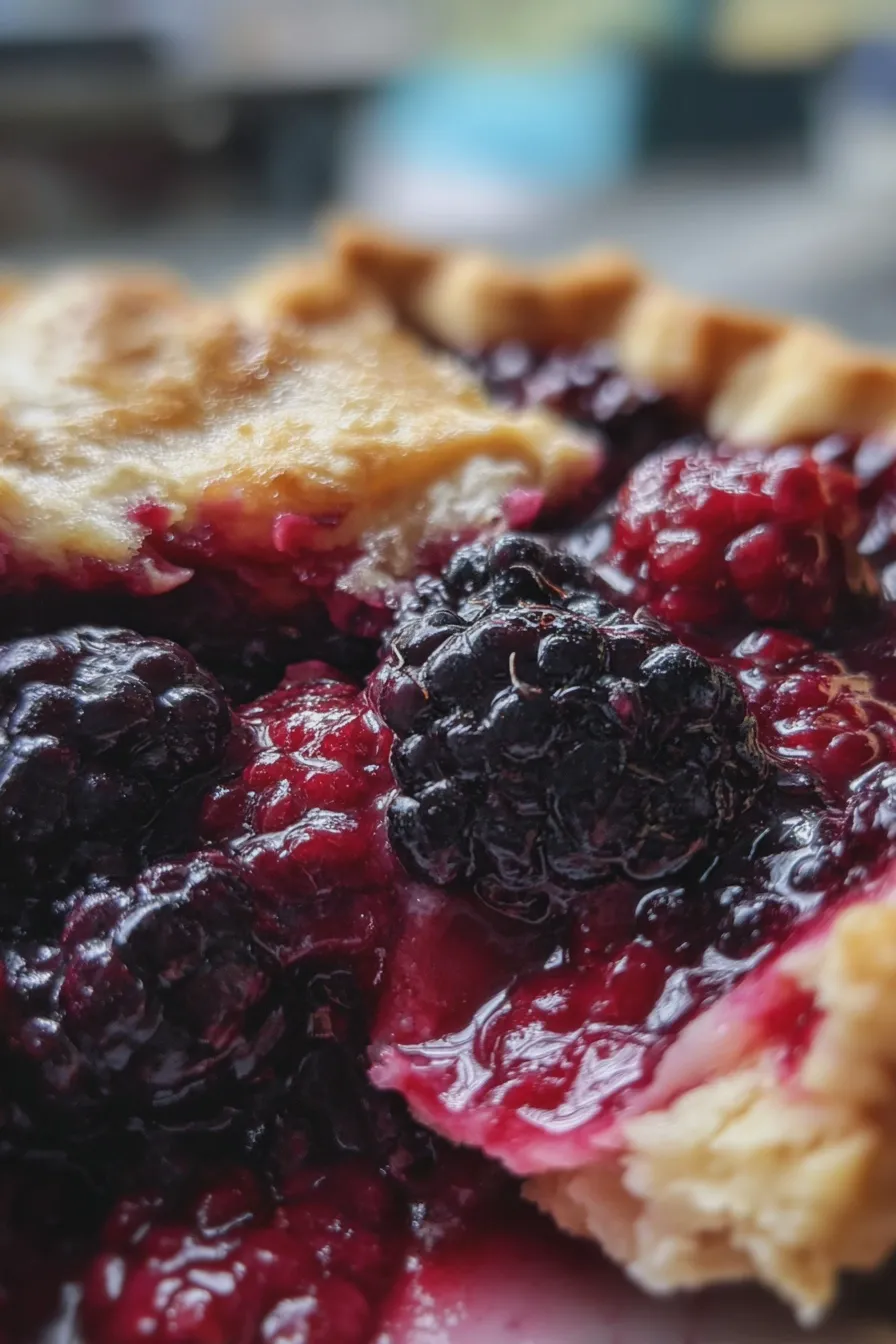
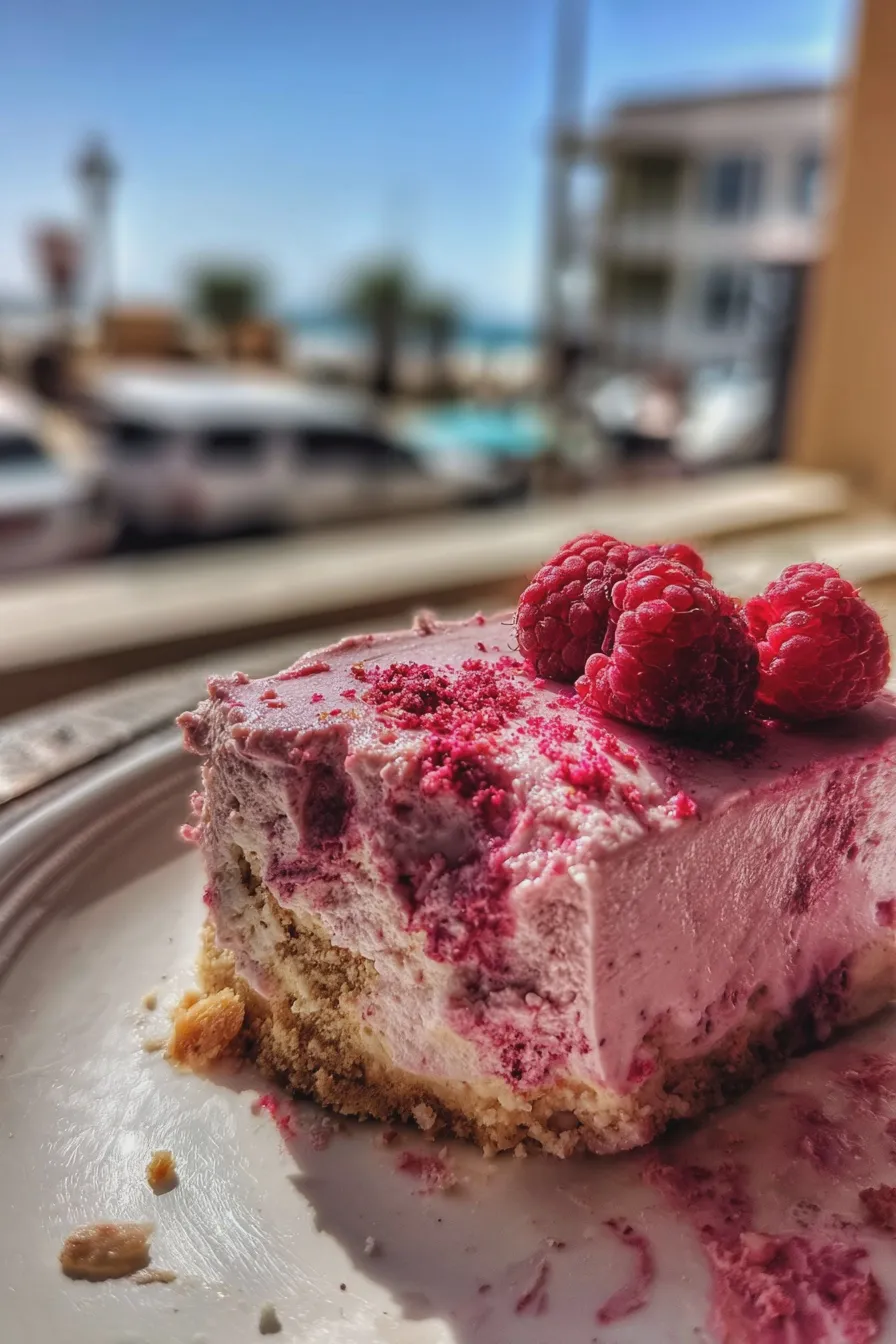
Fresh fruit can be incorporated into the mousse or used as a layer between the cake layers and the filling. Berries, such as raspberries, strawberries, or blueberries, pair beautifully with chocolate. Consider using a fruit compote for added flavor and moisture. This is an excellent way to balance the richness of the chocolate.
Other flavorings that work wonderfully with chocolate include coffee, mint, and orange. Add a teaspoon of instant espresso powder to the chocolate mixture for a mocha flavor. A few drops of peppermint extract will create a refreshing mint chocolate mousse. Orange zest or a splash of orange liqueur can add a bright, citrusy note. These additions can transform the cake completely.
Incorporating Different Types of Chocolate and Extracts
Experiment with different types of chocolate to create unique flavor profiles. Using dark chocolate will result in a more intense, bittersweet mousse, while milk chocolate will create a sweeter, milder flavor. White chocolate can also be used, but it requires a slightly different approach as it has a different melting point.
Extracts can enhance the flavor of your mousse. Vanilla extract is a classic addition, but almond extract, hazelnut extract, or even a touch of rum extract can add depth and complexity. Be sure to use extracts sparingly, as they can quickly overpower the chocolate flavor. The right extract can make your cake unforgettable.
Tips and Troubleshooting for a Perfect Chocolate Mousse Cake
Even with a well-tested recipe, things can sometimes go wrong. Here are some tips and troubleshooting suggestions to help you achieve the perfect chocolate mousse cake, every time:
Common Problems and Solutions
If your mousse is too thin, it may not have been chilled long enough. Give it extra time in the refrigerator to set. If the chocolate seized up while melting, it’s likely been overheated. Add a teaspoon of hot water and stir vigorously until the mixture smooths out. If the mousse is grainy, it may have been over-whipped. Gently fold in some extra whipped cream to smooth it out.
Another common issue is a flat mousse. This can happen if the egg whites haven’t been whipped to stiff peaks, or if they have been over-mixed into the chocolate mixture. Make sure your equipment is clean and dry when whipping the egg whites. Fold the ingredients gently, and your mousse will turn out perfect. Following these tips will save you from common mistakes.
Achieving the Right Texture and Consistency
The texture of your mousse is critical. It should be light and airy, yet hold its shape. Whipping the egg whites and heavy cream to the correct consistency is key. Soft peaks are needed for the egg whites, and stiff peaks are needed for the heavy cream. Also, chilling the mousse for the appropriate amount of time is essential.
The quality of your ingredients also affects the texture. Using high-quality chocolate and fresh eggs and cream will make a noticeable difference. Following the recipe carefully and paying attention to each step will help you achieve the perfect texture every time. The right texture makes all the difference in the finished product.
Decorating Your Chocolate Mousse Cake
The decoration adds the final touch to your cake. Consider a simple dusting of cocoa powder or a swirl of whipped cream. Fresh berries or chocolate shavings are always a great choice. You can also create a chocolate ganache to pour over the cake for a smooth, glossy finish.
For a more elaborate design, consider using a piping bag to create rosettes or other decorative elements. Practice your decorating skills on a separate surface before applying them to the cake. The possibilities are endless, and the right decorations will make your cake even more appealing. You can use chocolate fudge cake as a base for your cake and experiment with all of these decorating styles. Your taste buds will thank you!
Assembling Your Chocolate Mousse Cake
Once you have your cake layers baked (or store-bought), and your chocolate mousse filling chilled, it’s time to assemble the cake. The process is straightforward, but a few tips can help you achieve a professional-looking result. Here’s how to put it all together:
Layering the Cake and Filling
Place one cake layer on a serving plate or cake stand. If the cake layers are uneven, use a serrated knife to level them. Spread a layer of the chocolate mousse filling evenly over the first cake layer. Be generous, but not excessive; you want a good balance between cake and filling.
Carefully place the second cake layer on top of the filling, and repeat the process with the remaining cake layers and filling. For a more dramatic effect, you can add a layer of fresh berries or a fruit compote between the cake layers and the chocolate mousse filling. This adds an extra layer of flavor and texture. A delicious cake is all about the layers!
Frosting and Finishing Touches
Once the cake layers and filling are assembled, you can frost the cake with whipped cream, chocolate ganache, or any other frosting you like. If using whipped cream, be sure to chill the cake before frosting to help the cream set. The frosting should be applied smoothly and evenly for a professional look.
Decorate the cake with chocolate shavings, fresh berries, or other garnishes. Consider a simple dusting of cocoa powder for an elegant touch. To make the cake even more spectacular, try using a piping bag to create rosettes or other decorative elements. The right decorations will take your cake from simple to stunning. You can use the same base recipe for strawberry lemonade cookies as a guide for your frosting.
One of the best ways to finish a cake is with a light dusting of cocoa powder. This adds a nice touch of color and visual interest. Try using a stencil to create a design, or simply dust it evenly over the top. The right finishing touches will make your cake irresistible. If you want to try something a little different, consider decorating your cake with strawberry shortcake Easter egg balls.
Serving and Storing Your Chocolate Mousse Cake
Once your cake is assembled and decorated, it’s time to enjoy it! Serving and storing your cake properly will help maintain its freshness and flavor. Here’s how to do it:
Serving Suggestions
For the best experience, serve the cake slightly chilled. This allows the flavors to meld and the textures to shine. Slice the cake with a long, serrated knife, wiping the knife clean between slices for a neat presentation. Accompany the cake with a scoop of vanilla ice cream, a dollop of whipped cream, or a cup of coffee for a complete dessert experience.
Consider serving individual slices on dessert plates, and garnish each slice with a fresh berry or a chocolate curl. The presentation is as important as the taste. Try pairing your cake with other treats, such as cake mix cookies, for an even better experience. Your guests will love the presentation and taste!
Storage Tips
Store leftover cake in the refrigerator, covered tightly with plastic wrap or in an airtight container. This will help prevent the cake from drying out and keep it fresh for up to 3-4 days. For longer storage, you can freeze the cake. Wrap individual slices tightly in plastic wrap and then place them in a freezer bag.
When you’re ready to enjoy the frozen cake, thaw it in the refrigerator overnight. This will help preserve the texture and flavor. Storing your cake properly is essential for preserving its quality. If you want a quick dessert, you can keep some oatmeal cookies on hand, too.
Frequently Asked Questions About Chocolate Mousse Cake
Here are some of the most common questions about chocolate mousse cake, along with helpful answers:
Can I make this recipe dairy-free or vegan?
Yes, you can adapt this recipe to be dairy-free or vegan. For a dairy-free version, use dairy-free chocolate, coconut cream instead of heavy cream, and vegan butter. For a vegan version, substitute the eggs with a flax egg (1 tablespoon flaxseed meal mixed with 3 tablespoons water) or an egg replacer. You can also experiment with aquafaba (chickpea brine) to create a vegan mousse. The best no-bake strawberry cheesecake is also a great option.
Can I use store-bought cake layers?
Absolutely! Using store-bought cake layers can save time and effort. Just make sure the layers are of good quality and the right size for your desired cake. If the store-bought layers are too dry, you can brush them with simple syrup before adding the filling. This will add moisture and flavor. Using store-bought cake layers is a great way to save time.
How far in advance can I make the chocolate mousse filling?
You can make the chocolate mousse filling up to 2 days in advance. Store it in the refrigerator in an airtight container until ready to use. This allows the flavors to meld and the mousse to set, making it perfect for your cake. The filling will become more flavorful over time. Make sure you are using the chocolate mousse cake how to instructions.
What type of chocolate is best for chocolate mousse?
The best chocolate for chocolate mousse is high-quality semi-sweet or bittersweet chocolate. These types of chocolate provide a balanced flavor profile and melt smoothly. You can experiment with different percentages of cocoa for a customized flavor. The higher the cocoa percentage, the more intense the chocolate flavor. It’s best to use a rich chocolate mousse filling.
How can I prevent the mousse from becoming grainy?
To prevent a grainy mousse, avoid over-whipping the heavy cream. Whip the cream to stiff peaks, but be careful not to overwhip it. Also, make sure the chocolate mixture is cooled slightly before adding the whipped cream. Over-whipping or adding the cream to a hot mixture can cause the mousse to separate, resulting in a grainy texture. With this, you should have perfect chocolate mousse cake ingredients.

Chocolate Mousse Cake Filling Recipe Creamy and Delicious
- Total Time: 4 hours 40 minutes
- Yield: Filling for a 3-layer 8-inch cake
- Diet: Vegetarian
Description
This decadent chocolate mousse cake filling is the perfect creamy, rich layer for your next special occasion cake. It’s easy to make and elevates any chocolate cake to a gourmet dessert.
Ingredients
- 12 ounces (340g) bittersweet chocolate, finely chopped
- 1 cup (240ml) heavy cream
- 1/4 cup (60ml) whole milk
- 1 tablespoon unsalted butter
- 1/4 teaspoon salt
- 3 large eggs, separated
- 1/4 cup (50g) granulated sugar
- 1 teaspoon vanilla extract
Instructions
- In a heatproof bowl set over a saucepan of simmering water (or a double boiler), melt the chocolate, heavy cream, milk, butter, and salt, stirring until smooth. Remove from heat.
- In a separate clean bowl, whisk the egg yolks with half of the sugar until pale and slightly thickened.
- Whisk a small amount of the warm chocolate mixture into the egg yolks to temper them, then pour the yolk mixture into the remaining chocolate. Stir to combine.
- In a clean, dry bowl, beat the egg whites with a mixer until soft peaks form. Gradually add the remaining sugar and continue beating until stiff, glossy peaks form.
- Gently fold one-third of the whipped egg whites into the chocolate mixture to lighten it. Then, gently fold in the remaining egg whites until just combined. Be careful not to overmix.
- Stir in the vanilla extract.
- Cover the bowl with plastic wrap and refrigerate for at least 4 hours, or preferably overnight, to allow the mousse to set.
- Use as a filling between cake layers.
Notes
- For a richer flavor, use a higher percentage of cacao in your chocolate.
- Ensure your eggs are at room temperature for optimal whipping.
- The mousse can be made a day in advance.
- Prep Time: 30 minutes
- Cook Time: 10 minutes
- Category: Dessert
- Method: Baking
- Cuisine: American
Nutrition
- Serving Size: 1/4 cup
- Calories: 250
- Sugar: 20g
- Sodium: 50mg
- Fat: 20g
- Saturated Fat: 12g
- Protein: 4g