")
Table of Contents
There’s something undeniably special about a beautifully glazed bundt cake. The way the glaze cascades down the sides, creating a stunning visual appeal, is a true delight. And when that glaze is a rich, decadent chocolate, it elevates the entire experience. Whether you’re making a cake for a special occasion or simply treating yourself, a perfect chocolate glaze for bundt cake is the key to unlocking pure dessert bliss.

This glaze is perfect for any chocolate cake. It adds the perfect touch of sweetness and richness. A well-made glaze transforms a simple cake into a show-stopping dessert. It’s the ideal topping for your next gathering, or a cozy night in. The best part? It’s easier than you think to achieve that professional, bakery-worthy look at home.
This recipe focuses on creating a delicious and easy chocolate glaze. It’s designed to be simple enough for beginners while delivering a fantastic flavor and texture. With just a few basic ingredients and simple steps, you’ll be able to create a stunning chocolate glaze that will impress everyone. Let’s dive in and learn how to make the perfect glaze!
Understanding Chocolate Glaze
A chocolate glaze is essentially a smooth, glossy coating made from chocolate and other ingredients like sugar, butter, and sometimes cream or milk. The goal is to achieve a balance of sweetness, richness, and shine. The type of chocolate you use, whether it’s dark, milk, or white chocolate, will significantly impact the final flavor. The consistency of the glaze is also important. It needs to be thick enough to coat the cake but thin enough to drip and create those beautiful patterns.
There are several types of glazes you can make. The most common are those made with melted chocolate and those made with cocoa powder. Each offers a different flavor profile and texture. You can also experiment with different flavorings, such as vanilla extract, coffee, or even a hint of spice, to customize your glaze. To get started, consider exploring different recipes. You can search for inspiration and ideas on how to achieve your desired outcome through various chocolate glaze recipes.
Key Ingredients and Their Roles
The ingredients you choose are the foundation of your chocolate glaze. The quality of these ingredients directly impacts the taste and texture of your finished product. Let’s explore the essential components and their roles in creating a perfect glaze.
- Chocolate: The star of the show! Use high-quality chocolate for the best flavor. Semi-sweet or bittersweet chocolate is classic, but you can also use milk chocolate for a sweeter glaze or even white chocolate for a different flavor profile. The type of chocolate you choose will influence the final taste and appearance.
- Powdered Sugar: Also known as confectioners’ sugar. This provides sweetness and helps thicken the glaze. Make sure to sift the powdered sugar to remove any lumps and ensure a smooth texture.
- Butter: Adds richness, flavor, and a glossy sheen. Unsalted butter allows you to control the salt level in your glaze. Melt the butter before adding it to the other ingredients.
- Liquid: This can be milk, heavy cream, or even water. It thins the glaze to the desired consistency. Heavy cream will make a richer glaze, while milk will result in a lighter one. Water is a good option if you want a lighter glaze or need to avoid dairy.
- Flavorings (Optional): Vanilla extract, a pinch of salt, or a teaspoon of instant coffee can enhance the flavor. Experiment with different extracts, like almond or peppermint, to create unique flavor combinations.
Equipment You’ll Need
Having the right equipment makes the glazing process much easier. Here’s a list of essential tools you’ll need to create your perfect chocolate bundt cake glaze.
- Double Boiler or Microwave-Safe Bowl: For melting the chocolate. A double boiler provides gentle, even heat, while a microwave is faster but requires careful attention to prevent burning.
- Whisk: For mixing the glaze ingredients until smooth and combined.
- Spatula: For scraping down the sides of the bowl and ensuring all ingredients are well incorporated.
- Measuring Cups and Spoons: For accurately measuring ingredients.
- Mixing Bowls: For combining ingredients.
How to Make chocolate glaze for bundt cake
Now, let’s get into the fun part: making the glaze! This recipe provides a simple, yet effective method for creating a delicious and visually appealing chocolate drizzle for bundt cake. Follow these steps carefully, and you’ll be well on your way to a perfect glaze.
Step 1: Melt the Chocolate and Butter

Begin by melting your chocolate and butter. If using a double boiler, fill the bottom pot with water and bring it to a simmer. Place the chocolate and butter in the top pot and stir occasionally until melted and smooth. Alternatively, you can melt the chocolate and butter in a microwave-safe bowl. Microwave in 30-second intervals, stirring in between, until melted. Be careful not to overheat the chocolate, as it can seize up and become grainy. If your chocolate seizes, you can try adding a teaspoon of vegetable oil or shortening and stirring until it smooths out. This step is crucial for achieving that smooth, glossy finish.
For a richer flavor and texture, consider using high-quality chocolate. The better the chocolate, the better your glaze will taste. You can also experiment with different types of chocolate, such as dark chocolate or milk chocolate, to create a glaze that suits your taste. Ensure the chocolate is completely melted before moving on to the next step. This will ensure a smooth, lump-free glaze. Be careful not to overheat the chocolate, as this can cause it to become grainy. If this happens, you can try adding a teaspoon of vegetable oil or shortening and stirring until it smooths out.
Step 2: Combine with Powdered Sugar
Once the chocolate and butter are melted and smooth, remove the bowl from the heat (if using a double boiler) and let it cool slightly. In a separate bowl, sift your powdered sugar to remove any lumps. Gradually add the sifted powdered sugar to the melted chocolate mixture, whisking continuously to combine. Start with a small amount of powdered sugar and add more until you reach your desired consistency. This helps prevent the glaze from becoming too thick too quickly. At this stage, the mixture may seem a bit thick, but don’t worry—the liquid will help thin it out.
Ensure that the powdered sugar is fully incorporated. This is the key to a smooth, lump-free glaze. If you find your glaze is too thick, add a bit more liquid, one teaspoon at a time, until you reach your desired consistency. Remember, you can always add more liquid to thin the glaze, but you can’t easily remove excess liquid. This step is critical for achieving a smooth, velvety texture. Using a whisk instead of a spoon will help to break up any lumps in the powdered sugar.
Step 3: Add Liquid and Flavorings
Now it’s time to adjust the consistency and add flavor. Slowly add your chosen liquid—milk, cream, or water—to the chocolate mixture, whisking constantly until the glaze reaches your desired consistency. The amount of liquid you need will depend on the other ingredients and the desired thickness of your glaze. If you want a glossy chocolate glaze, use heavy cream or whole milk. Add your flavorings, such as vanilla extract or a pinch of salt, and whisk to combine. Taste the glaze and adjust the sweetness or flavorings as needed.
For a richer glaze, use heavy cream. For a thinner glaze, use milk or even water. The key is to add the liquid gradually, whisking constantly until you achieve the right consistency. A good starting point is about one tablespoon of liquid, but you may need more or less depending on your ingredients. Adding vanilla extract will enhance the chocolate flavor. A pinch of salt will balance the sweetness. A little goes a long way. Make sure to taste your glaze and adjust the flavors to your preference.
Step 4: Glaze the Bundt Cake
Place your cooled bundt cake on a wire rack set over a baking sheet or parchment paper. This will catch any drips and make cleanup easier. Pour the glaze over the cake, starting from the center and letting it run down the sides. You can use a spatula to help distribute the glaze evenly, if needed. For a more dramatic effect, let the glaze drip freely down the sides of the cake, creating beautiful patterns. Allow the glaze to set before serving.
Make sure your cake is completely cooled before glazing it. If the cake is warm, the glaze will melt and run off. Pour the glaze evenly over the top of the cake, allowing it to drip down the sides. You can adjust the amount of glaze you use based on your preference. For a thicker coating, use more glaze. For a thinner coating, use less. If you want to add decorations, do so while the glaze is still wet. This will allow the decorations to adhere to the cake. Let the glaze set for at least 30 minutes before serving.
Variations and Tips
Once you’ve mastered the basic recipe, the possibilities are endless! Here are some creative variations and helpful tips to take your chocolate cake glaze to the next level.
Flavor Enhancements
Experimenting with different flavors is a great way to customize your glaze. Here are a few ideas to get you started.
- Coffee: Add a teaspoon of instant coffee or espresso powder to enhance the chocolate flavor.
- Peppermint: Add a few drops of peppermint extract for a refreshing twist.
- Orange: Add orange zest and a tablespoon of orange juice for a citrusy flavor.
- Spices: A pinch of cinnamon or nutmeg can add warmth and depth.
When adding flavorings, start with a small amount and taste as you go. You can always add more, but you can’t take it away. Extracts are potent, so a few drops will often suffice. Spices should be used sparingly to avoid overpowering the chocolate flavor. Remember, the goal is to enhance the chocolate, not to mask it. Consider adding a pinch of salt to balance the sweetness and bring out the other flavors.
Texture and Appearance
The texture and appearance of your glaze can be customized to achieve different effects. Here are some tips to help you achieve your desired look.
- For a glossy finish: Use heavy cream and make sure the chocolate is fully melted.
- For a matte finish: Use milk or water, and don’t over-stir the glaze.
- For a thicker glaze: Use more powdered sugar.
- For a thinner glaze: Use more liquid.
The type of chocolate you use also affects the final appearance. Dark chocolate will give a richer, more intense color. Milk chocolate will give a lighter, sweeter glaze. White chocolate will give a beautiful, creamy glaze. The temperature of the glaze also plays a role. If the glaze is too warm, it will be runny. If it’s too cold, it will be thick and difficult to pour. The best temperature is usually slightly warm to the touch. The key to a beautiful glaze is practice. Don’t be afraid to experiment and try different variations until you find your perfect recipe.
Troubleshooting Common Issues
Sometimes, things don’t go exactly as planned. Here are some common problems and how to fix them.
- Glaze is too thick: Add more liquid, a teaspoon at a time, until you reach the desired consistency.
- Glaze is too thin: Add more powdered sugar, a tablespoon at a time, until you reach the desired consistency.
- Glaze is grainy: Ensure the powdered sugar is sifted and that the chocolate is fully melted.
- Glaze is dull: Use high-quality chocolate and heavy cream.
If your glaze is too thick, it may be difficult to pour and will set too quickly. If it’s too thin, it may run off the cake. A grainy glaze is usually caused by unsifted powdered sugar or chocolate that hasn’t been fully melted. A dull glaze is often the result of using low-quality chocolate or not enough fat. Don’t be discouraged if your first attempt isn’t perfect. Practice makes perfect. Remember, you can always adjust the ingredients to fix any issues. For instance, if you are looking to create cake layers, you may want to try the creaming method.
Serving and Storage
Once your chocolate icing for bundt cake is ready, knowing how to serve and store it properly is essential. Here’s how to ensure your cake stays delicious and fresh.
Serving Suggestions
A glazed bundt cake is a treat on its own, but you can elevate it even further with some simple serving suggestions.
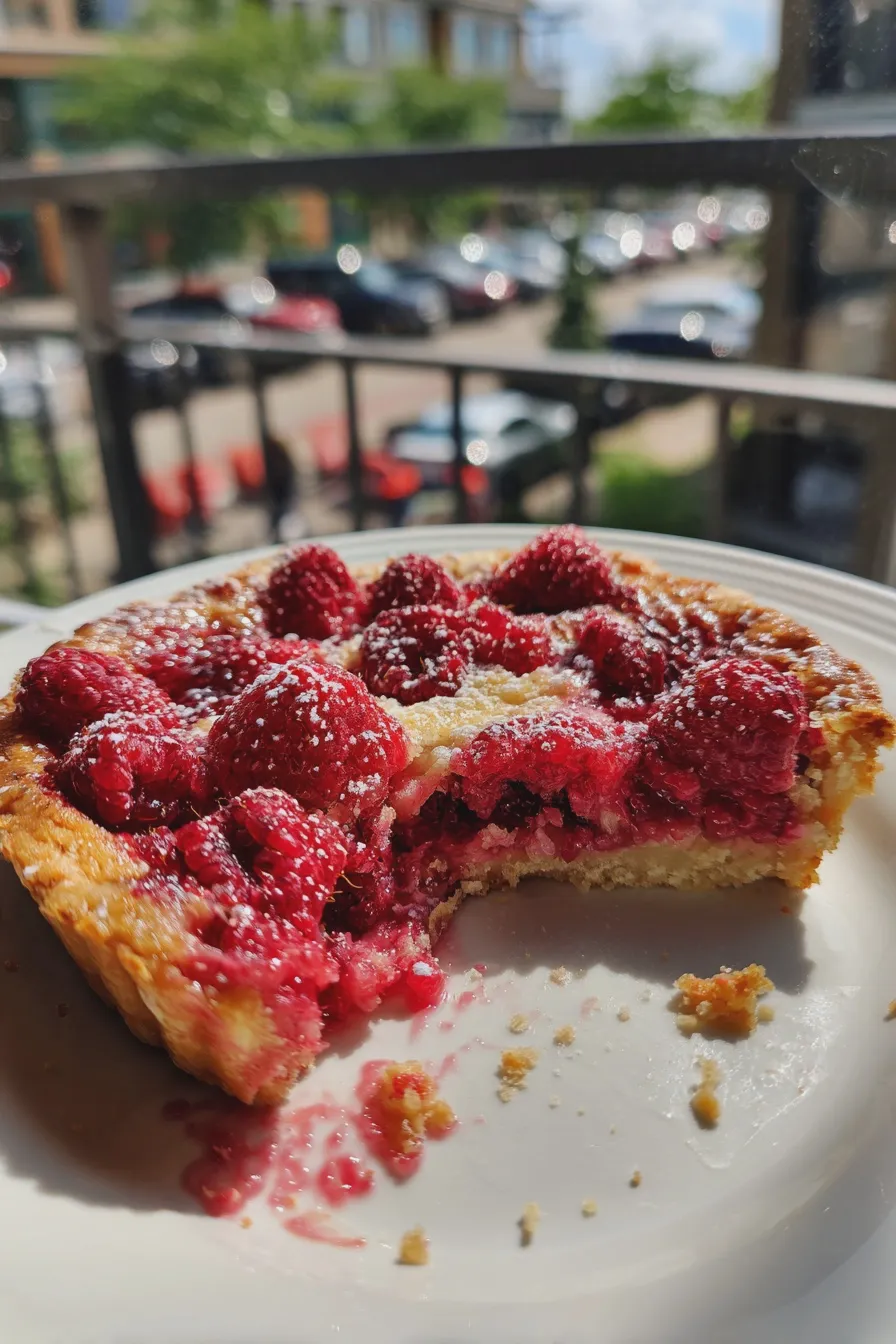
- Fresh Berries: Serve with fresh raspberries, strawberries, or blueberries for a pop of color and flavor.
- Whipped Cream: A dollop of homemade whipped cream adds a touch of lightness and richness.
- Ice Cream: A scoop of vanilla ice cream is a classic pairing.
- Coffee or Tea: Serve with a cup of coffee or tea for a perfect afternoon treat.
The best way to serve a glazed bundt cake is to let it stand at room temperature for a little while before cutting it. This allows the glaze to set slightly and the cake to soften. When cutting the cake, use a serrated knife for clean slices. You can also dust the cake with powdered sugar for an extra touch of elegance. Consider other desserts like a chocolate eclair cake to keep the chocolate theme going.
Storage Instructions
Proper storage will help your cake stay fresh and delicious for longer.
- Room Temperature: Store the cake in an airtight container at room temperature for up to 3 days.
- Refrigerator: Store the cake in an airtight container in the refrigerator for up to a week. The glaze may become slightly firmer in the refrigerator.
- Freezer: Wrap the cake tightly in plastic wrap and then in foil. Freeze for up to 2-3 months. Thaw in the refrigerator overnight before serving.
Make sure to store the cake in an airtight container to prevent it from drying out. If you’re storing the cake in the refrigerator, let it come to room temperature before serving for the best flavor and texture. Freezing is a great way to preserve the cake for longer. Just be sure to thaw it properly. Reheating the cake can also help revive it. You can warm slices in the microwave or oven for a few seconds. If you’re looking for other dessert options, you may want to explore making zucchini brownies.
Frequently Asked Questions
Here are some of the most common questions about making chocolate glaze for donuts and bundt cakes, answered to help you achieve perfect results.
Can I use a different type of chocolate? Yes, you can absolutely use different types of chocolate! Milk chocolate will give you a sweeter glaze, while dark chocolate will result in a more intense flavor. White chocolate can also be used, but the consistency may be slightly different.
How do I fix a grainy glaze? A grainy glaze is usually caused by unsifted powdered sugar or chocolate that hasn’t been fully melted. Make sure to sift your powdered sugar before adding it to the mixture, and ensure your chocolate is completely melted and smooth.
Can I make this glaze without heavy cream? Yes, you can. You can use milk, or even water. Heavy cream gives the richest, most decadent glaze, but milk or water will also work. The consistency will be slightly different, but the taste will still be delicious.
How long does the glaze take to set? The glaze usually takes about 30 minutes to an hour to set, depending on the ingredients and the room temperature. You can speed up the process by placing the cake in the refrigerator for a short time. However, it’s best to let it set at room temperature for the best texture.
Can I make this glaze ahead of time? Yes, you can make the glaze ahead of time. Store it in an airtight container in the refrigerator for up to 3 days. When ready to use, gently warm the glaze and stir until smooth. If it’s too thick, add a little more liquid. You can also learn about the differences between honey vs sugar in baking.
Print
Chocolate Glaze for Bundt Cake Easy Recipe
- Total Time: 10 minutes
- Yield: About 1 1/2 cups 1x
- Diet: Vegetarian
Description
This rich and glossy chocolate glaze is the perfect finishing touch for your bundt cake. It’s easy to make and elevates any cake from simple to stunning.
Ingredients
- 1 cup semi-sweet chocolate chips
- 1/2 cup heavy cream
- 1 tablespoon unsalted butter
- 1 teaspoon vanilla extract
- Pinch of salt
Instructions
- In a heatproof bowl set over a saucepan of simmering water (or in the microwave), melt the chocolate chips, stirring frequently until smooth.
- Remove the bowl from the heat.
- In a small saucepan, heat the heavy cream and butter over medium heat until the butter is melted and the mixture is just beginning to simmer.
- Remove from heat and pour the hot cream mixture into the melted chocolate.
- Whisk until smooth and glossy.
- Stir in the vanilla extract and salt.
- Let the glaze cool slightly before pouring over your bundt cake.
Notes
- For a thinner glaze, add a tablespoon or two of milk or cream.
- For a richer glaze, use dark chocolate chips.
- If the glaze becomes too thick, you can reheat it gently.
- This glaze is also delicious on cupcakes or other cakes.
- Prep Time: 5 minutes
- Cook Time: 5 minutes
- Category: Dessert
- Method: Stovetop/Microwave
- Cuisine: American
Nutrition
- Serving Size: 2 tablespoons
- Calories: 150
- Sugar: 15g
- Sodium: 15mg
- Fat: 10g
- Saturated Fat: 6g