
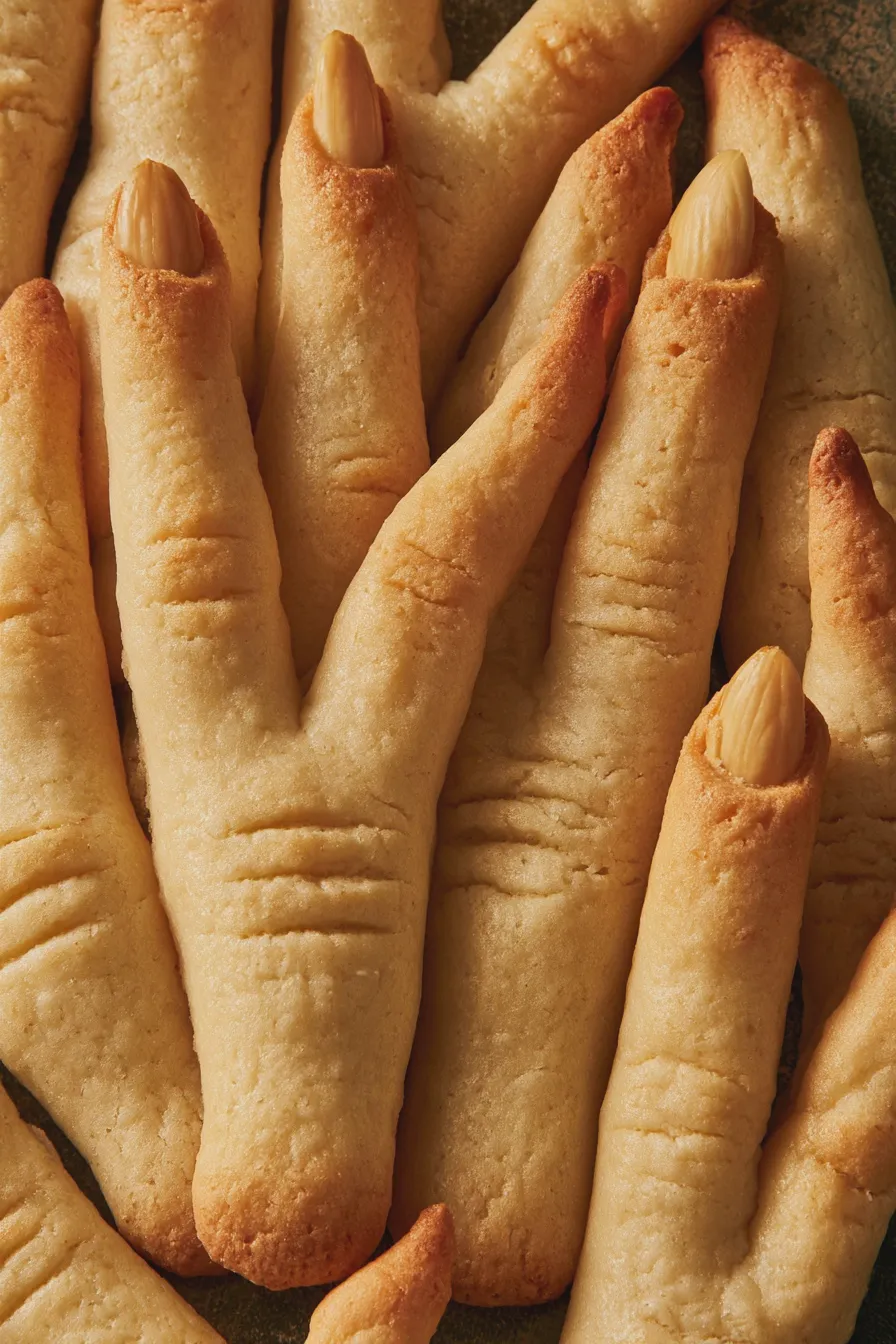
Witch finger cookies are a fun and spooky treat perfect for Halloween, featuring a crisp, buttery cookie shaped like a witch’s digit, often decorated with a sliver of almond for a nail and jam for a gruesome touch. These simple cookies are surprisingly easy to make and always a hit with both kids and adults looking for a festive baked good.
Introduction
Get ready to cast a delicious spell with these fantastic witch finger cookies! These treats are a delightful blend of buttery, slightly sweet cookie dough shaped into long, gnarled fingers, complete with a crunchy almond “fingernail” and a glistening dollop of jam for a truly spooky effect.
Making these spooky delights is a wonderful way to embrace the Halloween spirit in your kitchen, offering a fun activity for families and a memorable addition to any haunted gathering. You can find more creative Halloween baking ideas on Food Network to inspire your holiday baking.
What Are Witch Finger Cookies?

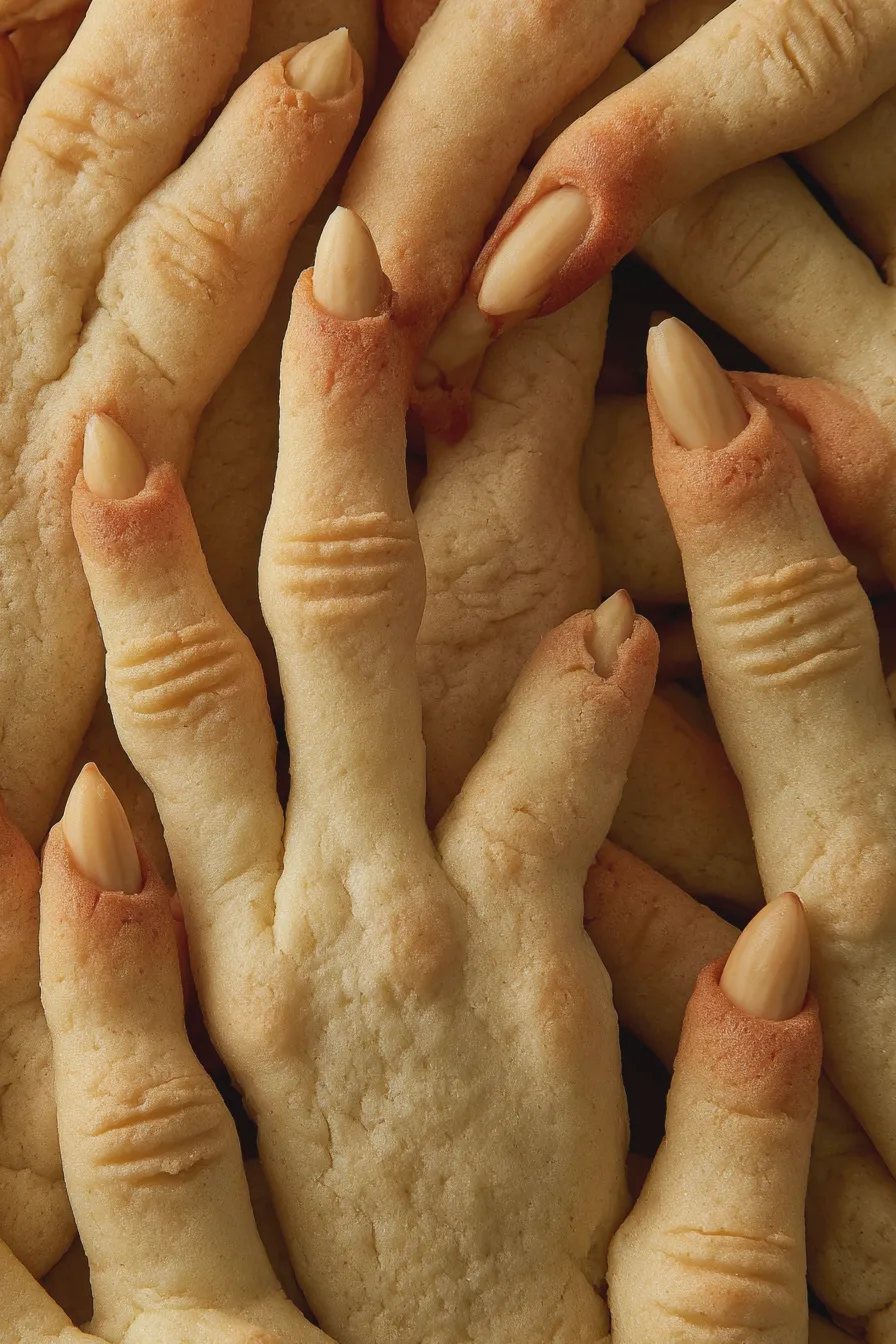
Witch finger cookies are a type of holiday cookie, most commonly associated with Halloween. They are designed to resemble the elongated, gnarled fingers of a witch, complete with a knuckle texture and a distinct fingernail. The base is typically a simple, crisp sugar cookie or shortbread dough, which is easy to shape and holds its form well during baking.
The magic of these cookies lies in their visual appeal and the fun of decorating them. They are a popular choice for Halloween parties, school treats, or simply for adding a touch of the macabre to your dessert table. While the classic version features a red jam “blood” and an almond “nail,” variations abound, allowing for creative interpretations of this spooky classic.
Flavor and Texture Profile
The flavor of these cookies is primarily buttery and sweet, with a hint of almond from the “fingernail.” The cookie itself should be crisp and slightly crumbly, providing a satisfying bite. When jam is added, it introduces a burst of fruity sweetness and a slightly gooey contrast to the crisp cookie.
The overall texture experience is a delightful combination of firm crispness from the cookie, the slight crunch of the almond sliver, and the smooth, sticky texture of the jam. This variety in textures makes each bite interesting and enjoyable for those who love a good cookie.
Occasion and Appeal
Unsurprisingly, witch finger cookies are most popular around the Halloween season. Their spooky appearance makes them a perfect fit for costume parties, haunted house events, or any festive gathering where a touch of the eerie is desired. They are also a fantastic option for bake sales or as a fun activity to do with children to get them into the Halloween spirit.
Beyond Halloween, the appeal of these cookies lies in their novelty and the satisfaction of creating something visually striking. They are a testament to how simple ingredients can be transformed into something truly memorable and fun, making them a beloved treat for bakers of all skill levels.
Ingredients for Witch Finger Cookies
Here’s what you’ll need to create your own batch of these spooky delights. This recipe focuses on a classic, crisp cookie base that’s perfect for shaping.
- 1 cup (2 sticks) unsalted butter, softened
- 1 cup granulated sugar
- 1 large egg
- 1 teaspoon vanilla extract
- 2 ½ cups all-purpose flour
- 1 teaspoon baking powder
- ½ teaspoon salt
- ½ cup slivered almonds, for fingernails
- ¼ cup red jam (raspberry or strawberry work well), for blood
- Optional: Green food coloring for green witch finger cookies
Ingredient Notes and Substitutions:
- If you don’t have slivered almonds, you can use blanched whole almonds cut in half lengthwise, or even a pecan half pressed into the dough for a different look.
- For a richer almond flavor, you can substitute ½ teaspoon of almond extract for ½ teaspoon of the vanilla extract.
- If you want to achieve vibrant green witch finger cookies, add a few drops of green food coloring to the dough after creaming the butter and sugar.
- The jam can be any bright red flavor you prefer. Apricot jam can also be used for a lighter, slightly tart option.
How to Make Witch Finger Cookies

Follow these steps to create your own batch of delightfully creepy witch finger cookies. This process is straightforward and yields fantastic results, making them one of the best witch finger cookies you’ll ever bake.
Step 1: Cream Butter and Sugar
In a large bowl, cream together the softened butter and granulated sugar using an electric mixer on medium speed until light and fluffy. This process incorporates air into the dough, which helps create a tender and crisp cookie texture.
Ensure your butter is truly softened, not melted, for the best creaming results. Over-mixing at this stage can make the cookies tough, so aim for about 2-3 minutes until well combined and pale yellow.
Step 2: Add Wet Ingredients
Beat in the egg and vanilla extract until just combined. Scrape down the sides of the bowl to ensure everything is thoroughly incorporated into the creamy mixture.
Adding the egg and vanilla after creaming the butter and sugar helps emulsify the mixture, leading to a smoother dough. If you’re adding green food coloring for Halloween witch finger cookies, add it now and mix until the color is uniform.
Step 3: Combine Dry Ingredients
In a separate medium bowl, whisk together the all-purpose flour, baking powder, and salt. This ensures that the leavening agent and salt are evenly distributed throughout the flour, preventing pockets of saltiness or uneven rising in the cookies.
Whisking the dry ingredients also helps to aerate the flour slightly, which can contribute to a lighter cookie texture. This step is crucial for achieving the desired crispness in your witch finger cookie dough.
Step 4: Mix Dough Together
Gradually add the dry ingredients to the wet ingredients, mixing on low speed until just combined. Be careful not to overmix the dough, as this can develop the gluten in the flour, resulting in tough cookies.
The dough should come together into a cohesive ball. If it seems too sticky to handle, you can add a tablespoon more flour at a time, but aim for a dough that is firm enough to shape but still pliable. These are witch finger cookies no chill needed, so you can proceed directly to shaping.
Step 5: Shape the Fingers
Preheat your oven to 350°F (175°C) and line baking sheets with parchment paper. Divide the dough into approximately 1-tablespoon portions. Roll each portion into a log about 4-5 inches long and ½ inch thick, tapering one end to resemble a knuckle.
Use the back of a knife or a skewer to gently press lines into the dough to create knuckle indentations. This detail helps make the cookies look more like realistic witch fingers. For a more authentic look on your realistic witch finger cookies, gently flatten the dough slightly.
Step 6: Add Fingernails and Knuckles
Press a slivered almond firmly into the tapered end of each cookie to create a fingernail. For extra detail and a more gruesome appearance on your creepy witch finger cookies, you can gently pinch the dough around the almond to make it look like the nail is growing out of the finger.
If you desire a slightly more gnarled look, you can gently bend the cookie into a slight curve before placing it on the baking sheet. This subtle curve adds to the overall eerie effect of the long witch finger cookies.
Step 7: Bake the Cookies
Place the shaped cookies on the prepared baking sheets, leaving about 1 inch of space between them. Bake for 10-14 minutes, or until the edges are lightly golden brown. Keep a close eye on them, as they can brown quickly.
The cookies should be firm to the touch and lightly colored. Over-baking will make them too hard, so it’s better to err on the side of slightly underbaked for a more tender cookie. You’re aiming for a delicate crispness, similar to a good almond witch finger cookies recipe.
Step 8: Cool and Decorate
Let the cookies cool on the baking sheets for a few minutes before transferring them to a wire rack to cool completely. Once cooled, use a small spoon or a piping bag to fill the knuckle indentations with red jam, creating a bloody effect.
You can also add a few drops of jam around the base of the almond nail for an extra touch of gore. If you plan to make witch finger cookies with sprinkles, you can press them into the jam before it sets, or dust them lightly over the cookies after decorating.
Tips for Perfect Witch Finger Cookies
Achieving the perfect witch finger cookies involves a few key techniques. Paying attention to dough consistency, baking time, and decoration details will elevate your cookies from good to ghastly.
Achieving the Right Texture
For a crisp cookie, ensure you don’t overmix the dough after adding the flour. Overmixing develops gluten, leading to a tougher cookie. Also, make sure your butter is softened but not melted when you start; this is crucial for achieving the right texture. Baking them until the edges are just lightly golden ensures they aren’t overdone.
If your cookies spread too much, it might be because the butter was too soft, or the dough was overworked. You can try chilling the shaped cookies for about 15 minutes before baking to help them hold their shape better, though this recipe is designed as witch finger cookies no chill.
Decorating for Maximum Spookiness
The jam is key to the spooky look of these spooky witch finger cookies. Use a bright red jam like raspberry or strawberry for a vivid “blood” effect. You can also slightly thin the jam with a tiny bit of water if it’s too thick to pipe easily. For witch finger cookies with jam, don’t be afraid to let it ooze a little.
Consider adding edible green food coloring to the dough for vibrant green witch finger cookies. You can also use black edible marker to draw some veins on the fingers before baking for an extra creepy detail. If you’re making witch finger cookies for kids, let them help with the jam application!
Making Ahead and Storage
The unbaked witch finger cookie dough can be shaped and frozen on a baking sheet until firm, then transferred to a freezer-safe bag for up to 3 months. Bake directly from frozen, adding a few extra minutes to the baking time. The baked and fully cooled cookies can be stored in an airtight container at room temperature for up to 5 days.
To maintain crispness, avoid storing them with very moist items. If you notice they’ve softened slightly, you can briefly crisp them up in a low oven (around 250°F or 120°C) for a few minutes. This makes them ideal for preparing in advance for parties.
Print
witch finger cookies Recipe
- Total Time: PT37M
- Yield: 24 cookies 1x
- Diet: Vegetarian
Ingredients
- 1 cup (2 sticks) unsalted butter, softened
- 1 cup granulated sugar
- 1 large egg
- 1 teaspoon almond extract
- 2 ½ cups all-purpose flour
- 1 teaspoon baking powder
- ½ teaspoon salt
- 50–75 blanched whole almonds (for fingernails)
- Optional: Green or red food coloring, frosting
Instructions
- Preheat your oven to 350°F (175°C). Line baking sheets with parchment paper.
- In a large bowl, cream together the softened butter and granulated sugar until light and fluffy.
- Beat in the egg and almond extract until well combined.
- In a separate bowl, whisk together the all-purpose flour, baking powder, and salt.
- Gradually add the dry ingredients to the wet ingredients, mixing until just combined and a soft dough forms.
- Divide the dough into 24 equal portions. Roll each portion into a log shape, about 4-5 inches long and 1/2 inch thick, to resemble fingers.
- Gently flatten one end of each log to create a knuckle.
- Using a knife or toothpick, score lines into the dough to create knuckle details.
- Press an almond (pointed end first) into the flattened end of each cookie to resemble a fingernail.
- Place the cookies on the prepared baking sheets, leaving about 1 inch between them.
- Bake for 10-12 minutes, or until the edges are lightly golden.
- Let the cookies cool on the baking sheets for a few minutes before transferring them to a wire rack to cool completely.
- Optional: For a more realistic look, you can tint a small amount of green frosting and pipe it around the almond ‘nails’ or brush with a little red food coloring for a blood effect.
Notes
- For a more pronounced ‘knuckle’ effect, you can gently bend the cookie log before scoring.
- Ensure the butter is truly softened, not melted, for the best cookie texture.
- Baking time may vary slightly depending on your oven. Watch for golden edges.
- Store cooled cookies in an airtight container at room temperature for up to 5 days.
- Prep Time: PT25M
- Cook Time: PT12M
- Category: Cookies
- Method: Baking
- Cuisine: American
Nutrition
- Serving Size: 1 cookie
- Calories: 150
- Sugar: 10g
- Sodium: 60mg
- Fat: 8g
- Saturated Fat: 5g
- Carbohydrates: 18g
- Protein: 2g







