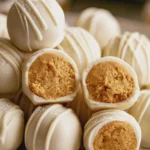
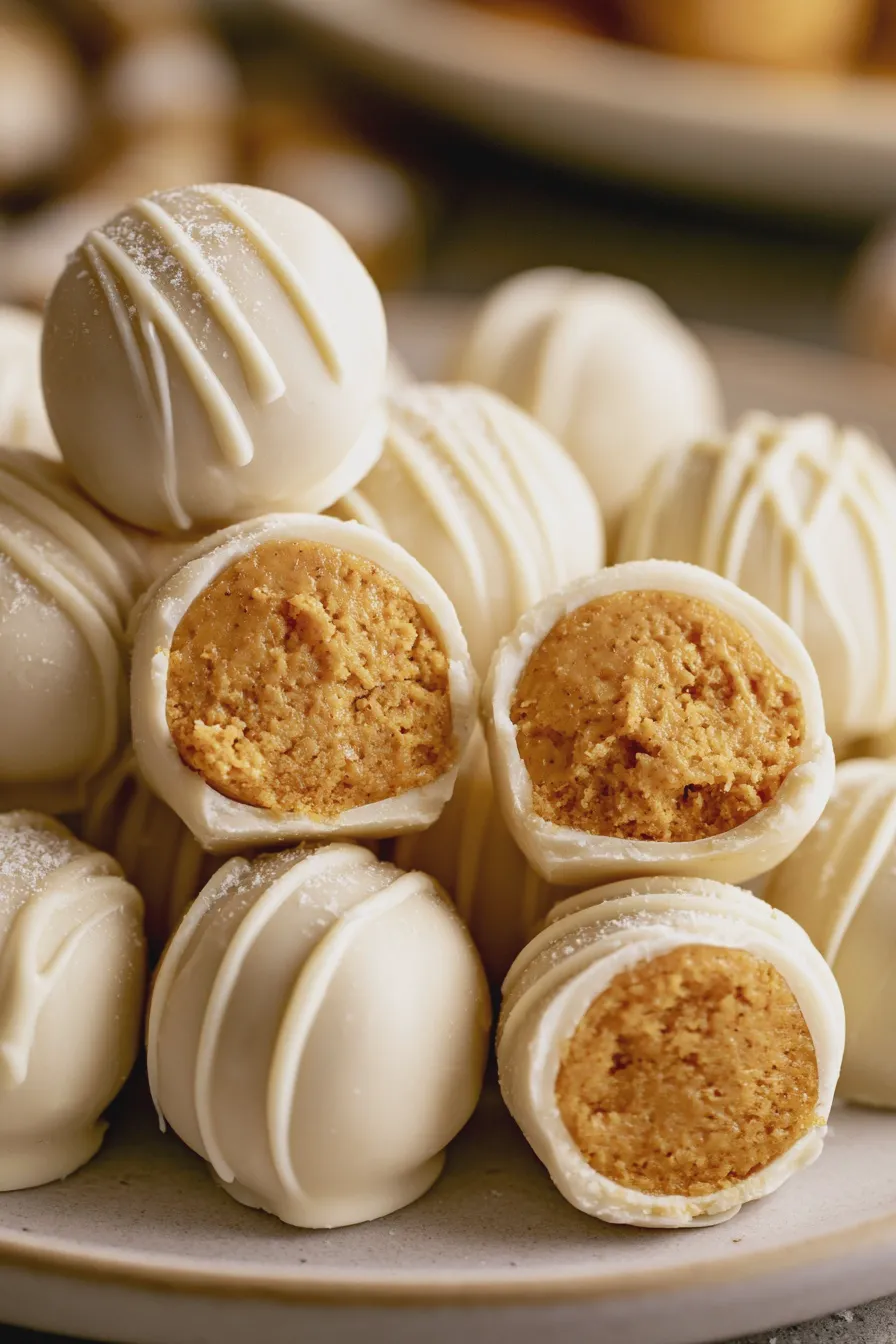
These delightful pumpkin truffles are a perfect no-bake treat, combining the warm flavors of pumpkin and spice with a creamy, decadent coating for a truly irresistible bite. They are wonderfully easy to make, making them a fantastic addition to any fall gathering or holiday dessert table.
As the leaves begin to turn and a crispness fills the air, our thoughts naturally drift towards comforting flavors and cozy gatherings. This season, why not whip up a batch of these incredible pumpkin truffles? They capture the essence of autumn in every bite, offering a delightful alternative to traditional pies and cakes. Get ready to impress your friends and family with these simple yet elegant homemade confections.
Making these treats is a joy, and the result is a dessert that’s both visually appealing and incredibly delicious. They are the perfect way to embrace the spirit of fall, bringing a touch of homemade charm to any occasion. Imagine a bite-sized explosion of spiced pumpkin goodness, perfectly balanced with a rich outer shell – pure bliss!
What Are Pumpkin Truffles?
Pumpkin truffles are small, bite-sized confections typically made from a mixture of pumpkin puree, cream cheese, and warming spices, rolled into balls and often coated in chocolate or other sweet coatings. They offer a concentrated burst of fall flavor, reminiscent of pumpkin pie but in a more convenient and elegant format. These pumpkin pie truffles are a wonderful example of how versatile pumpkin can be beyond the traditional pie, showcasing its ability to create rich, creamy desserts.
They are a fantastic option for fall dessert recipes, especially during the holiday season or for events like Halloween. The combination of creamy pumpkin filling and a crisp outer coating provides a delightful contrast in textures. Many variations exist, but the core elements remain consistent: a sweet, spiced pumpkin base that melts in your mouth.
Pumpkin Truffle Ingredients
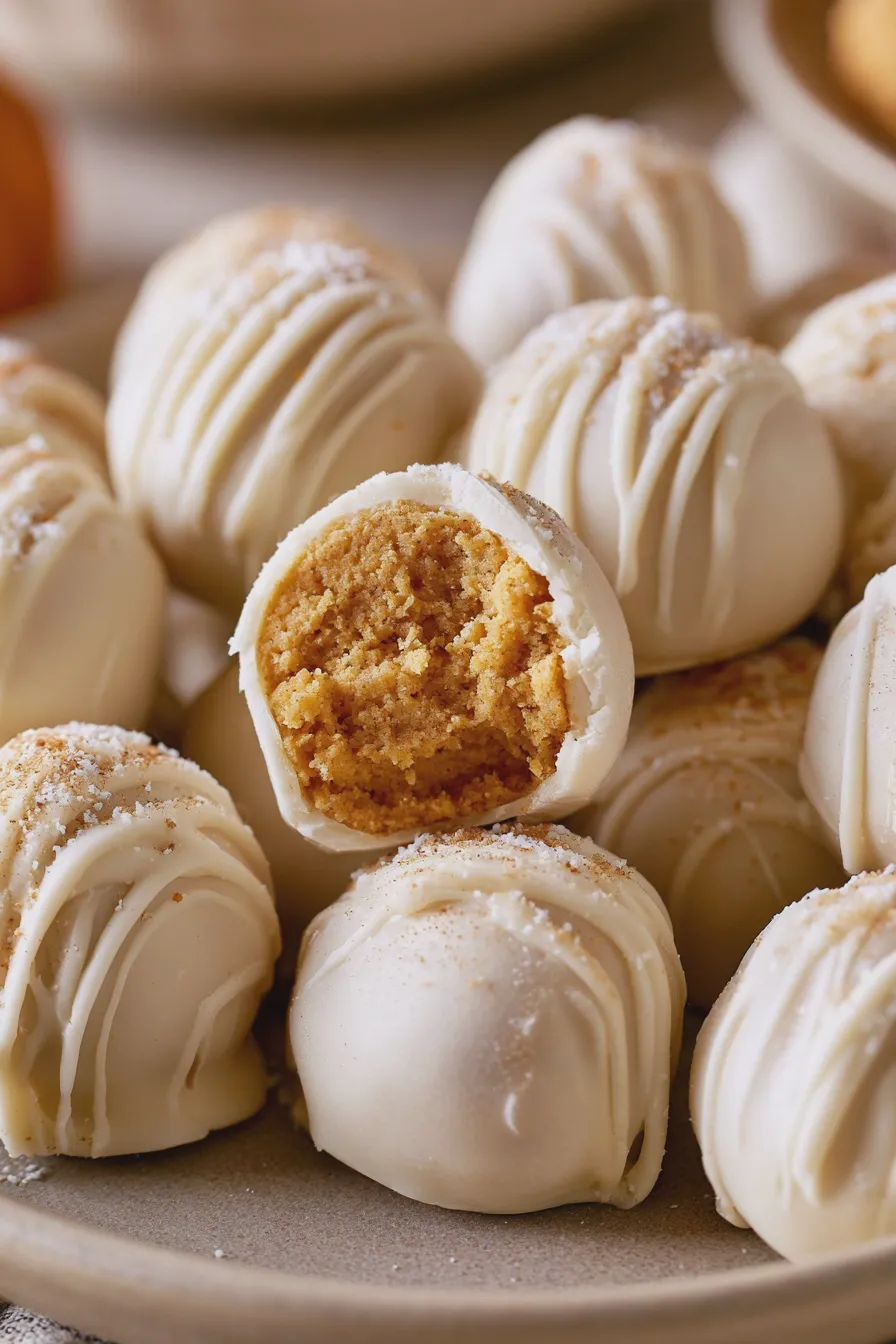
Gathering your ingredients is the first step to creating these delicious pumpkin truffle ingredients. The quality of your pumpkin puree and spices will significantly impact the final flavor, so opt for the best you can find. Remember that using canned pumpkin puree is generally recommended over pumpkin pie filling, as the latter often contains added sugars and spices that can alter the intended flavor profile of your truffles.
- 1 ½ cups pumpkin puree (from a 15-ounce can, NOT pumpkin pie filling)
- 8 ounces cream cheese, softened (full-fat recommended for best texture)
- 2 cups powdered sugar (plus more if needed for consistency)
- 1 teaspoon pumpkin pie spice (or a blend of cinnamon, ginger, nutmeg, and cloves)
- ½ teaspoon vanilla extract
- Pinch of salt
- 12 ounces good quality chocolate, chopped (milk, dark, or white chocolate for melting)
- 1 tablespoon coconut oil or vegetable shortening (optional, for smoother melting chocolate)
- Optional toppings: chopped nuts, sprinkles, edible glitter, a drizzle of contrasting chocolate
When selecting your pumpkin puree, ensure it’s 100% pure pumpkin. This pure pumpkin is more concentrated in flavor and less watery than pie filling, which is crucial for achieving the right truffle consistency. For the cream cheese, make sure it’s properly softened to room temperature; this will prevent lumps in your mixture and ensure a smooth texture. If you don’t have pumpkin pie spice on hand, you can easily create your own blend by combining 2 teaspoons cinnamon, 1 teaspoon ginger, ½ teaspoon nutmeg, and ¼ teaspoon cloves.
How to Make Pumpkin Truffles
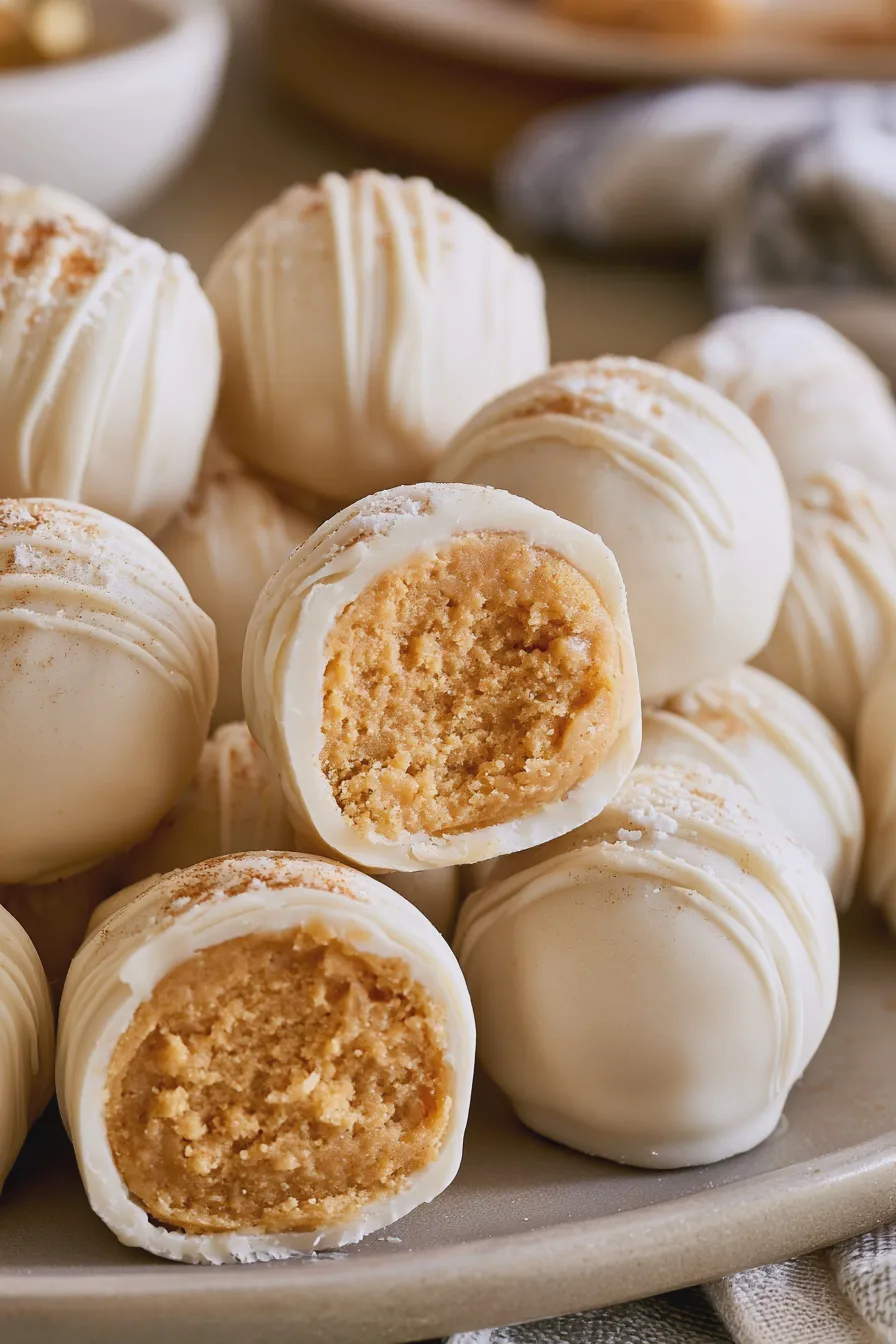
Prepare the Pumpkin Mixture
In a large bowl, combine the pumpkin puree and softened cream cheese. Beat them together with an electric mixer on medium speed until the mixture is completely smooth and well combined, ensuring no streaks of cream cheese remain. This step is vital for achieving a silky-smooth texture in your final cream cheese pumpkin truffles.
Gradually add the powdered sugar, pumpkin pie spice, vanilla extract, and salt to the pumpkin and cream cheese mixture. Continue beating on low speed until just combined, then increase to medium speed and beat until the mixture is thick and holds its shape. If the mixture seems too soft to roll, add a tablespoon or two more powdered sugar until it reaches a dough-like consistency.
Chill the Mixture
Cover the bowl tightly with plastic wrap, pressing it directly onto the surface of the pumpkin mixture to prevent a skin from forming. Refrigerate the mixture for at least 1 to 2 hours, or until it is firm enough to scoop and roll into balls. This chilling period is essential; it allows the flavors to meld and the mixture to firm up, making it much easier to handle without becoming overly sticky.
Proper chilling ensures that your truffles hold their shape when rolled and don’t become too soft before coating. If you’re short on time, you can place the bowl in the freezer for about 30-45 minutes, checking frequently to ensure it doesn’t freeze solid. This step is crucial for successful shaping of your no bake pumpkin truffles.
Roll the Truffles
Once the pumpkin mixture is well chilled and firm, use a small cookie scoop or a tablespoon to portion out the mixture. Roll each portion between your palms to form smooth, uniform balls, about 1-inch in diameter. Place the rolled balls onto a baking sheet lined with parchment paper or wax paper.
If the mixture becomes too sticky as you work, you can lightly dampen your hands with water or dust them with a little extra powdered sugar. Ensure the balls are packed firmly enough to hold their shape but not so dense that they become hard. You should have about 24-30 truffles, depending on their size. This is where you can really appreciate the simplicity of these easy pumpkin truffle recipe.
Chill Again Before Coating
Place the baking sheet with the rolled pumpkin balls back into the refrigerator for another 30 minutes to an hour, or until they are very firm. This second chilling is critical for ensuring the truffles don’t fall apart when dipped into the warm melted chocolate. A well-chilled truffle will hold its shape and absorb the coating more evenly.
This firming step prevents the truffles from melting into a mess when they come into contact with the melted chocolate. It’s a small step that makes a big difference in achieving a professional-looking finish for your pumpkin spice truffles. For best results, ensure they are quite solid before proceeding.
Melt the Chocolate
While the truffles are chilling, prepare your chocolate coating. Place the chopped chocolate in a microwave-safe bowl. If using, add the coconut oil or vegetable shortening, which helps create a smoother, glossier coating that’s easier to work with. Microwave the chocolate in 30-second intervals, stirring well after each interval, until the chocolate is almost completely melted.
Remove the bowl from the microwave and stir until the residual heat melts the remaining chocolate pieces, resulting in a smooth, glossy liquid. Alternatively, you can melt the chocolate using a double boiler over simmering water, stirring constantly until smooth. Avoid overheating the chocolate, as this can cause it to seize and become grainy. This creates the perfect shell for your chocolate pumpkin truffles.
Coat the Truffles
Dip each chilled pumpkin truffle into the melted chocolate using a fork or a candy dipping tool. Ensure the truffle is completely submerged in the chocolate, then lift it out and allow any excess chocolate to drip back into the bowl. You can gently tap the fork on the edge of the bowl to help remove excess coating.
Place the coated truffles back onto the parchment-lined baking sheet. If desired, immediately add your chosen toppings, such as sprinkles or chopped nuts, before the chocolate sets. Work quickly, as the chocolate will begin to harden as it cools. This is the final step in creating your beautiful pumpkin dessert recipes.
Set and Serve
Allow the chocolate-coated truffles to set completely at room temperature, or speed up the process by placing the baking sheet in the refrigerator for about 15-20 minutes. Once the chocolate coating is firm, the truffles are ready to be enjoyed. They are best served at room temperature to allow the creamy filling to soften slightly.
Store any leftover pumpkin truffles in an airtight container in the refrigerator for up to a week. For longer storage, they can be frozen for up to 2-3 months. These pumpkin pie balls are a delightful treat that captures the essence of fall.
Tips for the Best Pumpkin Truffles
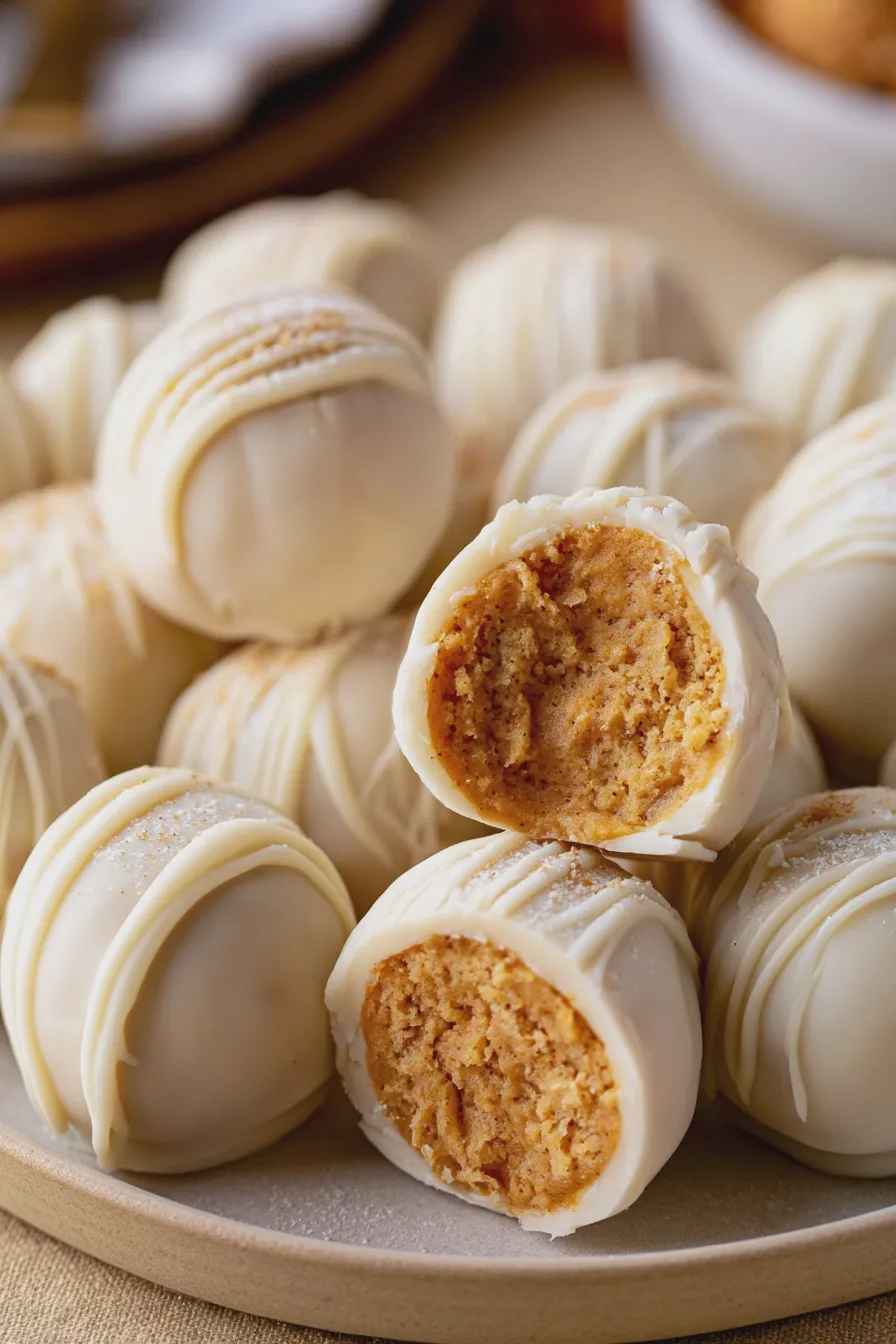
Texture and Consistency
The key to perfect pumpkin truffles lies in achieving the right consistency for the pumpkin mixture. If it’s too wet, it will be difficult to roll and will likely be too soft after coating. Adding more powdered sugar, a tablespoon at a time, is the best way to thicken a runny mixture. Conversely, if the mixture is too dry and crumbly, a tiny bit more pumpkin puree or a teaspoon of softened cream cheese can help bind it together.
Ensure your cream cheese is truly softened to room temperature; this helps it incorporate smoothly without lumps. Over-mixing can sometimes introduce too much air, making the truffles lighter, but for a dense, rich truffle, gentle mixing after adding dry ingredients is best. These tips are crucial for creating the best pumpkin truffles.
Flavor Enhancements
Don’t be afraid to adjust the spices to your preference. If you love a stronger spice flavor, add an extra ¼ teaspoon of pumpkin pie spice or a pinch of cayenne pepper for a subtle warmth. A bit of finely grated orange zest can also add a bright, citrusy note that complements the pumpkin beautifully. For a richer flavor, consider adding a teaspoon of maple syrup to the pumpkin mixture.
Using high-quality vanilla extract makes a noticeable difference in the overall flavor profile. You can also experiment with different types of chocolate for coating; dark chocolate offers a nice contrast to the sweet filling, while white chocolate provides a sweeter, creamier experience. For those who enjoy a bit of crunch, finely chopped pecans or walnuts can be mixed into the pumpkin base before rolling, or sprinkled on top of the wet chocolate.
Troubleshooting Common Issues
If your truffles are too soft to roll, chill the mixture for longer or add a bit more powdered sugar. If the chocolate coating is seizing or becoming thick and clumpy, it might be too hot or have come into contact with water. Reheat gently or try starting with a fresh batch of melted chocolate. For truffles that are unevenly coated, ensure your chocolate is the right consistency – not too thick and not too thin.
Another common issue is the filling seeping through the coating, which often happens if the truffles weren’t chilled sufficiently before dipping. Double-dipping can help create a thicker, more robust shell, but ensure you allow the first layer to set slightly before applying the second. These pumpkin dessert ideas are always a hit and a fun way to use up extra pumpkin.
Storage and Make-Ahead
Storing Pumpkin Truffles
Proper storage is key to maintaining the deliciousness and texture of your pumpkin truffles. Once the chocolate coating has fully set, transfer the truffles to an airtight container. It’s best to place a layer of parchment paper between layers of truffles to prevent them from sticking together, especially if they are topped with sprinkles or drizzles.
Store the container in the refrigerator. The truffles will keep well for up to one week. When you’re ready to serve them, allow them to sit at room temperature for about 15-20 minutes to soften the creamy filling for the best eating experience. This makes them ideal for Halloween pumpkin truffles parties.
Freezing for Later
Pumpkin truffles freeze exceptionally well, making them a perfect make-ahead dessert. After coating and setting, place the truffles in a single layer on a baking sheet and freeze until solid, about 1-2 hours. Once frozen, transfer them to a freezer-safe airtight container or a heavy-duty freezer bag, separating layers with parchment paper.
They can be stored in the freezer for up to 2-3 months. To serve, transfer the frozen truffles to the refrigerator overnight to thaw slowly, then bring them to room temperature for about 30 minutes before serving. This ensures the texture remains optimal and the filling doesn’t become watery. This is a great way to have quick pumpkin truffles ready whenever a craving strikes.
Make-Ahead Strategy
You can prepare the pumpkin truffle mixture up to 2 days in advance and store it, covered, in the refrigerator. This allows the flavors to deepen and makes rolling easier. Roll the truffles and chill them thoroughly on the baking sheet before coating. The coating step is best done closer to when you plan to serve them, ideally within 24 hours of making.
However, if you are freezing them, you can coat them and then freeze them as described above. This strategy allows you to break down the process, making it less overwhelming, especially when preparing for a large event. These vegan pumpkin truffles can be a delightful treat for many dietary needs with a few modifications.
Print