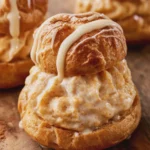
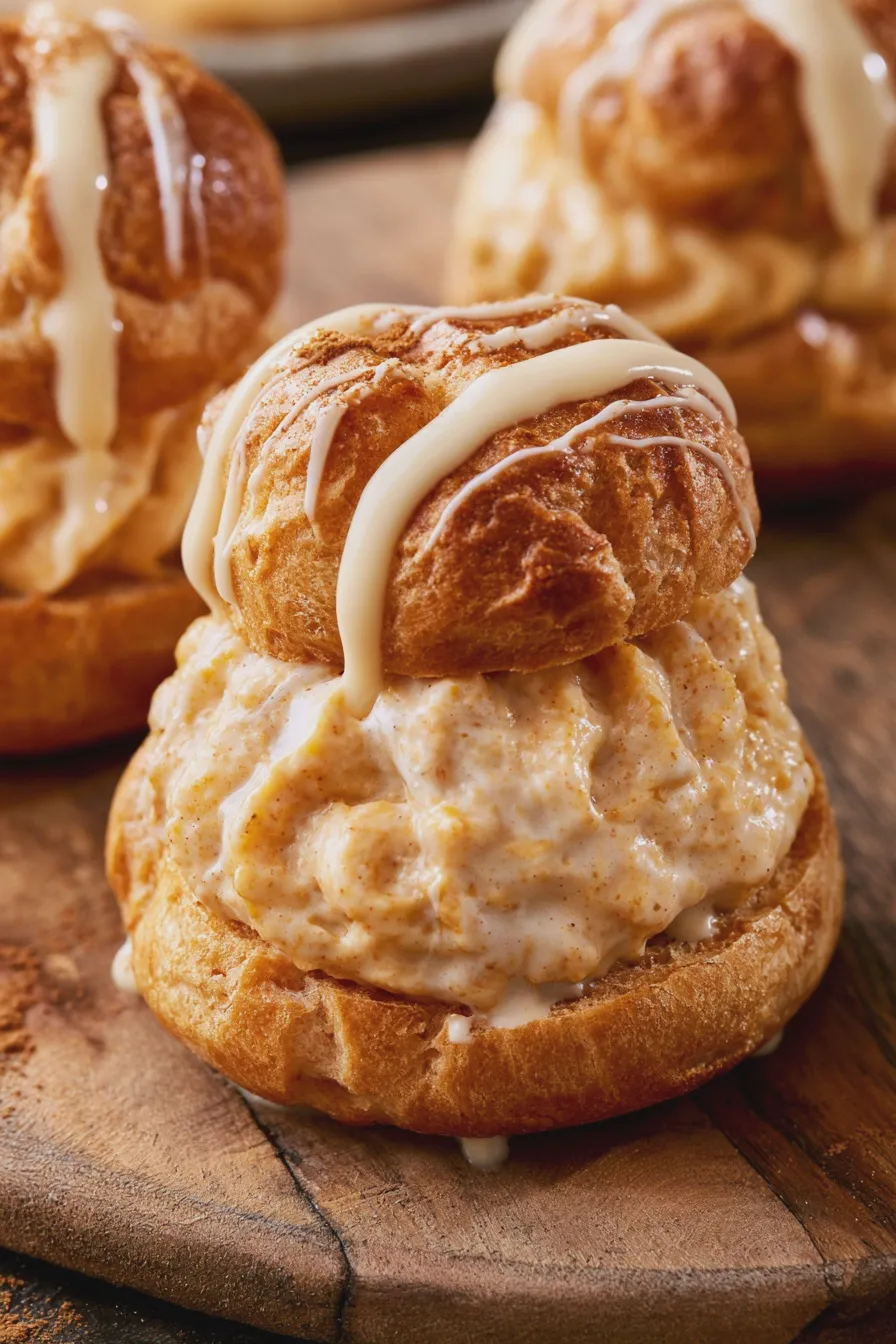
These delightful pumpkin cream puffs offer a taste of autumn in every bite, featuring a light, airy choux pastry shell filled with a luscious, spiced pumpkin cream. They are a perfect, elegant dessert for any fall gathering or holiday celebration.
Introduction
Experience the magic of fall with these exquisite homemade pumpkin cream puffs, a truly special treat that captures the essence of the season. The delicate crunch of the choux pastry gives way to a velvety smooth, spiced pumpkin filling that is simply irresistible, making them a standout among fall dessert recipes.
Imagine serving these beautiful pastries at your next gathering; they are sure to impress with their elegant presentation and delightful flavors. This recipe breaks down the process into manageable steps, ensuring you can create these delicious pumpkin desserts right in your own kitchen.
What You’ll Need
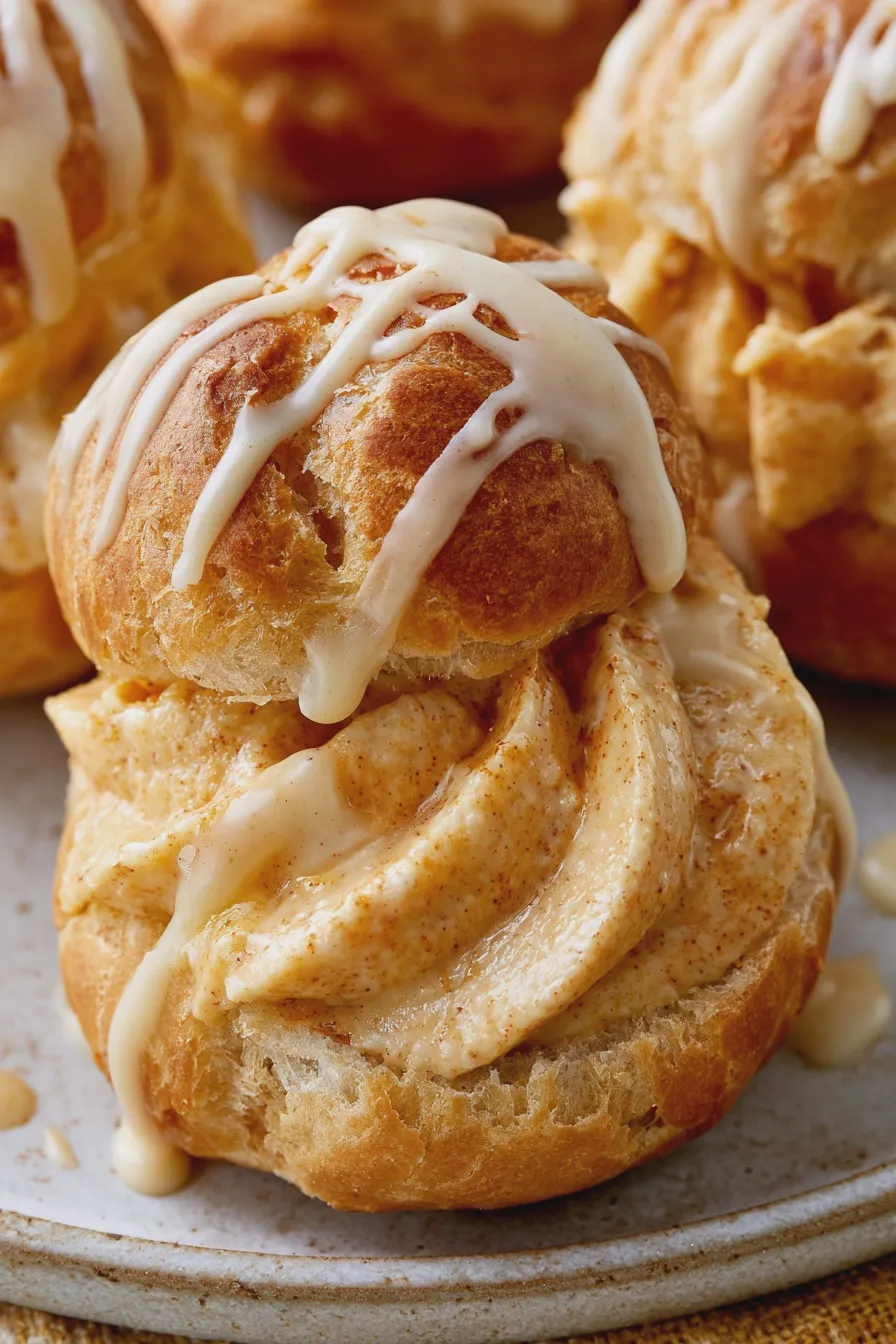
Gathering your ingredients is the first step to creating these wonderful pumpkin cream puffs. Having everything measured and ready will make the process much smoother.
For the Pumpkin Choux Pastry (Pâte à Choux)
- 1 cup water
- 1/2 cup (1 stick) unsalted butter, cut into pieces
- 1/4 teaspoon salt
- 1 cup all-purpose flour
- 4 large eggs, at room temperature
For the Cream Cheese Pumpkin Filling
- 8 ounces cream cheese, softened
- 1/2 cup powdered sugar, sifted
- 1/2 cup pumpkin puree (not pumpkin pie filling)
- 1 teaspoon pumpkin pie spice (or 1/2 tsp cinnamon, 1/4 tsp ginger, 1/8 tsp nutmeg, pinch of cloves)
- 1 teaspoon vanilla extract
- 1/4 cup heavy cream, cold
Optional Garnish
- Powdered sugar for dusting
- Caramel sauce
- Chopped toasted pecans
How to Make Pumpkin Cream Puffs
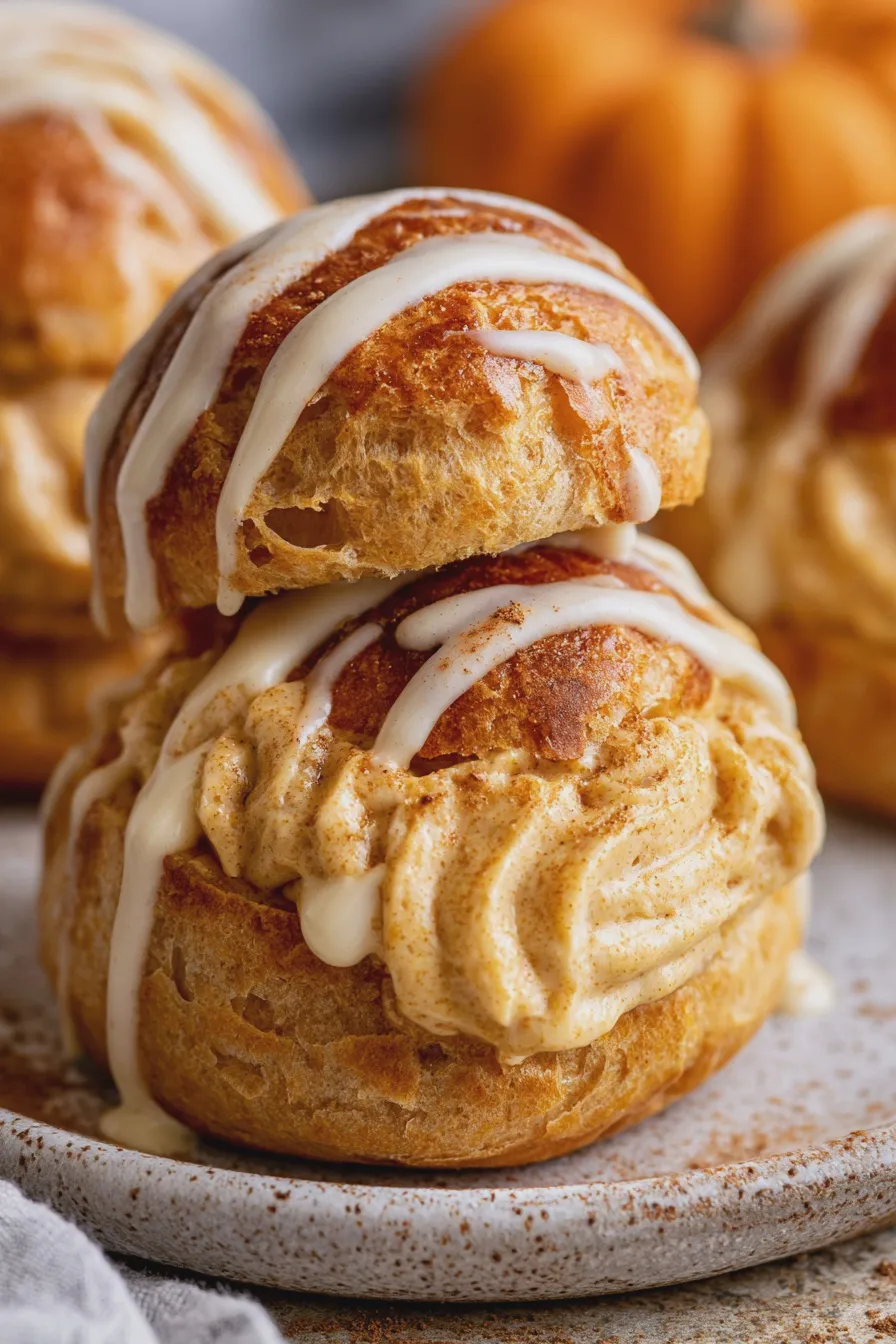
Creating perfect pumpkin cream puffs involves two main components: the light and airy choux pastry and the rich, flavorful cream filling. Follow these steps carefully for the best results.
Making the Pumpkin Choux Pastry
Begin by combining the water, butter, and salt in a medium saucepan over medium heat. Bring the mixture to a rolling boil, ensuring the butter is fully melted and the liquid is bubbling vigorously.
Once boiling, immediately remove the pan from the heat and dump in all the flour at once. Stir vigorously with a wooden spoon until the mixture forms a ball and pulls away from the sides of the pan. This is a crucial step for developing the structure of your dessert choux pastry.
Return the saucepan to low heat and continue to stir the dough for about 1-2 minutes, or until a thin film forms on the bottom of the pan. This helps to dry out the dough slightly, which is essential for creating light puffs.
Transfer the dough to the bowl of a stand mixer fitted with the paddle attachment (or use a large bowl and a hand mixer). Let it cool for about 5 minutes, stirring occasionally, to prevent the eggs from scrambling.
Add the eggs one at a time, beating well after each addition until fully incorporated. The dough will look separated at first, but keep beating, and it will come together into a smooth, glossy, and thick batter. For the best texture in your cream puff dough, ensure each egg is fully blended before adding the next.
Spoon the choux pastry dough into a piping bag fitted with a large round tip (about 1/2 inch). Alternatively, you can use two spoons to shape the puffs.
Pipe mounds of dough onto baking sheets lined with parchment paper, spacing them about 2 inches apart. If you used spoons, gently smooth any peaks with a wet fingertip. A tip for perfectly shaped puffs: lightly dampen your finger with water to smooth any sharp peaks on the dough, which prevents them from burning.
Bake in a preheated oven at 400°F (200°C) for 15-20 minutes, until the puffs are golden brown and firm. Then, reduce the oven temperature to 350°F (175°C) and bake for another 10-15 minutes, or until they are dry and sound hollow when tapped. This double-baking ensures they are crisp enough to hold their filling.
Once baked, immediately poke a small hole in the side of each puff with a sharp knife or skewer to allow steam to escape. This prevents them from becoming soggy as they cool. Let them cool completely on a wire rack.
Preparing the Cream Cheese Pumpkin Filling
In a large bowl, beat the softened cream cheese with an electric mixer until smooth and creamy. This ensures a lump-free, luscious filling for your pumpkin pie cream puffs.
Gradually add the sifted powdered sugar and continue to beat until well combined and fluffy. Sifting the sugar prevents any lumps and ensures a smooth texture.
Add the pumpkin puree, pumpkin pie spice, and vanilla extract to the cream cheese mixture. Beat on low speed until just combined, then increase to medium speed and beat until smooth and well incorporated.
In a separate, clean bowl, whip the cold heavy cream until stiff peaks form. This adds a lightness and airiness to the filling, making it even more delightful.
Gently fold the whipped cream into the pumpkin cream cheese mixture until no streaks remain. Be careful not to overmix, as this can deflate the whipped cream and make the filling too dense.
Assembling the Pumpkin Cream Puffs
Once the choux pastry shells are completely cool, you can begin assembling your easy pumpkin cream puffs. Ensure the shells are thoroughly cooled to prevent the filling from melting.
Fill a piping bag fitted with a small round tip with the cream cheese pumpkin filling. Alternatively, you can carefully spoon the filling into each cooled puff.
Insert the piping tip into the small hole you made earlier in each puff, or cut the puffs in half horizontally and spoon the filling onto the bottom half, then replace the top. Fill each shell until it feels satisfyingly plump.
Arrange the filled puffs on a serving platter. For an extra touch of sweetness and visual appeal, dust them lightly with powdered sugar, drizzle with caramel sauce, or sprinkle with toasted chopped pecans.
Tips for Perfect Pumpkin Cream Puffs
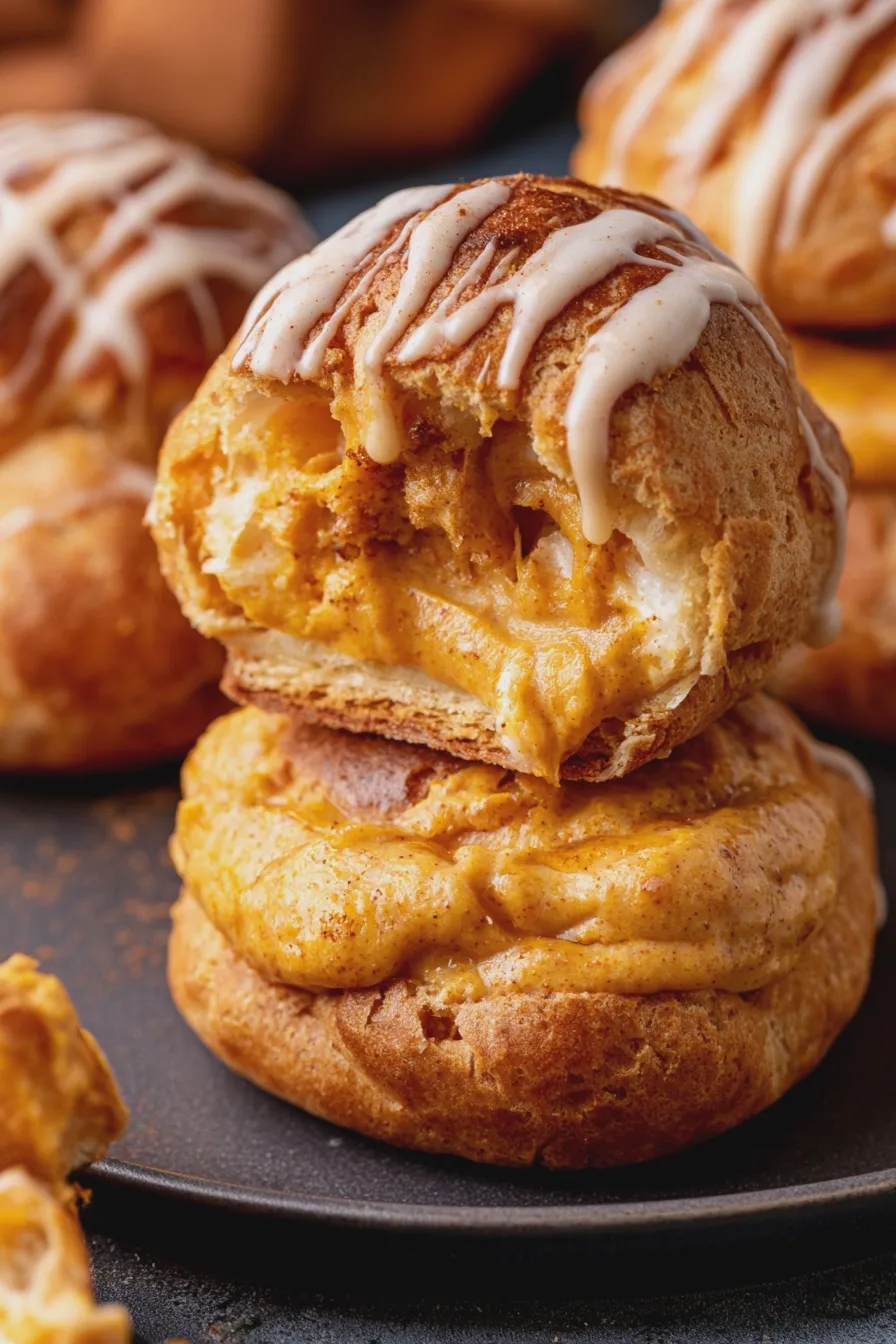
Achieving that perfect puff and creamy filling is all about attention to detail. Here are some expert tips to ensure your pumpkin cream puff recipe is a resounding success.
Choux Pastry Perfection
- Accurate Measurement: Always measure flour precisely, preferably by weight, as too much flour can result in dense, heavy puffs.
- Room Temperature Eggs: Ensure your eggs are at room temperature; they incorporate more easily and evenly into the dough, creating a smoother texture.
- Proper Drying: Don’t skip the step of drying the dough on the stovetop after adding the flour; this is crucial for achieving a good rise.
- Oven Temperature: Maintaining the correct oven temperatures is vital. The initial high heat helps the puffs rise, while the lower heat dries them out.
- Don’t Peek: Resist the urge to open the oven door too early, as this can cause the puffs to collapse.
Creamy Filling Delights
- Softened Cream Cheese: Make sure your cream cheese is truly softened to room temperature for a smooth, lump-free filling.
- Pure Pumpkin: Use 100% pure pumpkin puree, not pumpkin pie filling, as the latter contains added sweeteners and spices that can alter the flavor.
- Folding Technique: When folding in whipped cream, use a gentle motion to keep the filling light and airy.
Make-Ahead and Storage
These delicious pumpkin eclairs (a variation of cream puffs!) are best enjoyed fresh, but can be prepped in stages.
Assembling Ahead of Time
The choux pastry shells can be baked up to 2 days in advance and stored in an airtight container at room temperature. Do not refrigerate them, as this can make them soggy. The cream filling can also be made a day ahead and stored in an airtight container in the refrigerator.
For the best texture, assemble the pumpkin cream puffs just a few hours before serving. If you assemble them too far in advance, the shells may lose their crispness.
Storage of Assembled Puffs
Store assembled pumpkin cream puffs in an airtight container in the refrigerator for up to 24 hours. They will soften over time, so they are ideal for enjoying the same day they are filled.
If you have leftover unfilled shells, you can freeze them in an airtight container for up to a month. Re-crisp them in a 300°F (150°C) oven for about 5-10 minutes before filling.
Print