")
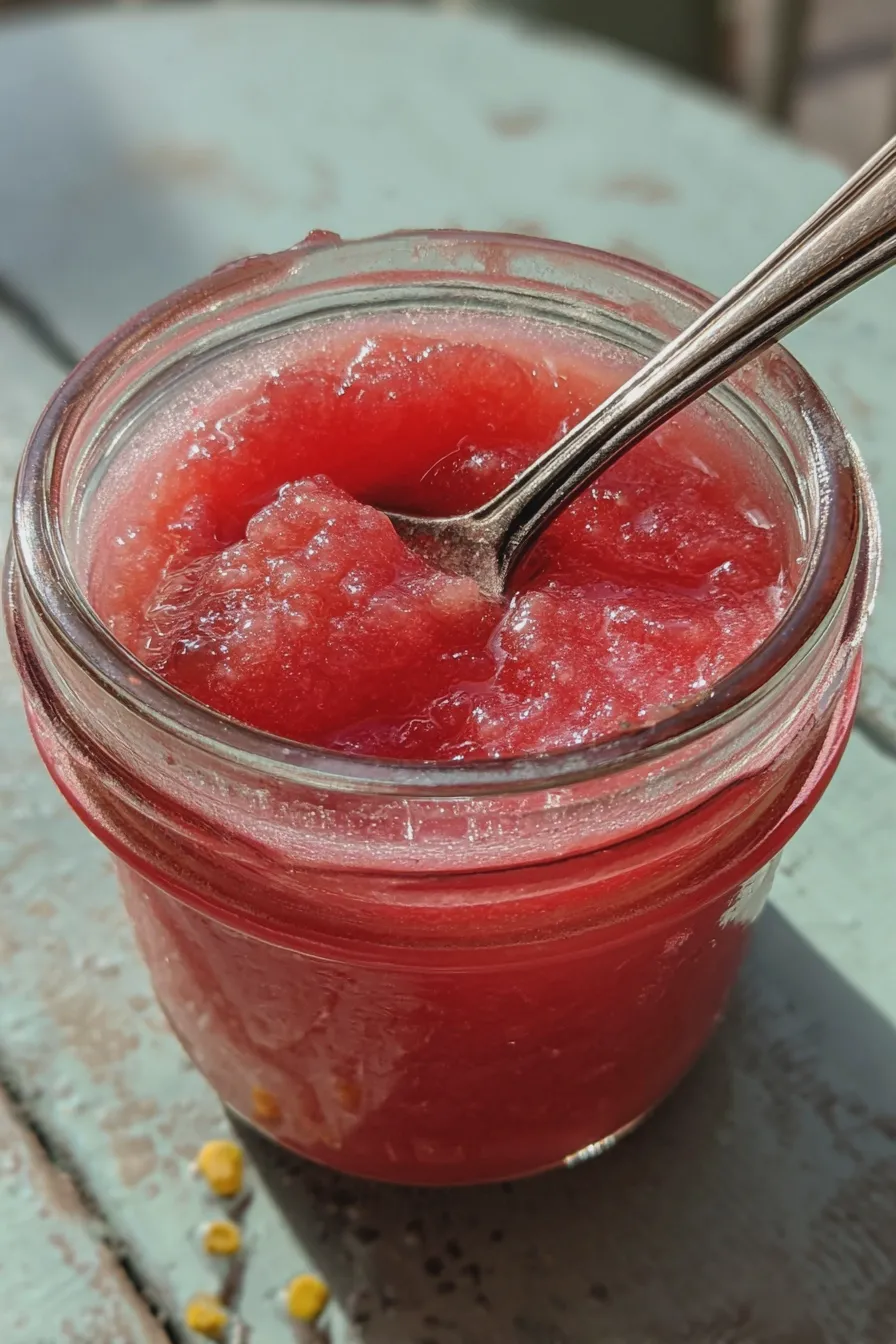
Making your own peach jam is a delightful way to capture the taste of summer. This sweet, spreadable treat is perfect on toast, biscuits, or even as a filling for baked goods.

If you’re looking for a taste of summer, look no further than a jar of homemade goodness. This recipe delivers a beautiful balance of sweet and tangy peach flavor, perfect for any occasion.
Making your own peach jam at home is easier than you might think, and the results are incredibly rewarding. The vibrant color and fresh flavor of homemade jam are simply unmatched, making it a wonderful addition to your pantry.
This recipe will guide you through the process, ensuring a delicious and successful batch of jam. You’ll be spreading the taste of summer on your morning toast in no time at all, so let’s get started.
Gathering Your Ingredients
Before you begin, gather all of your ingredients and equipment. This ensures a smooth and efficient cooking process, so you can enjoy your efforts sooner.
Having everything ready will also help you avoid any last-minute panics and keep you focused on the delicious jam you’re about to create.
Essential Peach Jam Ingredients
The beauty of homemade jam lies in its simplicity. You’ll need just a few key ingredients to create a batch of peach jam that bursts with fresh, fruity flavor.
Here’s a look at the essential ingredients, along with some helpful tips for choosing the best ones.
- Fresh peaches: About 4 pounds, ripe but firm
- Granulated sugar: 3-4 cups, adjust to taste
- Lemon juice: 2 tablespoons, freshly squeezed
- Optional: 1/4 teaspoon unsalted butter (to reduce foaming)
Ingredient Notes and Substitutions
When selecting peaches, choose ones that are ripe but not overly soft. You want fruit that will hold its shape during the cooking process and give you a beautiful texture.
If you prefer a less sweet jam, you can reduce the amount of sugar, but be aware that this may affect the jam’s set. A touch of lemon juice brightens the flavor, and helps to activate the pectin.
How to Make Peach Jam

Now that you have your ingredients ready, it’s time to start cooking. Follow these simple steps to transform fresh peaches into a delicious jar of homemade peach jam.
This recipe is designed to be easy to follow, even for beginner jam-makers, so don’t be intimidated.
Preparing the Peaches
Begin by washing the peaches thoroughly, then remove the pits and chop them into small, even pieces. This ensures that the peaches cook uniformly and release their natural juices.
You can leave the skins on for added texture and nutrients, or peel them if you prefer a smoother jam. A helpful tip? Use a sharp knife for easy chopping.
Cooking the Peach Mixture
In a large, heavy-bottomed pot or Dutch oven, combine the chopped peaches, sugar, and lemon juice. This is where the magic starts to happen as the flavors meld together.
Cook over medium heat, stirring frequently, until the sugar dissolves and the mixture begins to simmer. Reduce the heat to maintain a gentle simmer and cook until the jam reaches the desired consistency.
Testing for Doneness
The most crucial step in jam-making is determining when it has reached its setting point. There are several methods you can use to test for doneness, so you can get the perfect consistency.
One simple method is the “spoon test”: Dip a cold spoon into the jam, let it cool for a moment, and then tilt the spoon sideways. If the jam slowly drips and forms a sheet, it’s ready.
Canning or Storing Your Jam
Once the jam has reached the desired consistency, remove it from the heat. This is the moment when you can choose to can your jam for long-term storage or store it in the refrigerator.
If you plan to can your jam, sterilize your jars and lids, then carefully ladle the hot jam into the jars, leaving about 1/4 inch of headspace. Wipe the rims clean, apply the lids and rings, and process in a boiling water bath for the recommended time.
Tips for Perfect Peach Jam

Creating perfect peach jam is an art, and every batch you create will be a learning experience. These tips will help you avoid common mistakes and achieve the best results.
With a bit of practice and patience, you’ll be able to create a batch of jam that will be the envy of all your friends and family.
Avoiding Common Mistakes
One common mistake is not cooking the jam long enough, resulting in a runny consistency. Be patient and cook the jam until it reaches the setting point.
Another mistake is using underripe peaches, which may not have enough natural pectin. Using the right techniques can help make an easy peach jam.
Flavor Enhancements and Variations
While the classic peach jam recipe is delicious on its own, you can experiment with different flavors to create unique variations. Consider adding spices like ginger or vanilla for an extra layer of complexity.
For a touch of warmth, add a pinch of cinnamon or nutmeg. You can also incorporate other fruits, like raspberries or strawberries, to create a mixed-fruit jam.
Serving and Enjoying Your Jam
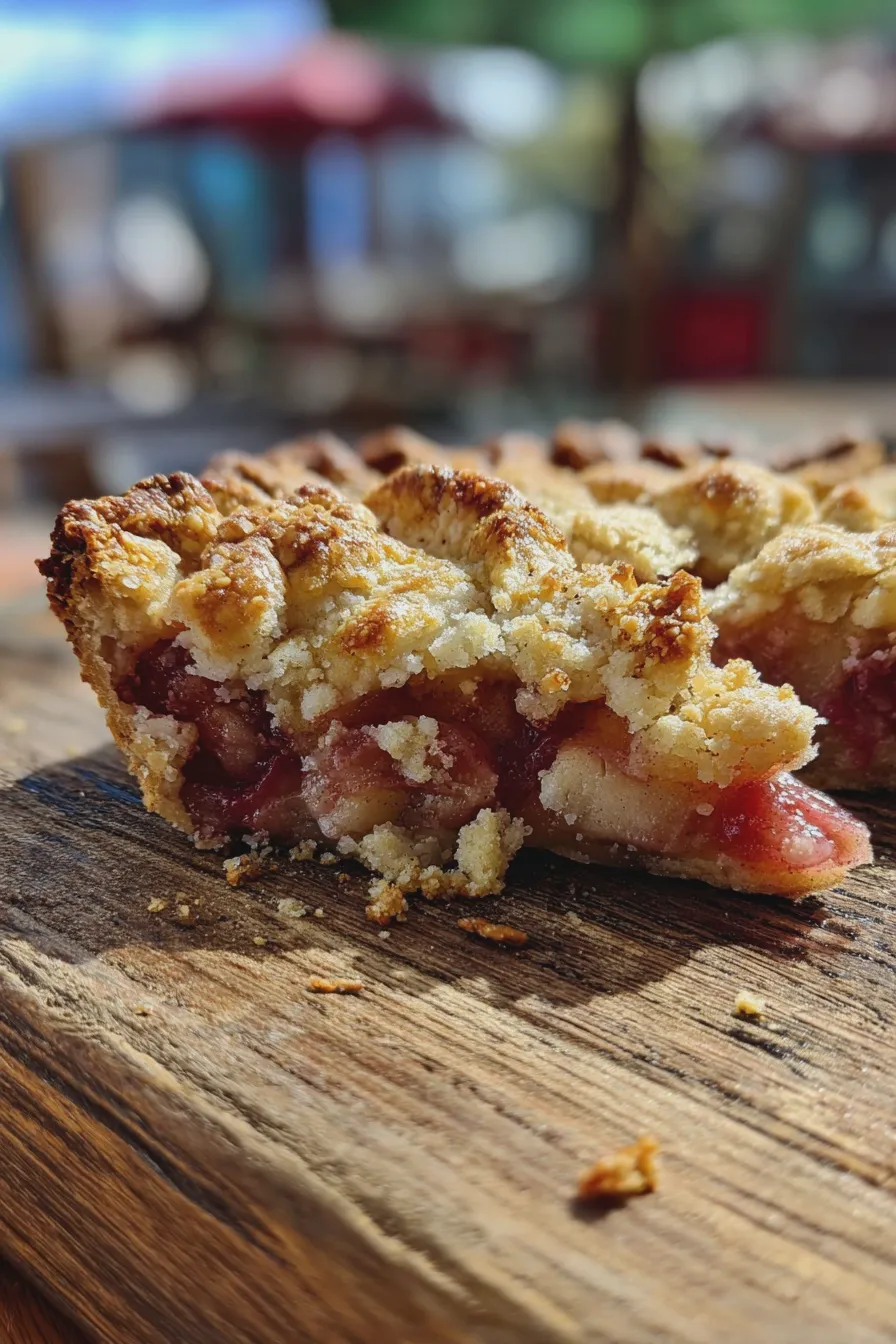
Once your jam is ready, the fun part begins: enjoying it. Spread it on toast, biscuits, or scones, or use it as a filling for desserts.
It’s also a fantastic addition to yogurt, oatmeal, or even savory dishes like grilled cheese sandwiches. If you love a great breakfast, consider serving peach jam and toast with a cup of coffee.
Storage and Shelf Life

Proper storage is essential to maintain the quality and safety of your homemade jam. Here’s a guide to ensure your peach jam preserves its delicious taste for as long as possible.
Following these guidelines will help you enjoy your homemade jam for months to come.
Canning for Long-Term Storage
If you’ve canned your jam, it can be stored in a cool, dark place for up to a year. This method ensures that your jam remains safe and delicious for an extended period.
Make sure the jars are properly sealed, and check the seals before storing. If a jar doesn’t seal properly, store it in the refrigerator and use it within a few weeks.
Refrigerating and Freezing Your Jam
If you haven’t canned your jam, store it in the refrigerator. Properly sealed jars of jam will last for several weeks in the fridge.
You can also freeze your jam for longer storage. Simply transfer the cooled jam to freezer-safe containers, leaving some headspace, and freeze for up to six months.
Conclusion
Making homemade peach jam may seem daunting, but it’s a rewarding experience with a delicious outcome. This recipe provides a simple and reliable method for creating a batch of jam that captures the essence of summer.
With these helpful tips and techniques, you’ll be able to create a batch of jam that’s perfect for spreading on toast, serving with scones, or using as a filling for desserts like pineapple upside-down cake. You’ll also learn the best ways for peach jam canning.
This recipe will guide you through the process, ensuring a delicious and successful batch of jam. You’ll be spreading the taste of summer on your morning toast in no time at all.
Consider using the jam as a peach jam filling for pastries or as part of a savory glaze. You may also find that this jam is a great addition to your family’s favorite dishes.
If you’re looking for other dessert ideas, try making some lemon blueberry cake. Or, consider making a batch of lemon pound cake.
Also, peach jam for sale can be found in many local markets. In the meantime, you can enjoy your own homemade creations.
Experiment with your jam to create variations like peach jam with ginger or peach jam with vanilla. Consider using the jam as a glaze for meats or as a topping for desserts.
If you are looking for other sweet treats, you can try making marshmallow whip cheesecake. For a different type of treat, you can try some churro cruffins.
You can also try making some peppermint brownies. Now that you’ve mastered this recipe, you can spread the joy of homemade jam with friends and family.
For more inspiration, explore other jam recipes on Allrecipes, or find new cooking techniques on Serious Eats.


peach jam Recipe
- Total Time: PT1H
- Yield: About 6–8 half-pint jars 1x
- Diet: Vegetarian
Ingredients
- 4 pounds ripe peaches, peeled and pitted
- 4 cups granulated sugar
- 1/4 cup lemon juice
- 1/4 cup water
- 1 teaspoon butter (optional, helps reduce foam)
Instructions
- Prepare the Peaches: Wash, peel, pit, and chop the peaches into small pieces.
- Combine Ingredients: In a large, heavy-bottomed pot, combine the chopped peaches, sugar, lemon juice, and water. Add the butter, if using.
- Cook the Jam: Bring the mixture to a boil over medium-high heat, stirring constantly to prevent sticking. Once boiling, reduce the heat to medium and continue to cook, stirring frequently, until the jam reaches a gel stage (about 220°F or 104°C on a candy thermometer). This should take about 20-30 minutes. You can also test the gel by placing a small spoonful of jam on a chilled plate; it should wrinkle when pushed with your finger.
- Skim off Foam (optional): During the cooking process, skim off any foam that forms on the surface of the jam.
- Sterilize Jars: While the jam is cooking, sterilize your jars and lids in boiling water or a dishwasher. Keep them hot until ready to use.
- Can the Jam: Carefully ladle the hot jam into the sterilized jars, leaving about 1/4 inch headspace. Wipe the rims of the jars clean. Place the lids and rings on the jars and tighten the rings.
- Process the Jars (optional): If you want to ensure a longer shelf life, process the jars in a boiling water bath for 10 minutes. Remove the jars and let them cool completely. You should hear the lids pop as they seal.
- Cool and Store: Let the jars cool completely. Check the seals by pressing down on the center of the lids; they should not flex. Store the sealed jars in a cool, dark place for up to a year. Once opened, store in the refrigerator.
Notes
- For a smoother jam, you can use a food processor to chop the peaches.
- If you prefer a chunkier jam, don’t chop the peaches as finely.
- Adjust the sugar to your taste, but do not reduce it too much as it is essential for the jam to set properly.
- Always use fresh, ripe peaches for the best flavor.
- If you don’t have a candy thermometer, you can use the chilled plate test to check for the gel stage.
- Prep Time: PT30M
- Cook Time: PT30M
- Category: Jams & Preserves
- Method: Boiling
- Cuisine: American
Nutrition
- Serving Size: 1 tablespoon
- Calories: 50
- Sugar: 12g