
This easy ghost cake recipe creates a delightfully spooky and delicious dessert perfect for Halloween parties or any autumn gathering. It features a moist cake base topped with a sweet, creamy frosting that’s shaped into adorable ghosts, making it a fun and memorable treat for all ages.
Welcome to a truly fun baking adventure! Today, we’re diving into the creation of a spooktacular ghost cake, a dessert that’s as much a joy to look at as it is to eat. This recipe is designed to be approachable for home bakers, ensuring you can craft a charmingly haunted centerpiece for your next celebration.
What is a Ghost Cake?
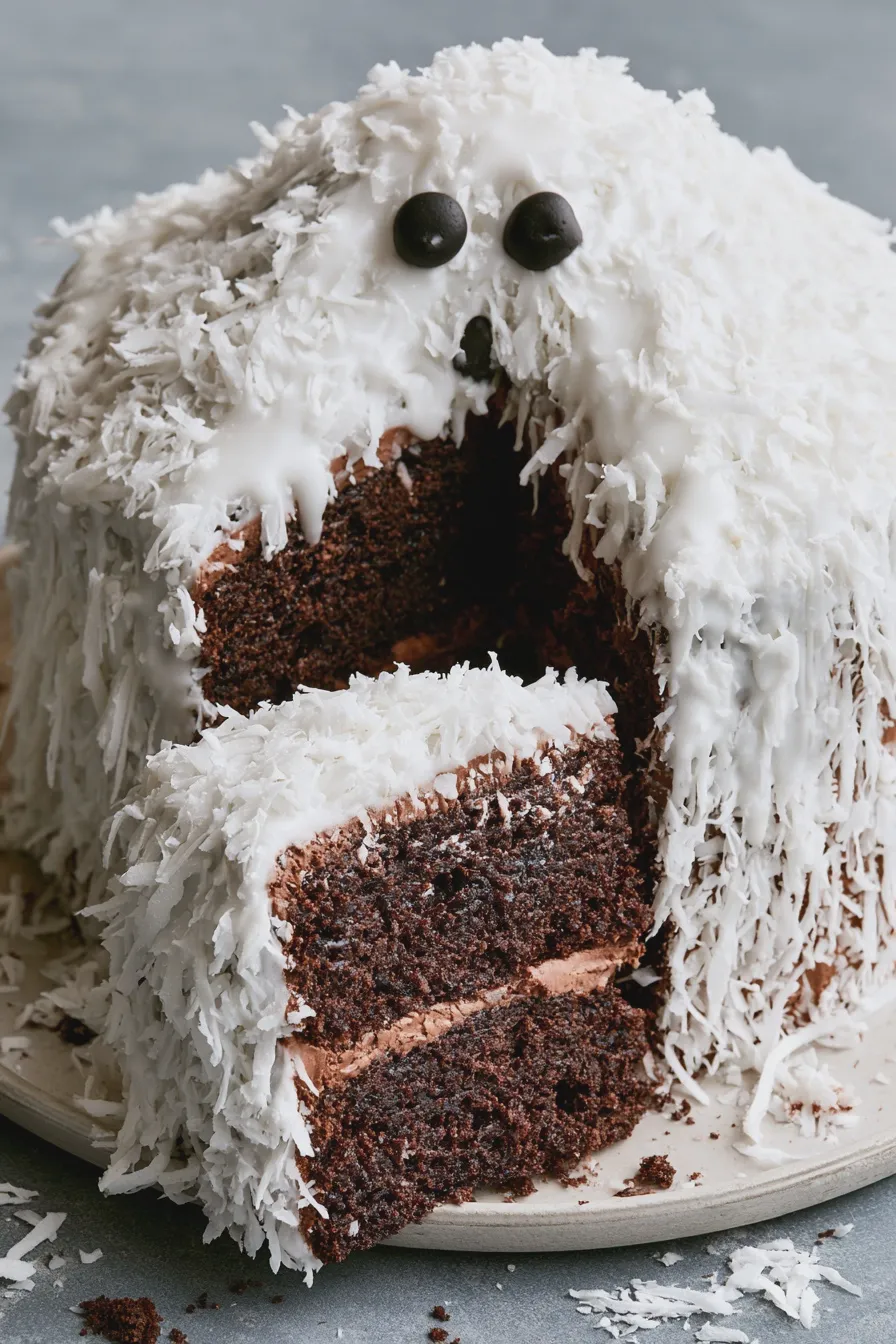
A ghost cake is a dessert that embraces the spirit of Halloween with its festive decoration. Typically, it involves a baked cake, often a simple vanilla or chocolate flavor, which is then frosted and sculpted to resemble a friendly or spooky ghost. This ghost cake recipe is a popular choice for its visual appeal and the fun it brings to holiday tables.
This particular ghost cake recipe is an excellent way to bring a touch of playful fright to your festivities. It’s a versatile dessert that can be adapted to various cake flavors and frosting types, ensuring it suits your personal taste. The charm lies in its simplicity and the immediate recognition of its iconic, ghostly form.
Ingredients for Ghost Cake
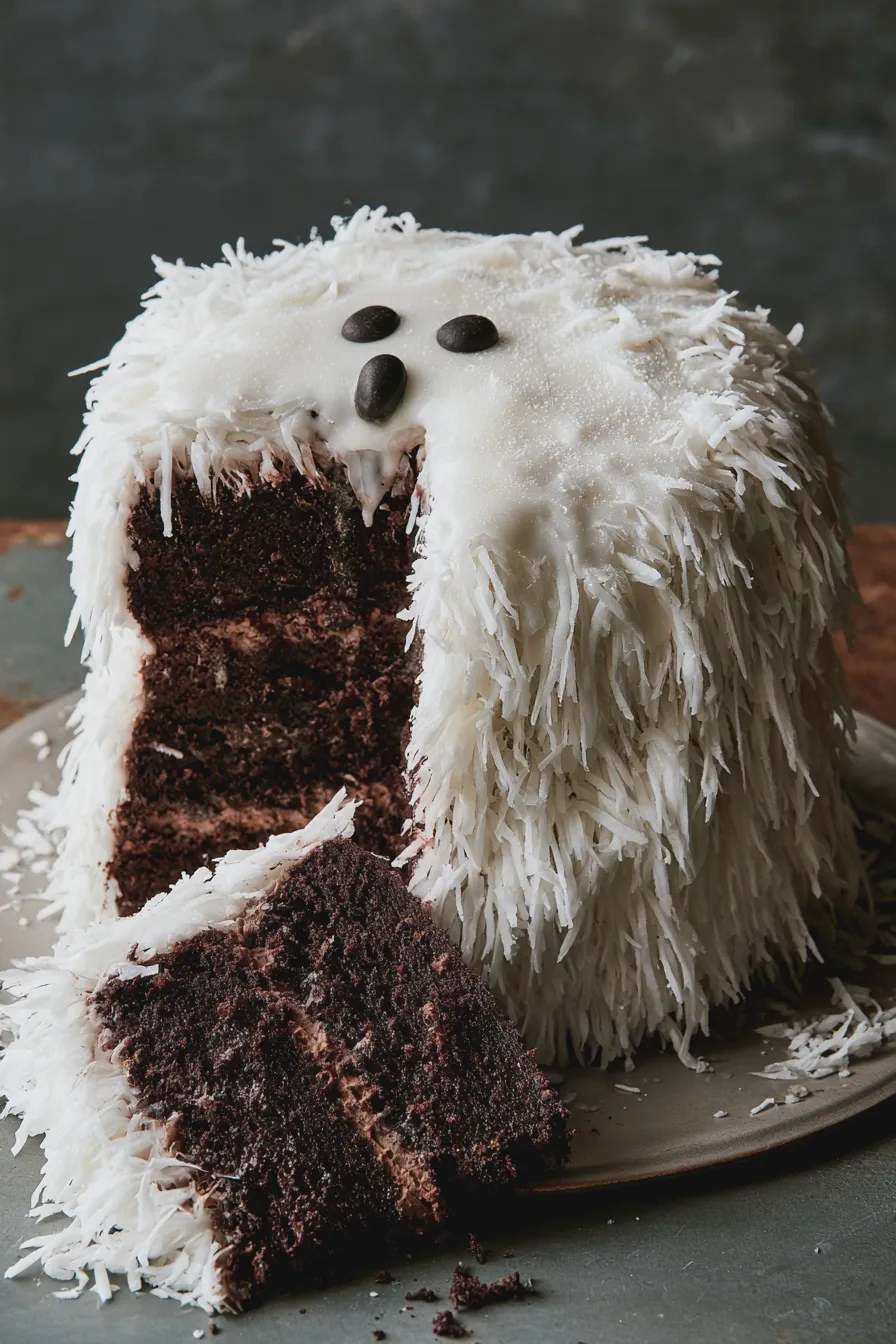
Gathering your ingredients is the first step to a successful and delicious ghost cake. We’ve chosen a classic vanilla cake base for its broad appeal, but feel free to experiment with other flavors. The frosting is key to achieving that perfect ghostly look, so ensure you have everything you need for a smooth, pipeable consistency.
- 2 ½ cups all-purpose flour
- 1 ½ cups granulated sugar
- 3 ½ teaspoons baking powder
- 1 teaspoon salt
- ½ cup (1 stick) unsalted butter, softened
- 2 large eggs
- 1 cup milk (whole or 2% recommended)
- 2 teaspoons vanilla extract
- For the Ghost Frosting:
- 1 cup (2 sticks) unsalted butter, softened
- 4 cups powdered sugar
- ¼ cup milk
- 1 teaspoon vanilla extract
- Pinch of salt
- Optional: Black decorating gel or melted chocolate for eyes
For those looking for a lighter option, you might consider making ghost meringue cookies instead, which are naturally lighter and crispier. For this cake, using good quality vanilla extract will enhance the overall flavor profile. If you find your cake batter a bit too thick, adding an extra tablespoon of milk can help achieve the right consistency. Remember, room temperature ingredients like eggs and butter incorporate much better, leading to a more evenly textured cake.
How to Make ghost cake
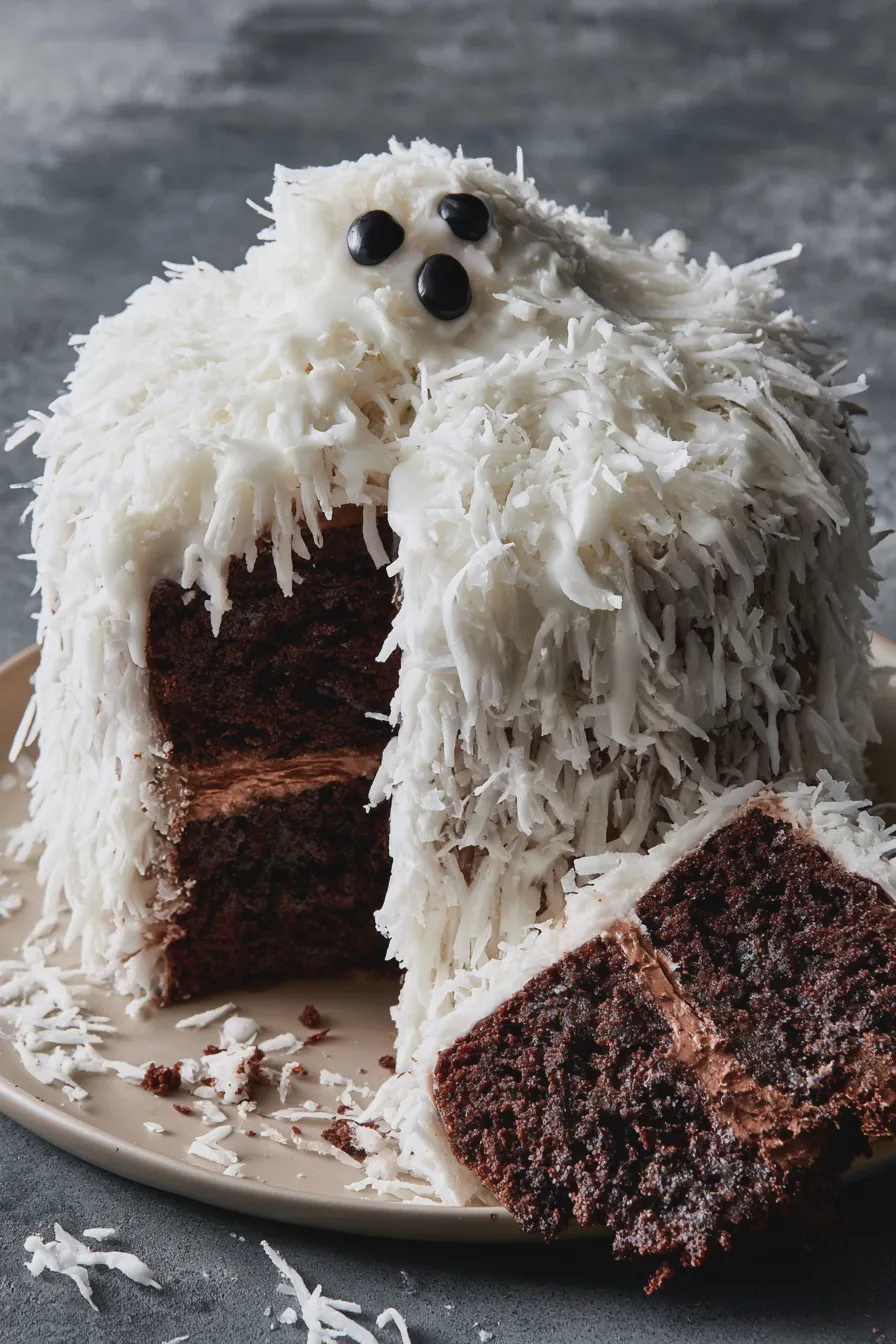
Creating this charming ghost cake involves a few straightforward steps, from preparing the cake batter to decorating the final masterpiece. We’ll guide you through each stage, offering tips to ensure a beautiful and delicious outcome. This recipe is designed to be manageable for bakers of all skill levels, making it a fantastic option for a fun family baking project.
Prepare the Cake Batter
Begin by preheating your oven to 350°F (175°C) and greasing and flouring two 8-inch round cake pans. In a large bowl, whisk together the flour, sugar, baking powder, and salt to combine them evenly. This dry mixture will form the base of your cake, and ensuring it’s well-mixed prevents pockets of leavening or salt in the final product.
Add the softened butter to the dry ingredients and mix on low speed until the mixture resembles coarse crumbs, similar to a creaming method for cakes and cookies. In a separate bowl, whisk together the eggs, milk, and vanilla extract until well combined. Gradually add the wet ingredients to the dry ingredients, mixing on medium speed until just combined, being careful not to overmix, which can lead to a tough cake.
Bake the Cake Layers
Divide the batter evenly between the prepared cake pans, spreading it smoothly with a spatula. For perfectly even layers, you can weigh the batter in each pan. Bake for 25-30 minutes, or until a wooden skewer inserted into the center of the cakes comes out clean. Overbaking can result in a dry cake, so keep a close eye on them during the last few minutes of baking.
Allow the cakes to cool in their pans for about 10 minutes before inverting them onto a wire rack to cool completely. Ensuring the cakes are fully cooled before frosting is crucial; warm cakes will melt the frosting, creating a messy disaster. This cooling process allows the cake structure to set properly, making it easier to handle and decorate.
Make the Ghost Frosting
While the cakes are cooling, prepare your ghost frosting. In a large bowl, beat the softened butter until creamy and smooth. Gradually add the powdered sugar, alternating with the milk, and beat until the frosting is light and fluffy. This gradual addition helps prevent clouds of powdered sugar from escaping the bowl.
Stir in the vanilla extract and a pinch of salt to enhance the flavors. If the frosting seems too thick, add a tiny bit more milk, a teaspoon at a time, until you reach a pipeable consistency. If it’s too thin, add more powdered sugar, a tablespoon at a time. The goal is a frosting that holds its shape but is smooth enough to pipe easily for your ghost cake frosting.
Assemble and Decorate the Ghost Cake
Once the cake layers are completely cool, place one layer on your serving plate or cake stand. Spread a generous amount of frosting over the first layer, then carefully place the second cake layer on top. You can trim the tops of the cakes to make them flat if they have domed during baking, ensuring a stable base for your decoration.
Now for the fun part: creating the ghosts! Transfer the remaining frosting to a piping bag fitted with a large round tip or a star tip. Pipe mounds of frosting onto the top and sides of the cake, creating ghostly shapes. For a classic ghost look, pipe a larger base and then a slightly smaller, rounded top, giving the illusion of a flowing ghost. You can also use a spatula to freehand shape the frosting into ghostly forms, which is a bit more forgiving and can create a wonderfully unique ghost cake decorating style.
To finish your spooky creation, use black decorating gel or a small amount of melted dark chocolate to pipe or dot two eyes onto each ghost. This simple detail brings the ghosts to life and adds to the charm of your Halloween ghost cake. You can also add a small mouth if you prefer a smiling ghost, or keep them simple with just eyes for a more classic look.
Tips for a Perfect Ghost Cake
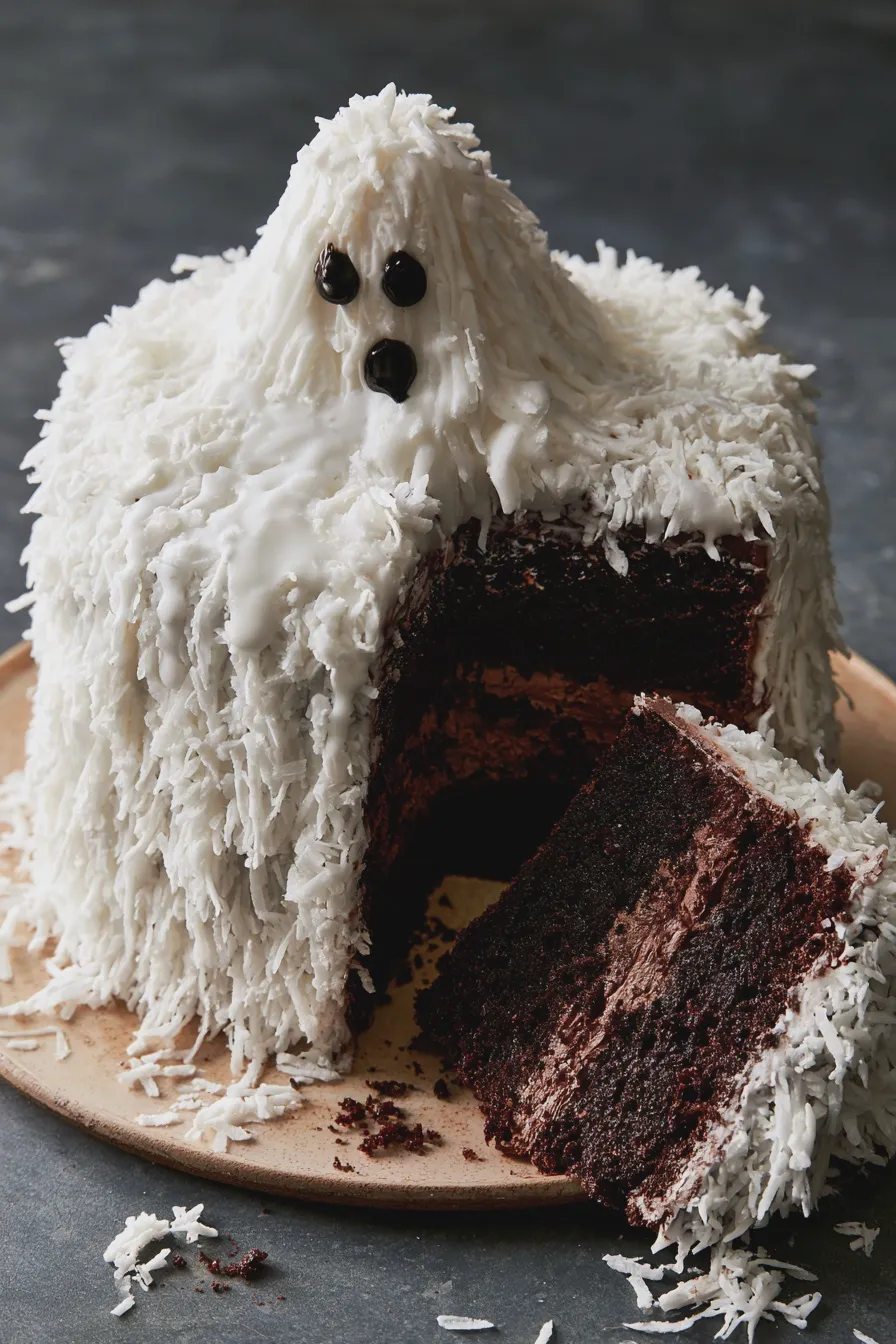
Achieving a flawless ghost cake is all about paying attention to a few key details. From the cake’s texture to the frosting’s consistency and the final decoration, these tips will help ensure your creation is a showstopper. Consider these points to elevate your baking experience and impress your guests with a truly memorable dessert.
Flavor Variations
While this recipe calls for a classic vanilla cake, don’t hesitate to explore other delicious options. A rich chocolate ghost cake base pairs wonderfully with the sweet frosting, offering a more decadent flavor. You could also try adding lemon zest to the batter for a bright, citrusy note, or even a touch of cinnamon for a warm, autumnal spice that complements the Halloween theme.
For the frosting, consider adding a different extract, such as almond or peppermint, to complement your cake flavor. If you’re aiming for a less sweet frosting, you can reduce the amount of powdered sugar slightly, but be mindful that this can affect its stability for piping. Experimenting with flavors can lead to delightful surprises and a personalized vanilla ghost cake.
Frosting Consistency and Application
The key to successful ghost shapes lies in the frosting’s consistency. It should be firm enough to hold its form when piped but smooth enough to create elegant swirls and peaks. If your frosting is too soft, it will likely spread and lose its shape, resulting in a less defined ghost. Conversely, if it’s too stiff, it will be difficult to pipe and might tear.
When piping, hold the bag steady and apply even pressure. For different sizes of ghosts, you can use various piping tips or simply adjust the size of the mounds you pipe. Don’t be afraid to make each ghost slightly unique; the charming imperfection is part of the appeal of a homemade ghost cake design. If you’re not comfortable with piping, a spatula can be used to create lovely, rustic ghost shapes.
Make-Ahead and Storage
This ghost cake is an excellent candidate for making ahead, which is always a bonus for busy hosts. The cake layers can be baked a day or two in advance, cooled completely, wrapped tightly in plastic wrap, and stored at room temperature. The frosting can also be made a day ahead and stored in an airtight container in the refrigerator; simply re-whip it briefly before using to restore its fluffy texture.
Once the cake is assembled and decorated, it can be stored at room temperature for up to two days, provided your kitchen isn’t too warm. If you need to store it longer, refrigerate it, but be sure to bring it back to room temperature for at least 30 minutes before serving to allow the frosting and cake to soften. This makes it a perfect option for a no bake ghost cake alternative if you want to prep components ahead.
Print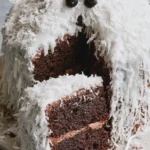
ghost cake Recipe
- Total Time: PT1H30M
- Yield: 10–12 servings 1x
- Diet: Vegetarian
Description
Indulge in the rich, decadent flavors of this classic Ghost Cake, a perfect treat for Halloween or any occasion. This recipe is surprisingly simple to make and always a crowd-pleaser.
Ingredients
- 1 box (15.25 oz) chocolate cake mix
- Ingredients called for on cake mix box (eggs, oil, water)
- 1 can (16 oz) chocolate frosting
- 1 package (10 oz) shredded coconut
- 1/2 cup powdered sugar
- 1–2 tablespoons milk
- Black decorating gel
Instructions
- Preheat oven according to cake mix box directions. Grease and flour two 9-inch round cake pans.
- Prepare cake batter according to package directions. Pour batter evenly into prepared pans.
- Bake for the time specified on the cake mix box, or until a wooden skewer inserted into the center comes out clean. Let cakes cool in pans for 10 minutes, then invert onto wire racks to cool completely.
- Once cakes are completely cool, place one cake layer on a serving plate. Spread about 1/3 of the chocolate frosting over the top.
- Place the second cake layer on top. Frost the entire cake with the remaining chocolate frosting, ensuring a smooth, even coating.
- Sprinkle the shredded coconut evenly over the top and sides of the frosted cake to create a ghostly, ethereal texture.
- In a small bowl, whisk together the powdered sugar and milk until smooth and pourable. Drizzle this glaze over the coconut-covered cake.
- Use the black decorating gel to draw eyes and a mouth on the cake, creating a spooky ghost face.
- Chill the cake for at least 30 minutes before serving to allow the frosting and glaze to set.
Notes
- For a deeper chocolate flavor, use a dark chocolate cake mix.
- You can add a few drops of blue food coloring to the frosting before coating the cake for a slightly eerie hue.
- If you don’t have decorating gel, you can use small chocolate chips or dark candy melts for the ghost’s features.
- Store any leftovers in an airtight container in the refrigerator for up to 3 days.
- Prep Time: PT25M
- Cook Time: PT35M
- Category: Cakes
- Method: Baking
- Cuisine: American
Nutrition
- Serving Size: 1 slice
- Calories: 450
- Sugar: 55g
- Sodium: 300mg
- Fat: 25g
- Saturated Fat: 15g
- Carbohydrates: 60g
- Fiber: 3g
- Protein: 4g
- Cholesterol: 40mg







