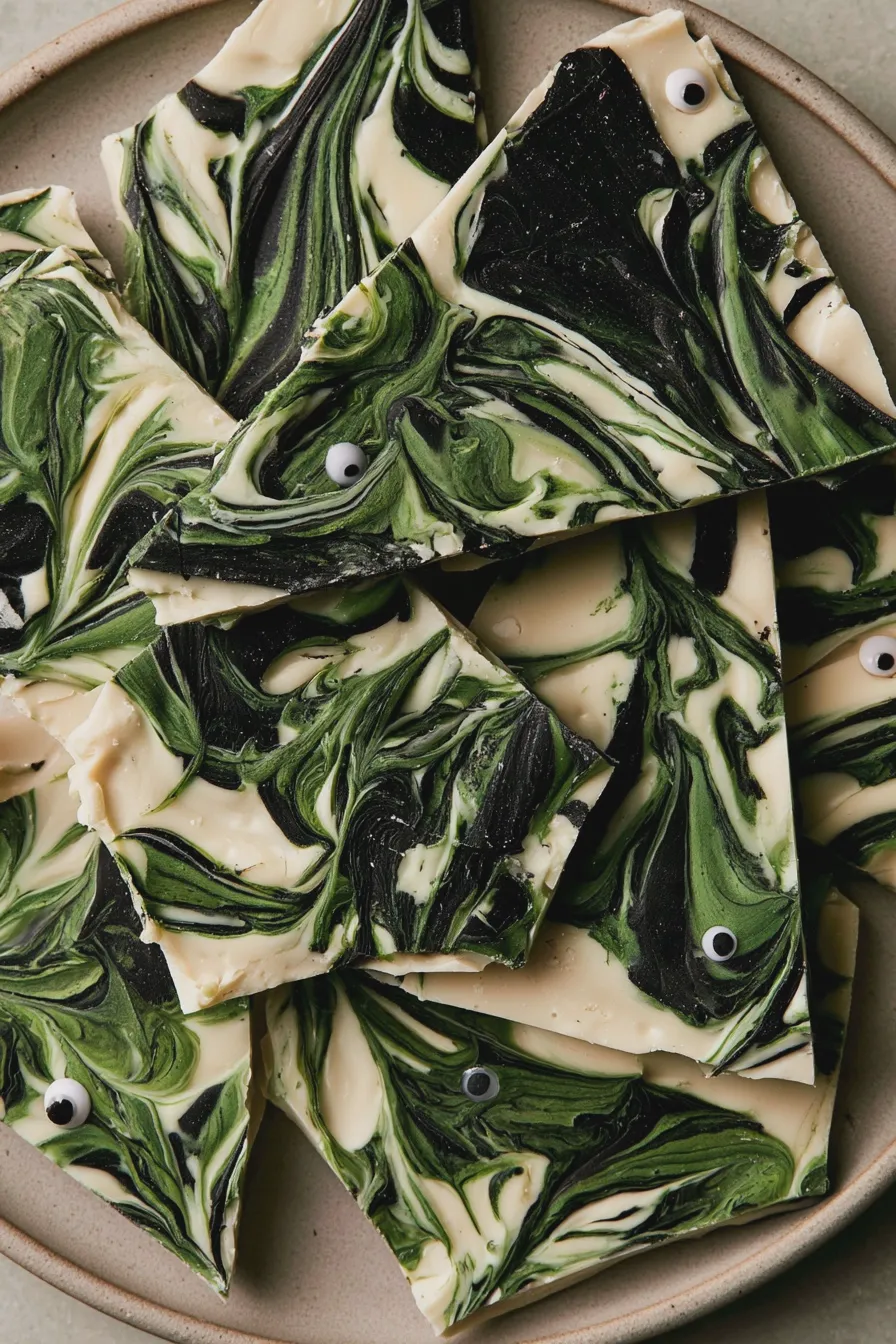
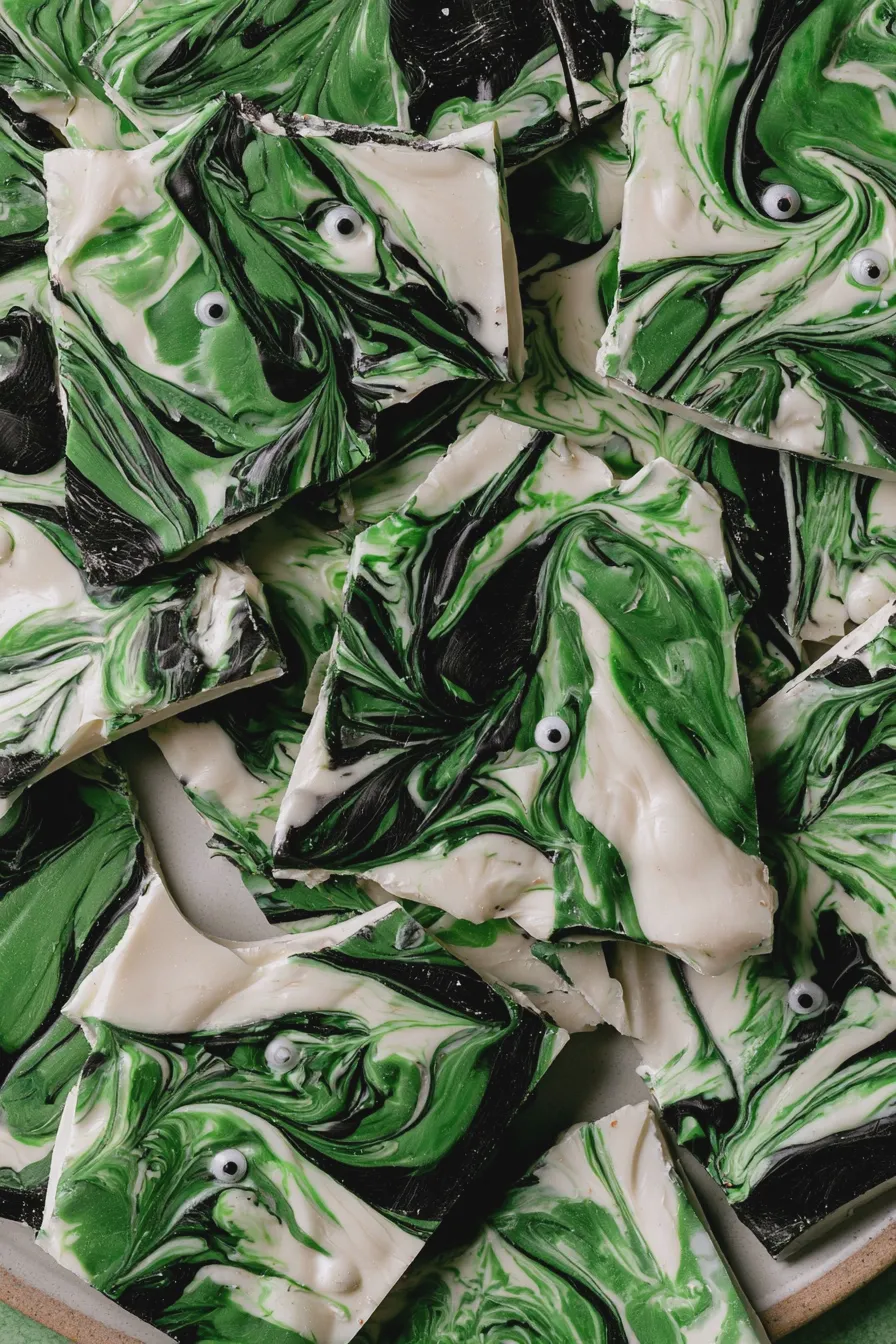
Ghost bark is a delightful and incredibly simple no-bake Halloween dessert that’s as fun to make as it is to eat. This spooky treat features crisp white chocolate adorned with adorable ghost shapes, making it perfect for parties or just a fun afternoon activity with the kids.
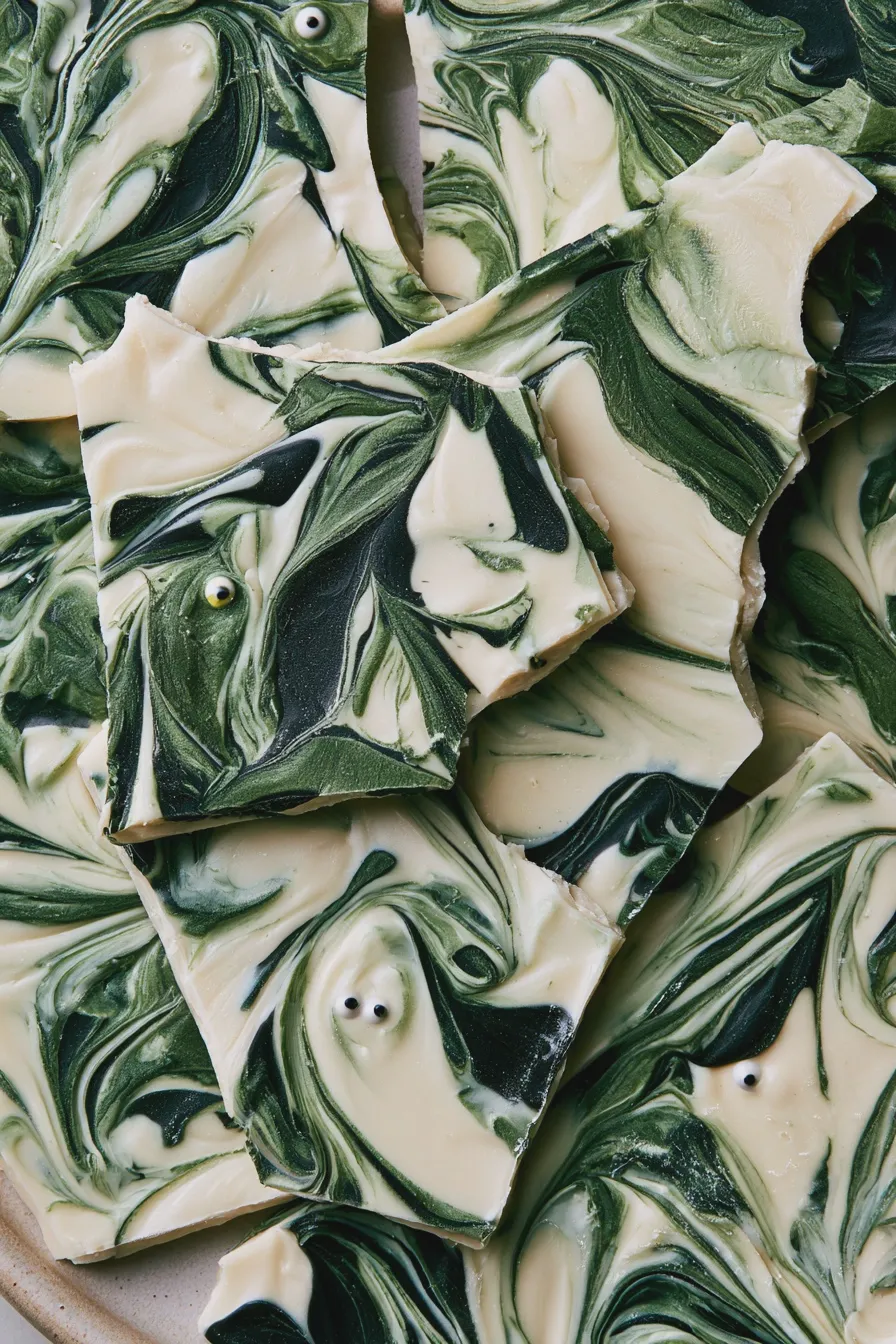
Welcome to a recipe that’s sure to bring a smile to your face and a touch of spooky fun to your Halloween celebrations! Today, we’re diving into the wonderfully easy world of ghost bark, a confection that’s as enchanting as it is delicious. It’s the perfect way to embrace the spirit of the season with a homemade treat that requires no baking at all.
What is Ghost Bark?
Ghost bark is a festive, no-bake Halloween candy made by melting white chocolate, spreading it thin, and then decorating it with cute ghost shapes. It’s a fantastic canvas for creativity, allowing you to add your own personal touches for a truly unique Halloween bark. This simple dessert is a popular choice for its visual appeal and ease of preparation, making it a hit with both children and adults during the spooky season.
Ingredients You’ll Need
- 12 ounces good quality white chocolate chips (or chopped white chocolate bar)
- 1/4 teaspoon black food coloring (gel or oil-based works best)
- 1/4 cup candy melts (black or dark purple for contrast)
- Optional: Halloween-themed sprinkles, edible googly eyes
When selecting your white chocolate, opt for a brand that melts smoothly and tastes good on its own. Sometimes, lower-quality white chocolate can seize up or have a waxy texture, so investing in a good product will elevate your ghost bark significantly. For the candy melts, you can use any color you like for the ghost eyes and mouths, but black provides a classic, spooky contrast against the white chocolate base. If you’re feeling adventurous, consider adding some fun Halloween sprinkles for an extra pop of color and texture.
Equipment You’ll Need
- Baking sheet
- Parchment paper or silicone baking mat
- Microwave-safe bowls (2)
- Spatula or offset spatula
- Piping bag with a small round tip, or a zip-top bag with a corner snipped off
Having the right tools makes all the difference for a smooth and successful candy-making experience. A baking sheet lined with parchment paper ensures your bark won’t stick and makes cleanup a breeze. Using a microwave-safe bowl is essential for melting the chocolate safely, and a spatula will help you spread it evenly. The piping bag or zip-top bag is crucial for creating those adorable ghost shapes with the black chocolate.
How to Make Ghost Bark
Prepare Your Workspace
Line a baking sheet with parchment paper or a silicone baking mat, ensuring it fits comfortably in your refrigerator. This step is crucial for easy removal of the finished bark and prevents it from sticking to the pan. Having your workspace ready before you start melting the chocolate will prevent any last-minute scrambling.
Melt the White Chocolate
Place the white chocolate chips in a microwave-safe bowl and microwave on 50% power for 30-second intervals, stirring well after each interval. Continue this process until the chocolate is almost completely melted, then stir until smooth. Overheating white chocolate can cause it to become grainy or seize, so low power and frequent stirring are key.
Once the white chocolate is smooth and creamy, add the black food coloring, starting with just a drop and mixing thoroughly. Continue adding tiny amounts of food coloring until you achieve your desired shade of spooky gray or black for the bark base. Remember that gel or oil-based food coloring is best for chocolate as water-based colors can cause it to seize.
Spread and Chill the Base
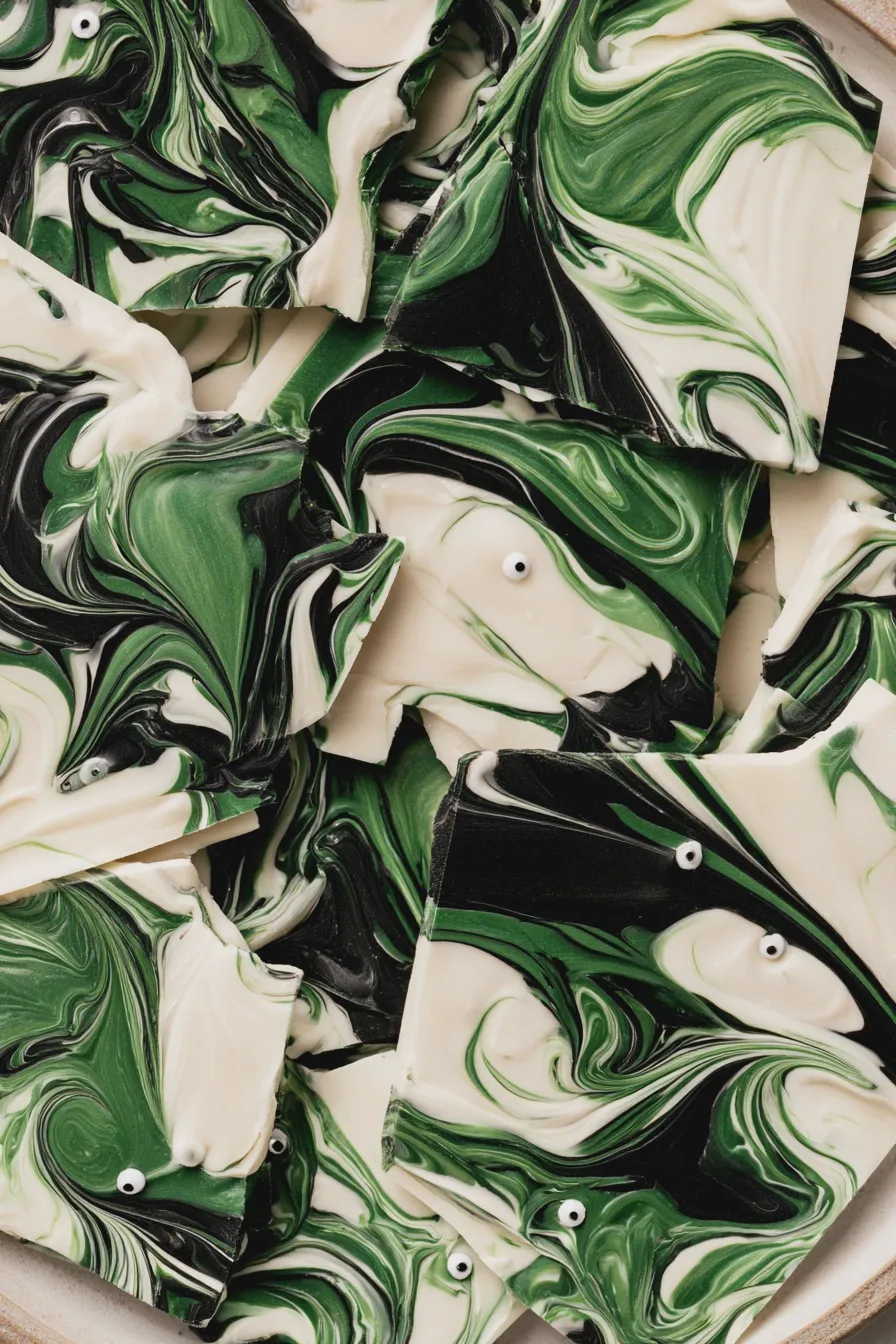
Pour the colored white chocolate onto the prepared baking sheet. Use a spatula or offset spatula to spread it into a thin, even layer, about 1/4 inch thick. For a more rustic look, you can swirl the chocolate slightly, but aim for a relatively smooth surface for decorating. Chill the baking sheet in the refrigerator for about 15-20 minutes, or until the chocolate is firm to the touch.
Melt the Candy Melts for Ghosts
While the white chocolate base is chilling, place the black candy melts in a separate microwave-safe bowl. Melt them according to package directions, typically in 30-second intervals at 50% power, stirring between each interval until smooth. Be careful not to overheat candy melts, as they can burn easily.
Transfer the melted black candy melts into a piping bag fitted with a small round tip, or into a zip-top bag with a tiny corner snipped off. This will allow you to pipe precise ghost shapes onto the chilled white chocolate base. If the candy melts become too thick, you can briefly microwave them for a few seconds to loosen them up.
Create the Ghost Shapes
Once the white chocolate base is firm, pipe ghost shapes onto the surface using the melted black candy melts. Start with a slightly rounded top for the ghost’s head, then draw a wavy, flowing “tail” downwards. You can make them all the same size or vary them for a more dynamic look. Feel free to add small dots or lines for eyes and mouths if you like, or save that for edible googly eyes.
If you don’t have a piping bag, you can use a toothpick dipped in the melted candy melts to draw the ghosts, though this will be more time-consuming. Alternatively, you can use edible googly eyes pressed into the white chocolate before it fully sets to create instant spooky faces. This is a fantastic way to involve younger children in the decorating process, making it a fun kid-friendly Halloween treat.
Add Optional Decorations
While the candy melt ghosts are still wet, you can press edible googly eyes into the ghost heads for instant character. If you’re using sprinkles, sprinkle them over the still-wet chocolate base before it hardens completely. This is also where you can add other fun Halloween chocolate bark elements like edible glitter or small candy pieces.
Chill Until Firm
Once decorated, return the baking sheet to the refrigerator for another 20-30 minutes, or until the entire bark is completely firm and solid. This ensures that the bark will break cleanly and the decorations will be set in place. Don’t rush this chilling step, as it’s essential for achieving the perfect snap.
Break and Serve
Once the ghost bark is fully hardened, carefully lift the parchment paper off the baking sheet. Break the bark into irregular pieces with your hands, aiming for bite-sized portions. The edges should be crisp and clean, making for a delightful textural contrast. Serve immediately as a easy Halloween candy or Halloween party favor.
Tips for Perfect Ghost Bark
Choosing the Right Chocolate
Use good quality white chocolate chips or a chopped white chocolate bar for the best flavor and melting consistency. Chocolate labeled “confectionery coating” or “candy melts” often contains vegetable oil and may not taste as rich, though they can be useful for decorative elements like the ghosts. For a truly superior flavor, consider using a couverture white chocolate if available, though standard good quality chips work wonderfully.
Avoiding Seized Chocolate
White chocolate is particularly sensitive to moisture, so ensure all your bowls and utensils are completely dry. If any water gets into the melted white chocolate, it will cause it to seize and become thick and lumpy. If this happens, try adding a teaspoon of vegetable shortening or coconut oil and stirring vigorously to see if it can be salvaged.
Creative Decoration Ideas
Beyond the basic ghost, you can get creative with your decorations. Use orange candy melts to pipe small pumpkins or black licorice laces to create spiderwebs. Edible glitter can add a touch of magic, and different colored sprinkles can transform your bark into a more elaborate Halloween candy creation. Consider different color combinations for the base, like a swirl of orange and white for a candy corn effect.
Storage and Make-Ahead
Ghost bark can be made up to a week in advance and stored in an airtight container at cool room temperature or in the refrigerator. Layer pieces between parchment paper to prevent sticking, especially if you’ve used sprinkles or other delicate decorations. Avoid storing it in humid conditions, as this can make the chocolate sticky.
Print