")

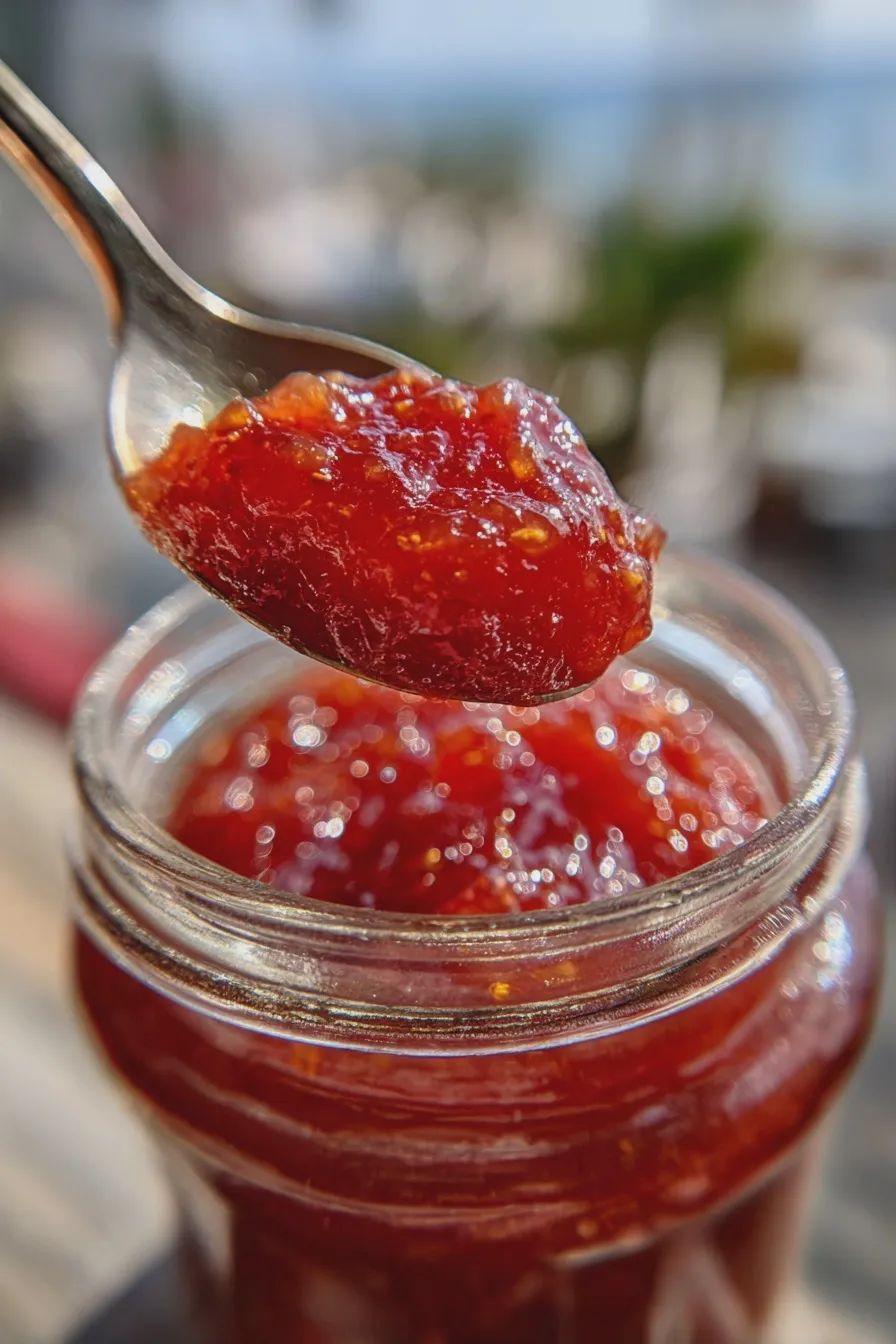
Sweet and tart, homemade fresh plum jam is a delightful treat, perfect for spreading on toast or using in desserts. This simple recipe captures the vibrant flavor of ripe plums, transforming them into a luscious jam that you’ll love.
Making your own jam might seem intimidating, but this recipe for fresh plum jam is surprisingly easy, even for beginner cooks. You’ll be amazed at how simple it is to create a batch of delicious, homemade plum preserves.
There’s nothing quite like the taste of fresh, homemade fresh plum jam. It’s a perfect way to preserve the bounty of plum season and enjoy their sweet-tart flavor year-round. You can find more inspiration for fruit preserves on Food Network.
This recipe for fresh plum jam highlights the natural sweetness and tanginess of plums. The end result is a vibrant, spreadable jam that’s perfect for breakfast, snacks, or even as a dessert topping. You’ll be amazed at how easy it is to create a batch of delicious, homemade plum preserves.
Ingredients You’ll Need
Gathering the right ingredients is the first step in making perfect fresh plum jam. The key to the best results is using high-quality, ripe plums. You can also explore different fruit recipes at Serious Eats.
Essential Ingredients
This simple recipe uses just a few key ingredients to create a delicious fresh plum jam. The combination of plums, sugar, and lemon juice creates a balanced flavor that’s both sweet and tangy. Here’s a look at what you’ll need to get started:
- 4 pounds fresh plums, pitted and chopped
- 4 cups granulated sugar
- 1/4 cup fresh lemon juice
For best results, choose ripe plums that are slightly soft to the touch. If you want to experiment, try adding a touch of spice for a unique flavor profile. You could also try making a brown sugar plum jam recipe.
How to Make Fresh Plum Jam

Making fresh plum jam is a straightforward process, perfect for beginner cooks. Follow these simple steps, and you’ll soon be enjoying your own homemade plum preserves. Remember, patience is key to achieving the perfect consistency.
Prepare the Plums
First, wash and pit your plums, then chop them into small pieces. The size of the plum pieces will affect the final texture of your jam. Aim for roughly ½-inch pieces for a nice consistency.
Place the chopped plums in a large, heavy-bottomed pot. This will help prevent the jam from scorching during the cooking process. You can also add a small amount of water to the pot to prevent the plums from sticking before they release their juices.
Combine Ingredients
Add the sugar and lemon juice to the pot with the plums. The lemon juice not only adds a bright flavor, but it also helps to activate the natural pectin in the plums, which is essential for the jam to set properly. Stir gently to combine.
Allow the mixture to sit for about 15-20 minutes. This allows the sugar to begin dissolving and helps the plums release their natural juices. This step is optional, but it helps the cooking process go more smoothly.
Cook the Jam
Place the pot over medium heat, stirring frequently to prevent sticking. As the mixture heats, the plums will begin to break down and release their juices. Continue stirring until the sugar is fully dissolved.
Once the sugar is dissolved, increase the heat to medium-high and bring the mixture to a rolling boil. A rolling boil is when the mixture bubbles vigorously and cannot be stirred down. Be sure to stir frequently to prevent sticking and burning.
Achieve the Right Consistency
Cook the jam, stirring constantly, until it reaches the desired consistency. This can take anywhere from 20-30 minutes, depending on the juiciness of your plums and the size of your pot. The jam is ready when it reaches the gel stage.
To test for the gel stage, use the “spoon test” or the “cold plate test.” For the spoon test, dip a cold spoon into the jam and let the jam drip off. If the drips come together and slide off the spoon in a sheet, it’s ready. If you use the cold plate test, put a small plate in the freezer before you start. Place a spoonful of jam on the chilled plate and return it to the freezer for a minute. Push the jam with your finger. If it wrinkles, it’s ready.
Cool and Can (Optional)
Once the jam has reached the gel stage, remove it from the heat. Let it cool for a few minutes before transferring it to sterilized jars. This helps prevent the jars from cracking.
If you plan to can your jam for long-term storage, follow proper canning procedures. This involves sterilizing jars, filling them with hot jam, and processing them in a boiling water bath. Always follow safe canning guidelines to ensure your jam is safe for consumption. You can also store your fresh plum jam in the refrigerator for up to 2-3 weeks.
Tips for Perfect Plum Jam

Making perfect fresh plum jam is all about the details. Here are some helpful tips to ensure your jam turns out delicious every time. Following these tips will help you avoid common mistakes and achieve the perfect consistency.
Choosing the Right Plums
The quality of your plums will directly impact the flavor and texture of your jam. Look for ripe plums that are slightly soft to the touch and have a deep color. Avoid plums that are bruised or overripe.
Different varieties of plums will have different levels of natural pectin. For the best results, use a mix of plum varieties if possible. This will help ensure that your jam sets properly. If you are having trouble with your jam setting, you can also add a small amount of pectin, but most of the time it is not necessary. Try making mini apple pies with plum jam.
Adjusting Sugar Levels
The amount of sugar you use can be adjusted to your taste, but it’s important to use enough sugar to help the jam set. Sugar also acts as a preservative, so reducing the sugar too much can affect the shelf life of your jam. Using the correct amount of sugar is key to an easy plum jam recipe.
If you prefer a less sweet jam, you can reduce the sugar slightly, but keep in mind that this may affect the jam’s ability to set. If you reduce the sugar, you may need to add a bit more lemon juice or a small amount of pectin to help the jam thicken. You can also try a no-bake apple pie using plum jam.
Dealing with Consistency
Achieving the right consistency is crucial for delicious plum jam. If your jam is too thin, it won’t spread well. If it’s too thick, it will be difficult to handle. The best plum jam will be easy to spread on toast.
If your jam is too thin, continue to cook it for a few more minutes, checking the consistency frequently. If it’s too thick, you can add a small amount of water or lemon juice to thin it out. Remember, the jam will thicken as it cools. You might also want to try making a mini key lime pie using plum jam.
Plum Jam Variations

Once you’ve mastered the basic fresh plum jam recipe, you can experiment with different flavors and ingredients. These variations add excitement and personal touches to your plum preserves. You can try a plum jam without pectin, or experiment with other plum jam ingredients.
Spiced Plum Jam
Add a touch of warmth and complexity to your jam with spices like cinnamon, ginger, or cloves. Start with a small amount and adjust to your taste. These spices complement the natural sweetness and tanginess of the plums beautifully.
Add the spices during the cooking process, allowing them to infuse their flavors into the jam. A teaspoon of ground cinnamon or a half-teaspoon of ground ginger is a good starting point. You can also add a small piece of fresh ginger for a more intense flavor. Try adding plum jam with ginger to your pineapple upside-down cake.
Plum Jam with Ginger
Fresh ginger adds a bright, zesty note that complements the sweetness of the plums. Use grated fresh ginger for the best flavor. Ginger is a fantastic addition to any plum preserve.
Add the grated ginger during the cooking process, along with the sugar and lemon juice. Start with about a tablespoon of grated ginger per batch of jam and adjust to your preference. This will create a delightful plum jam with ginger flavor.
Plum Jam with Cinnamon
Cinnamon is a classic pairing with plums, adding warmth and depth to the jam’s flavor. Use ground cinnamon or cinnamon sticks for a richer taste. This is a great way to elevate your plum preserve.
Add a teaspoon of ground cinnamon during the cooking process. For a more intense cinnamon flavor, add a cinnamon stick to the mixture and remove it before jarring. This is a great plum jam with cinnamon variation.
Serving and Storage Ideas
Fresh plum jam is incredibly versatile and can be enjoyed in many ways. From simple breakfasts to elegant desserts, here are some ideas for serving and storing your homemade jam. You can also make a plum jam cake with your freshly made jam.
Serving Suggestions
Serve your fresh plum jam on toast, scones, or croissants for a delightful breakfast or snack. The sweet and tart flavor of the jam pairs perfectly with buttery baked goods. This is a classic way to enjoy your plum preserve.
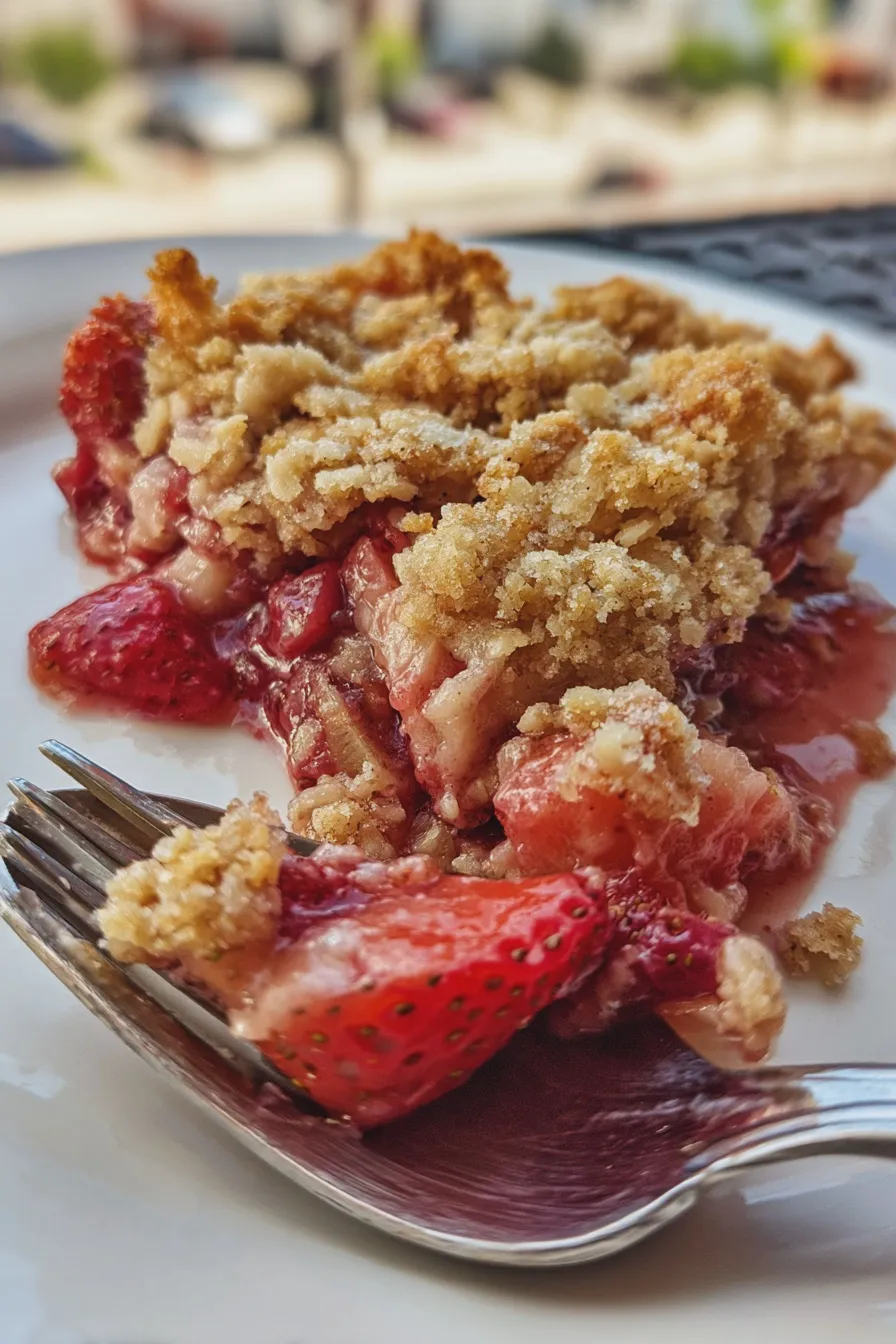
Use the jam as a filling for cakes, tarts, or pastries. It adds a delicious fruity flavor and a beautiful glaze. You can also add a spoonful to yogurt, oatmeal, or ice cream for a quick and easy treat. Plum jam filling is a great option for a variety of desserts.
Storage Tips
Store your fresh plum jam in the refrigerator for up to 2-3 weeks in an airtight container. Make sure the container is clean and dry before adding the jam. This is a safe way to store your homemade fresh plum jam.
For longer-term storage, consider canning your jam using proper canning procedures. Properly canned plum jam can last for up to a year or more. Always follow safe canning guidelines to ensure your jam is safe for consumption. You can also consider making a small batch plum jam.
Print
fresh plum jam Recipe
- Total Time: PT1H5M
- Yield: About 4–5 cups 1x
Description
Learn how to make delicious homemade plum jam with this easy recipe. Perfect for spreading on toast, scones, or using in your favorite desserts!
Ingredients
- 3 pounds fresh plums, pitted and chopped
- 3 cups granulated sugar
- 1/4 cup lemon juice
- 1/4 cup water
Instructions
- In a large, heavy-bottomed pot, combine the chopped plums, sugar, lemon juice, and water.
- Stir well to combine, then let the mixture sit for about 30 minutes to allow the plums to release some of their juices.
- Place the pot over medium heat and bring the mixture to a gentle boil, stirring frequently to prevent sticking.
- Once boiling, reduce the heat to low and simmer for about 30-40 minutes, or until the jam has thickened and reaches a temperature of 220°F (104°C) on a candy thermometer. Stir frequently to prevent burning.
- To test if the jam is ready, place a small plate in the freezer for a few minutes. Drop a small spoonful of jam onto the cold plate. Let it cool for a minute, then push the jam with your finger. If it wrinkles and doesn’t run, it’s ready.
- Remove the pot from the heat and let the jam cool for a few minutes. Skim off any foam that rises to the surface.
- Ladle the hot jam into sterilized jars, leaving about 1/4 inch of headspace.
- Wipe the rims of the jars clean, place the lids and rings on, and tighten the rings.
- Process the jars in a boiling water bath for 10 minutes (adjust time for altitude).
- Remove the jars from the water bath and let them cool completely on a towel-lined surface. You should hear the lids pop as they seal.
- Store sealed jars in a cool, dark place for up to a year. Once opened, store in the refrigerator.
Notes
- For a smoother jam, you can use an immersion blender to puree the plums after they have softened.
- Adjust the sugar to your preference. Some people prefer less sugar, which will result in a more tart jam.
- You can add a touch of cinnamon or other spices to the jam while it’s simmering for added flavor.
- Always use clean, sterilized jars and lids for safe canning.
- Prep Time: PT20M
- Cook Time: PT45M
- Category: Dessert
- Method: Canning
- Cuisine: American
Nutrition
- Serving Size: 1 tablespoon
- Calories: 50
- Sugar: 12g
- Sodium: 1mg
- Carbohydrates: 13g