
Quick Answer: This classic fall treat is a delightful combination of sweet caramel and crisp apples. A homemade caramel apple on a stick is a perfect handheld dessert for parties, festivals, or a fun family activity. The sweet and chewy caramel perfectly complements the tartness of the apple.
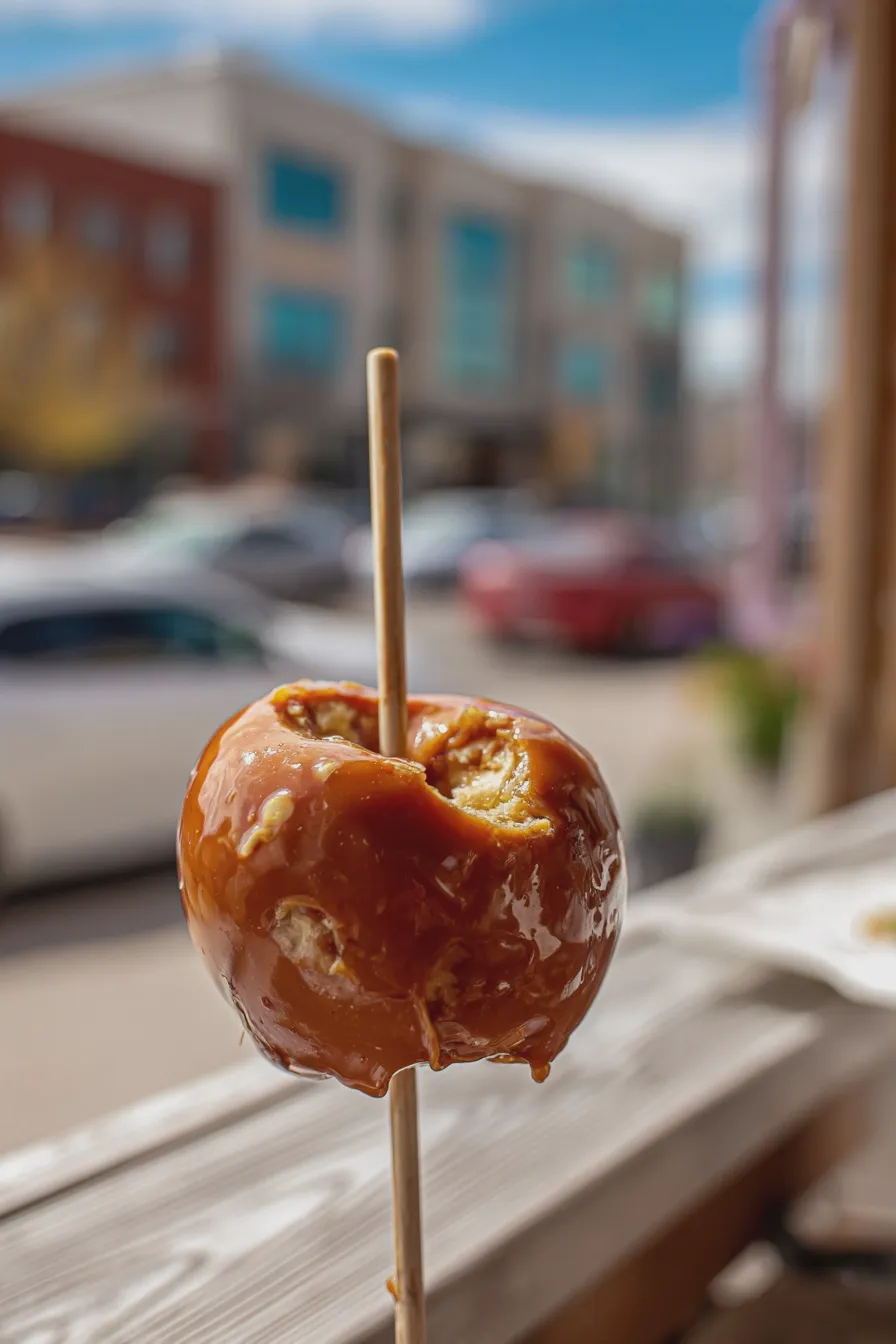
Making a delicious caramel apple on a stick is a fun and rewarding experience, especially during the fall season. This timeless dessert offers a delightful mix of textures and flavors that everyone loves. You’ll find that this recipe is a perfect way to celebrate the harvest season or create a memorable treat for any occasion. For more delicious dessert ideas, check out Food Network.
The combination of tart apples and sweet caramel is irresistible, making these treats a favorite for kids and adults alike. These are also a fantastic option for fall gatherings, Halloween parties, or simply a cozy night in. The key to the best caramel for apples is to use high-quality ingredients and follow the instructions carefully.
Caramel Apple on a Stick Ingredients
Before you begin, gather all your ingredients. Having everything ready will make the process much smoother. This ensures you can focus on the fun part: creating these delightful treats. Here’s what you’ll need to make your own batch of homemade caramel apples.
- 6–8 medium-sized apples, such as Granny Smith or Honeycrisp
- 1 cup granulated sugar
- ½ cup water
- ½ cup heavy cream
- ¼ cup unsalted butter
- 1 teaspoon vanilla extract
- Pinch of salt
- Wooden craft sticks
- Optional toppings: chopped nuts, sprinkles, chocolate chips, crushed cookies, etc.
How to Make Caramel Apple on a Stick
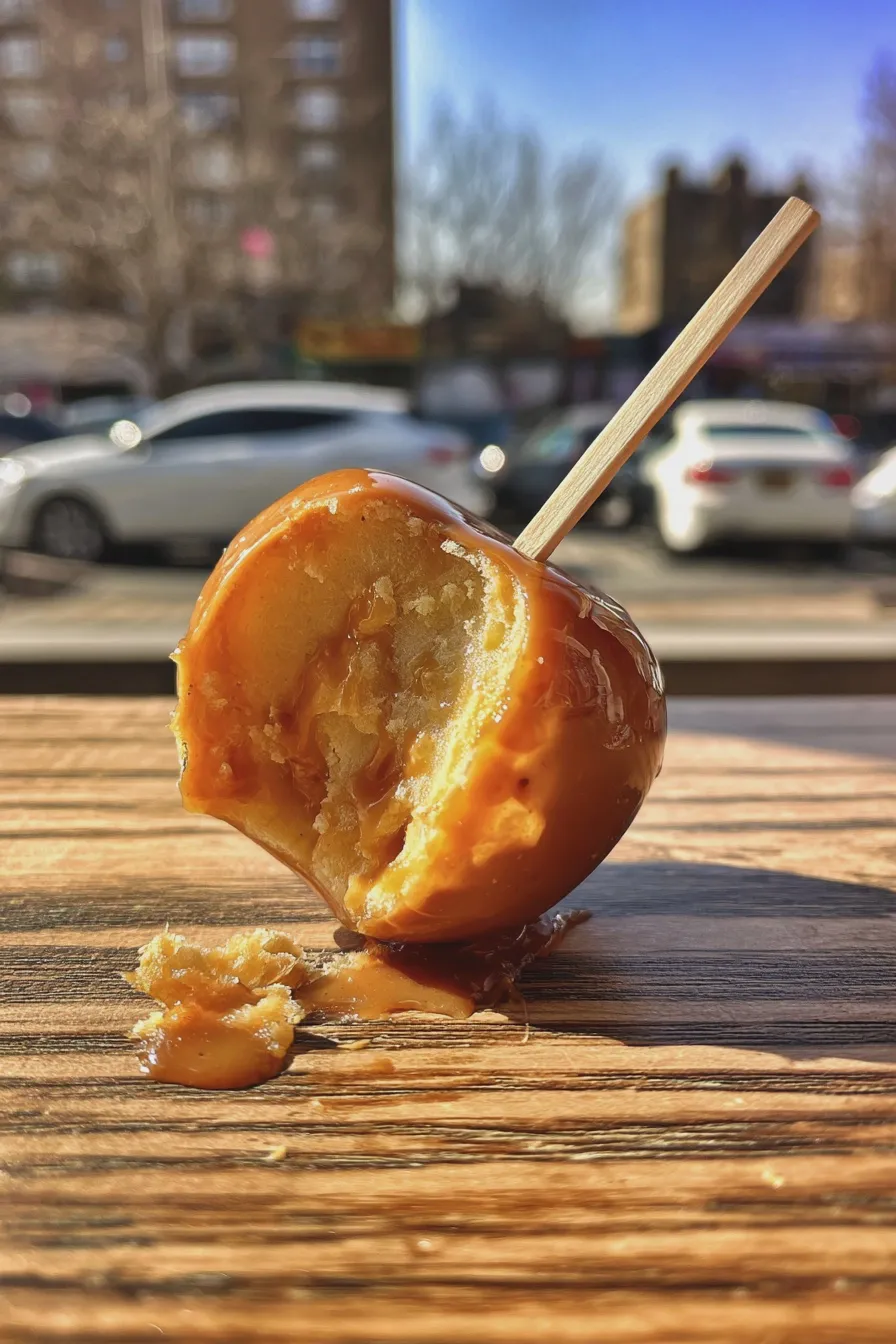
Making caramel apples can seem intimidating, but with this easy caramel apple recipe, you’ll be surprised at how simple it is. The process involves making the caramel, preparing the apples, and then combining them. Follow these steps for perfect results every time.
Prepare the Apples
First, wash and thoroughly dry your apples. Remove any stickers and stems, then insert a wooden craft stick into the core of each apple. This step is crucial for easy handling and eating. For a neater finish, you can also trim the stick so it isn’t too long.
Make the Caramel
In a medium saucepan, combine sugar and water over medium heat. Stir until the sugar dissolves, then stop stirring and let it boil until it turns a beautiful amber color. This process is key to achieving the perfect caramel flavor. Be careful not to let the caramel burn, as this will ruin the taste.
Add Cream, Butter, and Vanilla
Carefully pour in the heavy cream and butter, stirring constantly to avoid splattering. The mixture will bubble vigorously. Once the bubbling subsides, remove from heat and stir in the vanilla extract and salt. This step balances the sweetness. Make sure to stir well to incorporate all the ingredients evenly.
Dip the Apples
Hold an apple by the stick and dip it into the warm caramel, turning to coat evenly. Allow any excess caramel to drip off. You want a nice, even coating. If the caramel thickens too much during this process, you can gently reheat it over low heat.
Add Toppings (Optional)
Immediately after dipping, roll the caramel-covered apples in your favorite toppings. This is where you can get creative and add things like chopped nuts, sprinkles, or chocolate chips. For a classic look, use chopped peanuts or pecans. Place the coated apples on a parchment-lined baking sheet.
Chill and Enjoy
Place the caramel apples in the refrigerator to set for at least 30 minutes, or until the caramel is firm. Once set, your delightful caramel apple on a stick is ready to enjoy. For an extra treat, consider making a caramel apple bar with a variety of toppings.
Tips for Perfect Caramel Apples
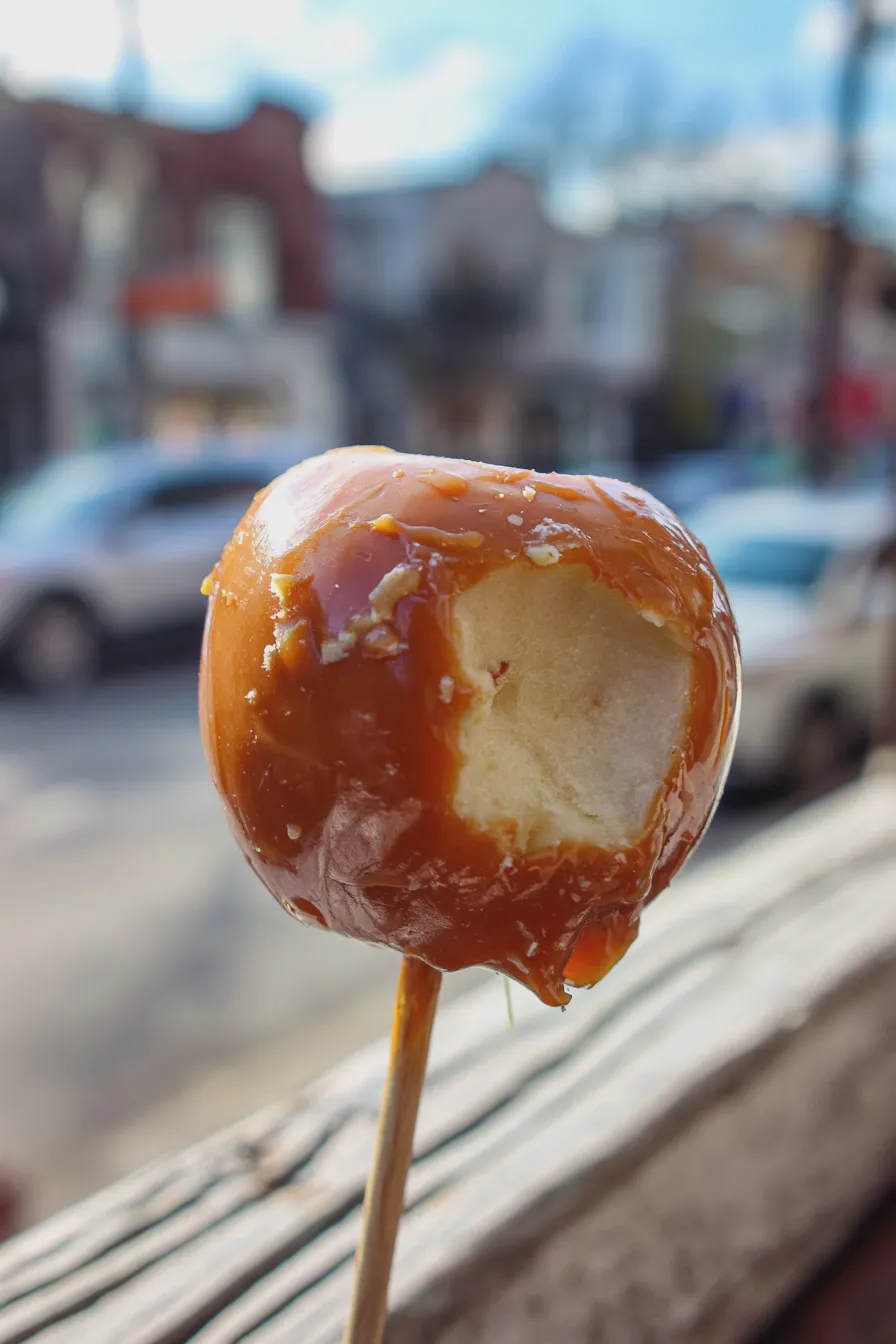
To ensure your caramel apples come out perfectly every time, keep these tips in mind. From choosing the right apples to preventing common mistakes, these suggestions will help you create a delicious treat that everyone will love. Learning how to make caramel apples is a fun experience.
Choosing the Right Apples
The type of apple you choose can significantly impact the final taste and texture of your caramel apples. Granny Smith apples are a popular choice due to their tartness, which complements the sweetness of the caramel. Honeycrisp apples also work well, offering a crisp, juicy texture and a balanced flavor.
Preventing Caramel from Burning
One of the most common pitfalls when making caramel is burning the sugar. To avoid this, use medium heat and keep a close eye on the sugar as it melts. Once it reaches a beautiful amber color, quickly remove it from the heat to prevent burning. If you’re looking for other fall desserts, you might also enjoy making caramel brownies.
Dealing with Sticky Situations
Caramel can be quite sticky, so it’s essential to have a plan for handling it. Use a silicone spatula to stir the caramel and a parchment-lined baking sheet to set the apples. This will make cleanup much easier.
Topping Ideas
Get creative with your toppings to add extra flavor and visual appeal to your caramel apples. Classic options include chopped nuts, such as peanuts, pecans, or walnuts. You can also use sprinkles, chocolate chips, or crushed cookies. For a fun twist, try dipping your apples in chocolate before adding other toppings.
Variations on Caramel Apples
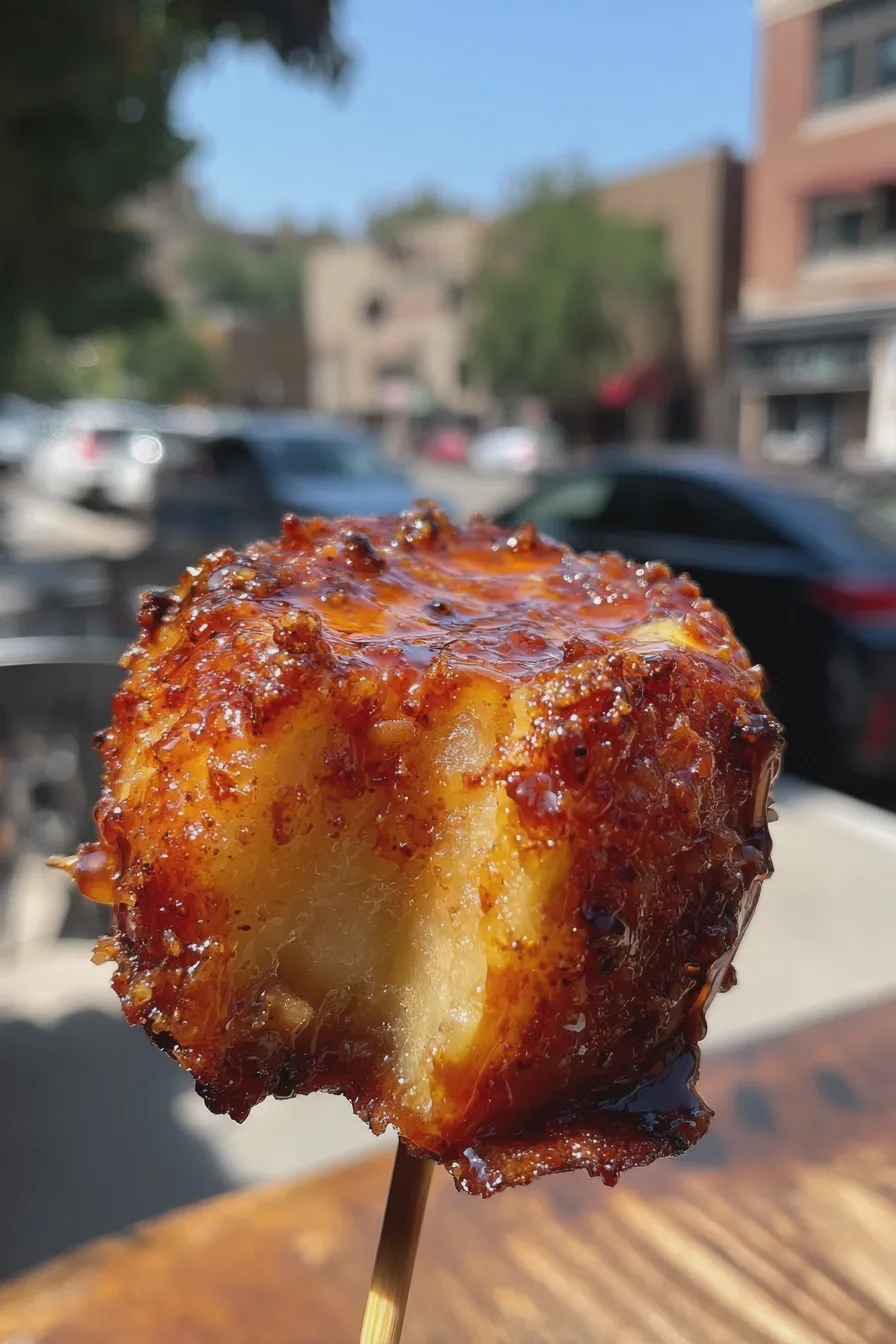
The classic caramel apple is just the beginning. There are many ways to customize and enhance this beloved treat. From different apple varieties to a wide range of toppings and dipping options, you can create endless caramel apple variations. For a different type of treat, you can also explore peppermint brownies.
Apple Varieties
Experiment with different apple varieties to find your favorite flavor combinations. While Granny Smith and Honeycrisp are popular choices, you can also try Fuji, Gala, or Pink Lady apples. Each variety offers a unique sweetness and tartness that can enhance the overall experience.
Flavor Combinations
Explore different flavor combinations to create unique and exciting caramel apples. Consider adding sea salt to the caramel for a sweet and salty twist. You can also incorporate other flavors, such as chocolate, peanut butter, or coconut. The possibilities are endless when it comes to the best caramel for apples.
Dipping Options
In addition to caramel, consider dipping your apples in chocolate, white chocolate, or even peanut butter. Before the coating sets, add your favorite toppings, such as chopped nuts, sprinkles, or crushed cookies. This creates a visually stunning and delicious treat. You might also enjoy making candy-coated rice krispies for a different sweet treat.
Serving and Storage
Proper serving and storage are essential to ensure your caramel apples stay delicious and enjoyable. Whether you’re making them for a party or just for yourself, knowing how to handle these treats will help you get the most out of them. Here’s what you need to know about serving and storing your caramel apples.
Serving Suggestions
Caramel apples are perfect for fall gatherings, Halloween parties, or any festive occasion. Serve them whole on a platter for guests to grab, or slice them for easier eating. You can also create a caramel apple bar with a variety of toppings for guests to customize their treats. If you need a quick dessert, consider making cake mix cookies.
Storage Tips
Store your caramel apples in the refrigerator for up to a week. To prevent the caramel from sticking, wrap each apple individually in plastic wrap. You can also store them in an airtight container. Keep in mind that the apples will soften over time, so fresh is always best. For a different dessert option, try making lemon poppy seed cookies.
Freezing Caramel Apples
While not ideal, you can freeze caramel apples if needed. Wrap each apple tightly in plastic wrap and place them in a freezer-safe bag or container. Thaw them in the refrigerator before serving. The texture might change slightly. Consider making a chocolate peanut butter cake instead.
Print
caramel apple on a stick Recipe
- Total Time: PT35M
- Yield: 6–8 servings 1x
- Diet: Vegetarian
Ingredients
- 6–8 medium-sized apples (such as Granny Smith or Honeycrisp)
- 6–8 wooden craft sticks
- 1 (14-ounce) package caramels, unwrapped
- 2 tablespoons heavy cream or water
- Optional toppings: chopped nuts, sprinkles, chocolate chips, sea salt
Instructions
- Wash and thoroughly dry the apples. Remove any stickers.
- Insert a wooden stick into the stem end of each apple.
- In a double boiler or a heatproof bowl set over a pot of simmering water, melt the caramels with the heavy cream (or water), stirring frequently until smooth. Alternatively, melt in the microwave in 30-second intervals, stirring in between.
- Dip each apple into the melted caramel, swirling to coat evenly. Let the excess caramel drip off.
- Place the caramel-covered apples on a parchment-lined baking sheet.
- If desired, immediately sprinkle with your chosen toppings.
- Refrigerate the caramel apples for at least 30 minutes to allow the caramel to set.
- Serve and enjoy!
Notes
- For best results, use fresh, crisp apples.
- If the caramel becomes too thick while dipping, add a little more heavy cream or water.
- Store leftover caramel apples in the refrigerator.
- Get creative with your toppings! Consider using chopped peanuts, pecans, mini chocolate chips, or a sprinkle of sea salt.
- Prep Time: PT20M
- Cook Time: PT15M
- Category: Desserts
- Method: Stovetop
- Cuisine: American
Nutrition
- Serving Size: 1 apple
- Calories: 350
- Sugar: 45g







