
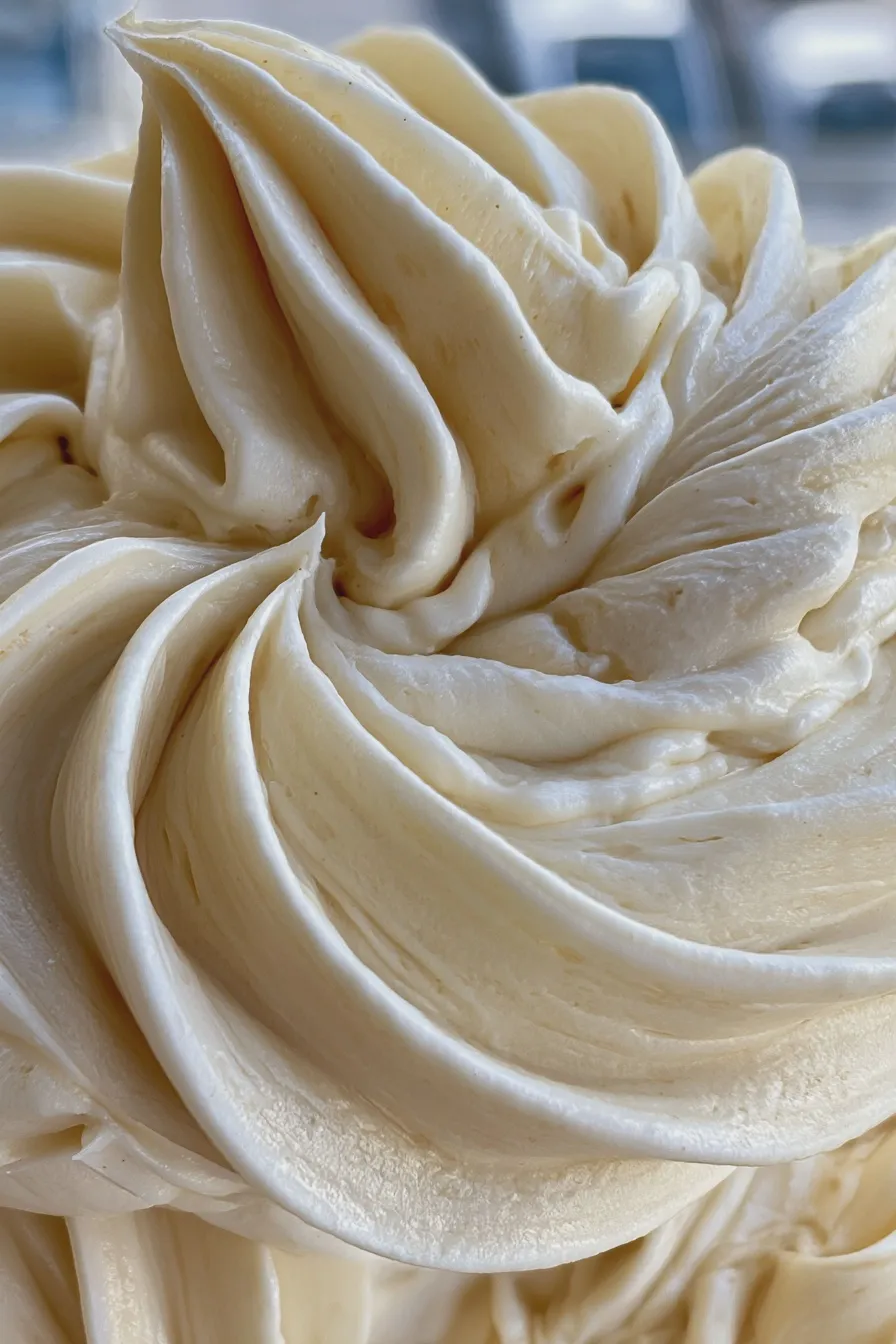
This incredibly simple, two-ingredient recipe yields a wonderfully creamy frozen banana dessert that tastes remarkably like traditional churned ice cream, perfect for a quick banana dessert any night of the week.
Welcome to the easiest path to homemade frozen treats! If you are looking for a satisfyingly sweet and incredibly simple dessert that requires no special equipment, learning how to make banana ice cream is a game-changer for your summer kitchen routine. This fruit-based ice cream alternative relies on the natural creaminess of frozen bananas to create a surprisingly rich texture right in your food processor or high-powered blender.
The magic of this recipe lies in its simplicity and the way ripe bananas transform into a velvety, naturally sweet banana dessert when processed correctly. Many people turn to this method when they need a quick banana dessert that satisfies a sweet craving without relying on heavy cream or added refined sugars, making it a fantastic option for mindful eaters.
Why This Banana Ice Cream Recipe Works So Well
The texture achieved in this simple preparation often surprises people who assume that without churning, the result will be icy or hard, but that’s not the case here; it’s truly a creamy banana ice cream experience. The key ingredient, very ripe bananas, provides both sweetness and the necessary solids that break down into a smooth, soft serve consistency when blended, which is why many call this a banana nice cream recipe. For those looking for a lighter option, this method easily transforms into a healthy banana ice cream or even a low calorie banana dessert depending on what you add later.
If you are interested in exploring the science behind why frozen fruit behaves this way, you can read more about the structural changes in frozen ingredients on Serious Eats. This preparation is often celebrated because it requires minimal hands-on time, allowing you to whip up a batch of this delicious frozen banana dessert almost instantly when that craving hits.
Selecting the Right Bananas
The success of this frozen banana dessert hinges entirely on using bananas that are perfectly ripe, which means they should have plenty of brown spots covering the peel. Overripe bananas possess higher sugar content and softer flesh, which yields a smoother, less icy texture when blended into a creamy banana ice cream. Avoid green or just-yellow bananas, as they lack the necessary sweetness and will result in a starchy, less enjoyable final product.
For the best results, peel your ripe bananas, slice them into roughly one-inch thick coins, and freeze them solid on a parchment-lined baking sheet before transferring them to a freezer bag. Freezing them separately first prevents them from clumping together, which is crucial for ensuring your blender banana ice cream achieves that smooth consistency.
Essential Equipment for Success
While this recipe is often touted as a one ingredient banana ice cream method, you do need the right tool to break down those rock-hard frozen chunks effectively. A high-powered blender or a sturdy food processor is absolutely necessary for turning the frozen pieces into a smooth mixture without adding excess liquid. If your equipment isn’t powerful enough, you might end up with a grainy texture or have to stop frequently to scrape down the sides, which can lead to melting.
If you find your blender struggling, consider using the pulse function initially to break up the largest pieces before moving to continuous blending, ensuring you get that perfect homemade banana soft serve texture. For those interested in exploring other simple dessert bases, understanding the role of fats, similar to how one decides between butter vs. oil in cakes, can inform future recipe variations.
Ingredients for Simple Banana Ice Cream
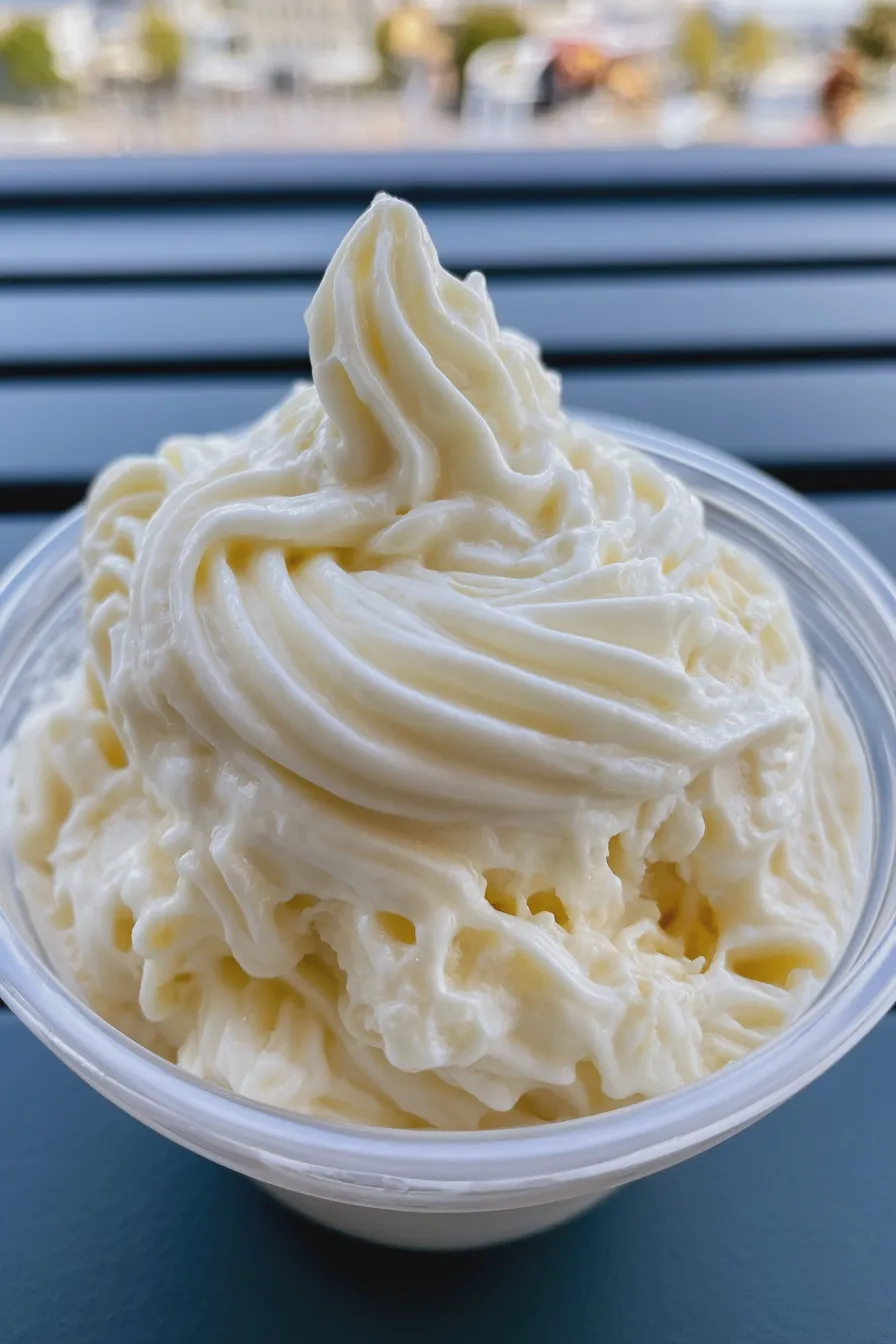
This recipe focuses on the purest form, but I’ll offer simple additions for those who want to customize their frozen treat, perhaps turning it into a banana chocolate chip ice cream.
- 4 large, very ripe bananas (peeled, sliced, and frozen solid)
- 1 teaspoon vanilla extract (optional, but highly recommended for depth of flavor)
- A small splash (1-2 tablespoons) of milk or dairy-free alternative (optional, only if needed to help blending)
If you are aiming for a completely vegan banana ice cream, ensure your optional milk splash is a plant-based option like almond or oat milk; otherwise, whole milk works beautifully for a richer mouthfeel.
How to Make Banana Ice Cream
Follow these steps precisely to move from frozen fruit to a satisfying frozen dessert in minutes, achieving the best result for your easy frozen banana dessert.
Step 1: Prepare the Frozen Banana Pieces
Ensure your sliced bananas have been frozen for at least six hours, or preferably overnight, until they are completely solid and hard to the touch. This deep freeze is essential for creating the initial crumbly texture needed before the mixture becomes smooth, which is the hallmark of a successful blender banana ice cream preparation.
Tip: If you are making a large batch, freeze bananas in increments you know your machine can handle easily; overcrowding the processor will lead to uneven blending. This forms the foundation for what many consider the best banana ice cream recipe when simplicity is the goal.
Step 2: Initial Blending to Crumbly Stage
Place the frozen banana slices into your food processor or high-powered blender, adding the vanilla extract now if you are using it. Pulse the mixture several times until the banana pieces break down into coarse crumbs that resemble frozen sand or gravel, which is the first texture transformation. Do not add any liquid yet, as perseverance at this stage prevents a runny final product.
Step 3: Achieving the Creamy Consistency
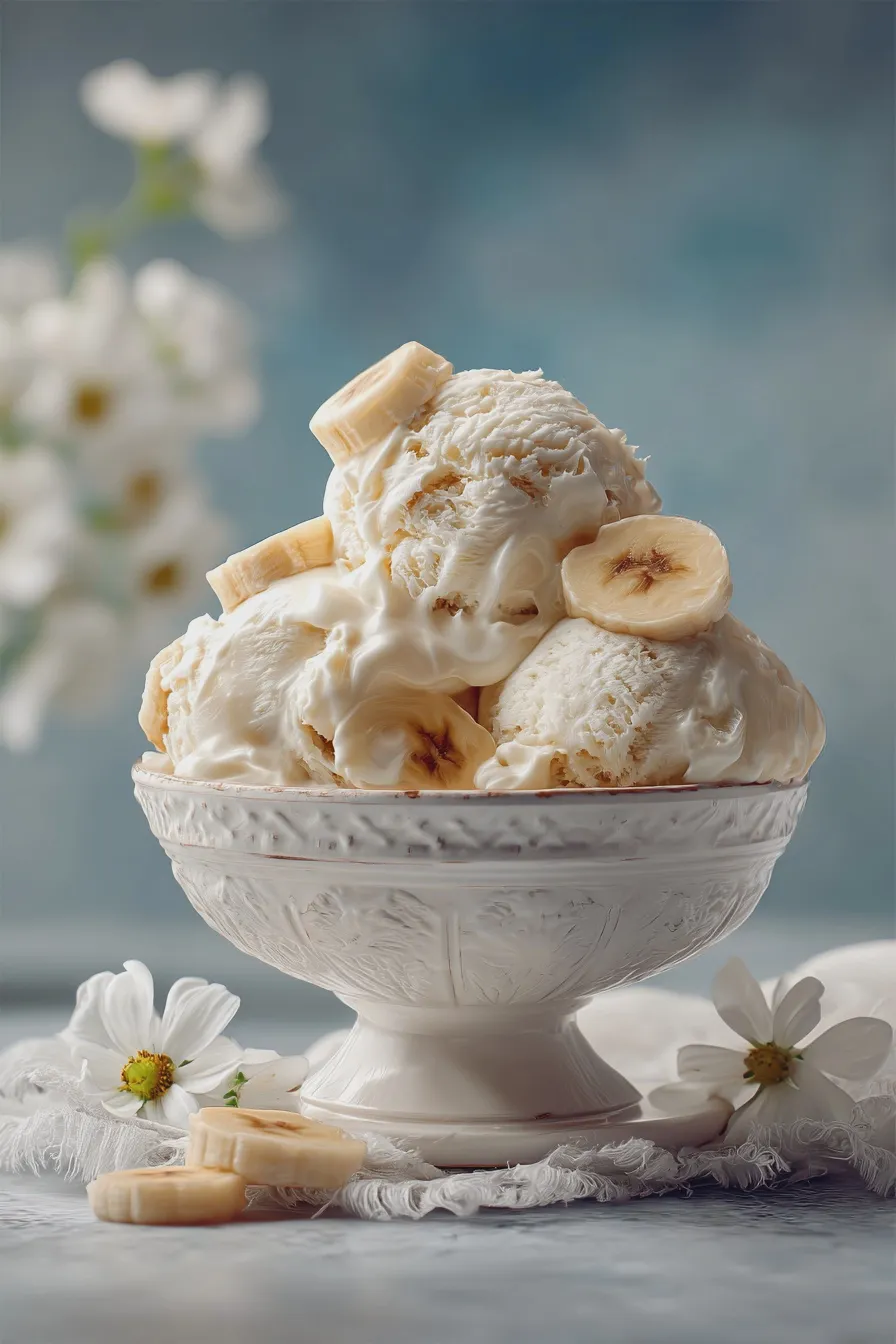
Continue processing the mixture, scraping down the sides as necessary, and you will notice the mixture suddenly transition from crumbs to a thick, soft-serve consistency, signaling that the creamy banana ice cream is nearly ready. If the machine stalls significantly, add just one tablespoon of milk or water—no more—to help the blades move, resisting the urge to add too much, which ruins the texture.
This is the perfect time to mix in any flavor additions, such as a tablespoon of cocoa powder for a chocolate twist, or perhaps some finely chopped nuts, similar to how you might incorporate mix-ins when preparing mango strawberry sunset cupcakes for a layered flavor experience. If you prefer a firmer texture, transfer the soft serve to an airtight container and freeze for 30 minutes before serving.
Step 4: Serving Immediately or Storing for Harder Texture
When the mixture is smooth and resembles soft-serve, you can serve it immediately for the softest, freshest experience, which is ideal for those who love homemade banana soft serve. If you prefer a scoopable, harder consistency closer to traditional ice cream, press the mixture into a loaf pan, cover it tightly with plastic wrap pressed directly onto the surface, and freeze for about two hours.
For those interested in exploring more complex, baked desserts that use similar fruit bases, looking up recipes like orange creamsicle cake can provide inspiration for pairing fruit flavors. Remember that this frozen banana dessert is best eaten within 24 hours for optimal texture.
Customization and Flavor Variations
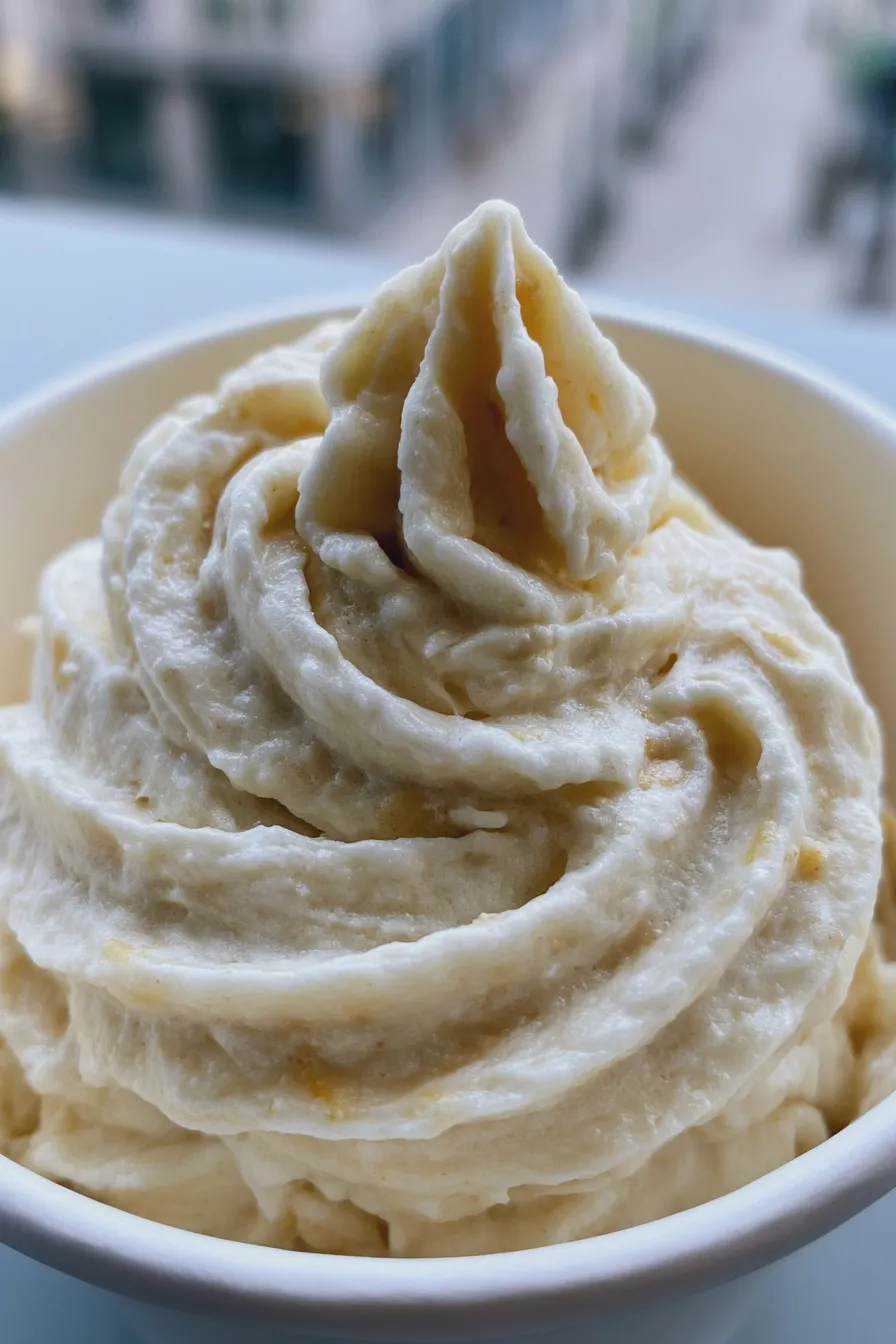
While the base recipe is fantastic as is, especially for those seeking a paleo banana ice cream or a simple naturally sweet banana dessert, adding mix-ins elevates the experience beautifully.
Chocolate Swirls and Chips
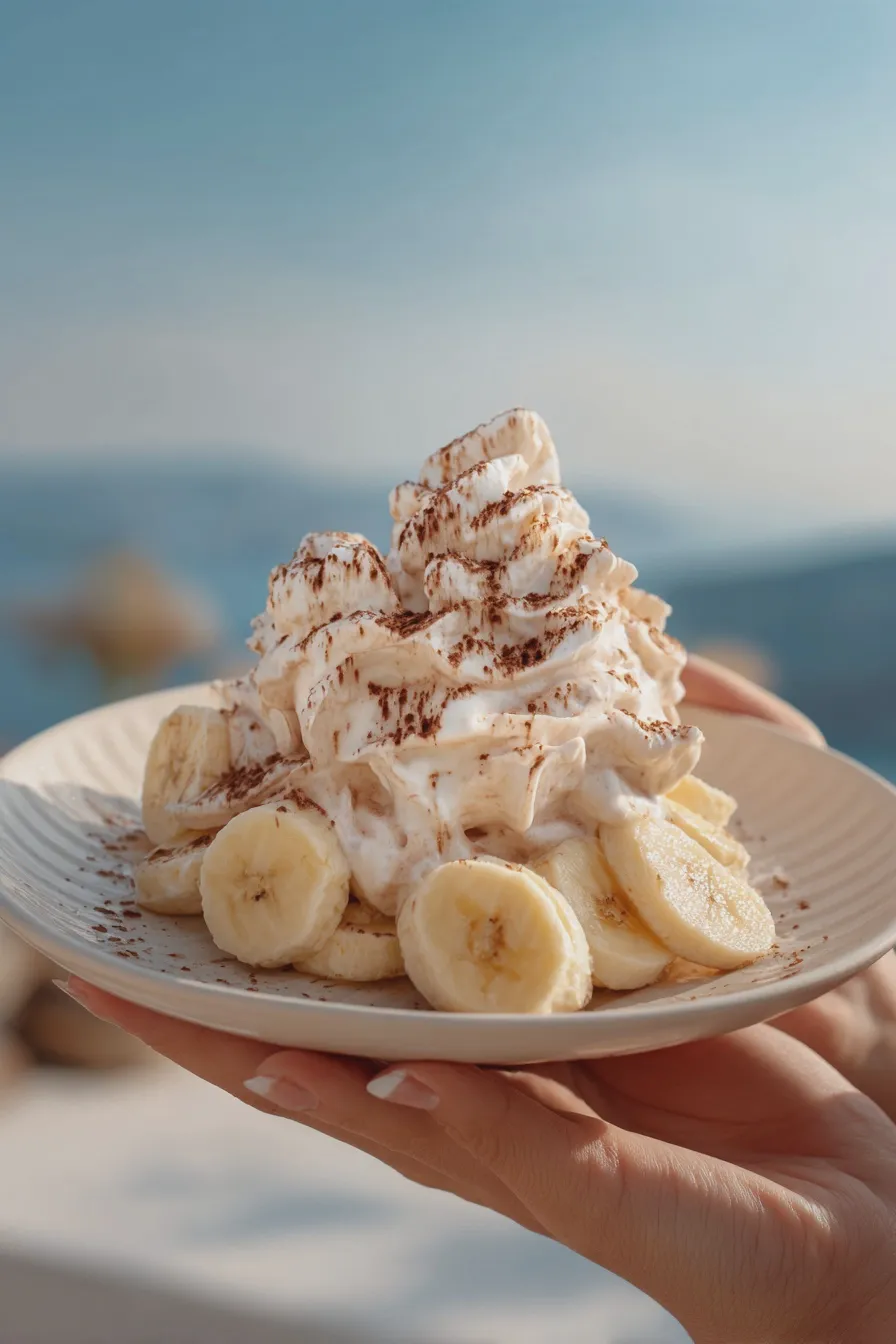
To create a decadent banana chocolate chip ice cream, add about one-quarter cup of mini chocolate chips during the last 30 seconds of processing, or fold them in gently after the base is smooth. Alternatively, drizzle in two tablespoons of melted dark chocolate during the final blend; the cold temperature of the mixture will instantly harden the chocolate into beautiful ribbons.
Nut Butter and Spice Blends
For a heartier treat, try adding two tablespoons of peanut butter or almond butter along with a pinch of cinnamon near the end of the blending process to create a comforting flavor profile. If you are looking for more elaborate dessert ideas involving rich creams and nuts, perhaps examining recipes for Italian cream balls might spark some creative inspiration for future projects.
Tropical and Citrus Twists
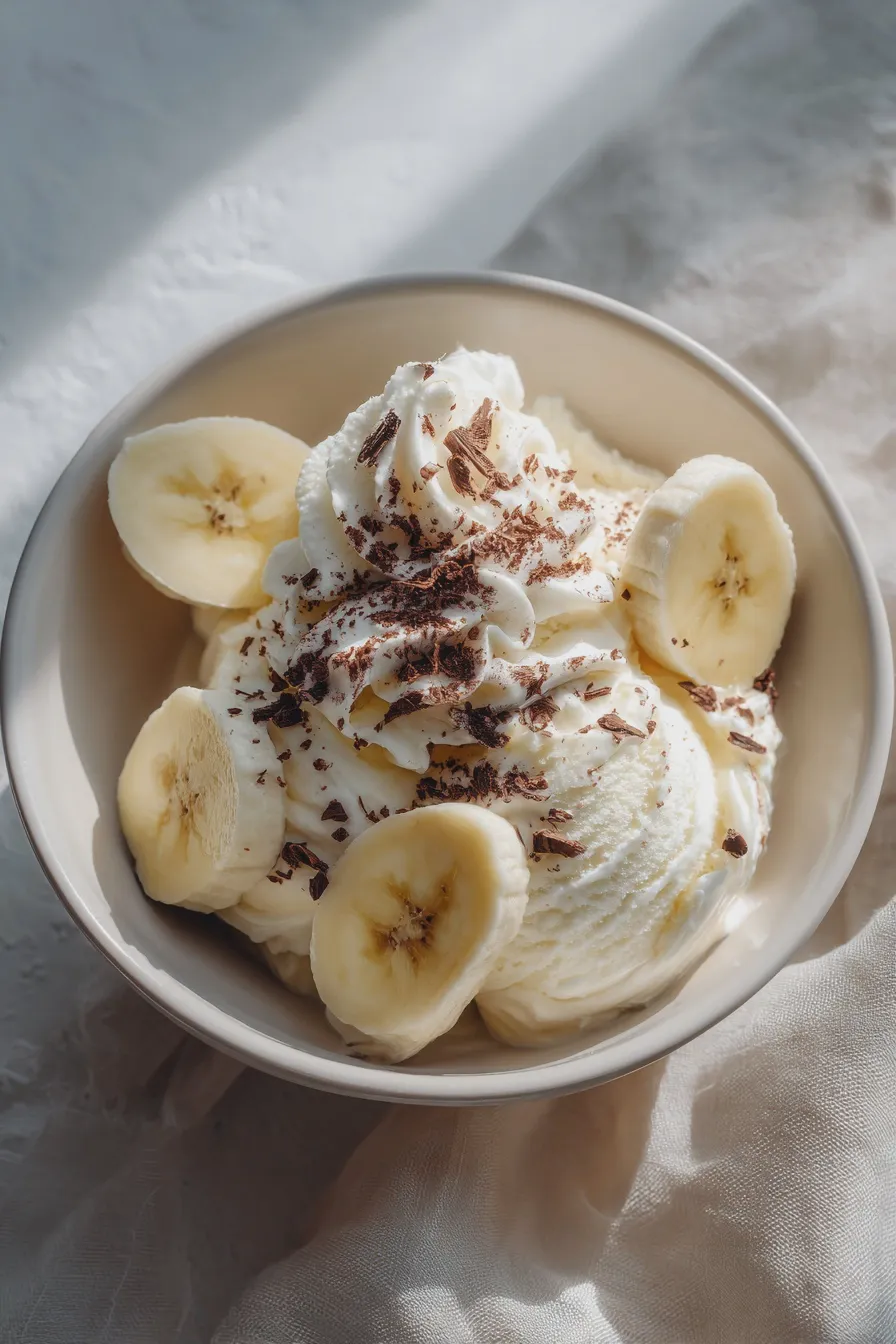
To give your dairy-free dessert a bright, sunny lift, incorporate a tablespoon of lime or lemon juice along with a small handful of frozen mango chunks during the final blending stage. This brightens the overall flavor profile significantly, turning the simple base into something that tastes wonderfully refreshing on a hot afternoon.
Troubleshooting Common Issues
Even with this simple recipe, sometimes things don’t go exactly as planned, but most issues are easily remedied with a little patience.
My Mixture is Too Icy or Grainy
If your final product is icy, it usually means your bananas were not ripe enough or you added too much liquid during processing, resulting in ice crystals forming rather than a smooth emulsion. To fix this, remove the mixture from the freezer, let it soften slightly on the counter for 10 minutes, and then re-blend it, adding just a tiny bit more sweetener or flavor extract to improve the texture.
My Blender Won’t Process the Fruit
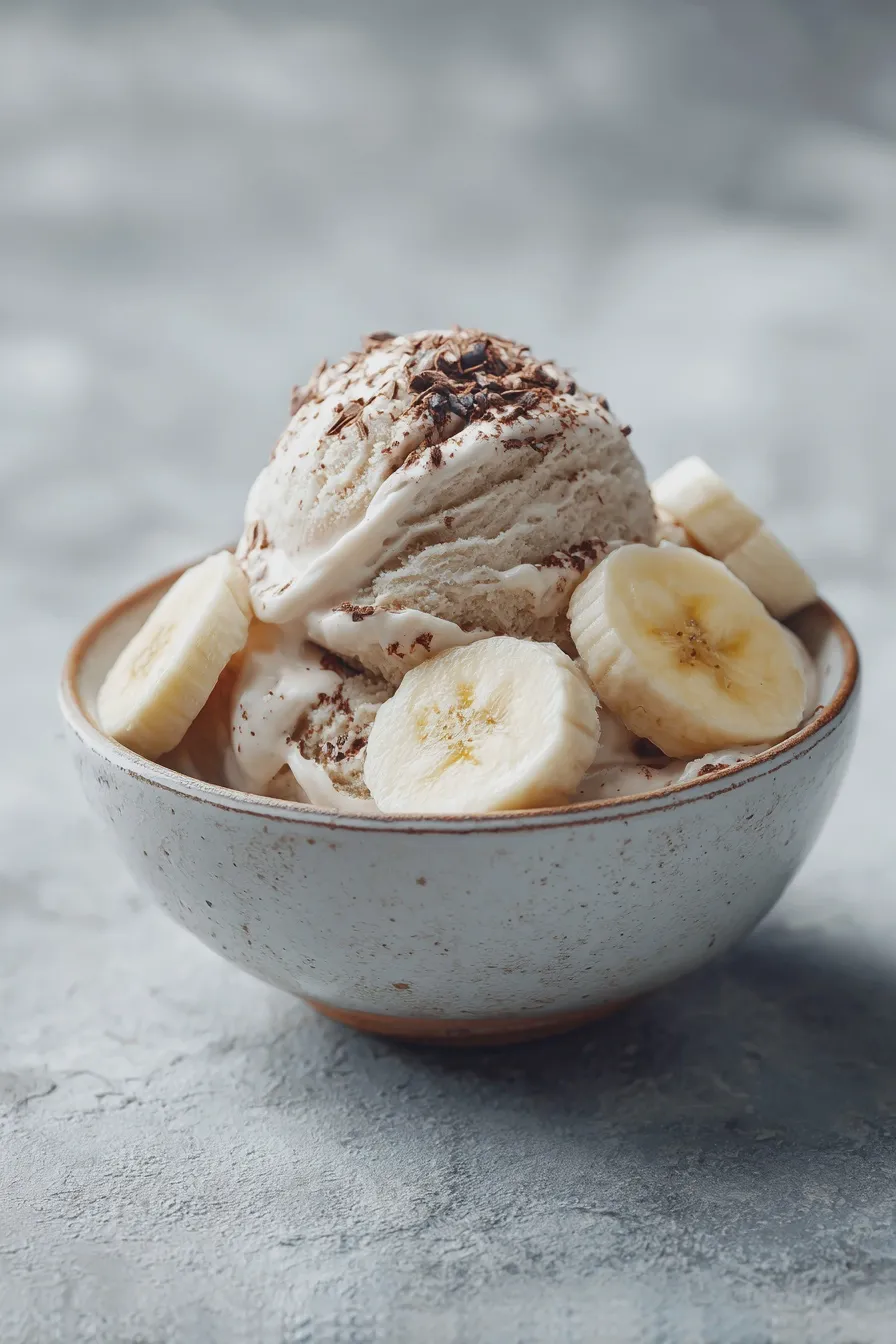
When the machine completely stalls, it means the frozen chunks are too dense for the blades to catch, requiring a small intervention to get things moving again. Stop the machine, let the bananas sit out for 5 to 10 minutes until the edges just begin to soften, and then try blending again using short pulses before moving to a steady speed.
Print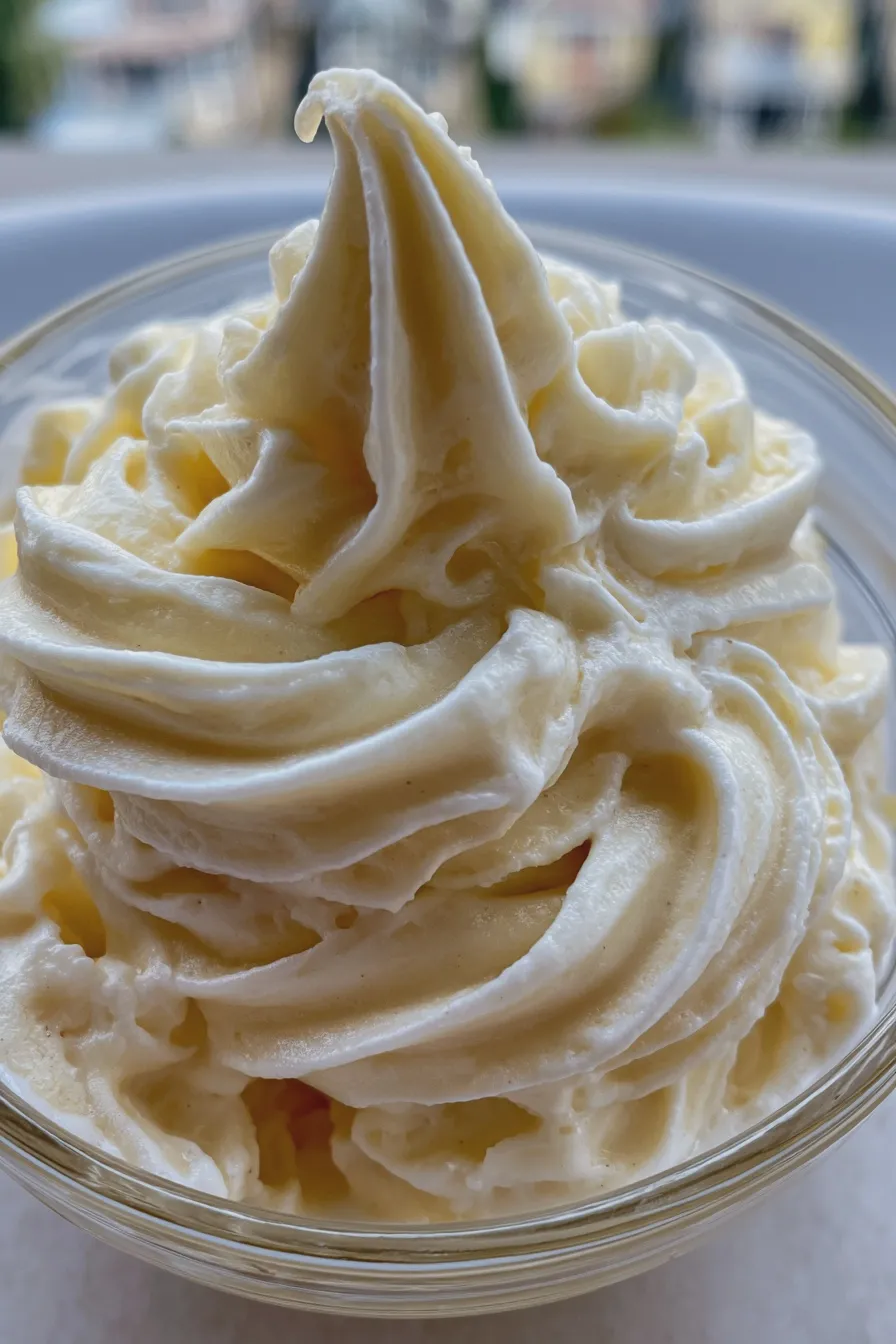
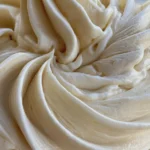
banana ice cream Recipe Easy Homemade
- Total Time: PT6H10M
- Yield: 4 servings 1x
- Diet: Vegan, Gluten-Free
Ingredients
- 4 large, very ripe bananas, peeled and sliced
- 2 tablespoons milk (dairy or non-dairy like almond or oat)
- Optional Mix-ins: 1 teaspoon vanilla extract, 1 tablespoon cocoa powder, or 1/4 cup frozen berries
Instructions
- Freeze the Bananas: Place the peeled and sliced bananas in a freezer-safe bag or container. Freeze for at least 6 hours, or until solid.
- Blend Initial Mix: Transfer the frozen banana slices to a high-powered food processor or blender. Add the 2 tablespoons of milk (and vanilla extract, if using).
- Process: Start blending. The mixture will go through stages: crumbly, chunky, and finally, smooth and creamy. Stop and scrape down the sides every 30 seconds. This step can take 3–5 minutes depending on your machine.
- Achieve Soft Serve: Continue blending until the mixture has the consistency of thick soft-serve ice cream.
- Serve Immediately (Soft Serve Style): Portion immediately for a soft-serve texture, or transfer to a freezer-safe container and freeze for 1–2 hours for a firmer, scoopable texture.
- Add Mix-ins (Optional): If using cocoa powder or berries, add them during the last minute of blending until just incorporated.
Notes
- For a scoopable texture, transfer the blended mixture to a loaf pan lined with parchment paper and freeze for at least an hour before serving.
- If the mixture becomes too hard after freezing, let it sit on the counter for 5–10 minutes before scooping.
- Do not over-blend once it reaches the creamy stage, or it may start to melt.
- Prep Time: PT6H10M
- Cook Time: 0 minutes
- Category: Frozen Desserts
- Method: Blending/No-Churn
- Cuisine: American
Nutrition
- Serving Size: 1/4 of recipe
- Calories: 125
- Sugar: 18g
- Sodium: 3mg
- Fat: 0.5g
- Saturated Fat: 0.1g
- Unsaturated Fat: 0.3g
- Trans Fat: 0g
- Carbohydrates: 32g
- Fiber: 3g
- Protein: 1.5g
- Cholesterol: 0mg







