
There’s something truly magical about a homemade apple pie, isn’t there? The comforting aroma wafting from the oven, the flaky crust, and that sweet, spiced apple filling – it’s pure nostalgia in every bite. But let’s be honest, sometimes a traditional double-crust pie can feel a little intimidating, especially when you’re baking for a crowd. That’s where the wonderful apple slab pie recipe comes in! It’s a baking revelation, offering all the deliciousness of classic apple pie but in a convenient, crowd-pleasing format. Think of it as your new go-to for potlucks, family gatherings, and any occasion that calls for a truly delightful dessert. If you’re looking for a foolproof way to bring a bit of homemade charm to your next event, this easy apple slab pie is an absolute winner. For more baking inspiration, check out these easy dessert recipes.
What is an Apple Slab Pie?
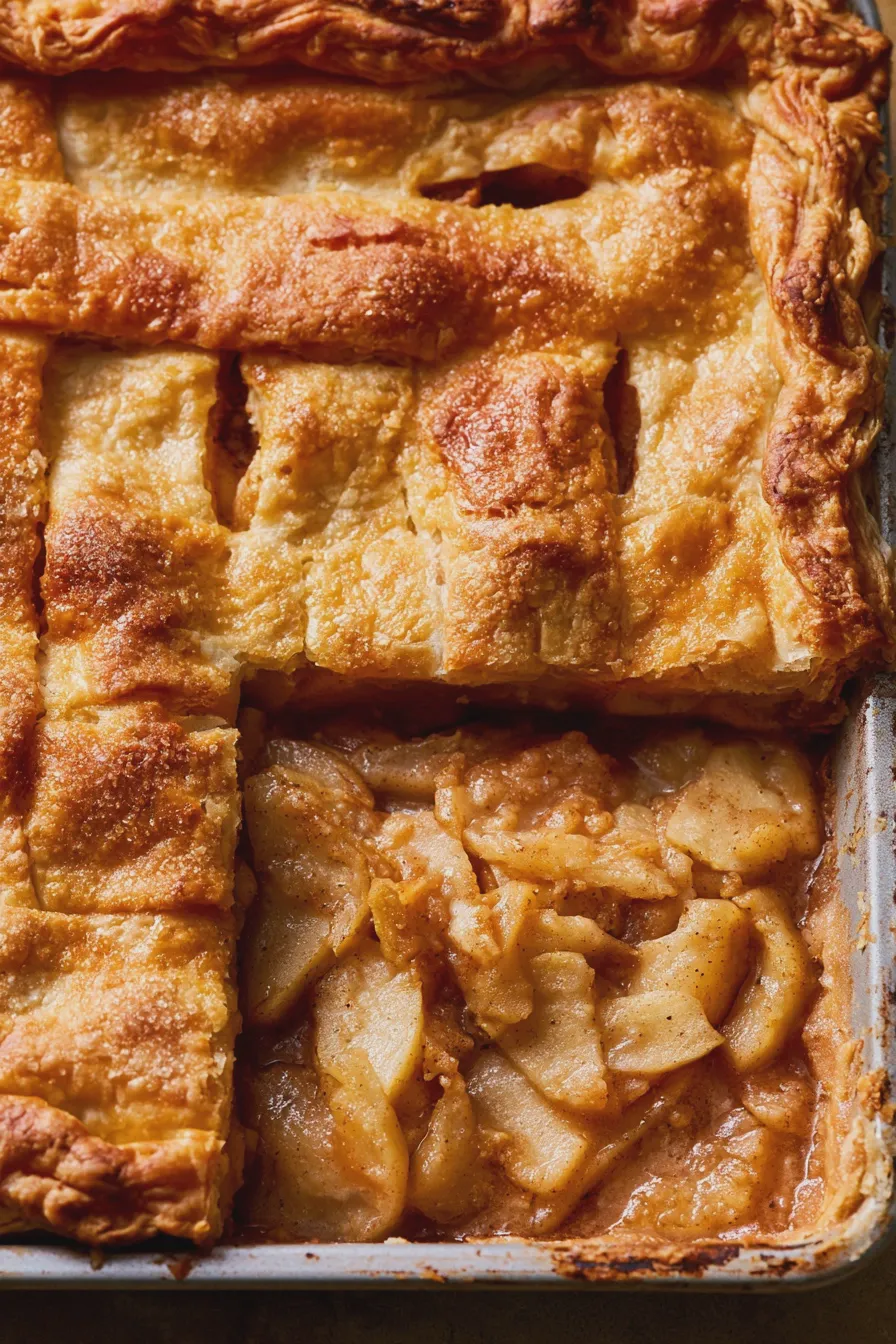
So, what exactly makes an apple slab pie different from its round cousin? The biggest distinction is its shape and size. Instead of a traditional pie plate, an apple slab pie is baked in a rimmed baking sheet or a jelly roll pan. This allows you to create a much larger, rectangular pie, making it perfect for feeding a crowd. It’s essentially a large format apple pie, designed for abundance and ease.
The beauty of this dessert lies in its simplicity. Often, it features a single crust on the bottom, topped with a generous layer of spiced apple filling, and then finished with either a streusel topping or a rustic, free-form lattice. This makes it quicker to assemble than a traditional pie, and the baking sheet ensures even cooking. It’s a fantastic option when you want a truly impressive, yet surprisingly simple, homemade dessert. This sheet pan apple pie is a game-changer for busy bakers.
You can find some fantastic tips for choosing the right apples for your pie over at Serious Eats. Selecting the right variety can make all the difference in the texture and flavor of your filling!
If you enjoyed this, you might also love our No Bake Apple Pie recipe.
Why You’ll Love This Apple Slab Pie Recipe
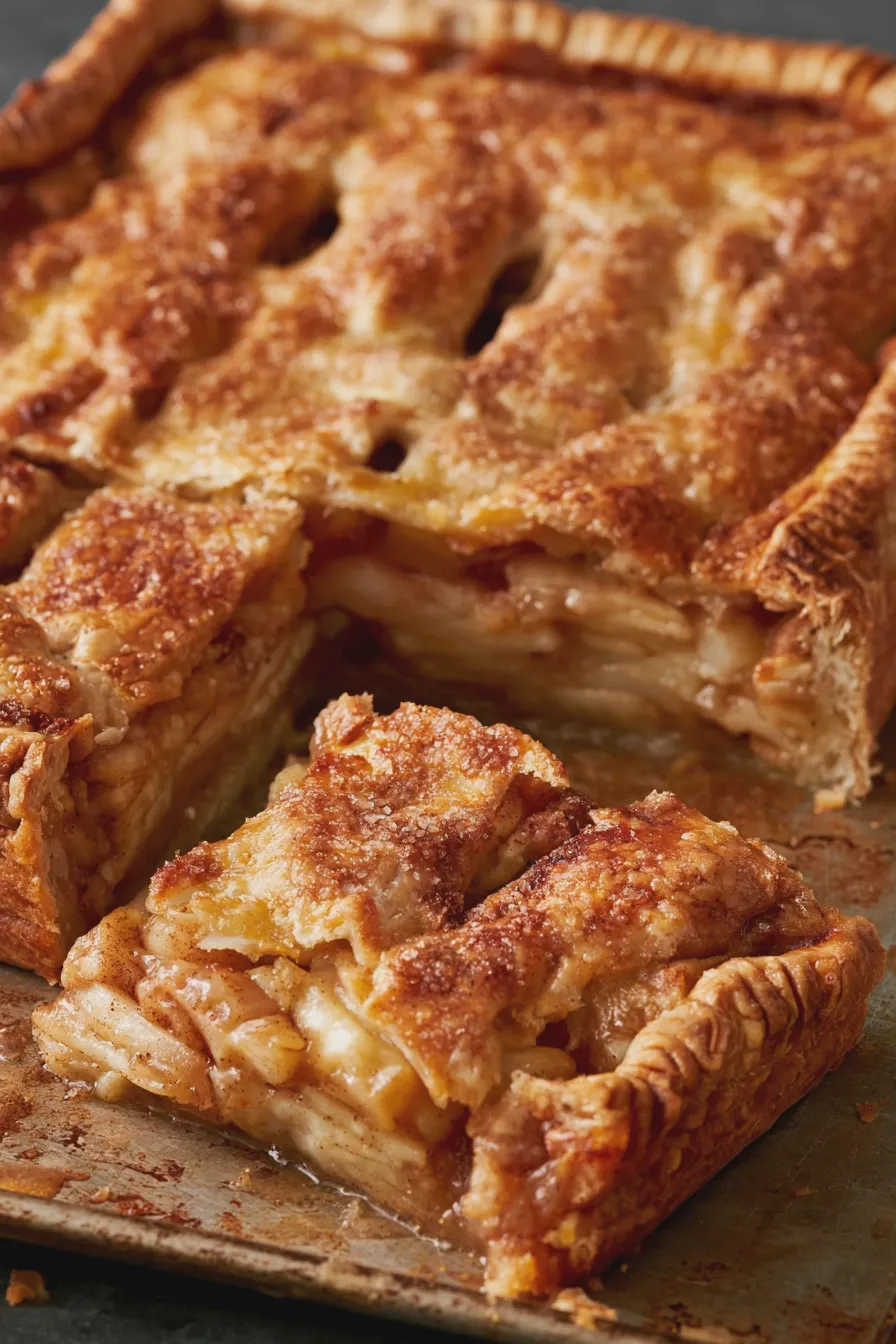
There are so many reasons why this best apple slab pie will become a staple in your baking repertoire. For starters, it’s incredibly forgiving. The rustic nature of the slab pie means perfection isn’t the goal; deliciousness is! It’s a fantastic way to use up a bounty of apples, and the aroma it fills your home with is simply divine.
- Crowd-Pleaser: This recipe yields a large pie, perfect for feeding a hungry group. It’s an ideal apple pie for a crowd.
- Simplicity: Less fuss with crusts and shaping means more time enjoying the baking process. It’s a truly simple apple slab pie.
- Versatility: Whether you prefer a crumb topping or a simple lattice, this recipe adapts beautifully. You can easily make an apple pie with crumb topping or a lovely apple pie with lattice top.
- Delicious Flavor: The combination of sweet, tender apples and warm spices is a classic for a reason. It’s a wonderfully spiced apple slab pie.
- Perfect for Fall: This is the quintessential fall apple pie, but it’s delicious any time of year!
Ingredients You’ll Need
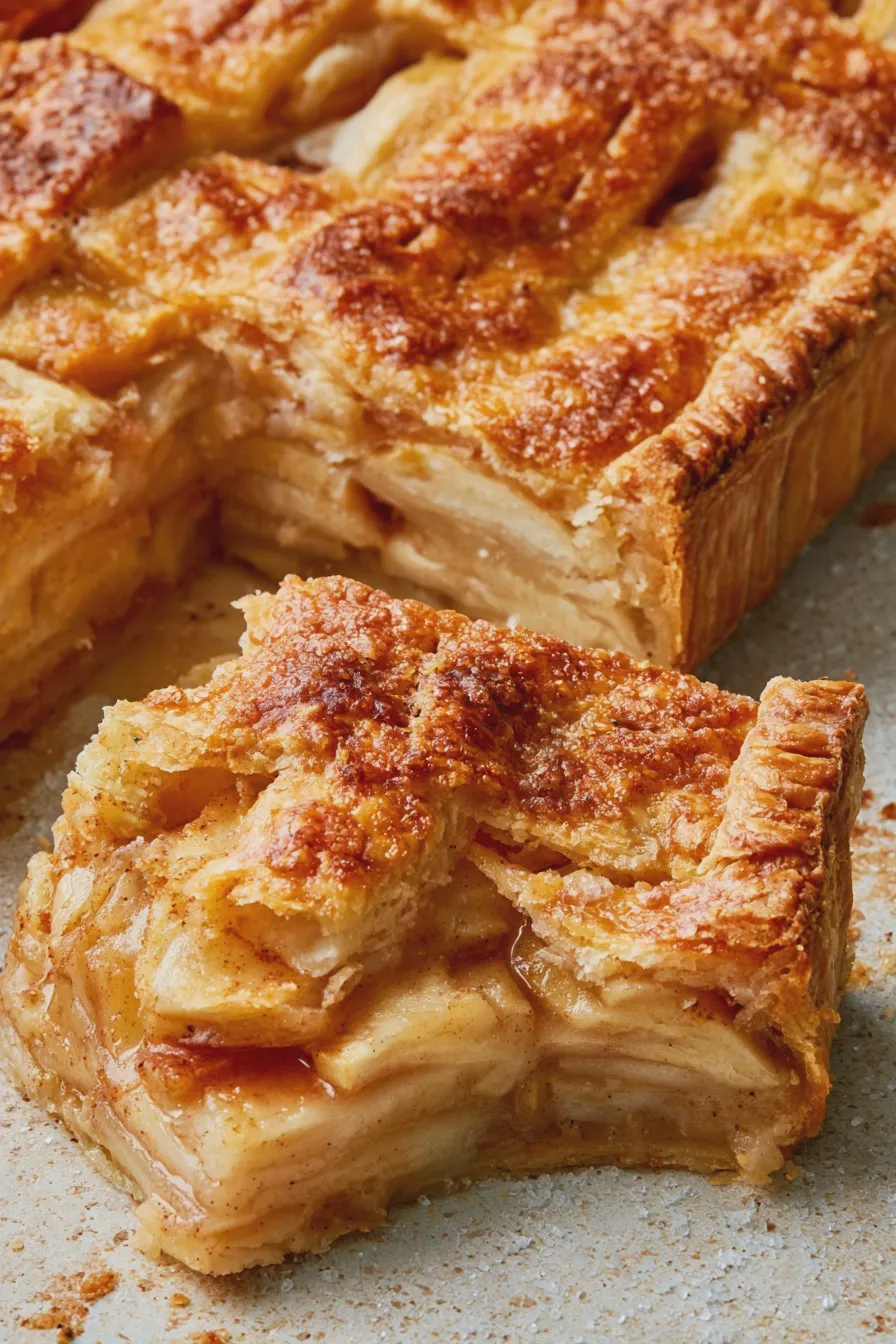
Gathering your ingredients is the first step to creating your delicious homemade apple slab pie. You’ll find that most of these are pantry staples or easily found at your local grocery store.
For the Crust:
- All-purpose flour
- Granulated sugar
- Salt
- Cold unsalted butter, cut into cubes
- Ice water
For the Apple Filling:
- A mix of baking apples (like Honeycrisp, Granny Smith, Gala, Fuji) – about 3-4 pounds
- Granulated sugar and/or brown sugar
- All-purpose flour or cornstarch (for thickening)
- Cinnamon
- Nutmeg
- Allspice (optional)
- Lemon juice
- Butter, cut into small pieces
For the Topping (Choose One):
Option 1: Crumb Topping
- All-purpose flour
- Brown sugar
- Cinnamon
- Cold unsalted butter
Option 2: Simple Lattice or Rustic Top Crust
- Pie dough (you can use the same recipe as the bottom crust, just double it)
Making Your Apple Slab Pie: Step-by-Step
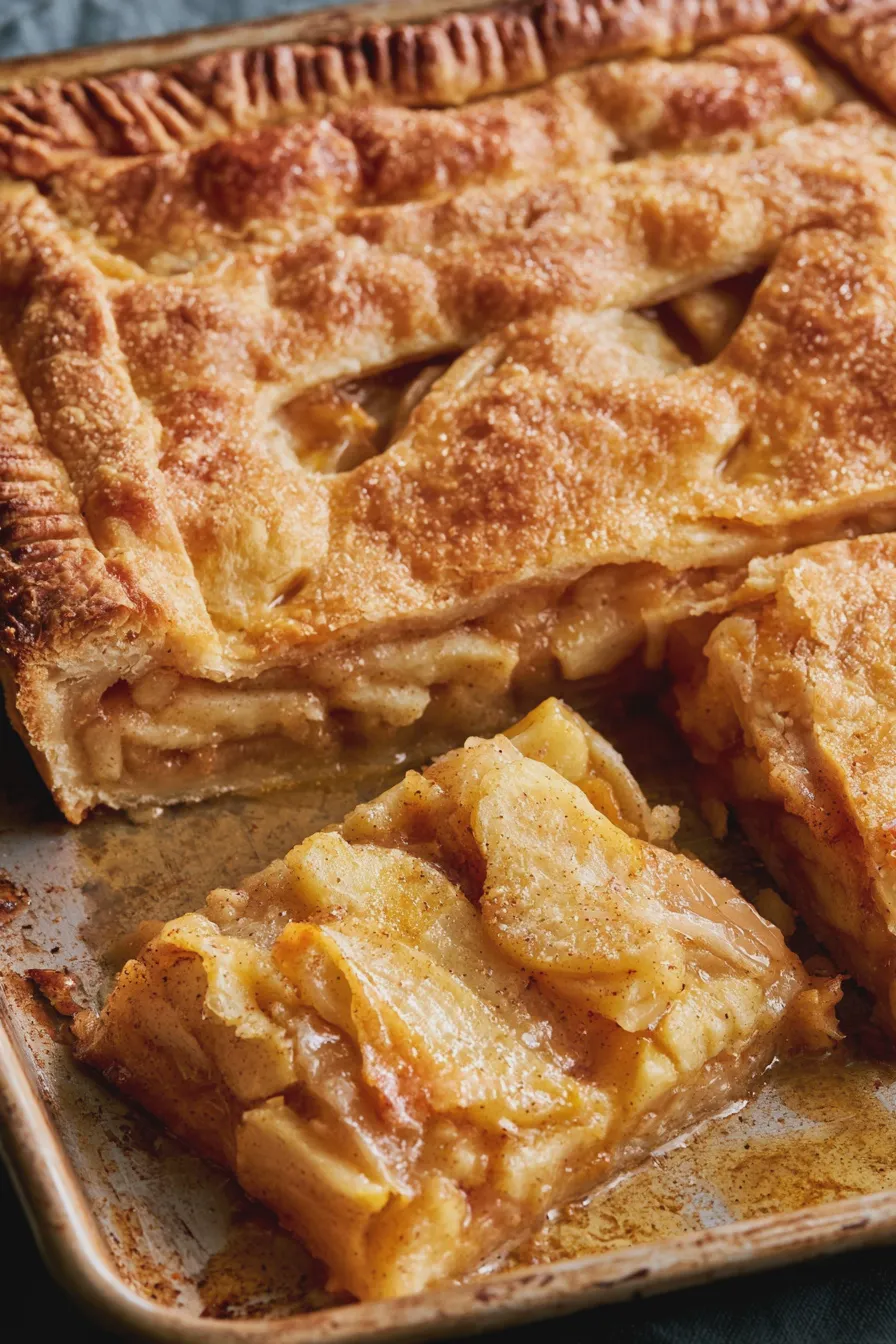
Let’s get baking! This apple slab pie recipe is designed to be straightforward and rewarding. We’ll focus on the crumb topping for this guide, as it’s incredibly popular and adds a delightful texture.
Looking for more? Try this delicious Apple Pie Bars next.
Step 1: Prepare the Pie Dough
In a large bowl, whisk together 2 ½ cups of all-purpose flour, 1 tablespoon of granulated sugar, and 1 teaspoon of salt. Cut in 1 cup (2 sticks) of cold, unsalted butter until the mixture resembles coarse crumbs with some pea-sized pieces of butter remaining. Gradually add 6-8 tablespoons of ice water, one tablespoon at a time, mixing until the dough just comes together. Be careful not to overmix. Divide the dough in half, flatten each half into a disk, wrap in plastic wrap, and refrigerate for at least 30 minutes. This chilling step is crucial for a flaky crust.
Step 2: Make the Crumb Topping (if using)
In a medium bowl, combine 1 cup of all-purpose flour, ½ cup of packed brown sugar, and 1 teaspoon of cinnamon. Cut in ½ cup (1 stick) of cold, unsalted butter until the mixture forms coarse crumbs. Set aside. This creates a wonderfully crunchy and flavorful topping for your apple pie with crumb topping.
Step 3: Prepare the Apple Filling
Peel, core, and slice about 3-4 pounds of your favorite baking apples. Aim for slices about ¼-inch thick. In a large bowl, toss the apple slices with ⅔ cup of granulated sugar (you can adjust this based on the sweetness of your apples and your preference), 2 tablespoons of all-purpose flour (or 1 tablespoon of cornstarch for a clearer filling), 1 teaspoon of cinnamon, ¼ teaspoon of nutmeg, and a pinch of salt. Add 1 tablespoon of lemon juice to brighten the flavors and prevent browning. Gently toss to coat the apples evenly. This is your classic apple pie filling recipe.
Don’t miss out on our guide to Apple Cobbler Recipe.
Step 4: Assemble the Slab Pie
Preheat your oven to 375°F (190°C). Lightly grease a 10×15 inch rimmed baking sheet or jelly roll pan. On a lightly floured surface, roll out one disk of chilled pie dough into a rectangle large enough to cover the bottom and sides of your prepared baking sheet (about 11×16 inches). Carefully transfer the dough to the baking sheet, pressing it gently into the bottom and up the sides. Don’t worry if it’s not perfect; this is a rustic pie! Pour the prepared apple filling evenly over the bottom crust. Dot the top of the apples with 2 tablespoons of butter, cut into small pieces. Sprinkle the prepared crumb topping evenly over the apples.
Step 5: Bake Your Delicious Slab Pie
Place the baking sheet on a lower rack in the preheated oven. Bake for 45-55 minutes, or until the crust is golden brown and the filling is bubbly. If the crust or topping starts to brown too quickly, you can loosely tent the pie with aluminum foil. A perfectly baked apple pie will have a beautifully golden crust and a bubbling, fragrant filling.
Step 6: Cool and Serve
This is perhaps the hardest step – waiting! Let the apple slab pie cool on a wire rack for at least 2-3 hours before slicing. This allows the filling to set properly, preventing a runny mess when you cut into it. Serving it warm or at room temperature is delicious. It’s wonderful on its own, or even better with a scoop of vanilla ice cream or a dollop of whipped cream. Enjoy your delicious slab pie!
If you enjoyed this, you might also love our Apple Crumble Recipe recipe.
Tips for the Perfect Apple Slab Pie
Baking is an art, and a few little tricks can elevate your simple apple slab pie from good to absolutely spectacular.
- Apple Variety is Key: Use a mix of apples! Tart apples like Granny Smith provide structure and tang, while sweeter apples like Honeycrisp or Gala add sweetness and a softer texture. This balance creates a complex and delicious filling.
- Don’t Overwork the Dough: Overmixing pie dough develops gluten, resulting in a tough crust. Handle it as little as possible, especially after adding water.
- Keep Ingredients Cold: For a flaky crust, ensure your butter and water are ice cold. This creates steam pockets during baking that result in layers.
- Thicken Wisely: If your apples are very juicy, you might need a little extra flour or cornstarch in the filling to prevent a watery pie.
- Prevent Soggy Bottoms: Baking on a lower rack helps the bottom crust cook through. You can also pre-bake the bottom crust slightly (blind baking) if you’re concerned about a soggy bottom, though it’s often not necessary for a slab pie.
- Rest is Best: Patience is a virtue, especially when it comes to pie! Allowing your apple slab pie to cool completely is essential for the filling to set.
Common Mistakes to Avoid
Even experienced bakers can run into a few snags. Here are some common mistakes to watch out for when making your easy apple slab pie:
- Using Warm Ingredients for the Crust: This is a recipe for a greasy, tough crust. Always use cold butter and ice water.
- Overfilling the Pie: Too much filling can cause it to bubble over during baking, creating a mess and potentially burning.
- Not Letting it Cool: Slicing a hot pie is a recipe for disaster. The filling won’t have set, and you’ll have a soupy mess.
- Skipping the Spices: Apples and cinnamon are a classic pairing, but don’t forget nutmeg or a pinch of allspice for depth of flavor. A truly sweet apple pie benefits from a good spice blend.
- Baking at the Wrong Temperature: Too low, and your crust won’t brown. Too high, and it might burn before the filling is cooked. Stick to the recommended temperature.
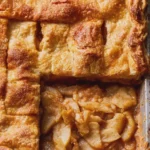
Apple Slab Pie Recipe Easy Fall Dessert
- Total Time: PT1H10M
- Yield: 12 servings 1x
- Diet: Vegetarian
Description
This Apple Slab Pie is a crowd-pleasing dessert, perfect for holidays and potlucks. It features a flaky crust filled with tender, spiced apples, baked to golden perfection. Easier to serve than a traditional pie, it’s a guaranteed hit!
Ingredients
- 1 package (14.1 ounces) refrigerated pie crusts (2 crusts)
- 6 cups thinly sliced peeled baking apples (about 2 1/2 pounds)
- 3/4 cup granulated sugar
- 1/4 cup packed light brown sugar
- 2 tablespoons all-purpose flour
- 1 teaspoon ground cinnamon
- 1/4 teaspoon ground nutmeg
- 1/4 teaspoon ground allspice
- 2 tablespoons butter, cut into small pieces
- 1 large egg, beaten (for egg wash)
- 1 tablespoon coarse sugar (optional, for topping)
Instructions
- Preheat oven to 400°F (200°C). Unroll one pie crust and press it into a 9×13-inch baking pan. Trim any excess dough.
- In a large bowl, toss the sliced apples with granulated sugar, brown sugar, flour, cinnamon, nutmeg, and allspice until evenly coated.
- Pour the apple mixture into the prepared pie crust, spreading it evenly. Dot the top of the apples with the small pieces of butter.
- Unroll the second pie crust and place it over the apple filling. Crimp the edges of the top and bottom crusts together to seal. Cut several slits in the top crust to allow steam to escape.
- Brush the top crust with the beaten egg. If desired, sprinkle with coarse sugar.
- Bake for 40-50 minutes, or until the crust is golden brown and the filling is bubbly. If the crust starts to brown too quickly, loosely tent the pie with aluminum foil.
- Let the pie cool on a wire rack for at least 2 hours before slicing and serving. This allows the filling to set.
Notes
- For an extra festive touch, you can cut decorative shapes from the second pie crust to arrange on top before baking.
- Serve warm with vanilla ice cream or whipped cream for a classic combination.
- Leftovers can be stored, covered, at room temperature for up to 2 days, or refrigerated for up to 4 days.
- Prep Time: PT25M
- Cook Time: PT45M
- Category: Dessert
- Method: Baking
- Cuisine: American
Nutrition
- Serving Size: 1 slice
- Calories: 350
- Sugar: 30g
- Sodium: 250mg
- Fat: 18g
- Saturated Fat: 7g
- Carbohydrates: 45g
- Fiber: 3g
- Protein: 3g
- Cholesterol: 30mg







