
Hello fellow bakers! Today, we’re diving into a dessert that perfectly marries the comforting flavors of apple pie with the creamy indulgence of cheesecake. Apple cheesecake bars are a delightful treat, offering a sophisticated yet approachable way to impress your family and friends. Whether you’re a seasoned baker or just starting, these bars are sure to become a favorite. They’re perfect for potlucks, holidays, or just a cozy evening treat. Let’s explore how to make the best apple cheesecake bars, a truly sensational dessert bars recipe.
What Are Apple Cheesecake Bars?
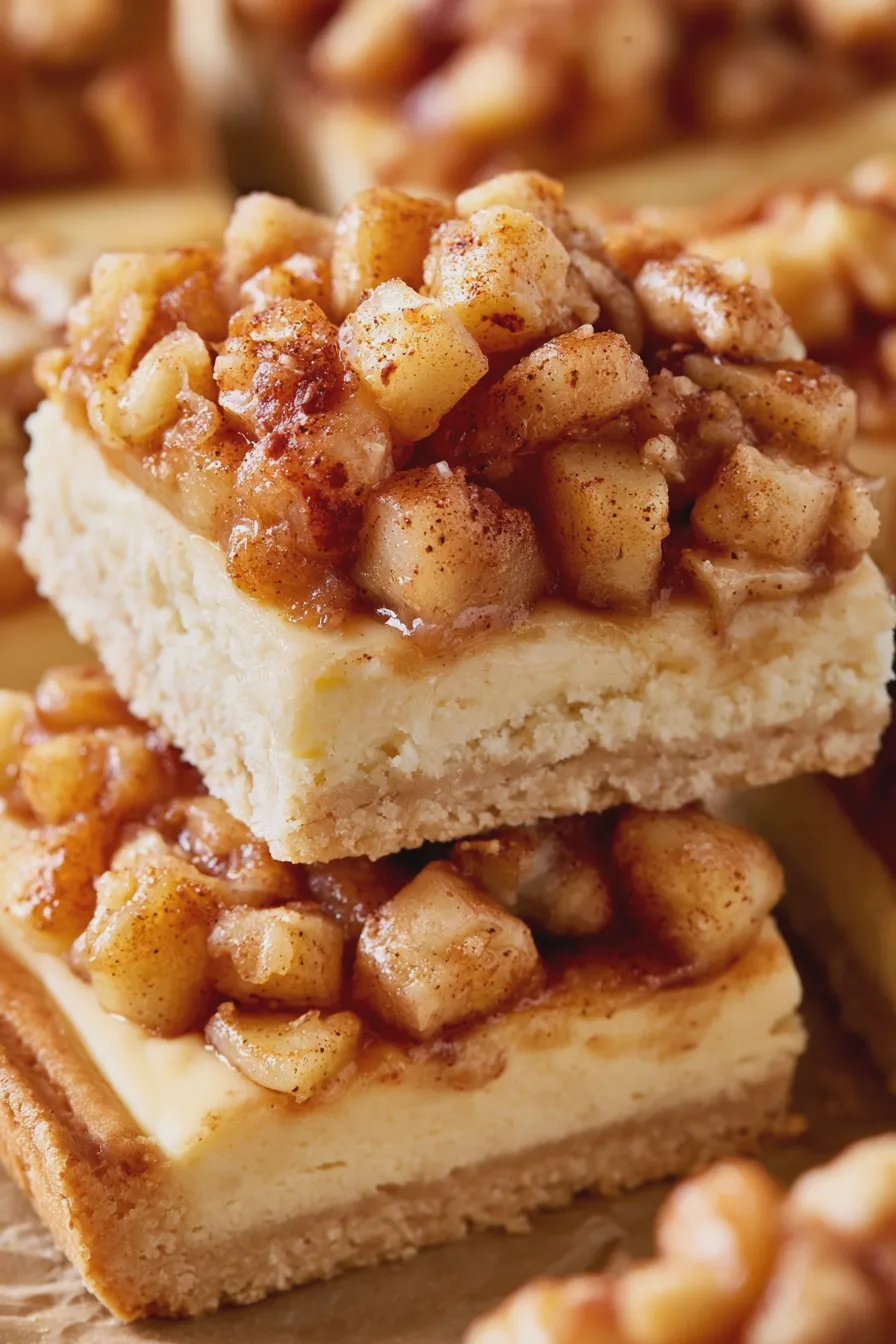
At their heart, apple cheesecake bars are a deconstructed cheesecake experience presented in a convenient, shareable bar form. They typically feature a buttery crust, a rich and creamy cheesecake filling, and a layer of spiced, tender apples. This combination creates a symphony of textures and flavors – the crumbly base, the smooth filling, and the slightly tart, sweet apples. They are a wonderful variation on traditional cheesecake and offer a more manageable portion size. Many variations exist, from no bake apple cheesecake bars to decadent baked versions, each offering its unique charm.
Why You’ll Love This Apple Cheesecake Bars Recipe
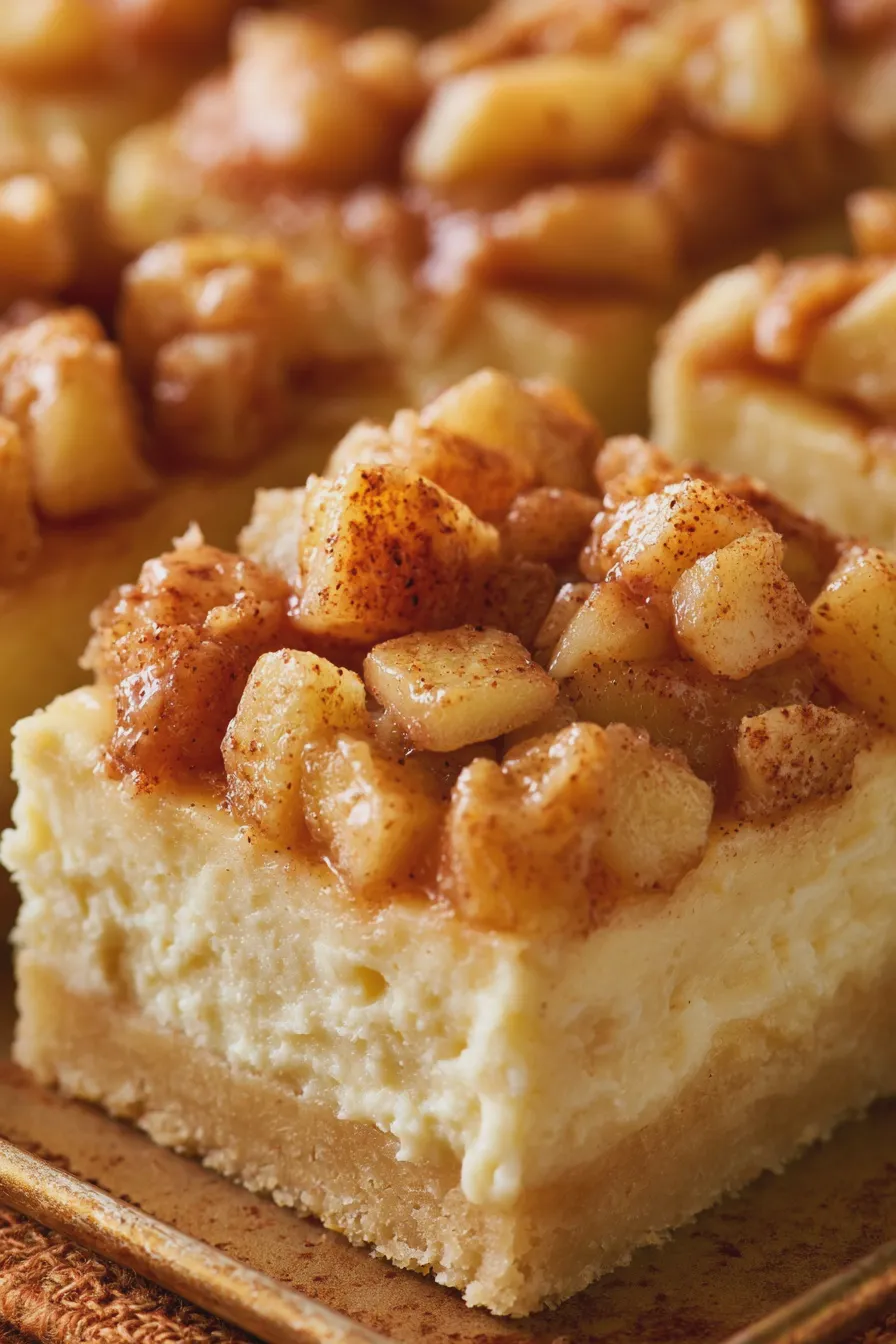
These bars are a dream to make and even better to eat. They offer the best of both worlds: the comforting nostalgia of apple desserts and the luxurious creaminess of cheesecake. They are incredibly versatile, making them suitable for any occasion. Plus, they are often easier to serve than a whole cheesecake, making them perfect for parties. The balance of sweet apples and tangy cream cheese is simply divine, especially when infused with warm spices. This is truly one of the best apple cheesecake bars you’ll ever try.
Ingredients You’ll Need
Gathering your ingredients is the first step to baking success. For these delightful apple cheesecake bars, you’ll typically need:
For the Crust:
- Butter
- Sugar
- Flour
- Sometimes a pinch of salt or cinnamon
For the Cheesecake Filling:
- Cream cheese (full-fat is best for richness)
- Sugar
- Eggs
- Vanilla extract
- A touch of sour cream or heavy cream for extra creaminess
For the Apple Topping:
- Apples (firm varieties like Honeycrisp, Fuji, or Granny Smith work well)
- Sugar (brown sugar adds a lovely depth)
- Cinnamon and other warm spices (nutmeg, allspice)
- A little lemon juice to brighten the flavor
- A thickener like flour or cornstarch if needed
Step-by-Step Guide to Making Apple Cheesecake Bars
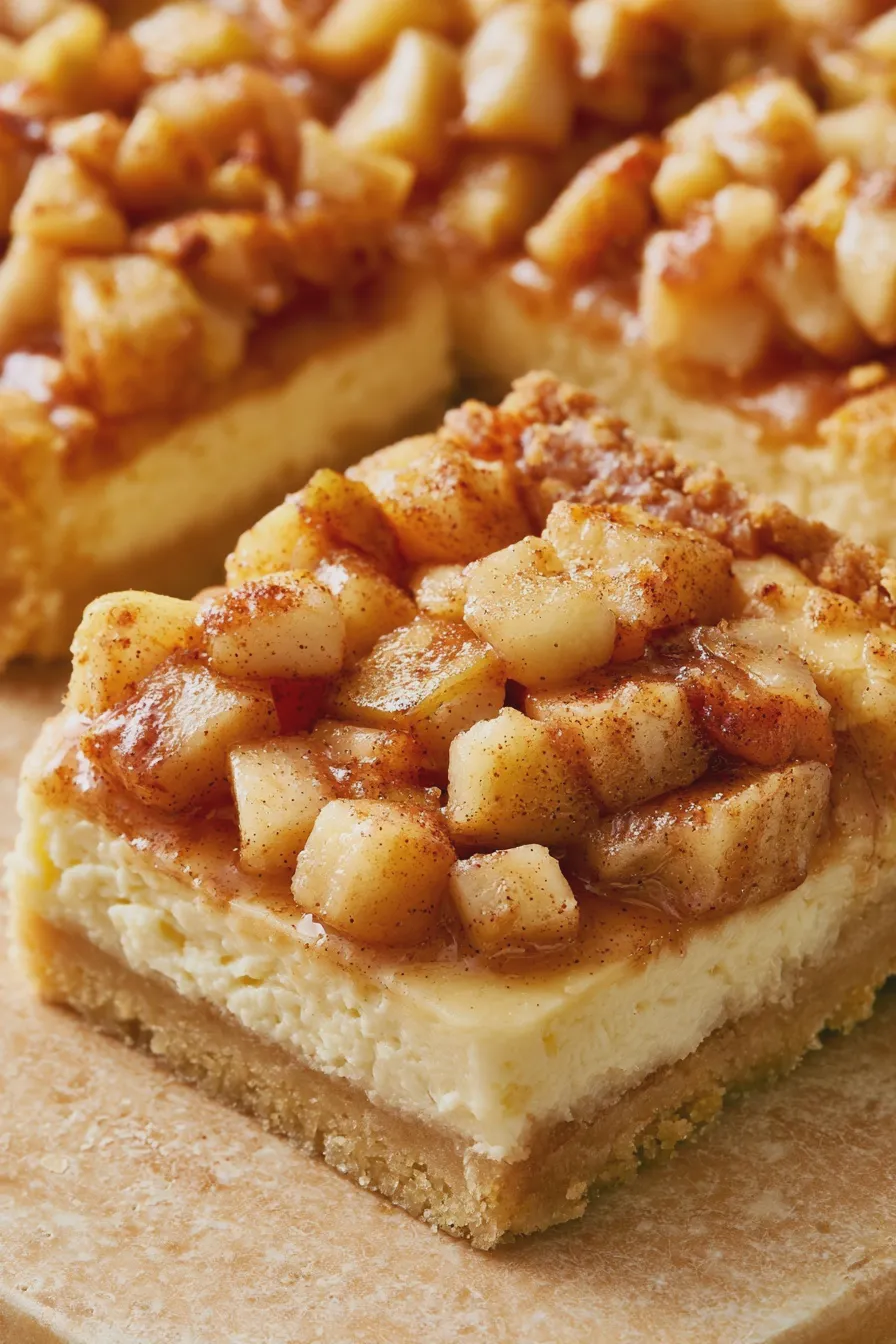
Let’s break down the process of creating these delicious apple cheesecake bars recipe. We’ll focus on a classic baked version, which offers a wonderfully set texture.
1. Prepare the Crust
Start by preheating your oven to 350°F (175°C). Grease and line a baking pan (usually an 8×8 or 9×13 inch pan) with parchment paper, leaving an overhang on the sides to easily lift the bars out later. In a bowl, combine melted butter, sugar, flour, and any spices for the crust. Mix until it resembles coarse crumbs. Press this mixture evenly into the bottom of your prepared pan. Bake the crust for about 10-12 minutes until lightly golden. This par-baking helps prevent a soggy bottom.
2. Make the Cheesecake Filling
While the crust bakes, prepare the filling. Ensure your cream cheese and eggs are at room temperature – this is crucial for a smooth, lump-free filling. In a large bowl, beat the softened cream cheese until completely smooth. Gradually add the sugar and beat until well combined. Add the eggs one at a time, beating just until each is incorporated. Don’t overmix at this stage, as too much air can cause cracks. Stir in the vanilla extract and sour cream or heavy cream until just combined. Pour this creamy mixture over the par-baked crust.
Looking for more? Try this delicious Maple Pecan Cheesecake Bars next.
3. Prepare the Apple Layer
Peel, core, and dice your apples into small, bite-sized pieces. In a separate bowl, toss the apple pieces with sugar, cinnamon, a pinch of nutmeg, lemon juice, and a tablespoon of flour or cornstarch. This mixture will be spooned over the cheesecake filling.
4. Assemble and Bake
Carefully spoon the apple mixture evenly over the cheesecake filling. You can swirl it slightly if you like, but it’s not essential. Place the pan in the preheated oven. Bake for 30-45 minutes, or until the edges of the cheesecake are set and slightly puffed, and the center is just barely jiggly. The apples should be tender. To prevent overbaking, keep an eye on it. A water bath can help ensure even baking and prevent cracks, but it’s often not strictly necessary for bars.
5. Cool and Chill
This is a critical step for achieving the perfect texture. Once baked, turn off the oven and let the bars cool inside the oven with the door slightly ajar for about an hour. This gradual cooling helps prevent cracking. After that, remove the pan from the oven and let it cool completely on a wire rack. Once at room temperature, cover the pan and refrigerate for at least 4 hours, or preferably overnight. Chilling is essential for the cheesecake to set properly and for the flavors to meld.
6. Cut and Serve
Once thoroughly chilled, use the parchment paper overhangs to lift the entire block out of the pan. Place it on a cutting board and use a sharp knife to cut into bars. For clean cuts, wipe the knife with a damp cloth between each cut. Serve chilled and enjoy your delicious homemade apple cheesecake bars!
Tips for Perfect Apple Cheesecake Bars
Achieving bakery-quality results at home is all about a few key techniques:
- Room Temperature Ingredients: This is non-negotiable for a smooth cheesecake filling. Cold cream cheese and eggs will result in lumps.
- Don’t Overmix: Especially after adding eggs. Overmixing incorporates too much air, which can lead to cracking during baking.
- Gentle Cooling: Gradual cooling in the oven prevents drastic temperature changes that cause cracks.
- Patience with Chilling: Resist the urge to cut into them too soon. Proper chilling is what gives cheesecake its signature texture.
- Choosing the Right Apples: Use apples that hold their shape when cooked. Soft, mealy apples will turn to mush.
Common Mistakes to Avoid
Even experienced bakers can run into a few snags. Here are some common mistakes and how to avoid them:
Another favorite of ours is the Apple Pie Bars.
- Lumpy Filling: Usually caused by not using room temperature ingredients or not beating the cream cheese enough initially.
- Cracked Cheesecake: Often due to overbaking, rapid temperature changes, or overmixing.
- Soggy Crust: Not par-baking the crust or not allowing sufficient chilling time can contribute to this.
- Watery Topping: Not using enough thickener for the apples, or apples releasing too much juice.
Variations to Try
Once you’ve mastered the basic easy apple cheesecake bars, feel free to experiment!
- Caramel Apple Cheesecake Bars: Drizzle caramel sauce over the top before baking or serving. This is a popular Caramel Apple Cheesecake variation.
- Spiced Apple Cheesecake Bars: Increase the cinnamon and add other warm spices like nutmeg, ginger, or cloves.
- Apple Crumble Cheesecake Bars: Add a streusel topping made from flour, sugar, butter, and oats before baking. This is similar to Apple Crumb Bars.
- Gluten-Free Apple Cheesecake Bars: Use a gluten-free flour blend for the crust or a nut-based crust (like almond flour).
- Vegan Apple Cheesecake Bars: This requires a complete recipe overhaul using vegan cream cheese, plant-based milk, and egg substitutes.
For those who prefer a no-bake option, there are fantastic No Bake Cheesecake Cool Whip recipes that can be adapted with apple flavors.
Serving Suggestions
These bars are delicious on their own, but a few additions can elevate them even further:
- A dollop of whipped cream
- A drizzle of caramel sauce
- A sprinkle of chopped toasted pecans or walnuts
- A scoop of vanilla ice cream for a true dessert indulgence
They make a wonderful fall dessert bars option, perfect for autumn gatherings.
Storage and Make-Ahead
Apple cheesecake bars can be made a day or two in advance, which is perfect for entertaining. Store them tightly covered in the refrigerator. They will keep well for up to 3-4 days. Freezing is also an option; once fully set, cut into bars, wrap individually in plastic wrap, and then place in an airtight container or freezer bag. Thaw overnight in the refrigerator before serving.







