")
Table of Contents
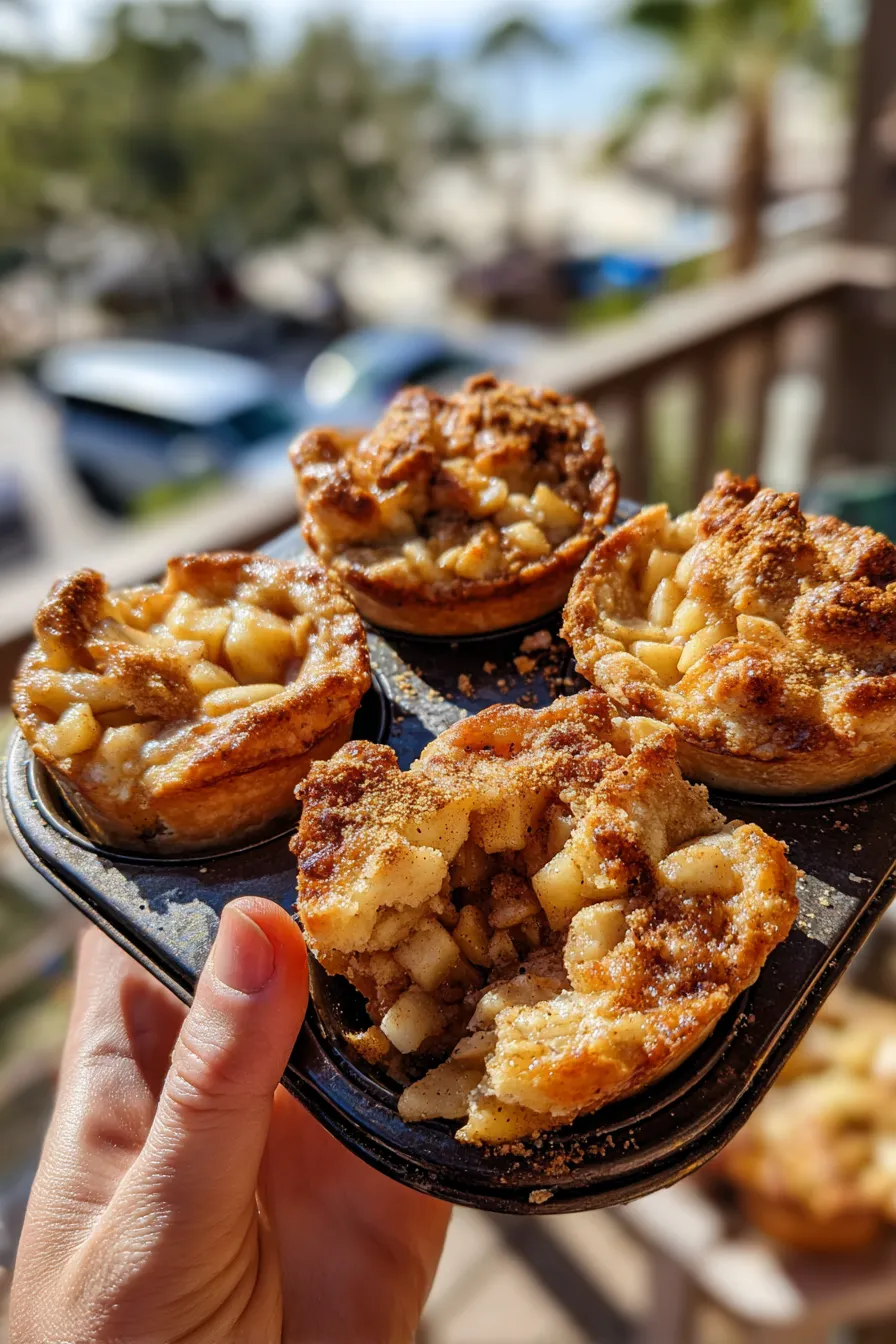
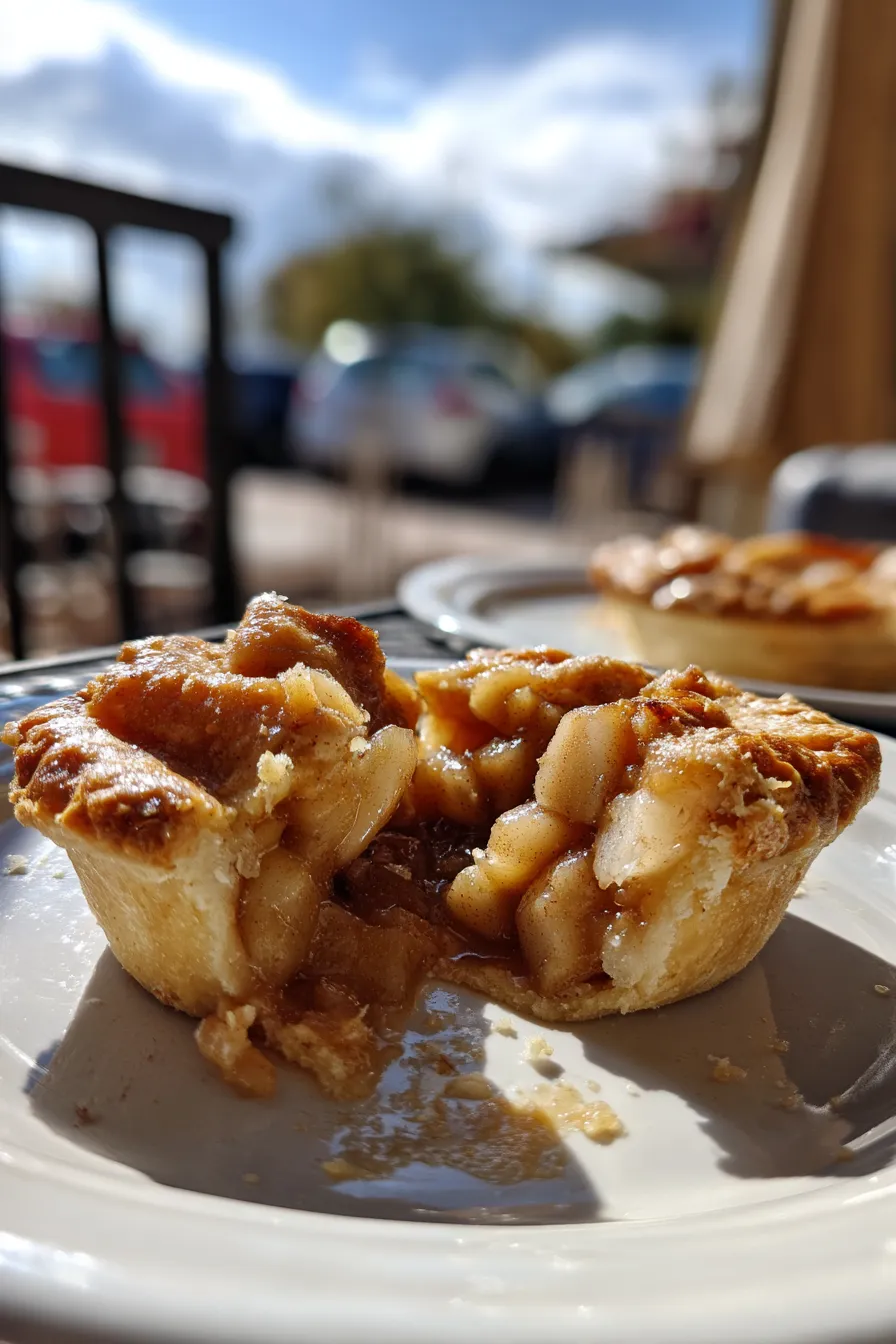
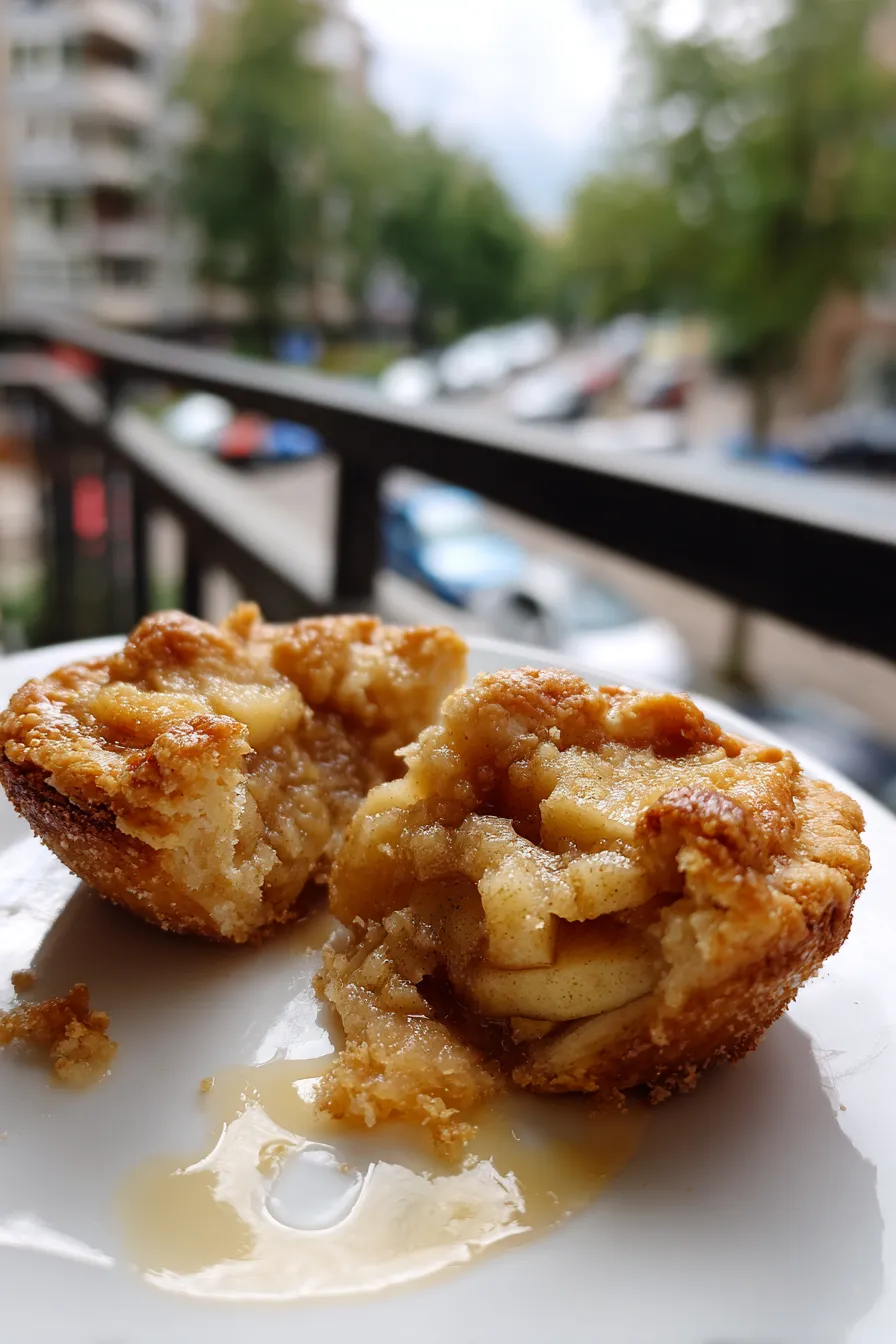
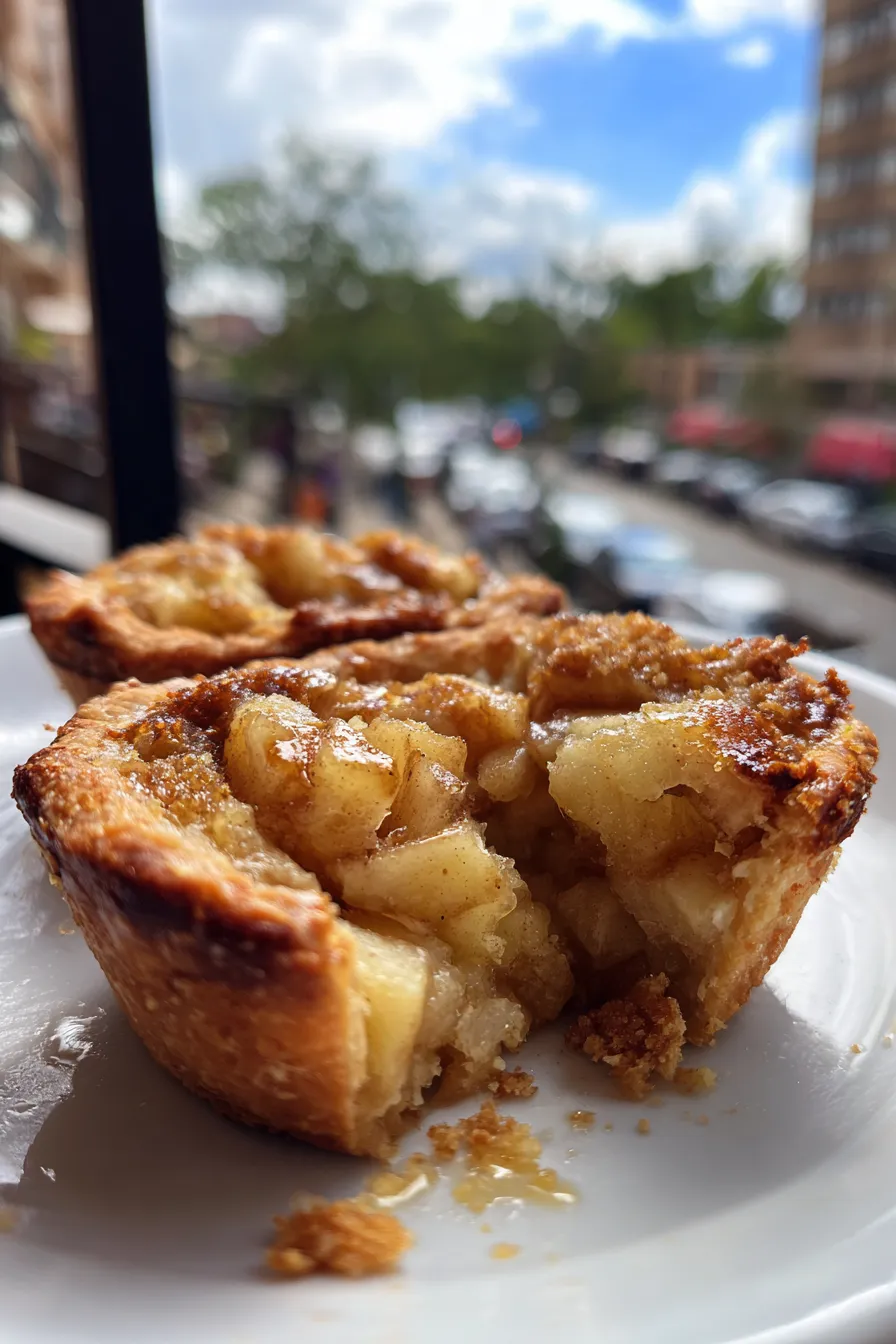
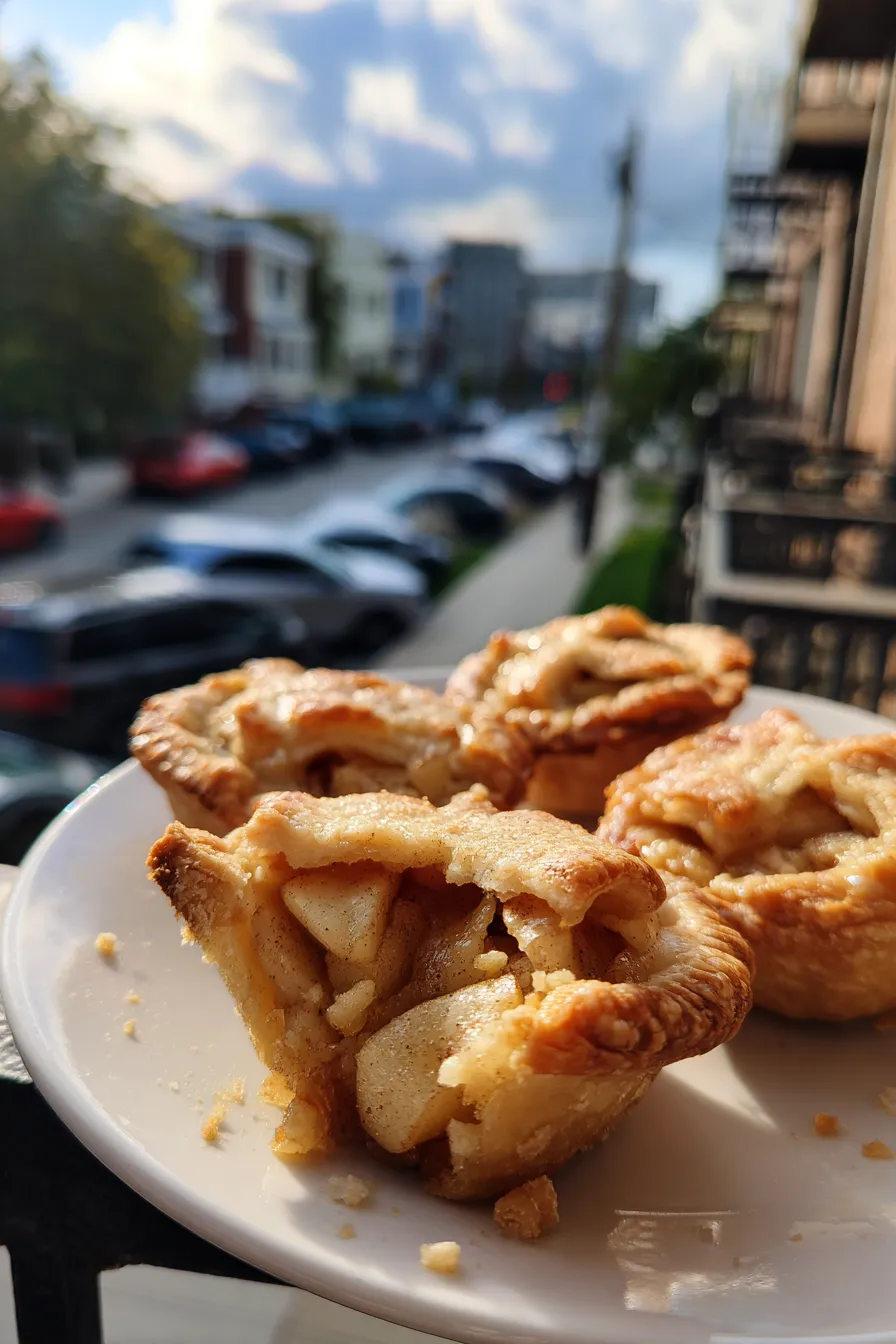
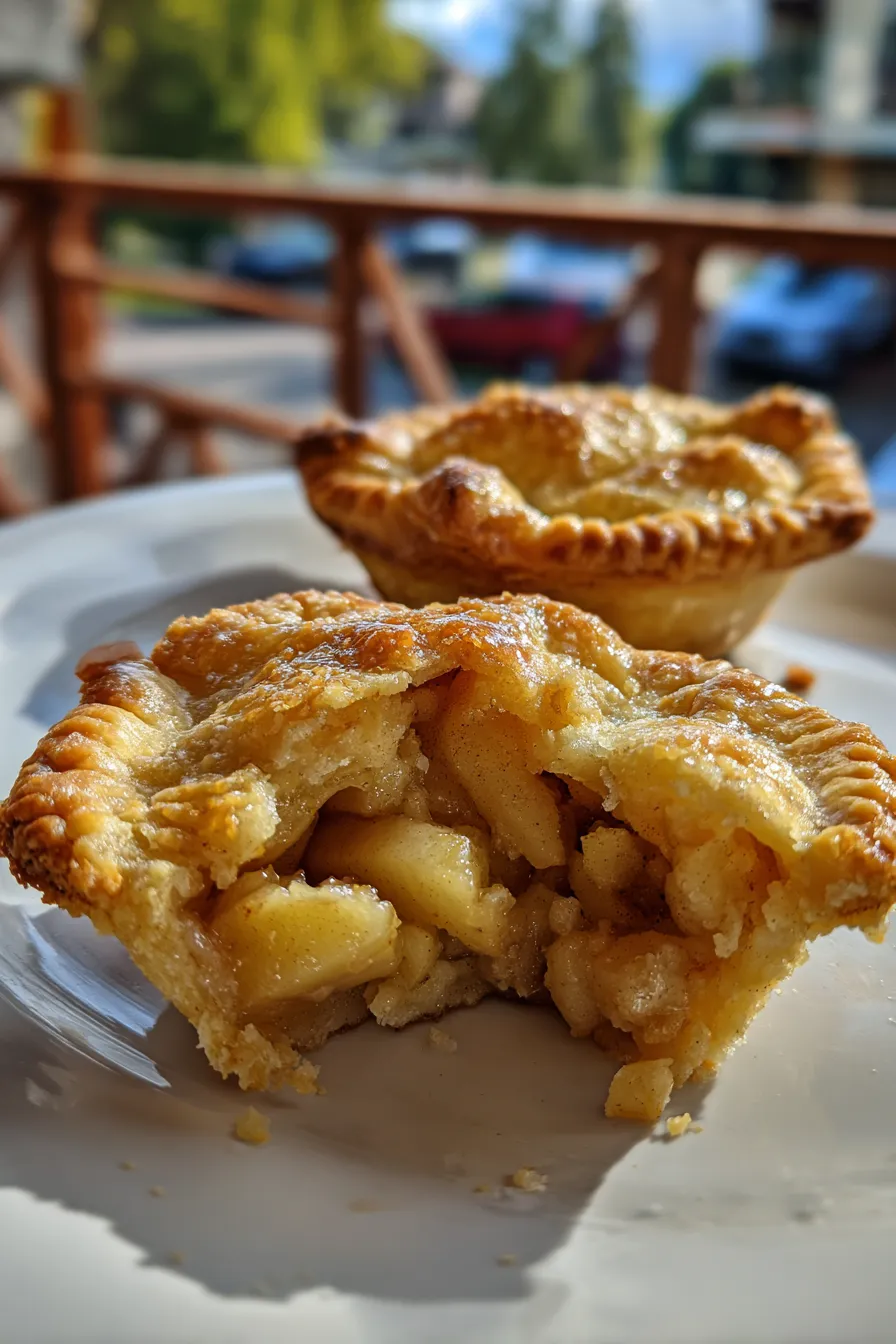
There’s something undeniably charming about mini apple pies. These delightful, bite-sized treats capture the essence of classic apple pie in a perfectly portioned package. They’re ideal for parties, bake sales, or a cozy afternoon treat. The combination of sweet, spiced apples nestled in a flaky crust is simply irresistible, and making them at home is easier than you might think.
Whether you’re looking for a comforting dessert to share with loved ones or a fun baking project, mini apple pies are a fantastic choice. The aroma of cinnamon and baked apples filling your kitchen is reason enough to give this recipe a try. Plus, they offer a wonderful opportunity to get creative with your crust and fillings. Discover some fantastic recipes for inspiration here.
Ingredients You’ll Need
Gathering the right ingredients is the first step towards baking success. This recipe focuses on simplicity and deliciousness, using readily available ingredients. Don’t be afraid to adjust the spices to your liking – a little extra cinnamon or nutmeg can go a long way!
- 1 package (14.1 ounces) refrigerated pie crusts (2 crusts)
- 6 medium apples, such as Honeycrisp, Granny Smith, or a mix
- 1/4 cup granulated sugar
- 2 tablespoons all-purpose flour
- 1 teaspoon ground cinnamon
- 1/4 teaspoon ground nutmeg
- 1/4 teaspoon salt
- 2 tablespoons unsalted butter, cut into small pieces
- 1 large egg, beaten (for egg wash)
- 1 tablespoon turbinado sugar (for sprinkling, optional)
How to Make Mini Apple Pies
Prepare the Apple Pie Filling
The heart of any great mini apple pie is the filling. Start by peeling, coring, and dicing your apples into small, even pieces. This ensures they cook evenly and create the perfect texture within the pies. A mix of apple varieties can add depth of flavor, so feel free to experiment with your favorites.
In a large bowl, combine the diced apples, granulated sugar, all-purpose flour, cinnamon, nutmeg, and salt. Toss gently to ensure the apples are evenly coated with the spice mixture. The flour helps to thicken the juices released by the apples during baking, preventing a soggy crust. Feel free to explore other apple pie filling variations!
Assemble the Mini Apple Pies
Unroll one of the refrigerated pie crusts on a lightly floured surface. Use a round cookie cutter (about 3-4 inches in diameter) to cut out circles. You should get approximately 12-16 circles, depending on the size of your cutter. Reroll the scraps to get the most out of your dough. These circles will form the base and tops of your individual apple pies.
Place the cut-out circles onto a baking sheet lined with parchment paper. Spoon about 1-2 tablespoons of the apple filling into the center of half of the circles. Brush the edges of the filled circles with the beaten egg wash. This will help the top crusts adhere and create a beautiful golden-brown finish once baked.
Create the Pie Tops and Bake
Top each filled circle with another circle of pie crust, gently pressing the edges together to seal. You can crimp the edges with a fork for a decorative touch and to ensure the pies are well sealed. Be sure to create a few slits on the top of each pie with a knife or a toothpick. These vents allow steam to escape during baking, preventing the pies from bursting.
Brush the tops of the pies with the remaining egg wash. If desired, sprinkle with turbinado sugar for a bit of extra sweetness and a beautiful, sparkling crust. Bake in a preheated oven at 375°F (190°C) for 20-25 minutes, or until the crust is golden brown and the filling is bubbly. The small apple pies are ready when the crust is perfectly golden.
Cool and Serve
Once the mini apple pies are baked to perfection, remove them from the oven and let them cool on the baking sheet for a few minutes before transferring them to a wire rack to cool completely. This allows the filling to set slightly and the crust to crisp up further. Patience is key here; the pies are best enjoyed warm, but they can be a bit messy when they are straight from the oven.
Serve your delicious easy mini apple pies warm or at room temperature. They are delicious on their own, but feel free to add a scoop of vanilla ice cream or a dollop of whipped cream for an extra special treat. These pies are also perfect for parties or to bring to a potluck. You can even make them into apple hand pies!
Tips for Perfect Mini Apple Pies
Choosing the Right Apples
The type of apples you use significantly impacts the flavor and texture of your mini apple pie recipe. For the best results, use a combination of apples that hold their shape well during baking and those that offer a good balance of sweetness and tartness. Honeycrisp apples are a popular choice for their crisp texture and sweetness.
Granny Smith apples add a tartness that balances the sweetness of the other ingredients. Other great options include Gala, Fuji, or Braeburn apples. Avoid using apples that become mushy when baked, such as Red Delicious. Choosing the right apples is one of the most important steps to making the best mini apple pie recipe.
Working with Pie Crust
Using pre-made pie crusts simplifies the process, but there are a few tips to ensure success. Always work with cold pie crusts. If the crust becomes too warm, the butter in the crust will melt, resulting in a less flaky texture. Keep the crust refrigerated until you are ready to use it.
When rolling out the crust, lightly flour your work surface to prevent sticking. If the crust cracks or tears, gently press it back together with your fingers. For extra flaky crust, you can even make your own pie crust. Understanding the mini apple pie crust is important for the perfect texture.
Preventing a Soggy Bottom
A soggy bottom crust is a common problem in pie baking. To prevent this, make sure your apples are not releasing too much liquid. You can toss the diced apples with a bit of flour, which helps absorb some of the moisture. Also, pre-baking the bottom crust for a few minutes before adding the filling can help.
Make sure to bake the pies at the correct temperature to ensure the crust is cooked through. If the crust starts to brown too quickly, you can loosely tent the pies with aluminum foil. If you are struggling with a soggy crust, consider making mini apple pie bites without a bottom crust.
Flavor Variations
Get creative with your flavors! Add a pinch of ground cloves or cardamom to the apple filling for a warm, spiced flavor. For a caramel apple flavor, drizzle some caramel sauce over the filling before topping with the second crust. You can also add chopped nuts, such as pecans or walnuts, for added texture and flavor.
If you enjoy a more tart taste, add a squeeze of lemon juice to the apple filling. For a different twist, try adding some berries, such as blueberries or cranberries, to the filling. You can easily adapt this mini apple pie recipe to suit your preferences. If you’re looking for something different, consider making apple pie cups.
Troubleshooting Common Problems
Crust Too Brown
If the crust is browning too quickly, you can loosely tent the pies with aluminum foil during the last few minutes of baking. This will help to prevent the crust from burning while ensuring the filling has enough time to cook through. Keep a close eye on your pies during baking, and adjust the baking time as needed. If you’re looking for a simpler option, try making mini apple pie tarts.
Another way to prevent over-browning is to ensure your oven temperature is accurate. Use an oven thermometer to verify the temperature. If your oven tends to run hot, you may need to reduce the temperature slightly. Consider the role of butter in desserts when making the crust as well.
Filling Too Runny
A runny filling can be caused by using too many wet apples or not enough thickener. Make sure to measure your flour accurately. You can also add a tablespoon or two of cornstarch to the filling mixture for extra thickening power. Avoid using apples that release a lot of juice.
Another trick is to let the pies cool completely before serving. As the pies cool, the filling will naturally thicken. For a quicker solution, you can chill the prepared pies in the refrigerator for a short time before baking. Additionally, remember to vent the pies properly to allow steam to escape. If you are looking for other options, try making apple pie pastries.
Crust Not Flaky
A flaky crust relies on cold butter and proper handling. Make sure your butter is cold when you cut it into the flour. Avoid overworking the dough, as this can develop the gluten and make the crust tough. If you’re making your own dough, use ice water to bind the ingredients together.
When rolling out the dough, work quickly and lightly. Do not handle the dough too much, and try to keep it cold. If the dough becomes warm, chill it in the refrigerator for a few minutes before continuing. For an alternative, you could consider making mini apple pie with puff pastry for a different texture.
Frequently Asked Questions
Here are some of the most common questions about making mini apple pies, along with helpful answers to guide you through the process:
Can I make these ahead of time?
Yes, you can definitely make these mini apple pies ahead of time! Assemble the pies and store them unbaked in the refrigerator for up to 24 hours. When ready to bake, add a few minutes to the baking time. If you have any leftover pie crust, you can also consider making apple hand pies.
How should I store leftover mini apple pies?
Store leftover mini apple pies in an airtight container at room temperature for up to 2 days or in the refrigerator for up to 4 days. If storing in the refrigerator, you can reheat them in the oven or microwave before serving. You can also freeze them for longer storage.
Can I freeze mini apple pies?
Yes, you can freeze both baked and unbaked mini apple pies. For unbaked pies, assemble the pies and freeze them on a baking sheet until solid, then transfer them to a freezer-safe bag. Bake from frozen, adding extra baking time. Baked pies should be cooled completely before freezing.
What can I substitute for the apples?
While apples are the star of the show, you can substitute other fruits like peaches, berries, or a combination. The key is to adjust the spices and sugar to complement the fruit. For a quick and easy dessert, try making quick mini apple pies with store-bought pie filling.
Discover some delicious recipes for inspiration here. If you want to try different dessert recipes, consider the types of sugar in baking to get the perfect sweetness. To make the best dessert, consider using the role of butter in desserts.
Can I make gluten-free or vegan mini apple pies?
Absolutely! For gluten-free mini apple pies, use a gluten-free pie crust. There are many delicious options available in stores, or you can make your own. For vegan mini apple pies, use a vegan pie crust and substitute the egg wash with a mixture of plant-based milk and a touch of maple syrup. If you have extra crust, consider making caramel apple mini pies.
If you’re looking for a quick and easy dessert, consider the different types of flour. If you want to make a cake, you can even learn more about all-purpose flour vs cake flour. Making the perfect dessert is easier than ever.
Can I use store-bought apple pie filling?
Yes, you can absolutely use store-bought apple pie filling to save time. Simply fill the pie crust circles with the filling and follow the remaining steps for assembling and baking. Using store-bought filling is great for when you are short on time. Many people make kid-friendly mini apple pies this way!
If you are looking for other desserts, consider the different options you have. You can make mini apple pie bites or mini apple pie tarts. If you want a different variation, you can also make mini apple pie without bottom crust.
Making mini apple pies at home is a rewarding experience that brings the warmth and comfort of homemade baking to your kitchen. With these tips and tricks, you’ll be well on your way to creating perfectly golden and delicious treats that everyone will love. Happy baking!
Print
Mini Apple Pies Easy Recipe for Fall Baking
- Total Time: 45 minutes
- Yield: 6-8 mini pies 1x
- Diet: Vegetarian
Description
These Mini Apple Pies are the perfect individual desserts! Flaky, buttery crusts encase a sweet and spiced apple filling. They’re easy to make and always a crowd-pleaser.
Ingredients
- 1 package (14.1 ounces) refrigerated pie crusts (2 crusts)
- 4 medium apples, such as Honeycrisp or Gala, peeled, cored, and diced
- 1/4 cup granulated sugar
- 1/4 cup packed brown sugar
- 1 tablespoon all-purpose flour
- 1 teaspoon ground cinnamon
- 1/4 teaspoon ground nutmeg
- 2 tablespoons unsalted butter, cut into small pieces
- 1 tablespoon milk or cream, for brushing
- Coarse sugar, for sprinkling (optional)
Instructions
- Preheat oven to 375°F (190°C). Line a baking sheet with parchment paper.
- In a large bowl, combine diced apples, granulated sugar, brown sugar, flour, cinnamon, and nutmeg. Toss to coat.
- Unroll one pie crust on a lightly floured surface. Use a round cookie cutter (about 3-4 inches in diameter) to cut out circles. You should get about 6-8 circles.
- Place the circles on the prepared baking sheet.
- Spoon about 1-2 tablespoons of the apple filling into the center of each circle. Dot with small pieces of butter.
- Unroll the second pie crust and cut out more circles. Place these on top of the apple filling, sealing the edges by crimping with a fork.
- Brush the tops of the pies with milk or cream and sprinkle with coarse sugar, if desired.
- Bake for 20-25 minutes, or until the crusts are golden brown and the filling is bubbly.
- Let cool on the baking sheet for a few minutes before serving.
Notes
- For a shortcut, use store-bought apple pie filling.
- Spice things up by adding a pinch of ground cloves or cardamom to the filling.
- Serve warm with a scoop of vanilla ice cream or a dollop of whipped cream.
- Prep Time: 20 minutes
- Cook Time: 25 minutes
- Category: Dessert
- Method: Baking
- Cuisine: American
Nutrition
- Serving Size: 1 mini pie
- Calories: 250
- Sugar: 20g
- Sodium: 100mg
- Fat: 12g
- Saturated Fat: 6g
- Carbohydrates: 35g
- Fiber: 2g